Building ecommerce from scratch means stitching together a backend, content models, payment processing, and a frontend before you've sold a single product. Strapi 5 and Next.js 16 cut that setup work down: you get a Content Management System (CMS) with visual content modeling, automatic REST APIs, and a React-based storefront that fetches product data through Server Components.
By the end of this guide, you'll have a working product catalog, a cart, Stripe Checkout integration, and a clear path to deploy the whole thing live.
In brief:
- Stack: Strapi 5 backend, Next.js 16 App Router frontend, and Stripe Checkout
- You'll build Product, Category, and Order Collection Types with REST endpoints exposed out of the box
- Next.js 16 ships Turbopack by default, blocks local IP image optimization, and requires a second argument on
revalidateTag() - Deploy path: Strapi Cloud for the backend, Vercel for the frontend
Why Strapi and Next.js Work Well for Ecommerce
A template-first, composable commerce approach beats greenfield for three reasons:
Speed
When you define a Product content model in Strapi's Content-Type Builder, the platform immediately generates CRUD endpoints with filtering, pagination, and relationship querying. No manual route files, and no controller boilerplate. Frontend and backend development can proceed in parallel from day one because the API contract exists the moment you save the schema.
Composability
Strapi sits as the content API layer, separate from your commerce transaction engine and payment provider. Swap Stripe for another payment gateway, or replace the Next.js frontend with a mobile app, and the CMS stays untouched.
Content iteration happens in Strapi without touching commerce codebases. That's the tradeoff behind headless commerce, and it matters the first time you need to change one piece without ripping out the rest.
Editor Experience
The Admin Panel ships with RBAC and internationalization, and supports review workflows on Enterprise plans. Content teams update product descriptions, swap hero images, and publish seasonal campaigns without filing developer tickets. Launchpad, the official demo, runs on the same pairing you're about to build.
A Strapi webhook can trigger Next.js builds on Vercel when content changes. Wiring up a Vercel deploy hook keeps non-technical editors in control of the publish cycle without giving them repository access.
What you're building: a Strapi 5 backend with Product, Category, and Order Collection Types, connected to a Next.js 16 storefront with a cart and Stripe Checkout, deployable to Strapi Cloud and Vercel.
Prerequisites
Get the setup friction out of the way before touching code:
- Node.js 22 or 24 satisfies both stacks. Strapi 5 supports Active and Maintenance LTS releases only (v22, v24, and v26), and Next.js 16 requires v20.9 or higher
- TypeScript 5.1 or higher, the minimum for Next.js 16
- npm or yarn (recommended for Strapi Cloud compatibility; pnpm works locally, and on Strapi Cloud the version is managed by Corepack)
- Standard build tools for your operating system, needed on some platforms for the default SQLite database
- Git
- A Stripe account, which includes a sandbox test environment for payment integration testing
- Optional: Strapi Cloud and Vercel accounts for the deploy section
Set up the Strapi Backend
The first hands-on section. Three steps to a working backend.
Scaffold the Project
Strapi 5 ships a clean project scaffold through its CLI. Run this from your working directory:
# Run from your working directory, outside any existing project
npx create-strapi@latest my-store --skip-cloud
The --skip-cloud flag bypasses the Strapi Cloud login prompt so you can stay focused on local development. The installer defaults to SQLite, which is fine for development. Accept the defaults when prompted, and the CLI installs dependencies. Start the dev server yourself once installation finishes:
# Run from your working directory
cd my-store && npm run develop
Note: The older --template ecommerce flag pointed at the strapi/strapi-template-ecommerce repository, a Strapi v3 template archived in April 2022. The separate strapi/starters-and-templates monorepo for v4 starters was archived in September 2024. For Strapi 5, you scaffold a standard project and build the ecommerce content types yourself. That's usually the better trade anyway: you'll understand every field in your schema because you wrote it.
Register the Local Admin User
The browser opens to http://localhost:1337/admin. Fill in the registration form with your name, email, and a password. This creates a local-only admin account tied to your development database. It has no connection to any production environment you'll set up later.
Build the Ecommerce Collection Types
Open the Content-Type Builder from the left sidebar. This is where you define your data models. Create three Collection Type entries:
Product:
| Field | Type | Notes |
|---|---|---|
name | String | Short text |
price | Integer | Store in cents |
slug | UID | Target field: name |
description | Rich text | Product details |
image | Media | Single file |
Category:
| Field | Type | Notes |
|---|---|---|
name | Text | Short text |
slug | UID | Target field: name |
description | Rich text |
After creating both, add a many-to-many relation between Product and Category. In the Product Content-Type, add a Relation field, select Category, and choose "Products has and belongs to many Categories."
Order:
| Field | Type | Notes |
|---|---|---|
stripeSessionId | Text | Unique identifier from Stripe |
customerEmail | ||
totalAmount | Number | Integer, in cents |
currency | Text | Short text |
status | Enumeration | Values: paid, pending, failed |
items | JSON | Line item details |
Every field here stays editable, so you can extend the schema as your store grows without rebuilding from scratch. That's one of the key advantages of Strapi for ecommerce: the content model evolves with your business.
Add Products and Expose the REST API
Now connect real product data to the project.
Add Sample Products in the Admin Panel
Navigate to Content Manager → Product → Create new entry. Fill in the name, price (in cents, so 4999 for $49.99), and description. Upload an image through the Media Library, attach a Category (create one if you haven't yet), and click Publish. Add two or three products so the storefront has something to display.
Open the Public API
Strapi locks every endpoint by default. Head to Settings → Users and Permissions Plugin → Roles → Public. Expand the Product section and check find and findOne. Do the same for Category.
This step matters more than it looks. The find permission must be enabled on both content types for the populate parameter to return related data. If Product has public access but Category doesn't, populate=* silently omits category data from the response.
Test the Endpoint
Confirm the API is live. Quote the URL so your shell doesn't expand the ? and * characters:
# Run from any terminal while the Strapi dev server is running
curl "http://localhost:1337/api/products?populate=*"
The response follows Strapi 5's flattened format, where fields sit directly on the data object instead of nesting under data.attributes like they did in v4:
{
  "data": [
    {
      "id": 1,
      "documentId": "a1b2c3d4e5f6g7h8i9j0k1l2",
      "name": "Wireless Headphones Pro",
      "slug": "wireless-headphones-pro",
      "price": 14999,
      "description": "Premium noise-cancelling headphones with 30-hour battery life.",
      "category": {
        "id": 3,
        "documentId": "rxngxzclq0zdaqtvz67hj38d",
        "name": "Electronics",
        "slug": "electronics"
      },
      "image": {
        "url": "/uploads/headphones_front_abc123.jpg",
        "formats": {
          "thumbnail": { "url": "/uploads/thumbnail_headphones_front_abc123.jpg" }
        }
      }
    }
  ],
  "meta": { "pagination": { "page": 1, "pageSize": 25, "pageCount": 1, "total": 1 } }
}
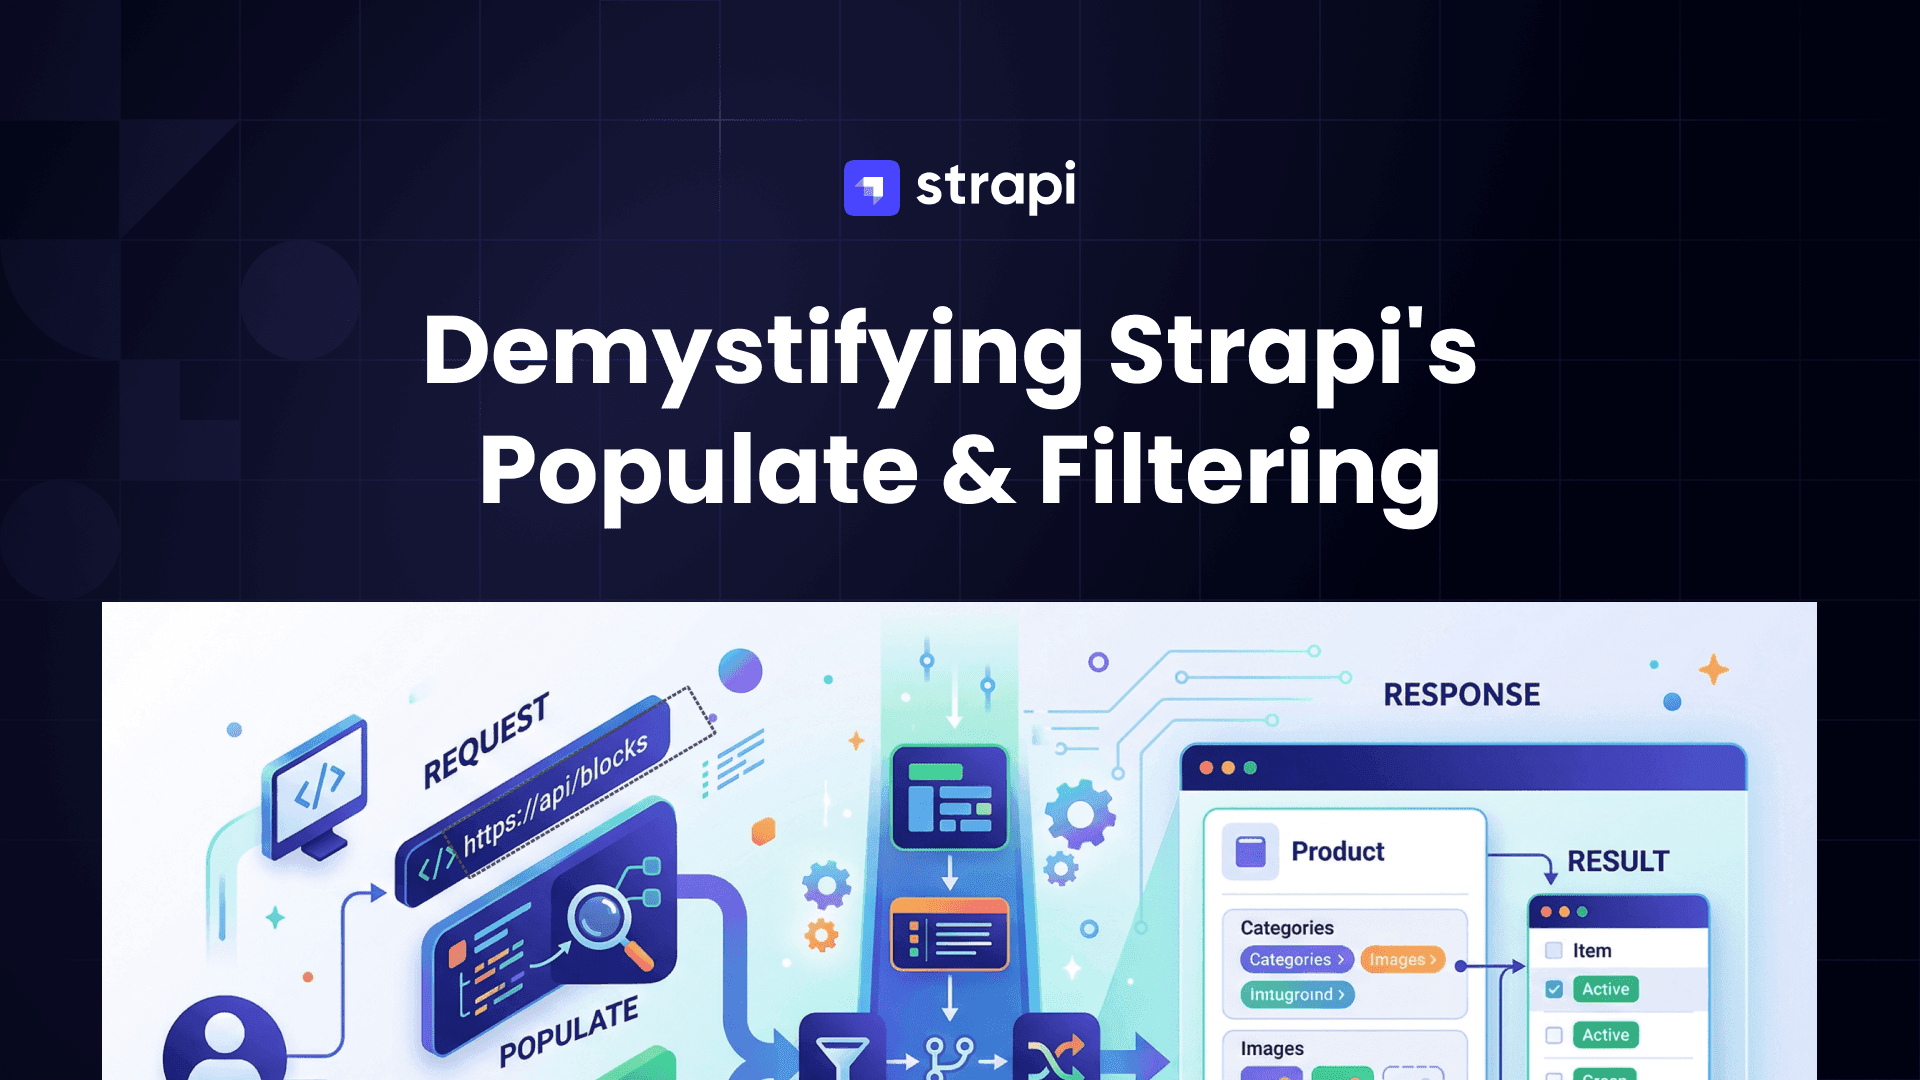
By default, Strapi returns no relations or media. The populate=* parameter tells it to include all first-level relations. For production, explicit population beats wildcards, and it helps to limit depth to two or three levels. If the syntax trips you up, this walkthrough of populate and filtering covers the edge cases.
Connect the Next.js Frontend
Next, connect the frontend to Strapi.
What Changed in Next.js 16
Four of the Next.js 16 changes affect this build directly, so it's worth knowing them before you scaffold:
- Turbopack is the default bundler for
next devandnext build. The--turbopackflag is no longer needed next/imageblocks local IP optimization, which breaks Strapi images served fromlocalhostduring development unless you opt back in- Async request APIs are strictly async.
headers(),cookies(),params, andsearchParamsmust be awaited; the synchronous fallback from v15 is gone revalidateTag()requires acacheLifeprofile as a second argument, and the single-argument form throws a TypeScript error
Each of these shows up in the steps below.
Scaffold the Next.js App
In a separate terminal, outside your Strapi project folder:
# Run from your working directory, alongside the my-store folder
npx create-next-app@latest storefront
Accept the App Router, TypeScript, and Tailwind CSS defaults. The App Router is the right choice here because Server Components can fetch from Strapi without ever exposing your API token to the browser.
Generate a Strapi API Token
Back in the Strapi Admin Panel, go to Settings → API Tokens → Create new API Token. Name it storefront-readonly, set the token type to Read-only, and copy the generated value. Scoping tokens this tightly is the first item on any list of API security practices: a storefront never needs write access.
Configure Environment Variables
Create .env.local in your storefront directory:
# storefront/.env.local
NEXT_PUBLIC_STRAPI_URL=http://localhost:1337
STRAPI_URL=http://localhost:1337
STRAPI_API_TOKEN=your-strapi-api-token-here
The NEXT_PUBLIC_ prefix makes the Strapi URL available in client-side code, which is fine because it's a URL, not a secret. Server Components use STRAPI_URL to fetch data server-side, while client-side code uses NEXT_PUBLIC_STRAPI_URL to construct image URLs. STRAPI_API_TOKEN deliberately lacks the public prefix, so Next.js keeps it server-side only. Variables without NEXT_PUBLIC_ never get bundled into the JavaScript the browser downloads.
Configure Image Domains
Strapi serves images from its own host, so next/image needs to know about it. Next.js 16 added a second requirement: image optimization for local IP addresses is blocked by default, and localhost falls into that bucket. Without dangerouslyAllowLocalIP, every product image fails in development with an upstream image error.
// storefront/next.config.ts
import type { NextConfig } from "next";

const isDev = process.env.NODE_ENV === "development";

const nextConfig: NextConfig = {
  images: {
    // Required in Next.js 16 to optimize images served from localhost
    dangerouslyAllowLocalIP: isDev,
    remotePatterns: [
      {
        protocol: "http",
        hostname: "localhost",
        port: "1337",
        pathname: "/uploads/**",
      },
    ],
  },
};

export default nextConfig;
Gate the flag behind isDev so it never ships to production. Next.js 16 also tightened three other image defaults worth noting: minimumCacheTTL moved from 60 seconds to four hours, qualities now allows only [75] unless you list more, and maximumRedirects caps at three. For a deeper look at sizing and format trade-offs, see this image optimization guide.
Fetch and Render Products
Replace app/page.tsx with a Server Component that fetches products:
// storefront/app/page.tsx
import Image from "next/image";

async function getProducts() {
  const res = await fetch(
    `${process.env.STRAPI_URL}/api/products?populate=*`,
    {
      headers: { Authorization: `Bearer ${process.env.STRAPI_API_TOKEN}` },
      next: { revalidate: 60 },
    }
  );

  if (!res.ok) throw new Error("Failed to fetch products");
  return res.json();
}

function formatPrice(cents: number) {
  return new Intl.NumberFormat("en-US", {
    style: "currency",
    currency: "USD",
  }).format(cents / 100);
}

export default async function HomePage() {
  const { data: products } = await getProducts();

  return (
    <main className="max-w-6xl mx-auto px-4 py-12">
      <h1 className="text-3xl font-bold mb-8">Products</h1>
      <div className="grid grid-cols-1 sm:grid-cols-2 lg:grid-cols-3 gap-6">
        {products.map((product: any) => (
          <div key={product.documentId} className="border rounded-lg p-4">
            {product.image && (
              <Image
                src={`${process.env.NEXT_PUBLIC_STRAPI_URL}${product.image.url}`}
                alt={product.name}
                width={400}
                height={400}
                className="rounded-md"
              />
            )}
            <h2 className="text-xl font-semibold mt-4">{product.name}</h2>
            <p className="text-gray-600 mt-1">{formatPrice(product.price)}</p>
          </div>
        ))}
      </div>
    </main>
  );
}
Next.js 16 caches nothing by default, so next: { revalidate: 60 } is how you opt in. It gives the fetch request a 60-second cache lifetime, which is time-based revalidation by another name. Drop it and every page view hits your Strapi server directly.
If you enable Cache Components with cacheComponents: true, the model changes: wrap the fetch in a function marked "use cache" and control freshness with cacheLife() and cacheTag() instead of next.revalidate. The fetch option shown above keeps working as long as Cache Components stays off, so leave it alone until you're ready to migrate the whole data layer.
For type safety, consider generating types from your Strapi schema. This TypeScript guide walks through the setup.
Run npm run dev in the storefront folder and open http://localhost:3000. Your products should render with images and prices.
Build the Cart and Checkout Flow
This section sets up checkout and order capture.
Add a Cart with React Context
React Context doesn't work in Server Components, so the cart provider needs the 'use client' directive. If you'd rather persist the cart in Strapi than in browser storage, this guide on building a cart with Strapi covers that approach. For a local-first cart, create src/context/CartContext.tsx:
// storefront/src/context/CartContext.tsx
"use client";

import { createContext, useCallback, useContext, useEffect, useMemo, useState } from "react";

export interface CartItem {
  id: string;
  name: string;
  price: number;
  quantity: number;
  image?: string;
  strapiId?: number;
}

interface CartContextType {
  items: CartItem[];
  addItem: (item: Omit<CartItem, "quantity">) => void;
  removeItem: (id: string) => void;
  updateQuantity: (id: string, quantity: number) => void;
  clearCart: () => void;
  totalItems: number;
  totalPrice: number;
}

const CartContext = createContext<CartContextType | null>(null);

export function CartProvider({ children }: { children: React.ReactNode }) {
  const [items, setItems] = useState<CartItem[]>([]);

  useEffect(() => {
    const stored = localStorage.getItem("cart");
    if (stored) setItems(JSON.parse(stored));
  }, []);

  useEffect(() => {
    localStorage.setItem("cart", JSON.stringify(items));
  }, [items]);

  const addItem = useCallback((newItem: Omit<CartItem, "quantity">) => {
    setItems((prev) => {
      const existing = prev.find((i) => i.id === newItem.id);
      if (existing) {
        return prev.map((i) =>
          i.id === newItem.id ? { ...i, quantity: i.quantity + 1 } : i
        );
      }
      return [...prev, { ...newItem, quantity: 1 }];
    });
  }, []);

  const removeItem = useCallback((id: string) => {
    setItems((prev) => prev.filter((i) => i.id !== id));
  }, []);

  const updateQuantity = useCallback((id: string, quantity: number) => {
    if (quantity <= 0) {
      setItems((prev) => prev.filter((i) => i.id !== id));
      return;
    }
    setItems((prev) => prev.map((i) => (i.id === id ? { ...i, quantity } : i)));
  }, []);

  const clearCart = useCallback(() => setItems([]), []);

  const value = useMemo<CartContextType>(
    () => ({
      items, addItem, removeItem, updateQuantity, clearCart,
      totalItems: items.reduce((sum, i) => sum + i.quantity, 0),
      totalPrice: items.reduce((sum, i) => sum + i.price * i.quantity, 0),
    }),
    [items, addItem, removeItem, updateQuantity, clearCart]
  );

  return <CartContext.Provider value={value}>{children}</CartContext.Provider>;
}

export function useCart() {
  const ctx = useContext(CartContext);
  if (!ctx) throw new Error("useCart must be used within a CartProvider");
  return ctx;
}
Mount it in app/layout.tsx. The layout stays a Server Component because CartProvider carries its own 'use client' boundary:
// storefront/app/layout.tsx
import { CartProvider } from "@/context/CartContext";

export default function RootLayout({ children }: { children: React.ReactNode }) {
  return (
    <html lang="en">
      <body>
        <CartProvider>{children}</CartProvider>
      </body>
    </html>
  );
}
Create a Stripe Checkout Session
Stripe Checkout is the fastest route to a working payment flow, though it isn't the only one; this comparison of payment gateway options covers the alternatives. Install the Stripe SDK in your storefront project:
# Run from the storefront directory
npm install stripe
Add your Stripe test keys to .env.local:
# storefront/.env.local
STRIPE_SECRET_KEY=sk_test_...
NEXT_PUBLIC_BASE_URL=http://localhost:3000
Create a Route Handler at app/api/checkout/route.ts:
// storefront/app/api/checkout/route.ts
import Stripe from "stripe";
import { NextRequest, NextResponse } from "next/server";

const stripe = new Stripe(process.env.STRIPE_SECRET_KEY!);

export async function POST(request: NextRequest) {
  const { items } = await request.json();

  if (!items || items.length === 0) {
    return NextResponse.json({ error: "No items in cart" }, { status: 400 });
  }

  const line_items = items.map((item: any) => ({
    price_data: {
      currency: "usd",
      product_data: {
        name: item.name,
        ...(item.image && { images: [item.image] }),
      },
      unit_amount: item.price,
    },
    quantity: item.quantity,
  }));

  const session = await stripe.checkout.sessions.create({
    line_items,
    mode: "payment",
    success_url: `${process.env.NEXT_PUBLIC_BASE_URL}/success?session_id={CHECKOUT_SESSION_ID}`,
    cancel_url: `${process.env.NEXT_PUBLIC_BASE_URL}/cart`,
    metadata: {
      cartItems: JSON.stringify(items.map((i: any) => ({ id: i.id, quantity: i.quantity }))),
    },
  });

  return NextResponse.json({ url: session.url });
}
The unit_amount field takes the currency's smallest unit, so 4999 means $49.99 in USD. The metadata field stashes cart details for the webhook to reference later.
Record Orders Back to Strapi
There are two ways to record orders: post from the client after the success redirect, or handle it server-to-server through a Stripe webhook. The webhook approach is the safer one, for a simple reason:
| Approach | Failure Mode |
|---|---|
Client-side POST on /success | Browser closes, network drops, or user navigates away before the request fires |
Trusting ?session_id param | Session IDs can be forged or replayed |
| Webhook (server-to-server) | Stripe delivers checkout.session.completed directly to your server after confirmed payment; no browser involved |
Create app/api/webhooks/stripe/route.ts:
// storefront/app/api/webhooks/stripe/route.ts
import Stripe from "stripe";
import { headers } from "next/headers";

const stripe = new Stripe(process.env.STRIPE_SECRET_KEY!);

export async function POST(req: Request) {
  const body = await req.text();
  const headersList = await headers();
  const signature = headersList.get("stripe-signature");

  if (!signature) {
    return new Response("Missing stripe-signature header", { status: 400 });
  }

  let event: Stripe.Event;
  try {
    event = stripe.webhooks.constructEvent(body, signature, process.env.STRIPE_WEBHOOK_SECRET!);
  } catch (err: unknown) {
    const message = err instanceof Error ? err.message : "Unknown error";
    return new Response(`Webhook Error: ${message}`, { status: 400 });
  }

  if (event.type === "checkout.session.completed") {
    const session = event.data.object as Stripe.Checkout.Session;
    const cartItems = session.metadata?.cartItems
      ? JSON.parse(session.metadata.cartItems)
      : [];
    const lineItems = await stripe.checkout.sessions.listLineItems(session.id, {
      limit: 100,
    });
    await fetch(`${process.env.STRAPI_URL}/api/orders`, {
      method: "POST",
      headers: {
        "Content-Type": "application/json",
        Authorization: `Bearer ${process.env.STRAPI_API_TOKEN}`,
      },
      body: JSON.stringify({
        data: {
          stripeSessionId: session.id,
          customerEmail: session.customer_details?.email,
          totalAmount: session.amount_total,
          currency: session.currency,
          status: "paid",
          items: lineItems.data.map((item) => ({
            name: item.description,
            quantity: item.quantity,
            unitAmount: item.amount_total,
          })),
          cartItems,
        },
      }),
    });
  }

  return new Response(null, { status: 200 });
}
Two details in that handler deserve attention. Use req.text() rather than req.json(), because Stripe's HMAC signature verification runs against the raw body; parsing it first breaks the check. And await the call to headers(), since Next.js 16 removed the synchronous fallback that v15 still tolerated. The Stripe webhook docs cover signature verification in more depth, and this guide on payment security covers what to lock down before you take real money.
For local testing, the Stripe CLI forwards webhook events to your dev server:
# Run from any terminal while the storefront dev server is running
stripe listen --forward-to localhost:3000/api/webhooks/stripe
This outputs a whsec_... signing secret. Set it as STRIPE_WEBHOOK_SECRET in .env.local. Test with card number 4242 4242 4242 4242 and any future expiry plus any three-digit CVV.
Deploy and Ship
Get the project online and verify the full flow.
Deploy Strapi to Strapi Cloud
Stop your local Strapi server, then from the backend project folder:
# Run from the my-store directory
npx strapi login
npx strapi deploy
The Strapi Cloud CLI opens a browser window for OAuth on the first command. The second prompts you for a project name, Node.js version, and a region. Region selection is permanent, so pick the one closest to your users. The CLI deploys projects under 100MB to the Free plan and outputs a production URL like https://your-project.strapiapp.com.
For more on production hosting options, see this guide on deploying Strapi.
Deploy the Next.js Frontend to Vercel
Push your storefront to GitHub first, then import the repository from the Vercel dashboard. The Vercel integration page walks through connecting the two platforms. Before deploying, set these environment variables in the Vercel project settings:
# Vercel → Project → Settings → Environment Variables
NEXT_PUBLIC_STRAPI_URL=https://your-project.strapiapp.com
STRAPI_URL=https://your-project.strapiapp.com
STRAPI_API_TOKEN=<new_production_token>
STRIPE_SECRET_KEY=sk_test_...
STRIPE_WEBHOOK_SECRET=whsec_...
NEXT_PUBLIC_BASE_URL=https://your-vercel-url.vercel.app
Generate a fresh API token from your Strapi Cloud Admin Panel rather than reusing the local development one. Local tokens often carry broader permissions than production needs, and sharing a single token across environments means you can't rotate or revoke one without breaking the other.
For production images, update next.config.ts to allow your Strapi Cloud hostname:
// storefront/next.config.ts
images: {
  dangerouslyAllowLocalIP: isDev,
  remotePatterns: [
    {
      protocol: "https",
      hostname: "your-project.strapiapp.com",
      pathname: "/uploads/**",
    },
  ],
},
Smoke Test the Full Flow
Browse your deployed storefront. Add a product to the cart, hit checkout, and complete payment with the test card 4242 4242 4242 4242. After the redirect, open your Strapi Cloud Admin Panel and confirm the order appears under Content Manager → Order with status paid.
Next Steps
You've shipped a working ecommerce stack: a Strapi 5 backend with Product, Category, and Order Collection Types, a Next.js 16 storefront with Server Component data fetching, a React Context cart, Stripe Checkout, and webhook-based order recording, all deployed to Strapi Cloud and Vercel.
From here, a few directions worth exploring:
- On-demand cache invalidation with
revalidateTag("products", "max")so updated prices refresh on the next request instead of waiting out the revalidation window. Next.js 16 requires that secondcacheLifeargument, andupdateTag()is the Server Action counterpart when editors need to see their own writes immediately - RBAC for content editors so merchandising teams can manage products without access to order data
- Internationalization through Strapi's built-in i18n feature for multi-region stores
- Performance tuning with explicit
populatequeries and pagination, which this guide on optimizing Strapi performance covers for catalogs past a few hundred products - Search visibility for product pages, starting with ecommerce SEO fundamentals and the levers that boost conversion rates
The Strapi ecommerce CMS solutions page and the Strapi documentation cover these patterns in depth.