This is a guide to help you get started with the Launchpad Official Next.js and Strapi Starter.
Launchpad Official Next.js and Strapi Starter is a starter project allowing you to quickly build a website with Next.js and Strapi.
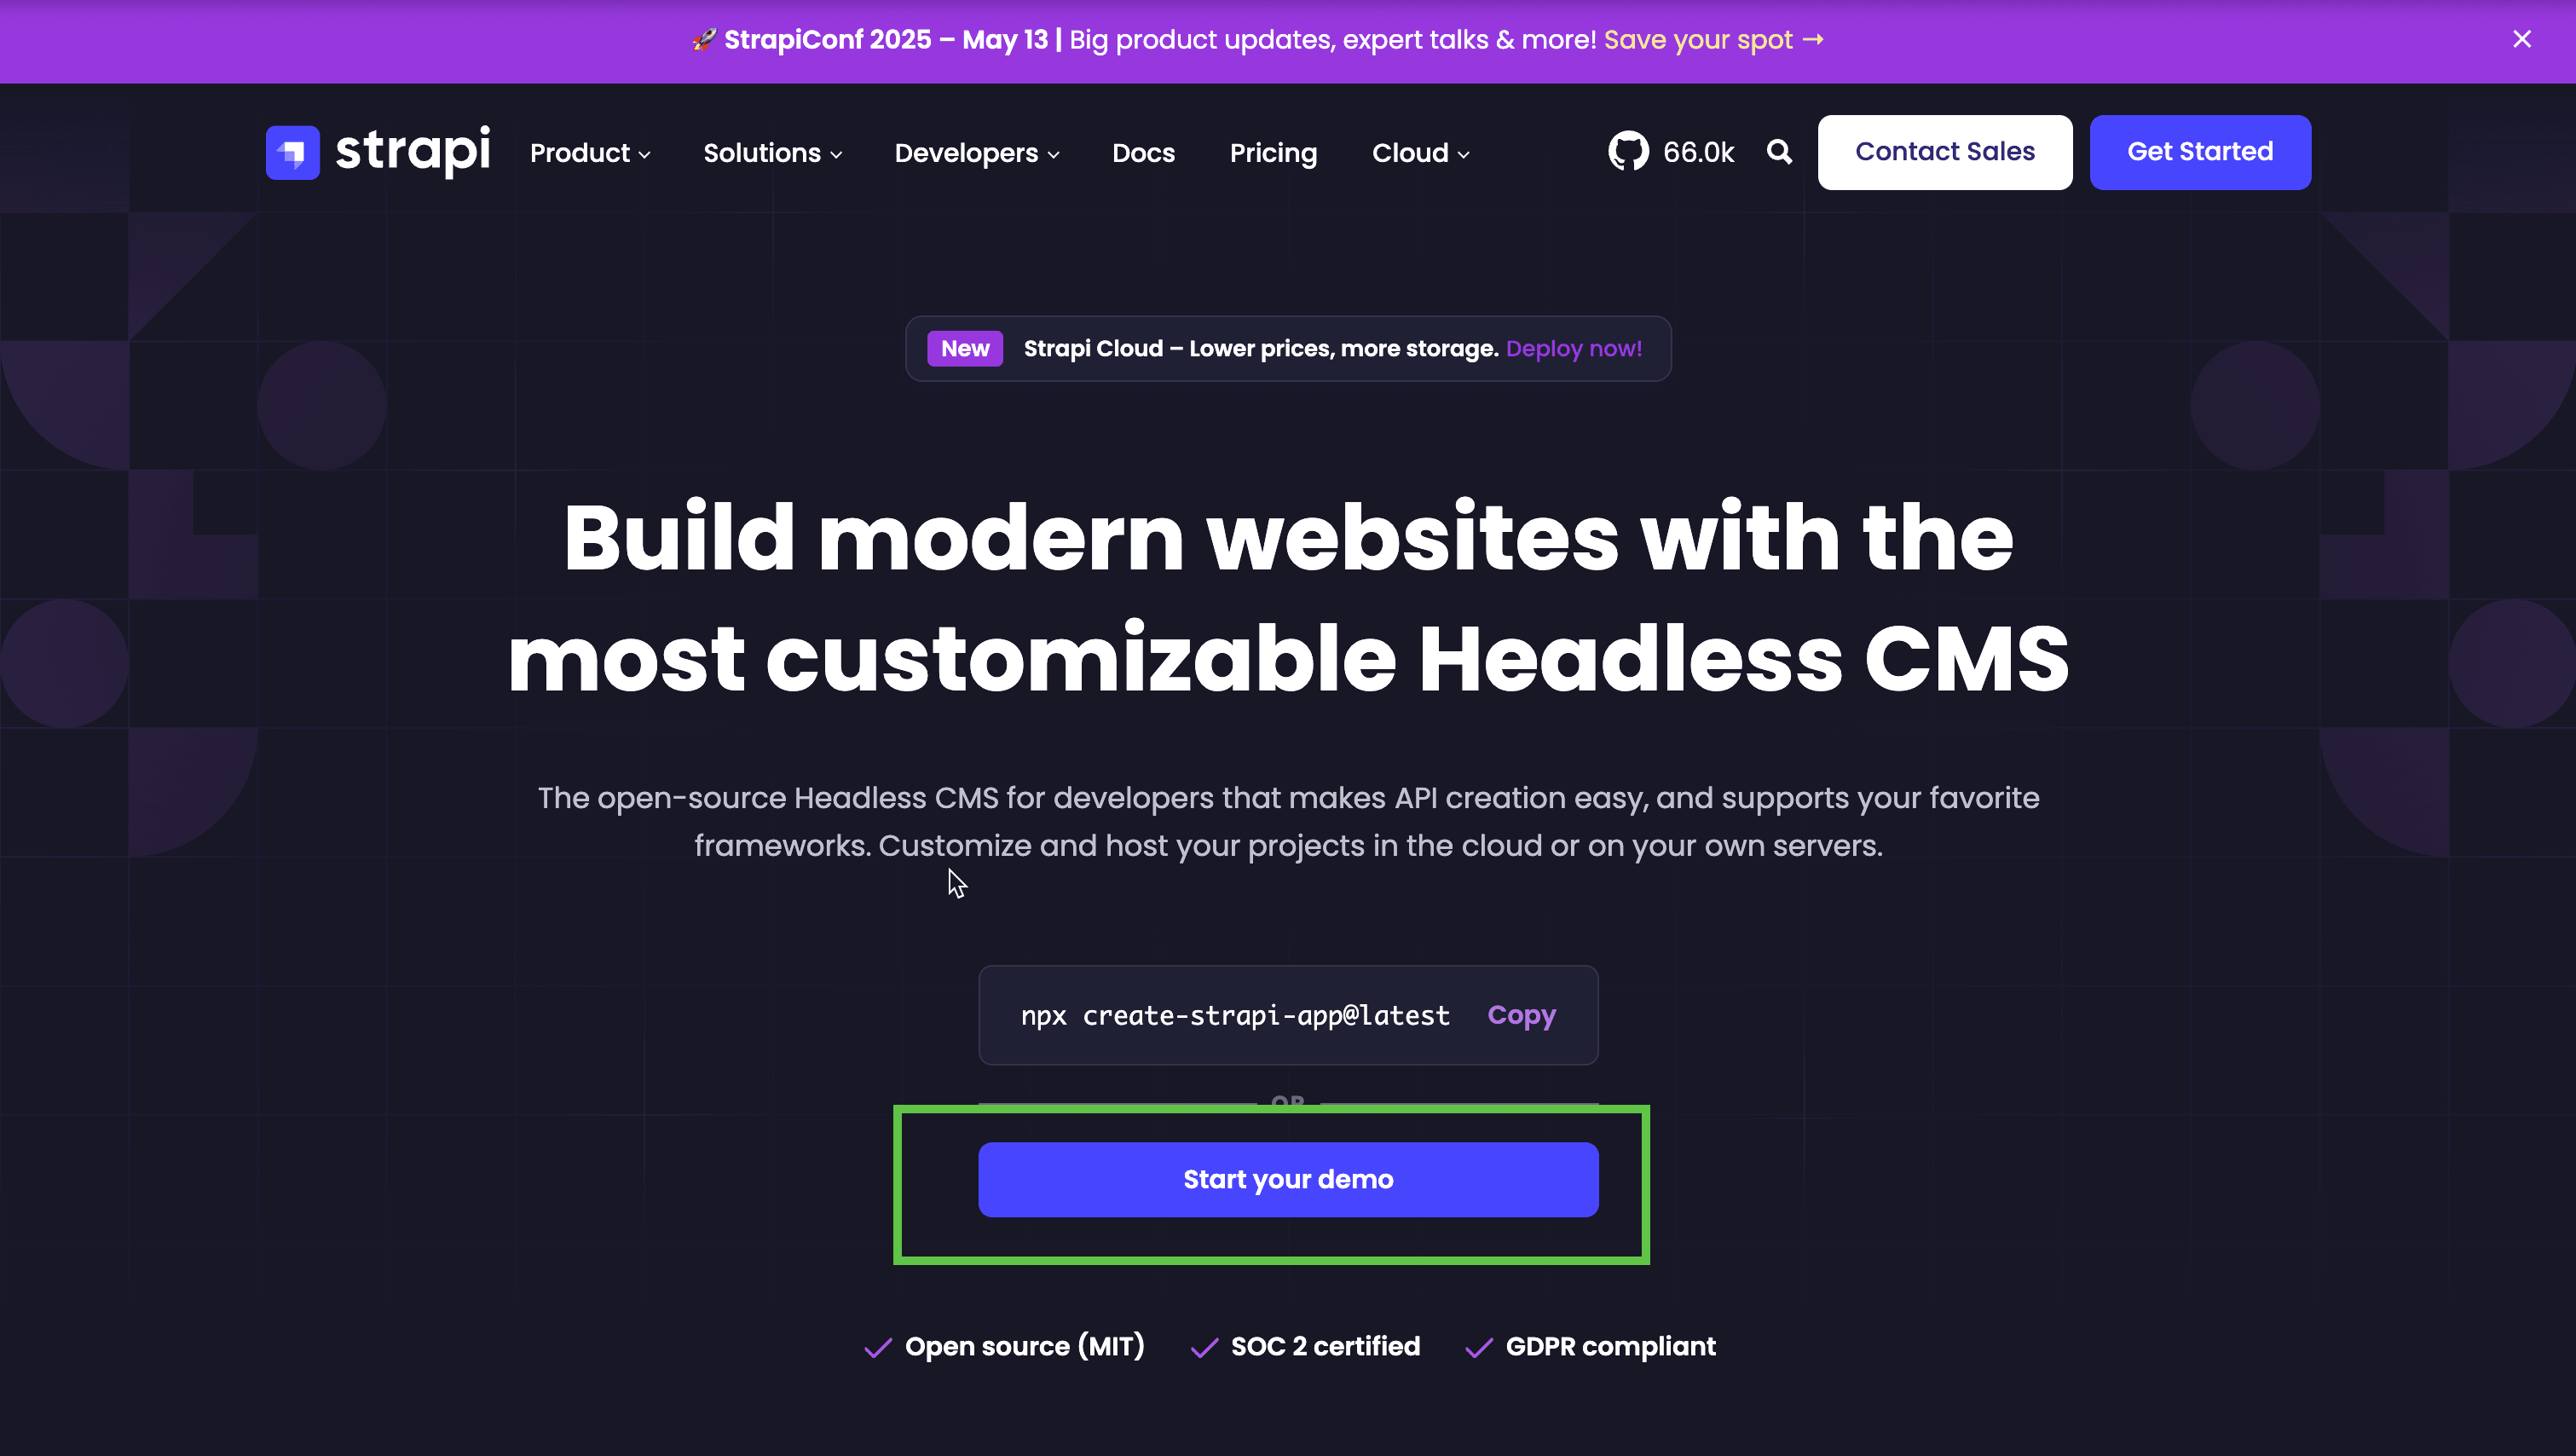
Try it out without any coding
You can try it out without any coding by clicking on the link below:
This will allow you to request a demo account to test both the Strapi backend and the Next.js frontend.
You can watch the following video for details:
In this tutorial, I will show you how to set up the project locally and then deploy it to Vercel and Strapi Cloud.
Setup the project locally
Clone the repository
git clone https://github.com/strapi/LaunchPad.git launchpadNow that you have the repository cloned, let's save it to our own GitHub repository.
First, let's remove the pre-existing remote repository by running the following command:
cd launchpad
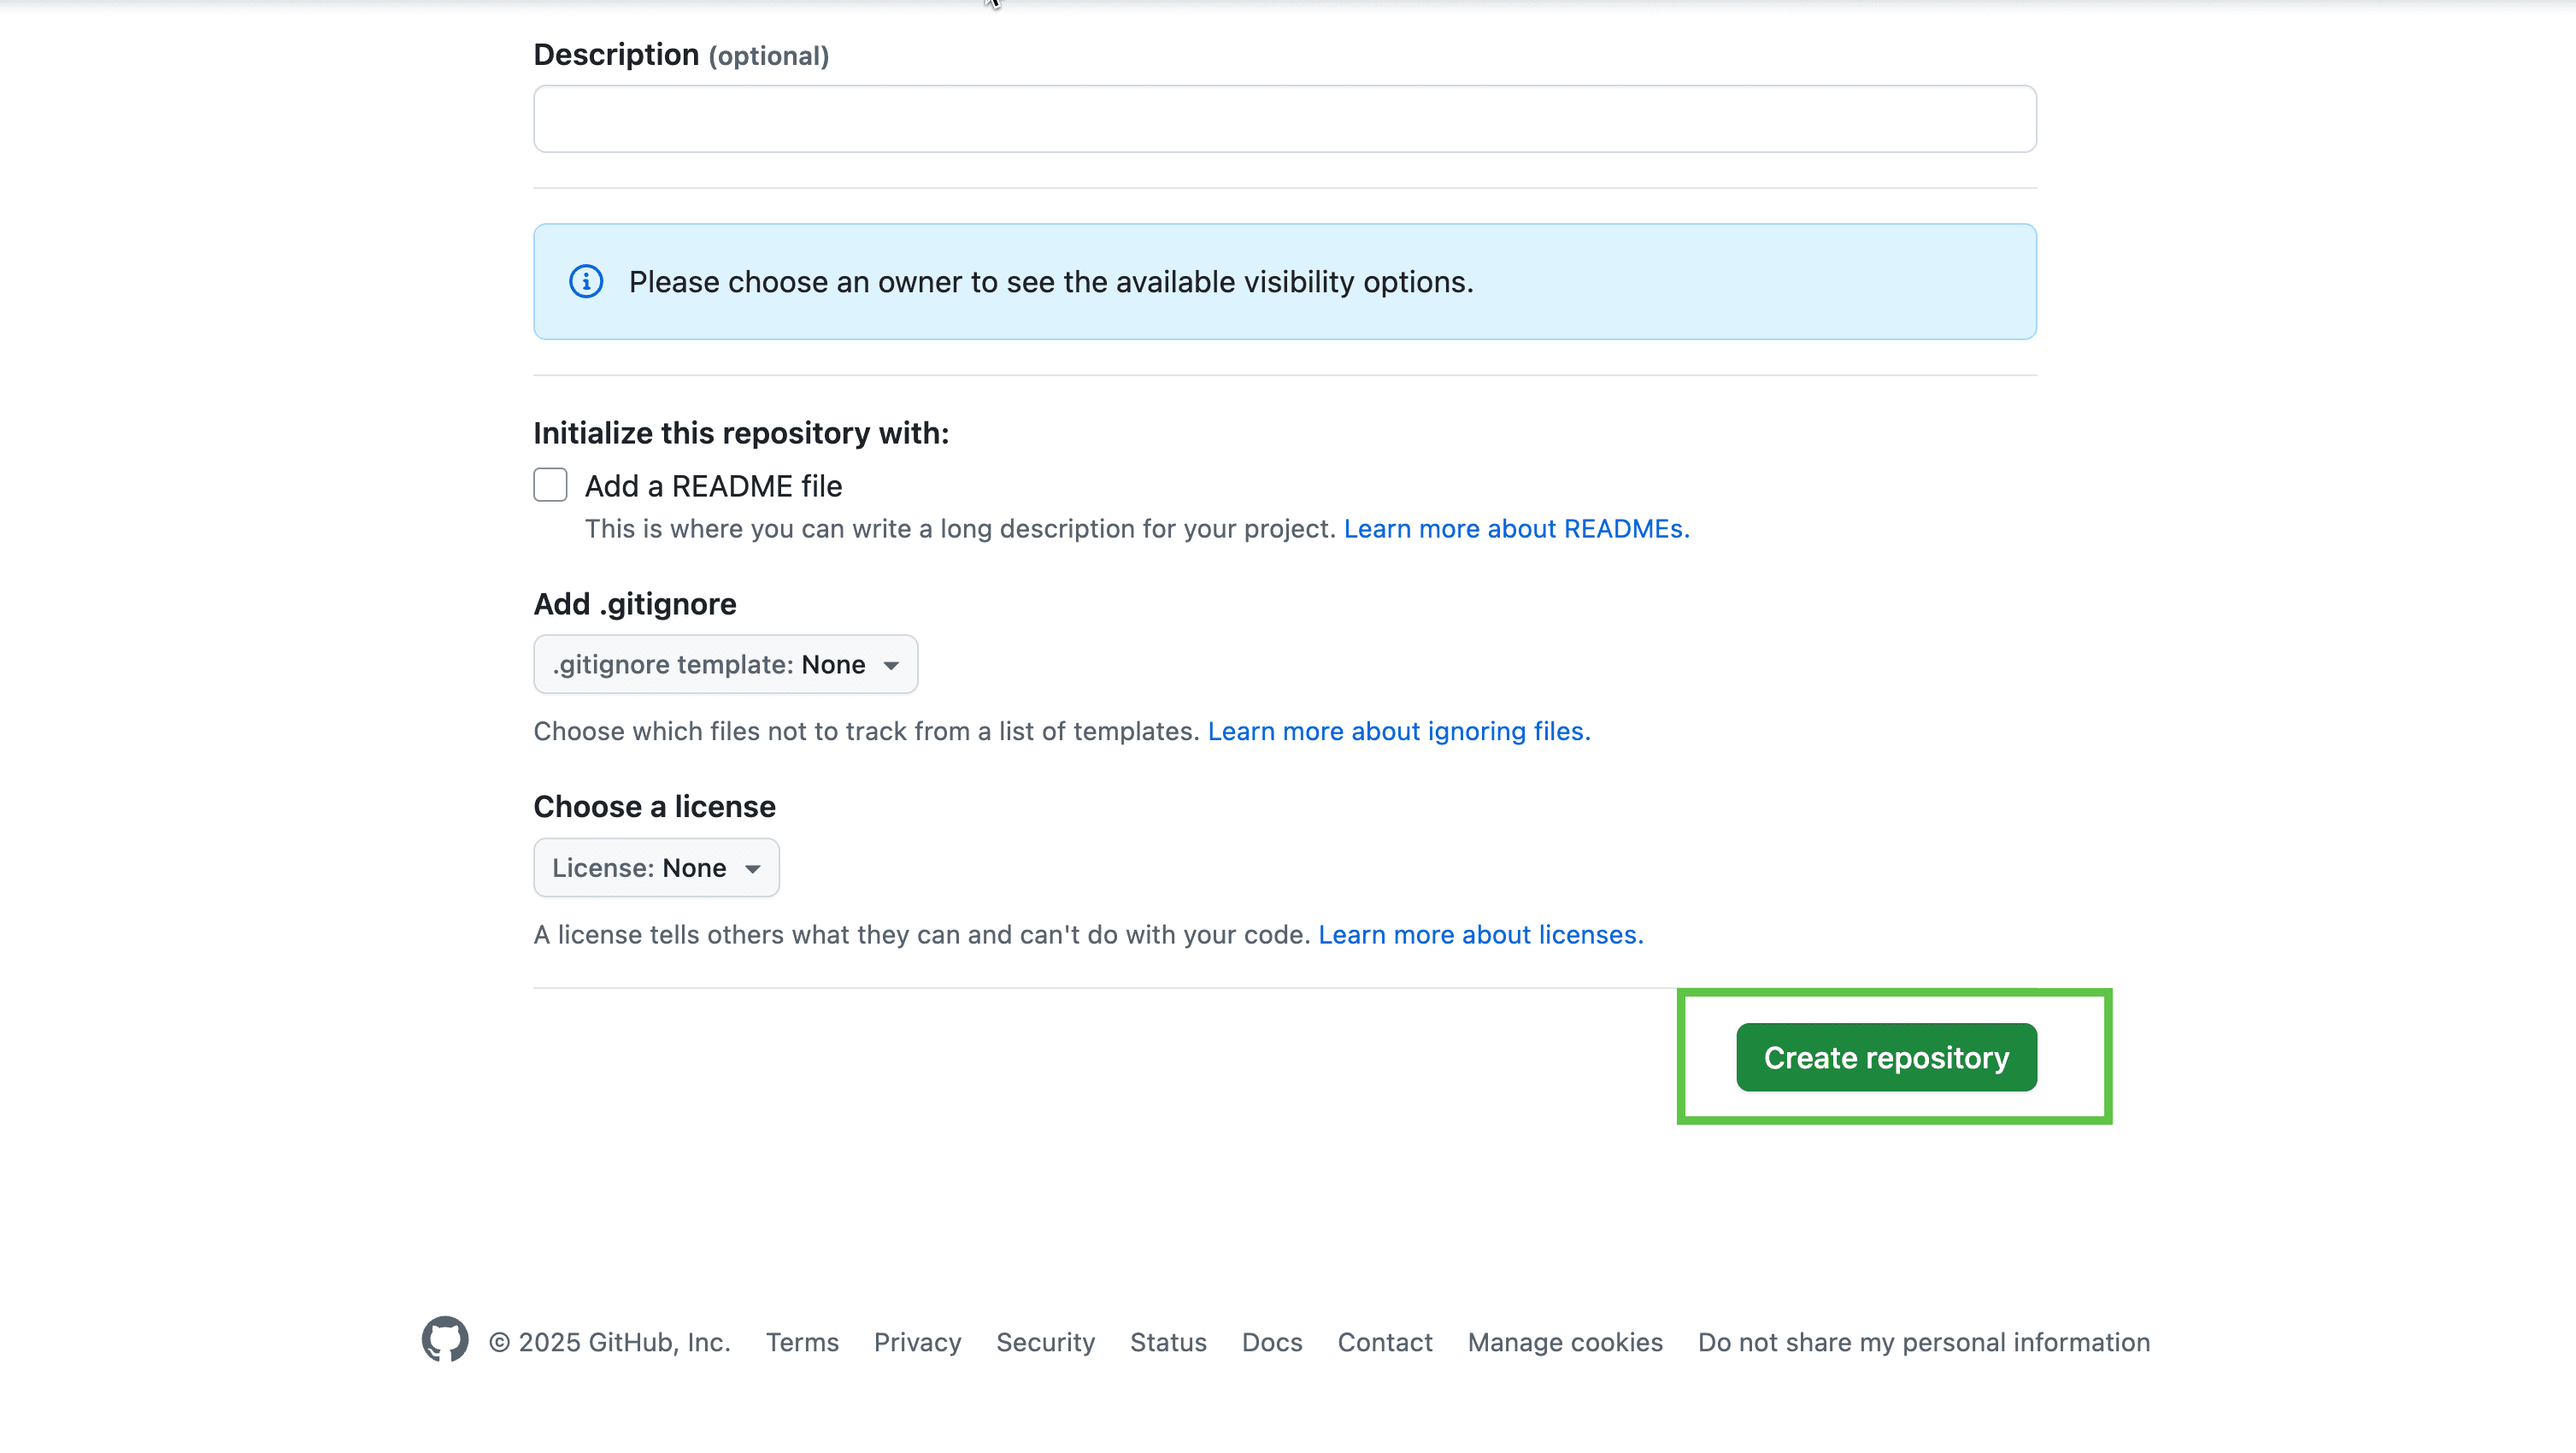
git remote remove originNext, let's create a new repository on GitHub.
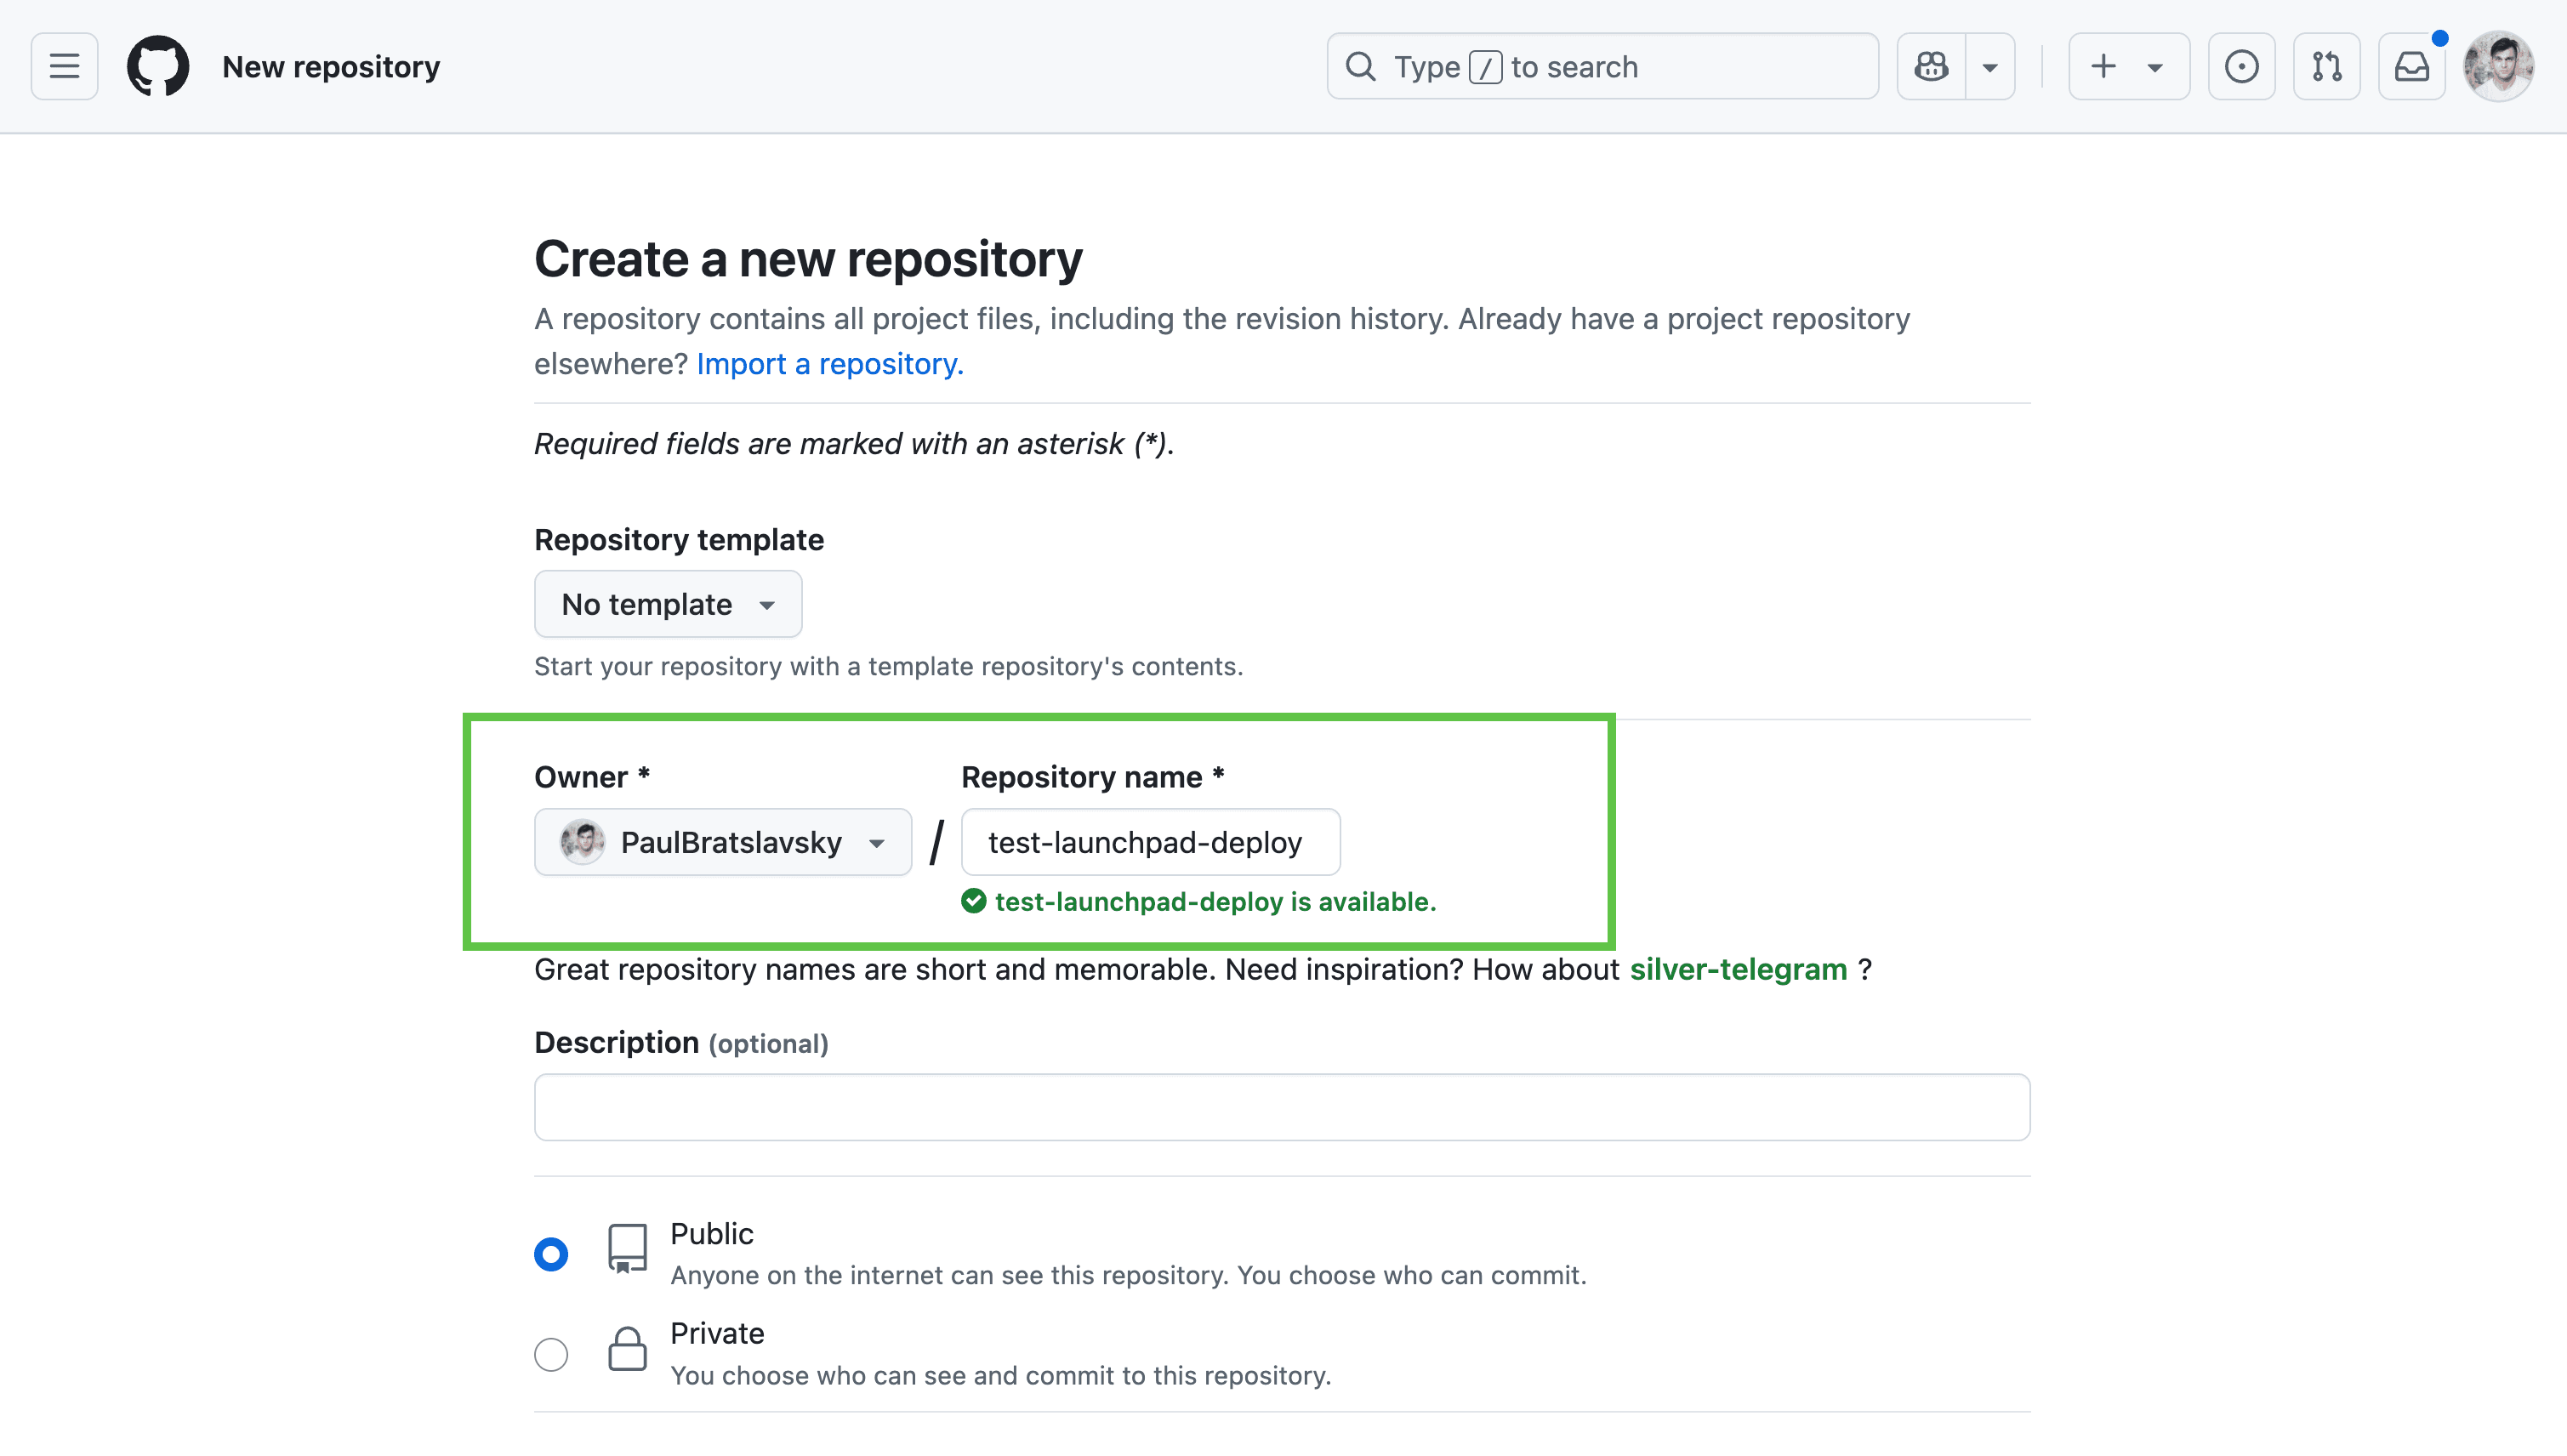
Then press the Create repository button.
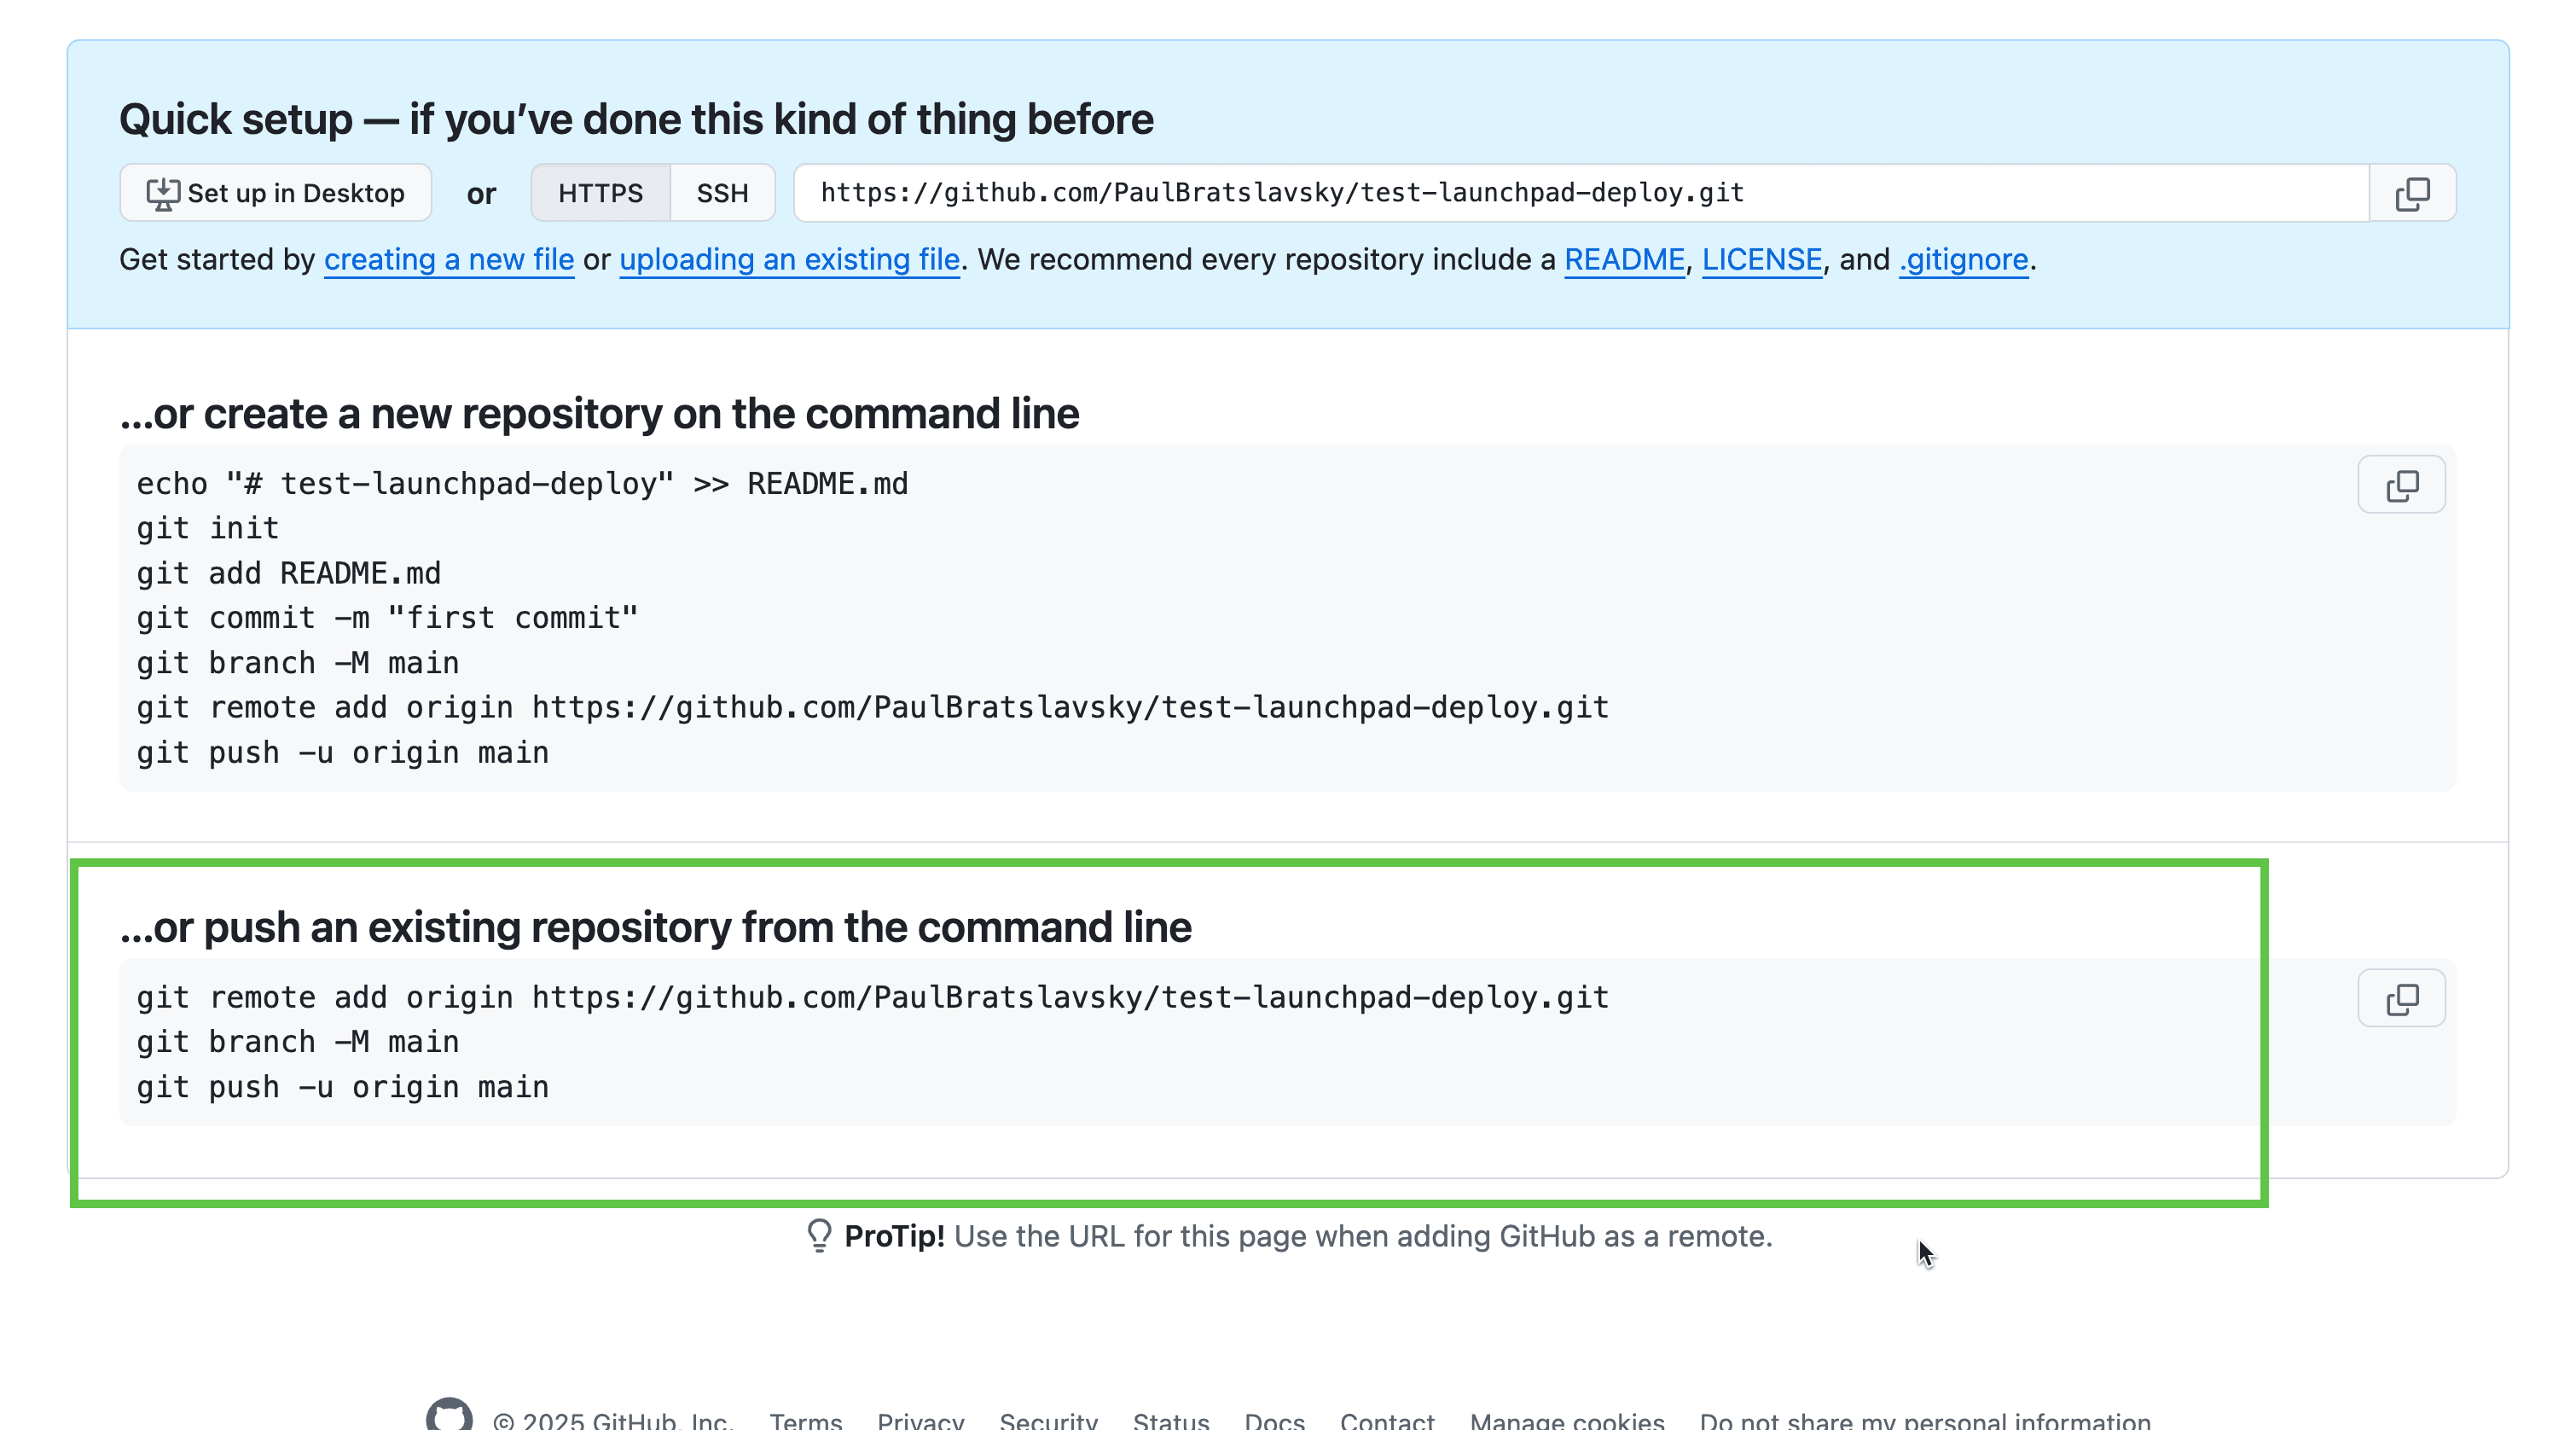
Please save the URL of your new repository.
Now, let's add our own remote repository by running the following command:
git remote add origin your-repository-url
git branch -M main
git push -u origin main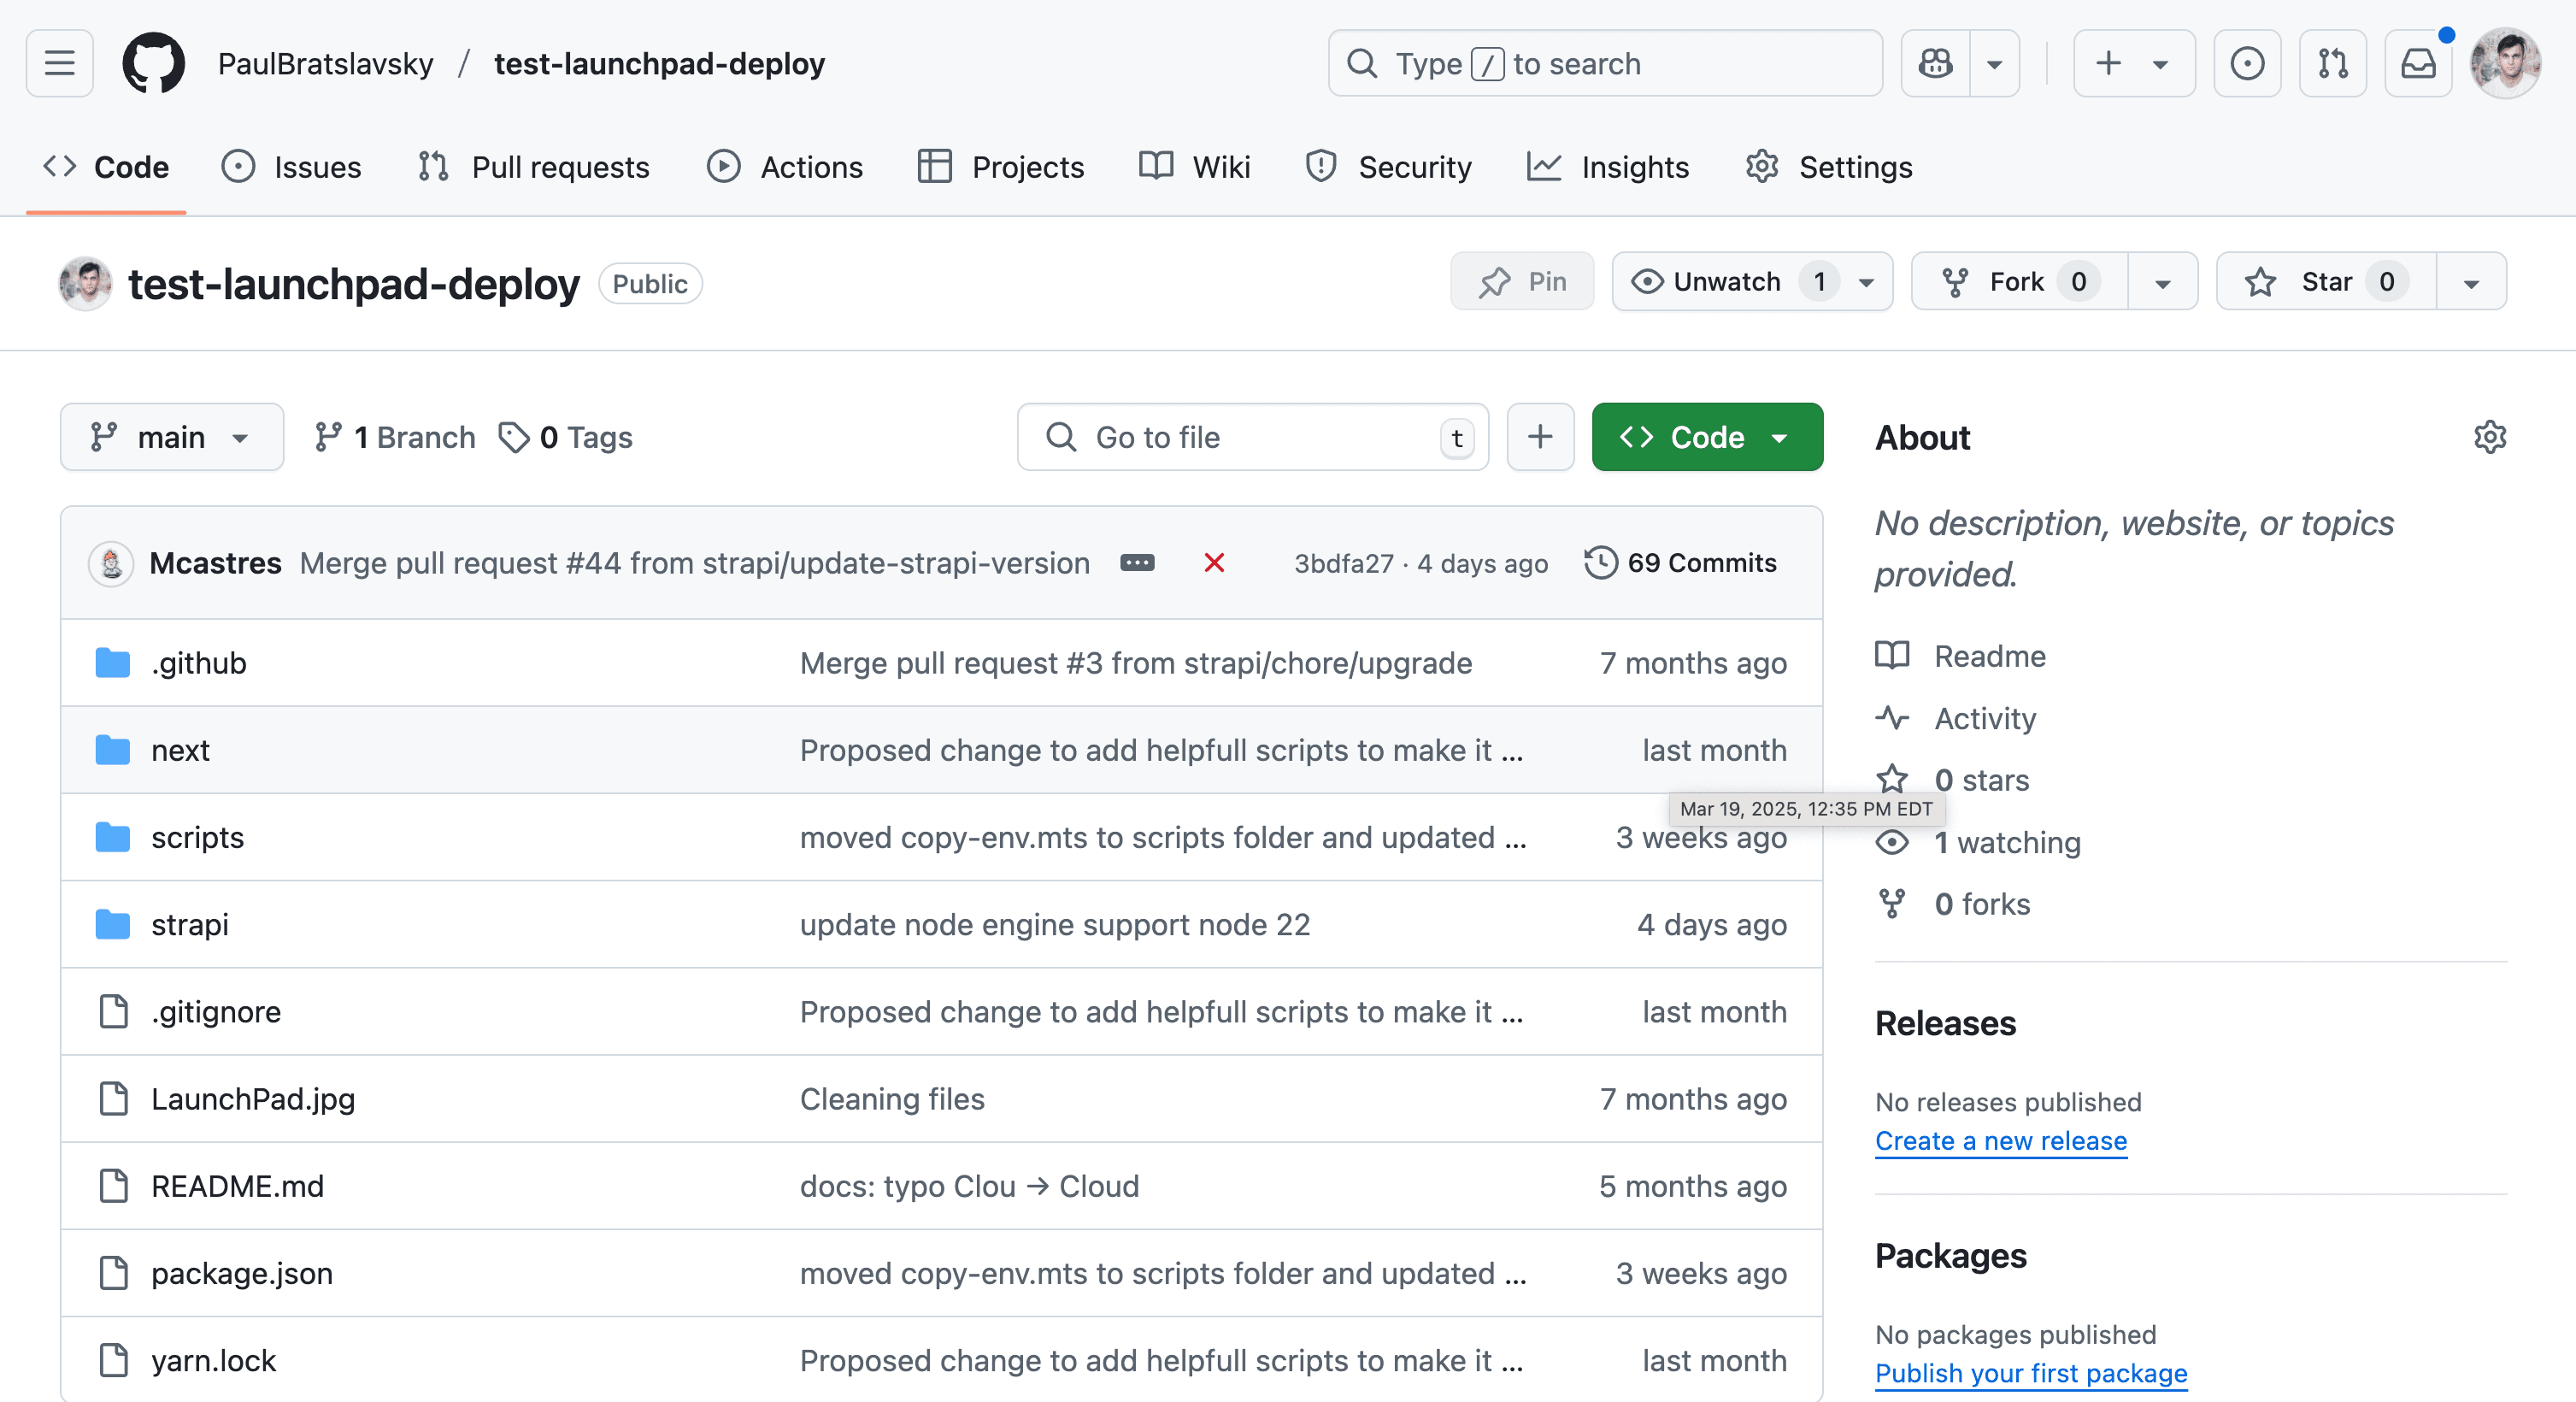
Once the repository is cloned and you have added your own remote repository, let's install the dependencies and seed the database.
Make sure to be in the launchpad folder and run the following command:
yarn setupThis will install the dependencies and copy the .env.example file to .env.
Now let's seed the database with the following command:
yarn seedThis will seed the database with the default data.
You can now start the project by running the following command:
yarn devThis will start the Next.js frontend and the Strapi backend.
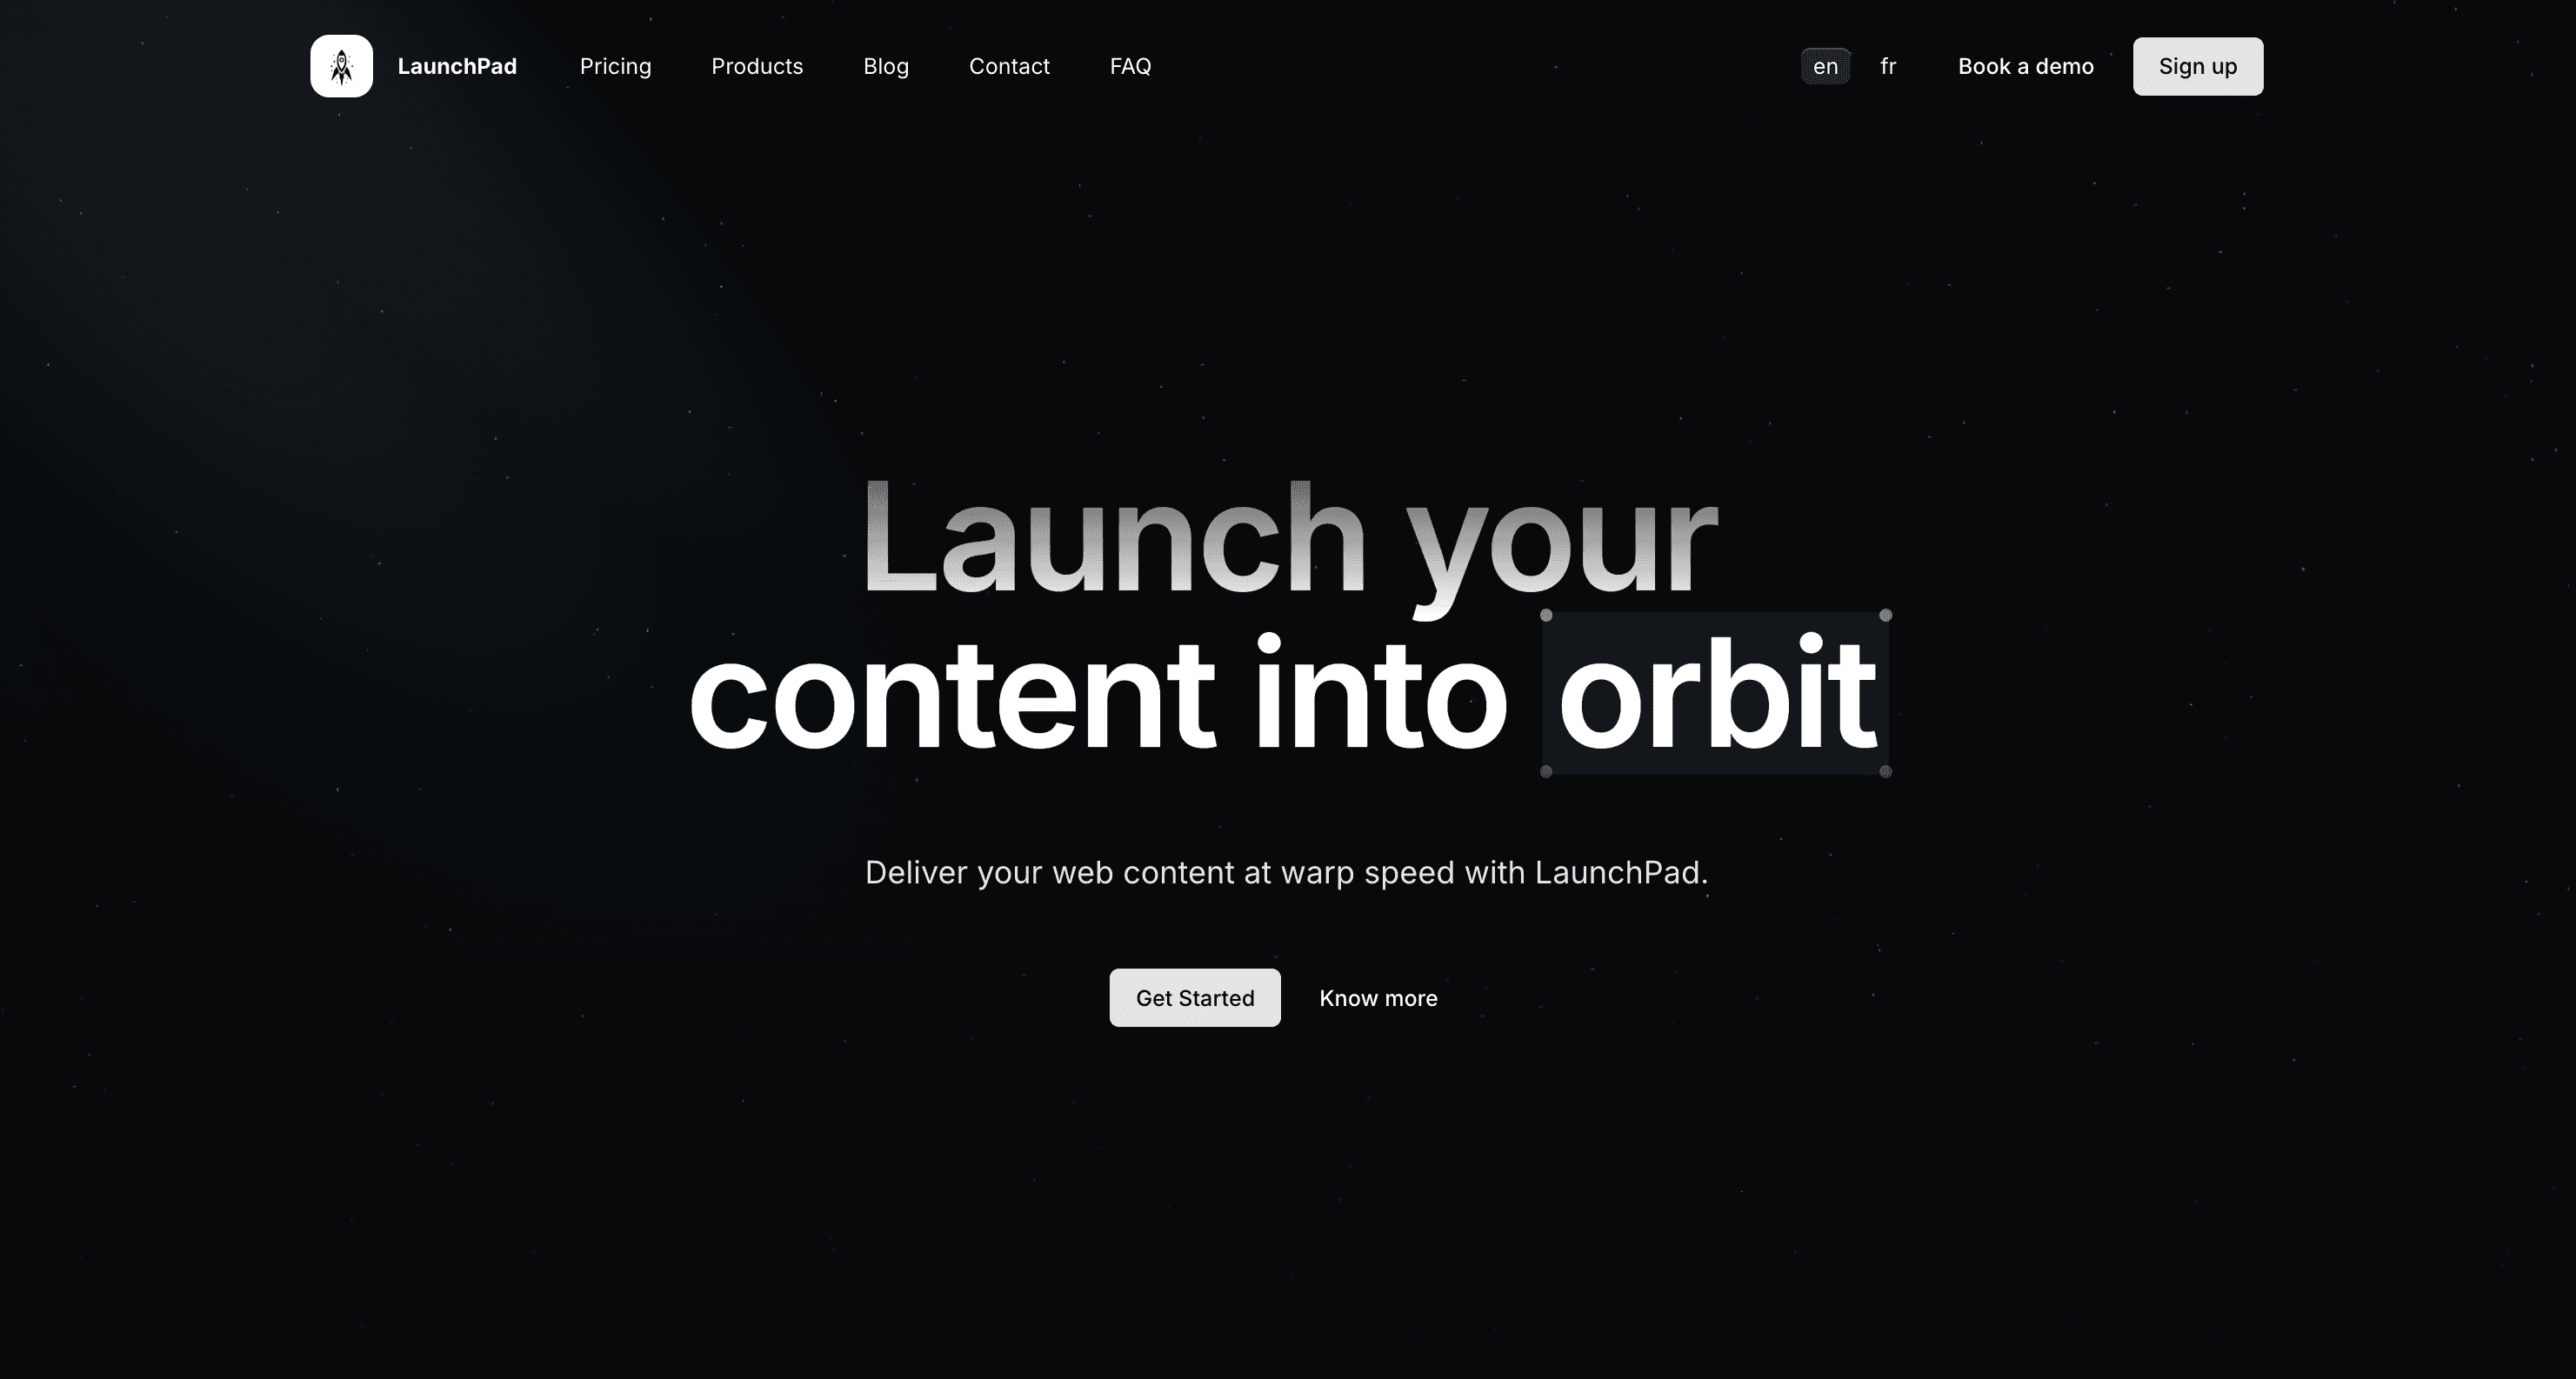
You can now access the website at http://localhost:3000.
And the Strapi admin at http://localhost:1337.
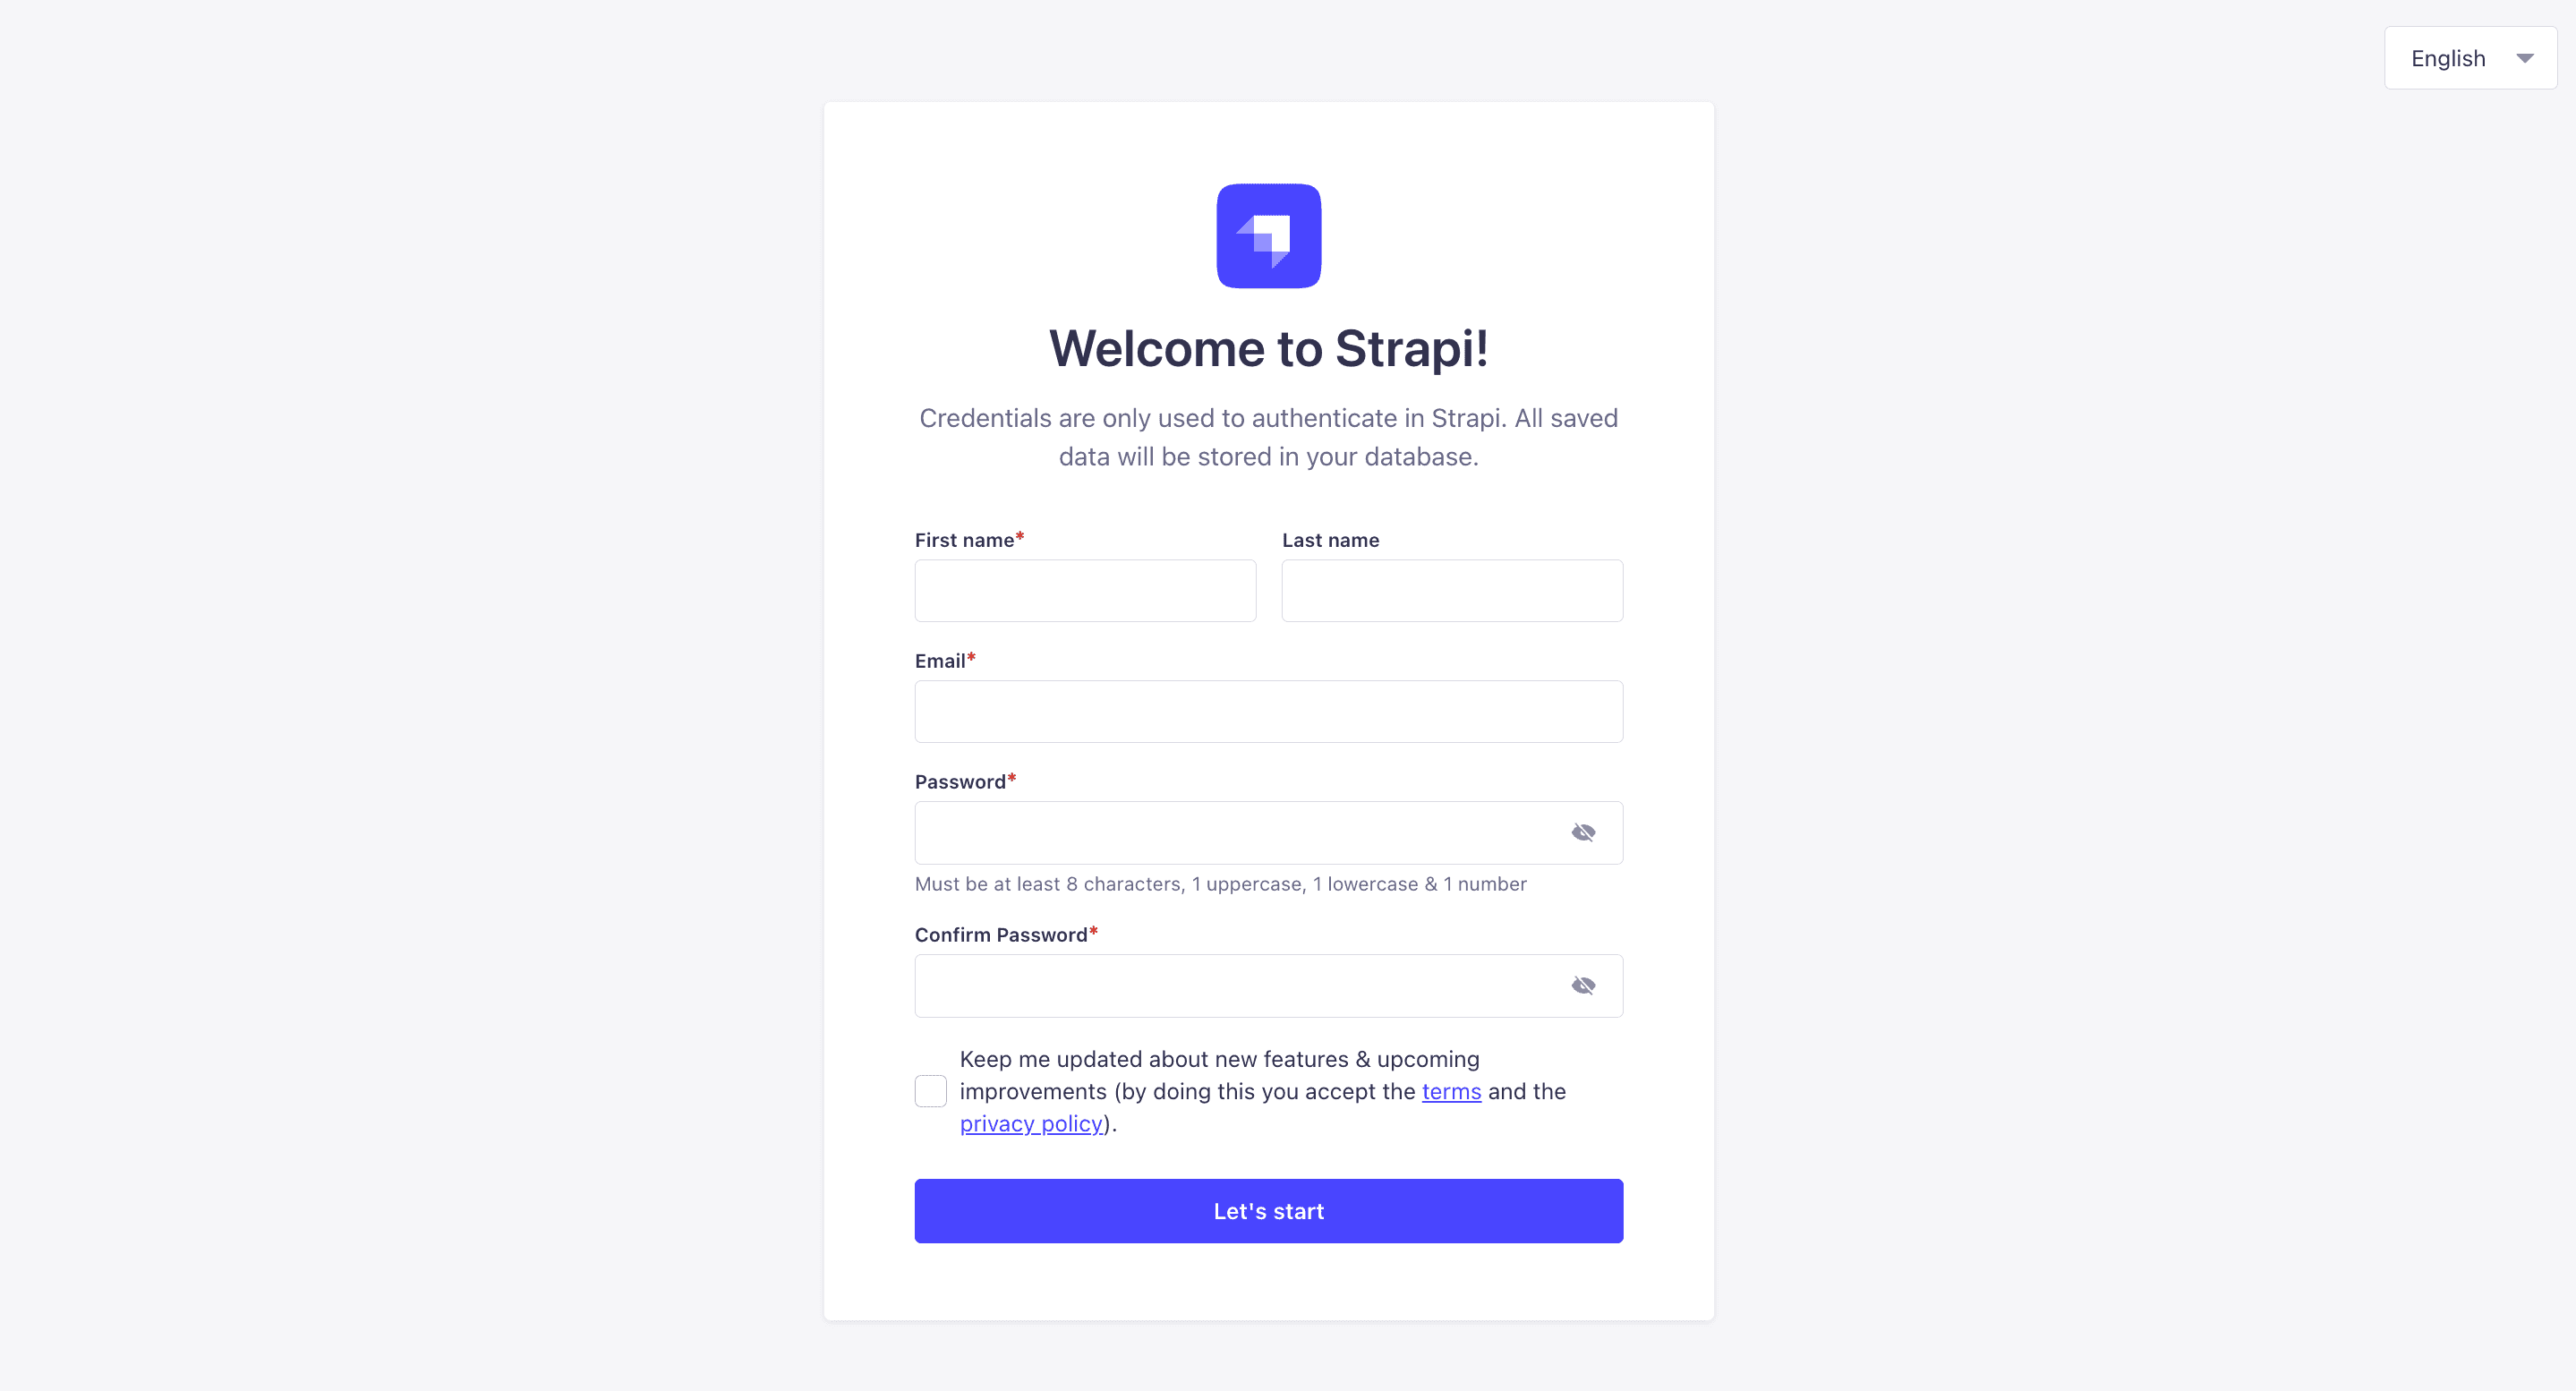
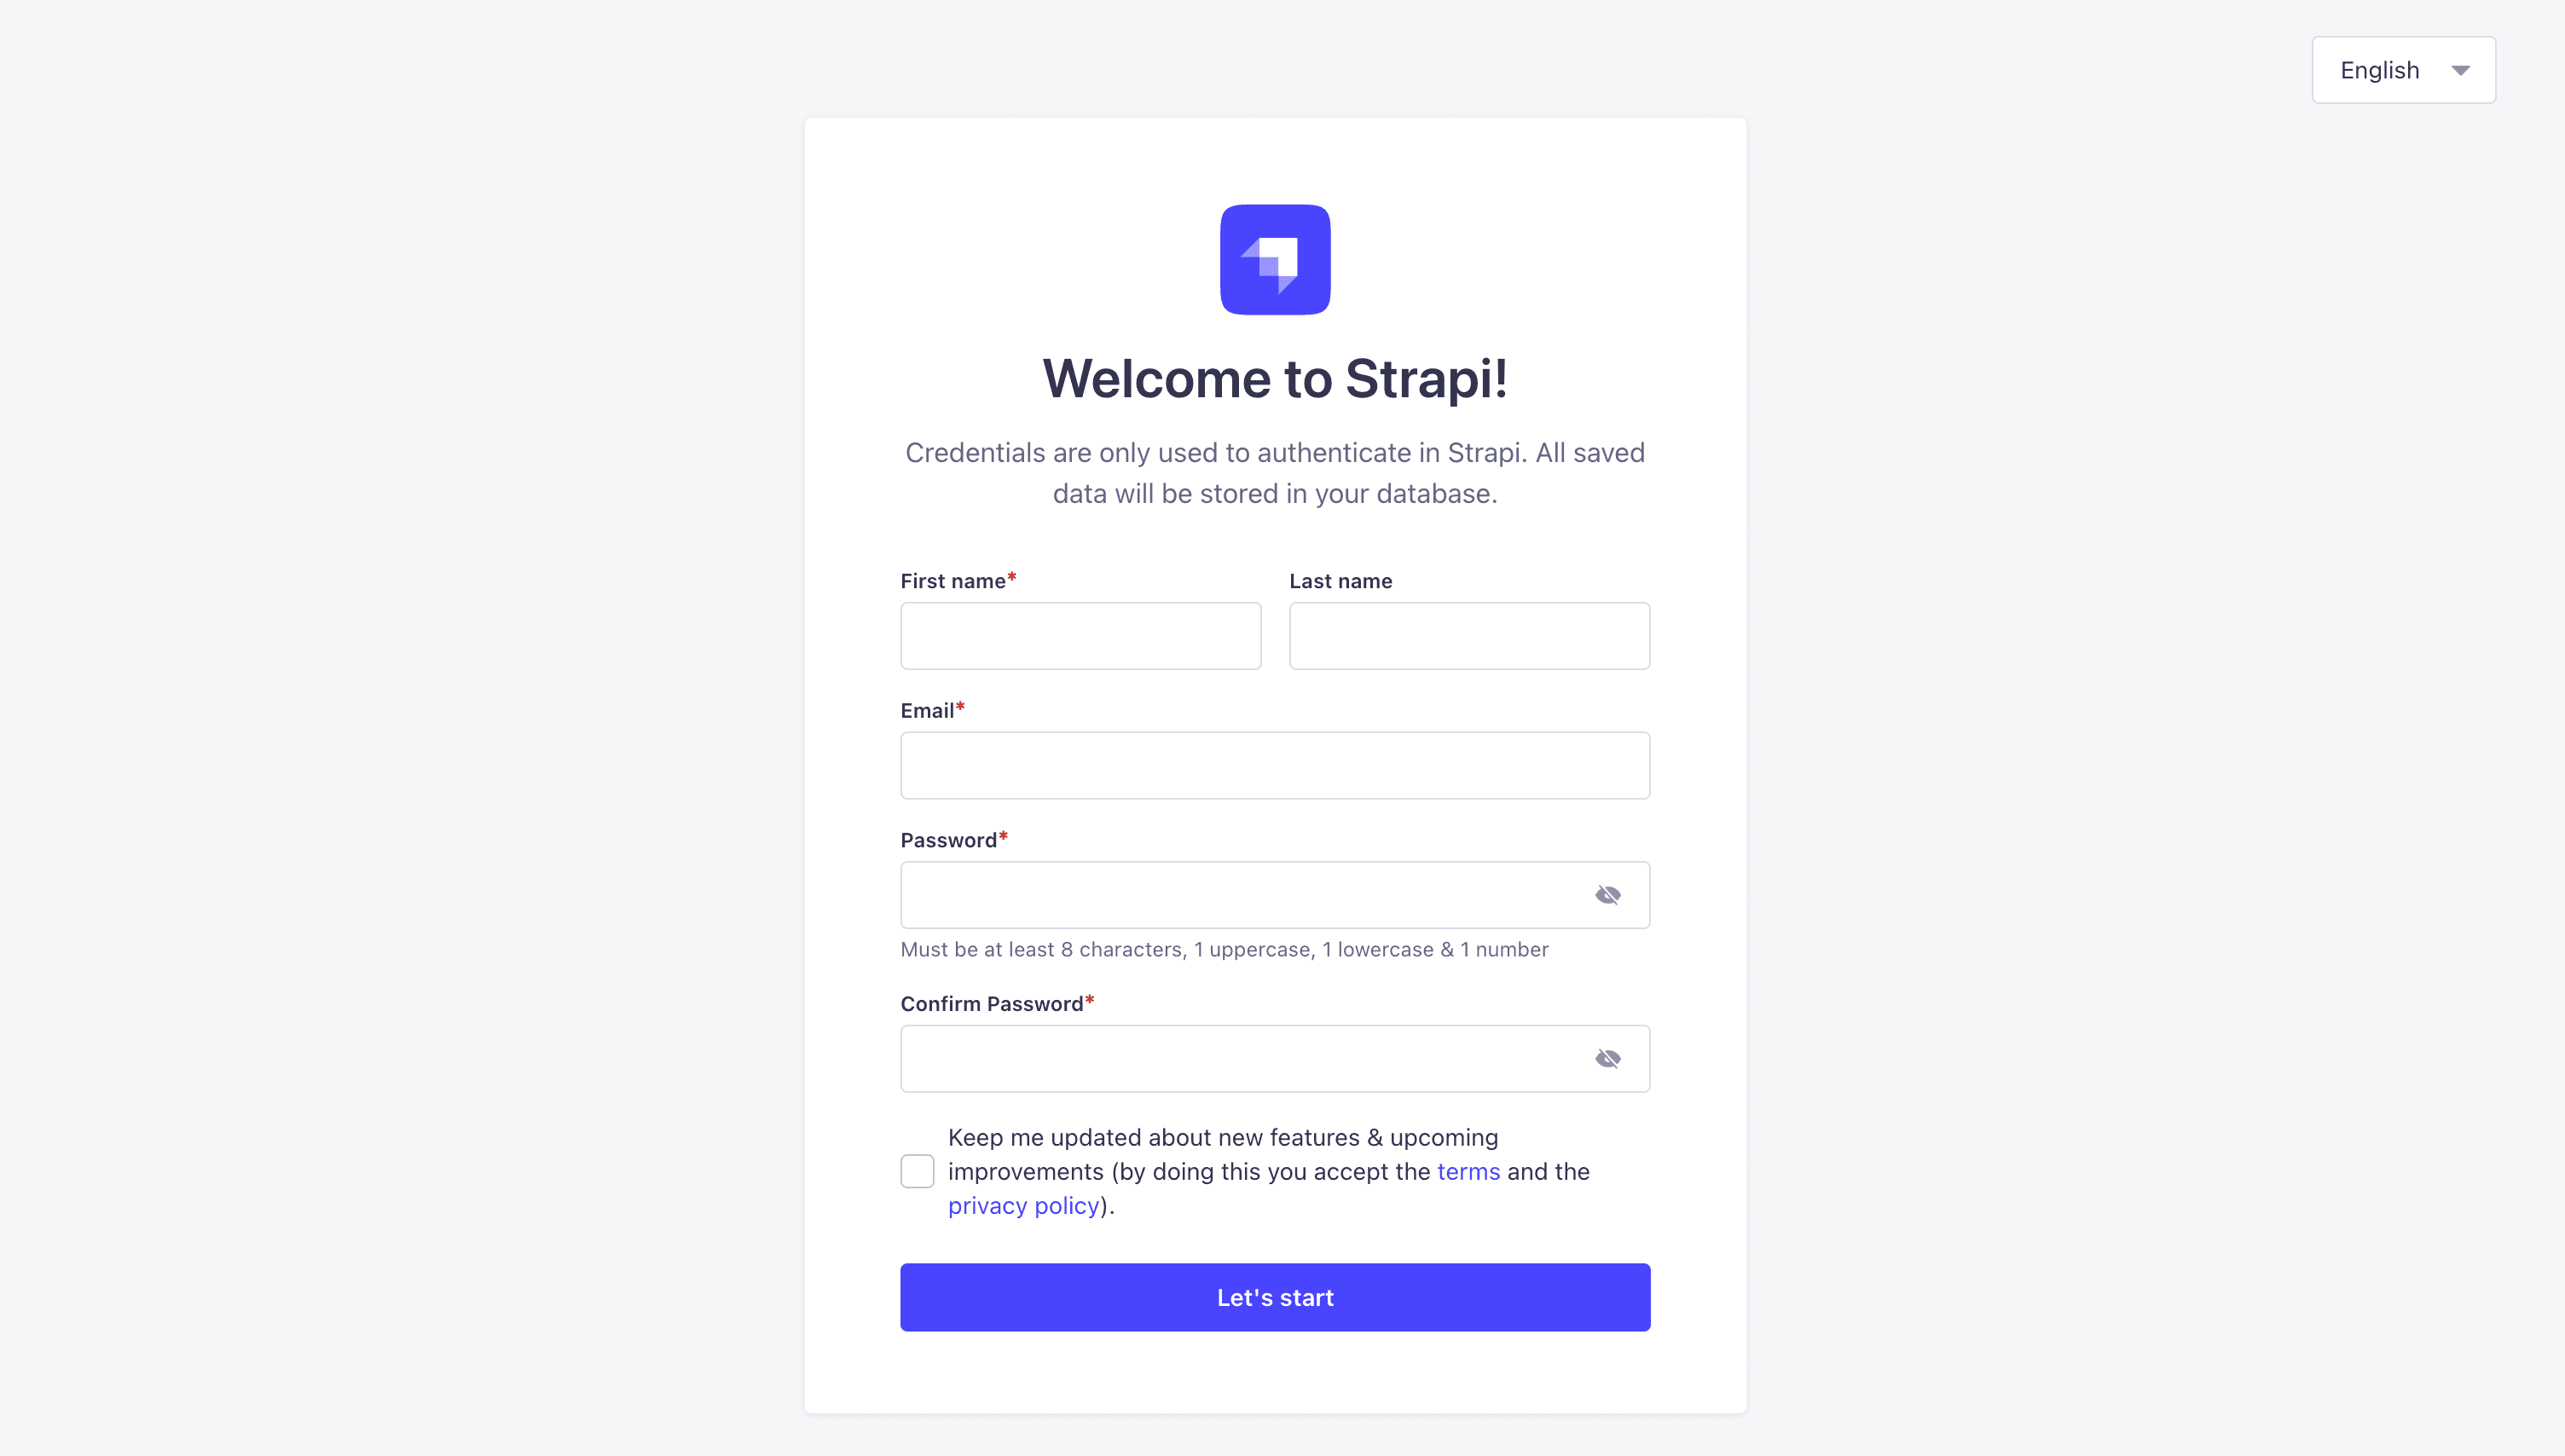
Because we are starting Strapi for the first time, you will need to create an admin user.
You should see the following screen:
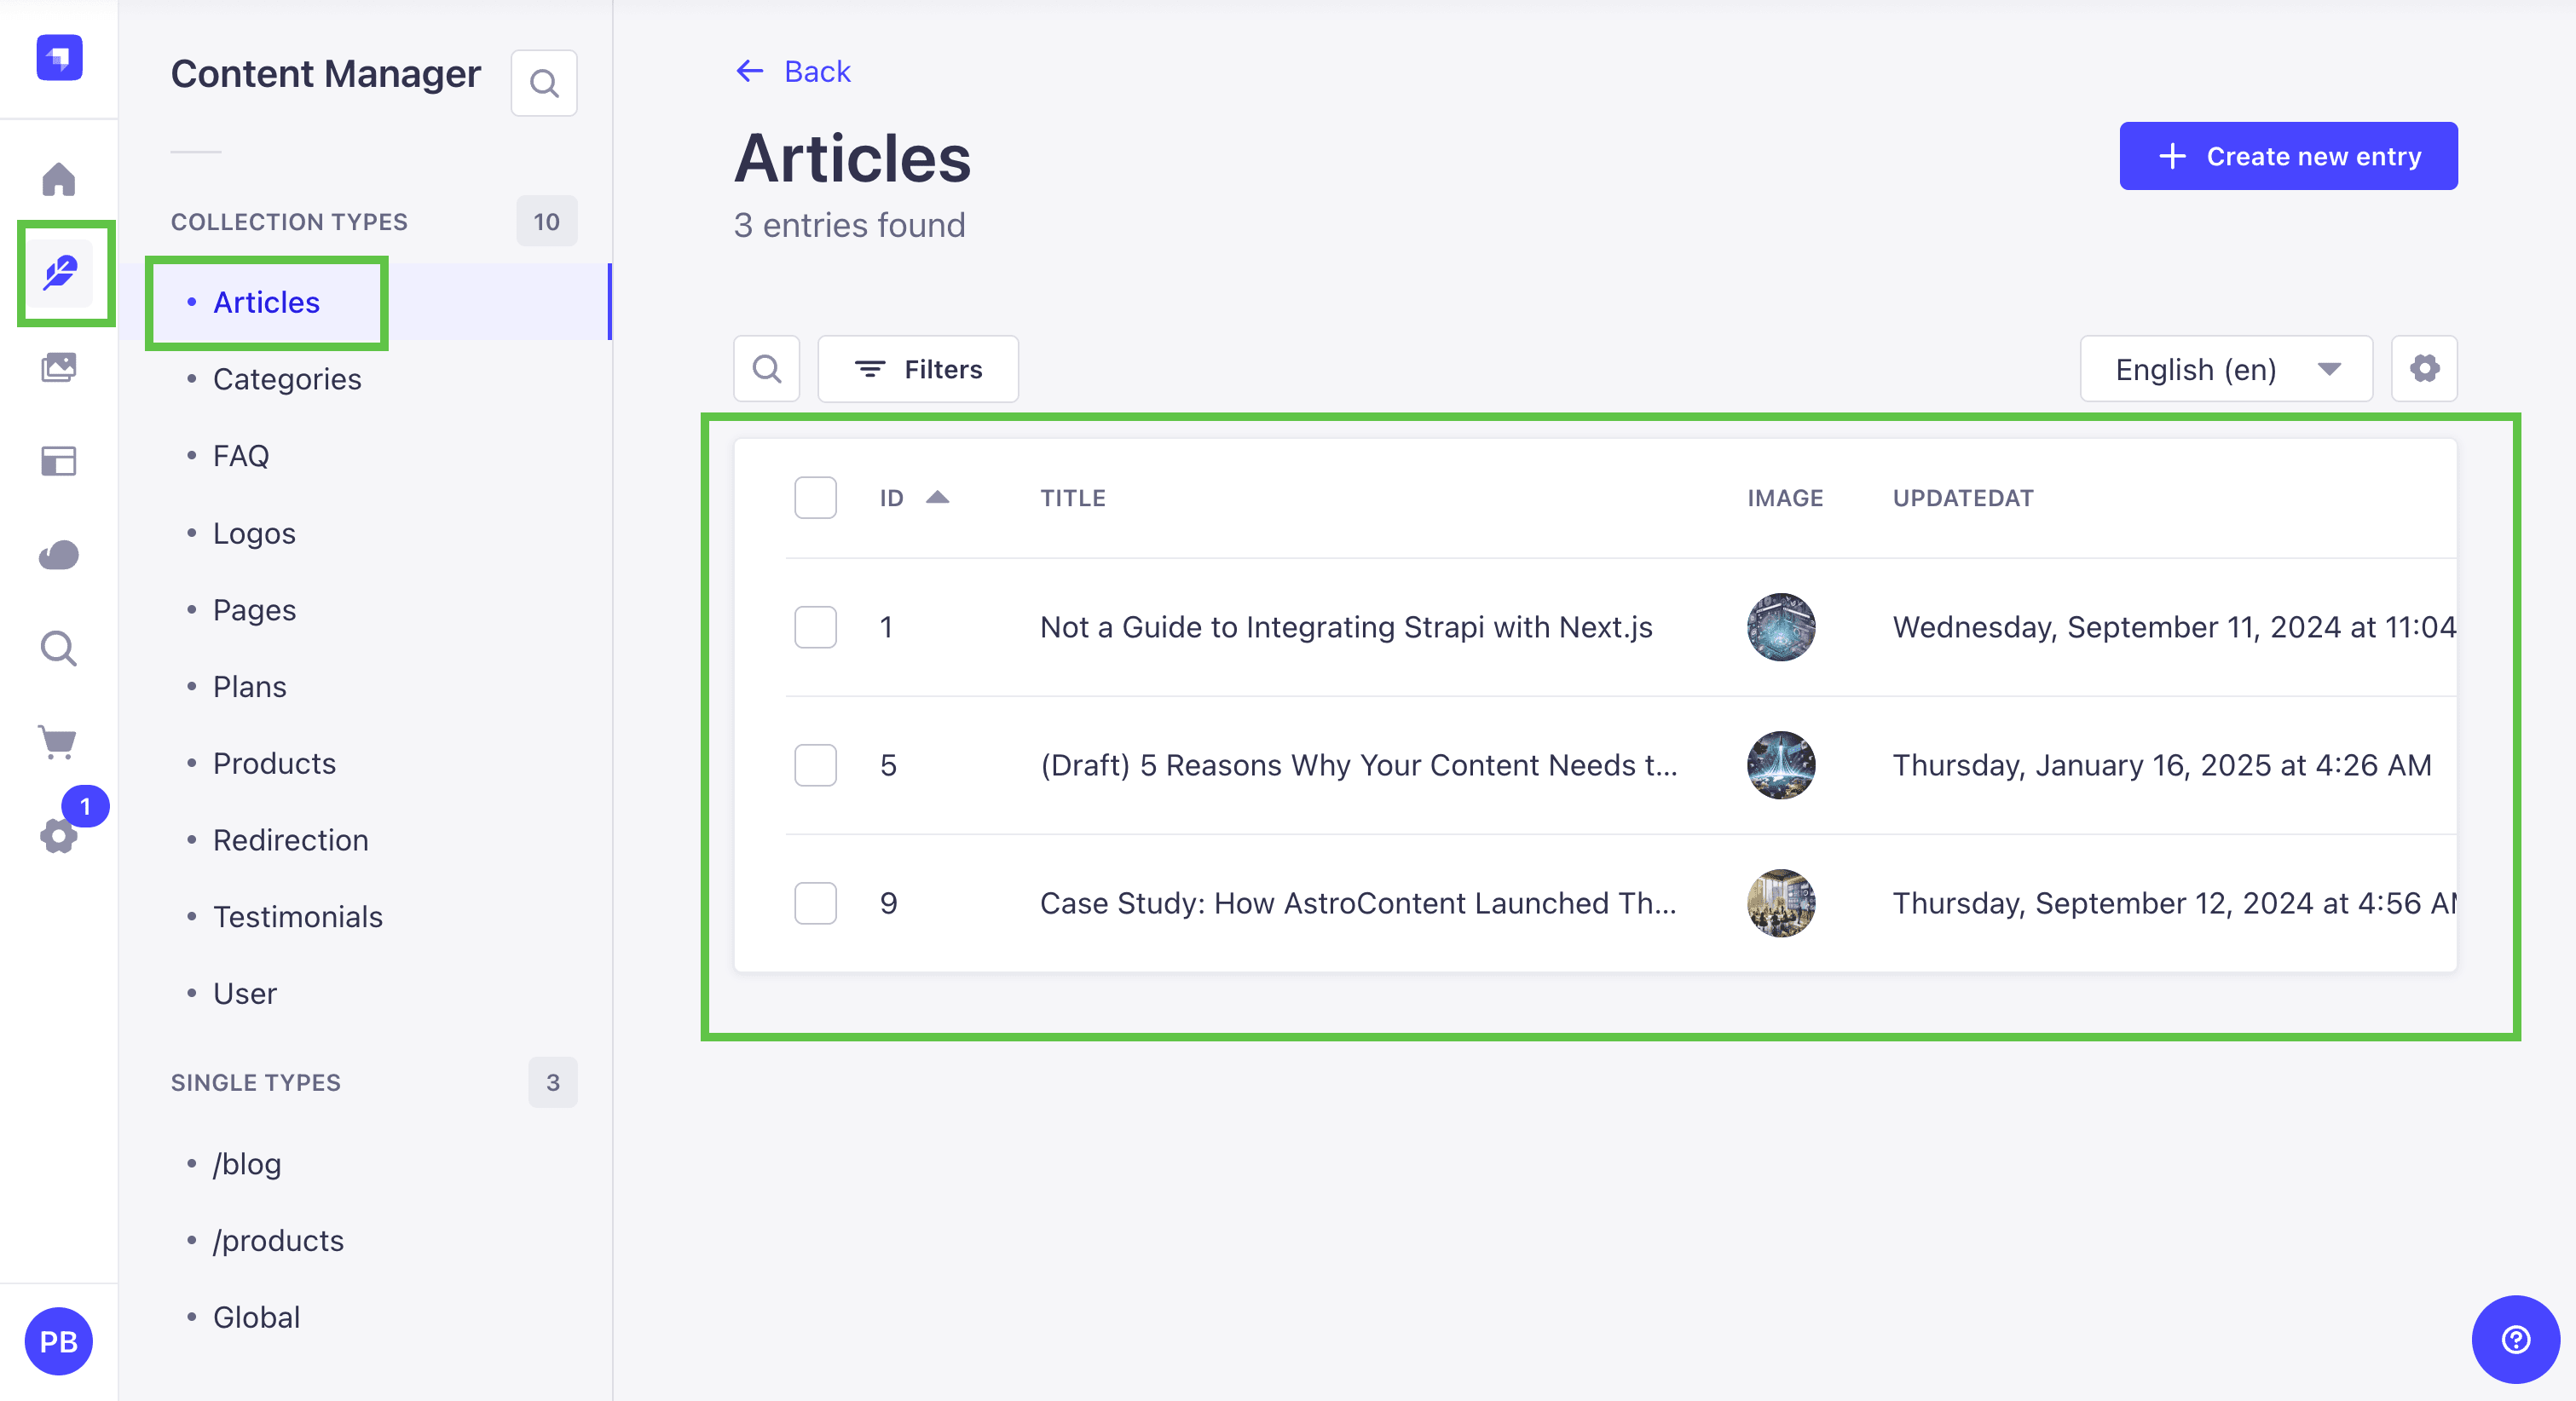
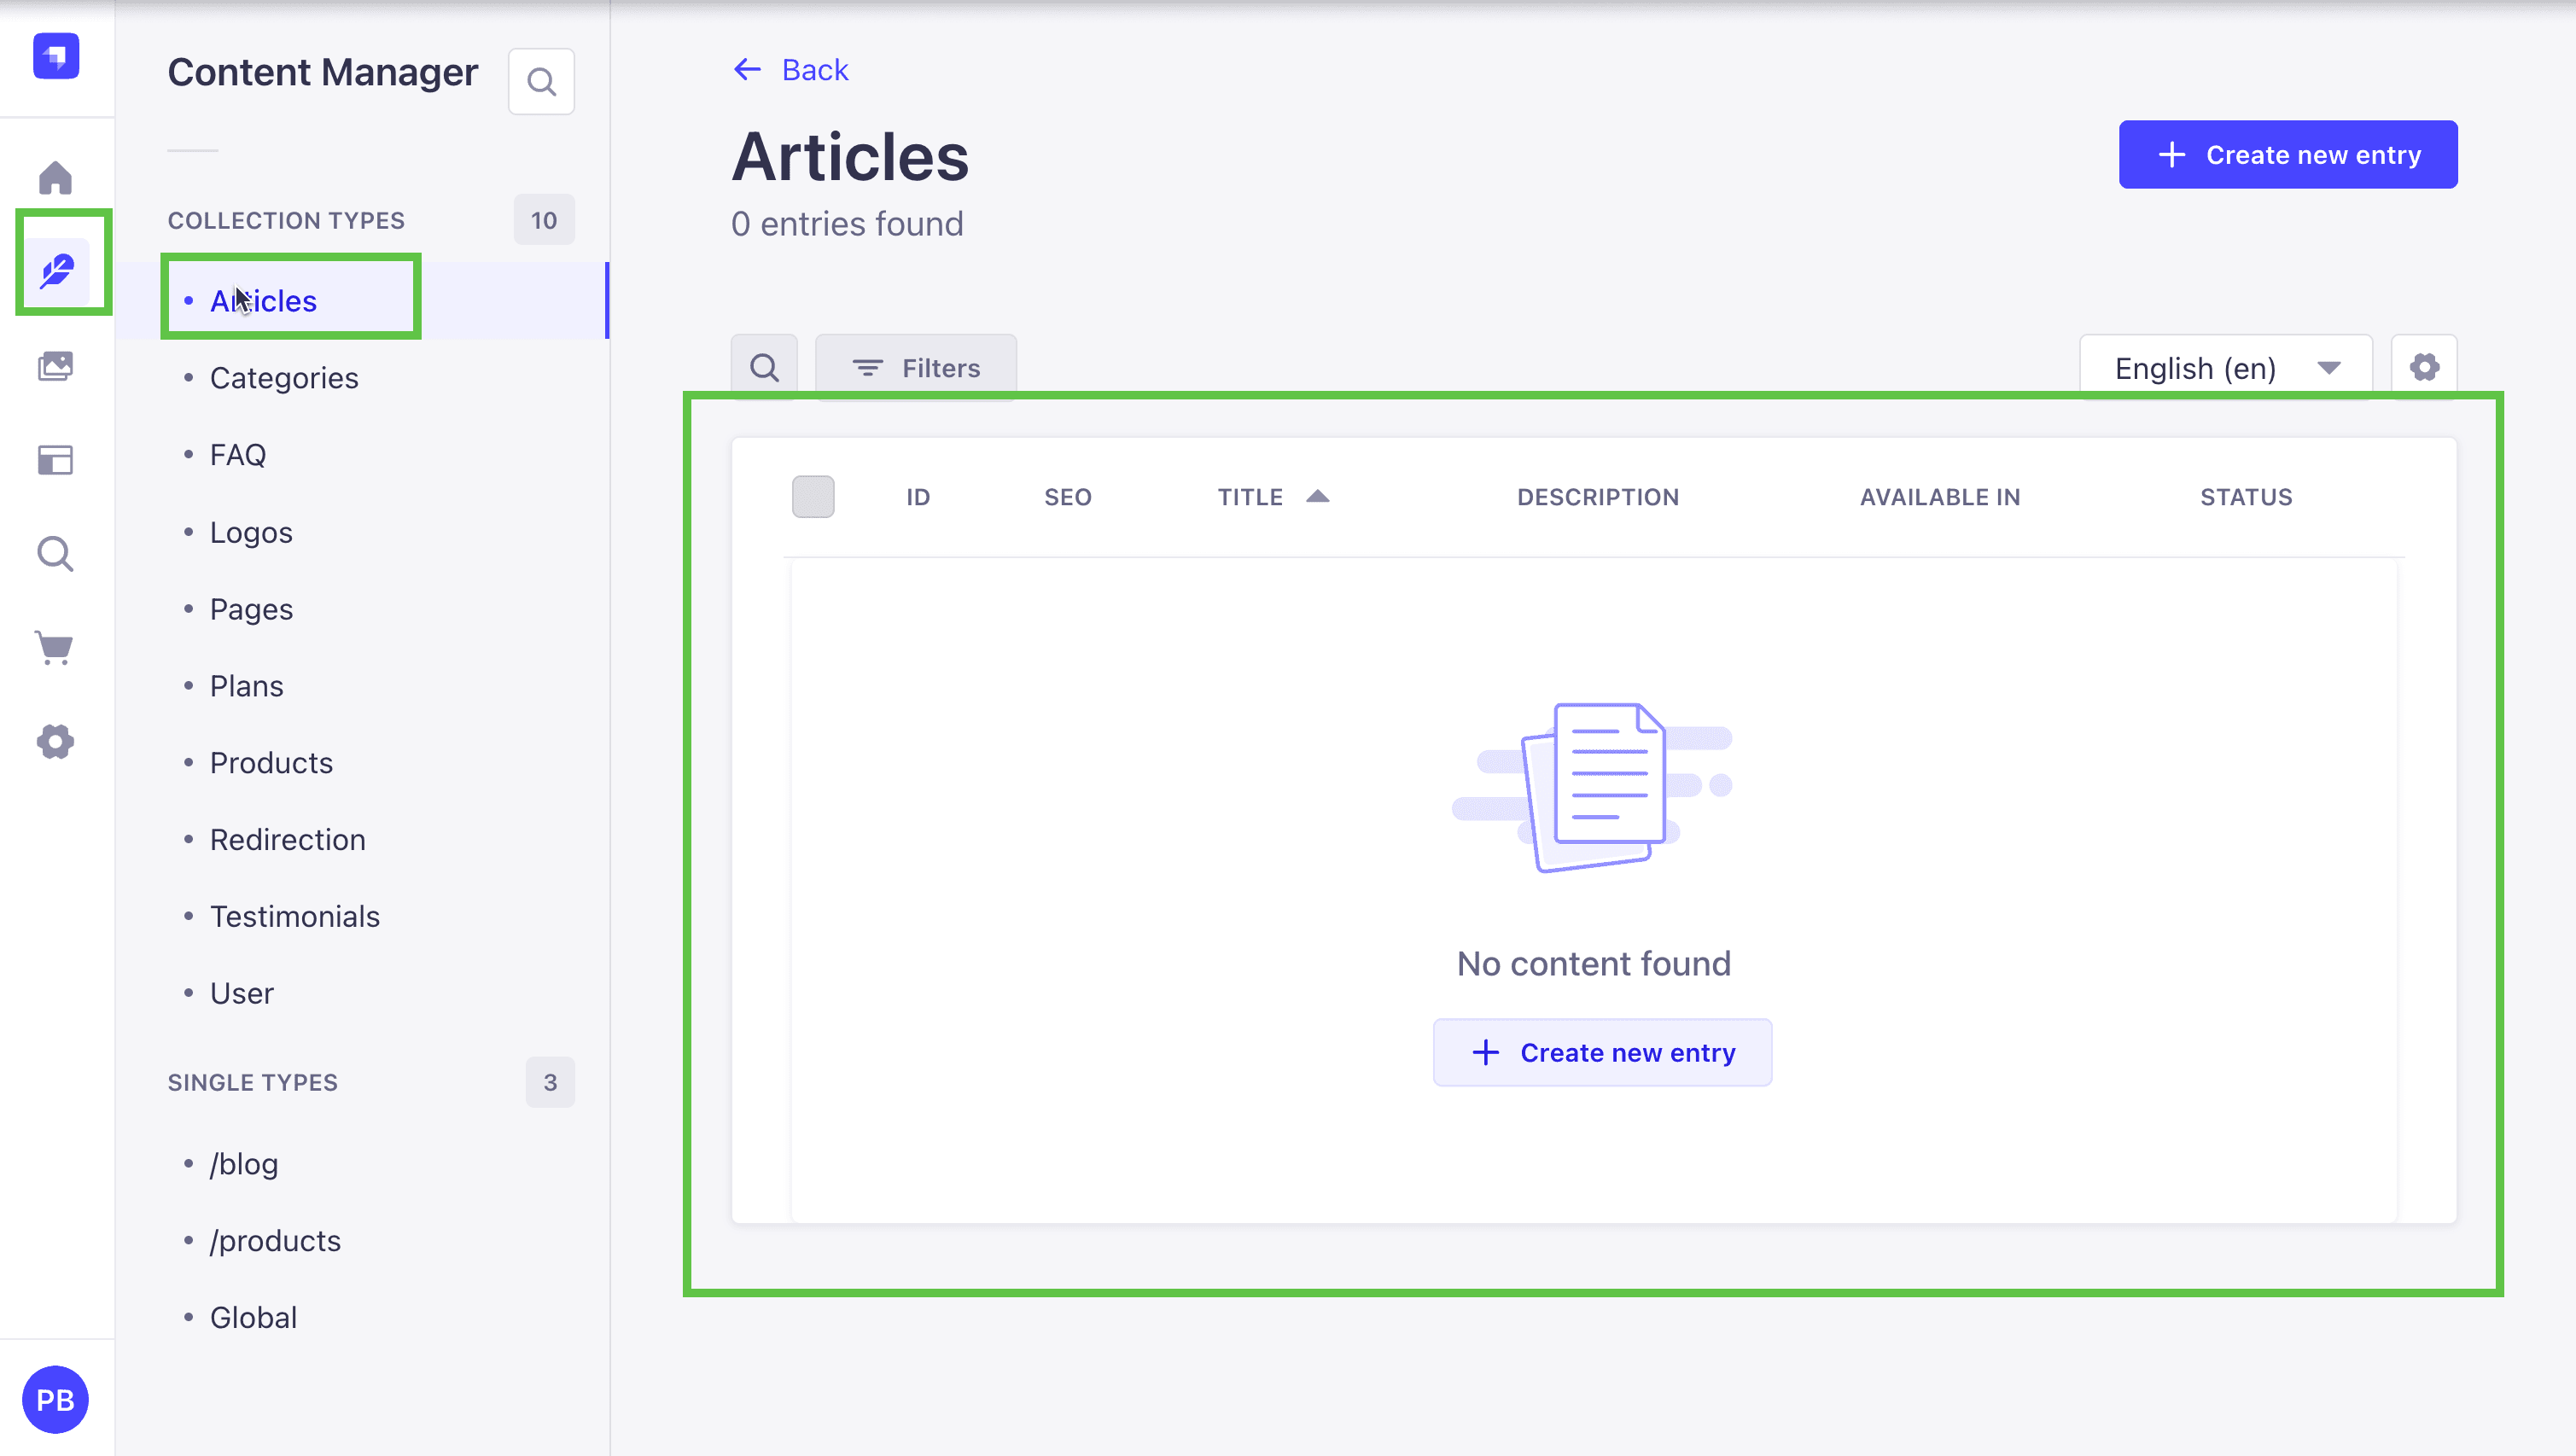
Once logged in, you will be greeted with the admin dashboard. You can click on the Content Manager button and select Article content type and you should see all your articles.
Feel free to explore the rest of the admin dashboard.
Setting up the Preview Functionality
This should already work in your project, since when we ran the yarn setup command that automatically copied our env.example file which had all appropriate variables.
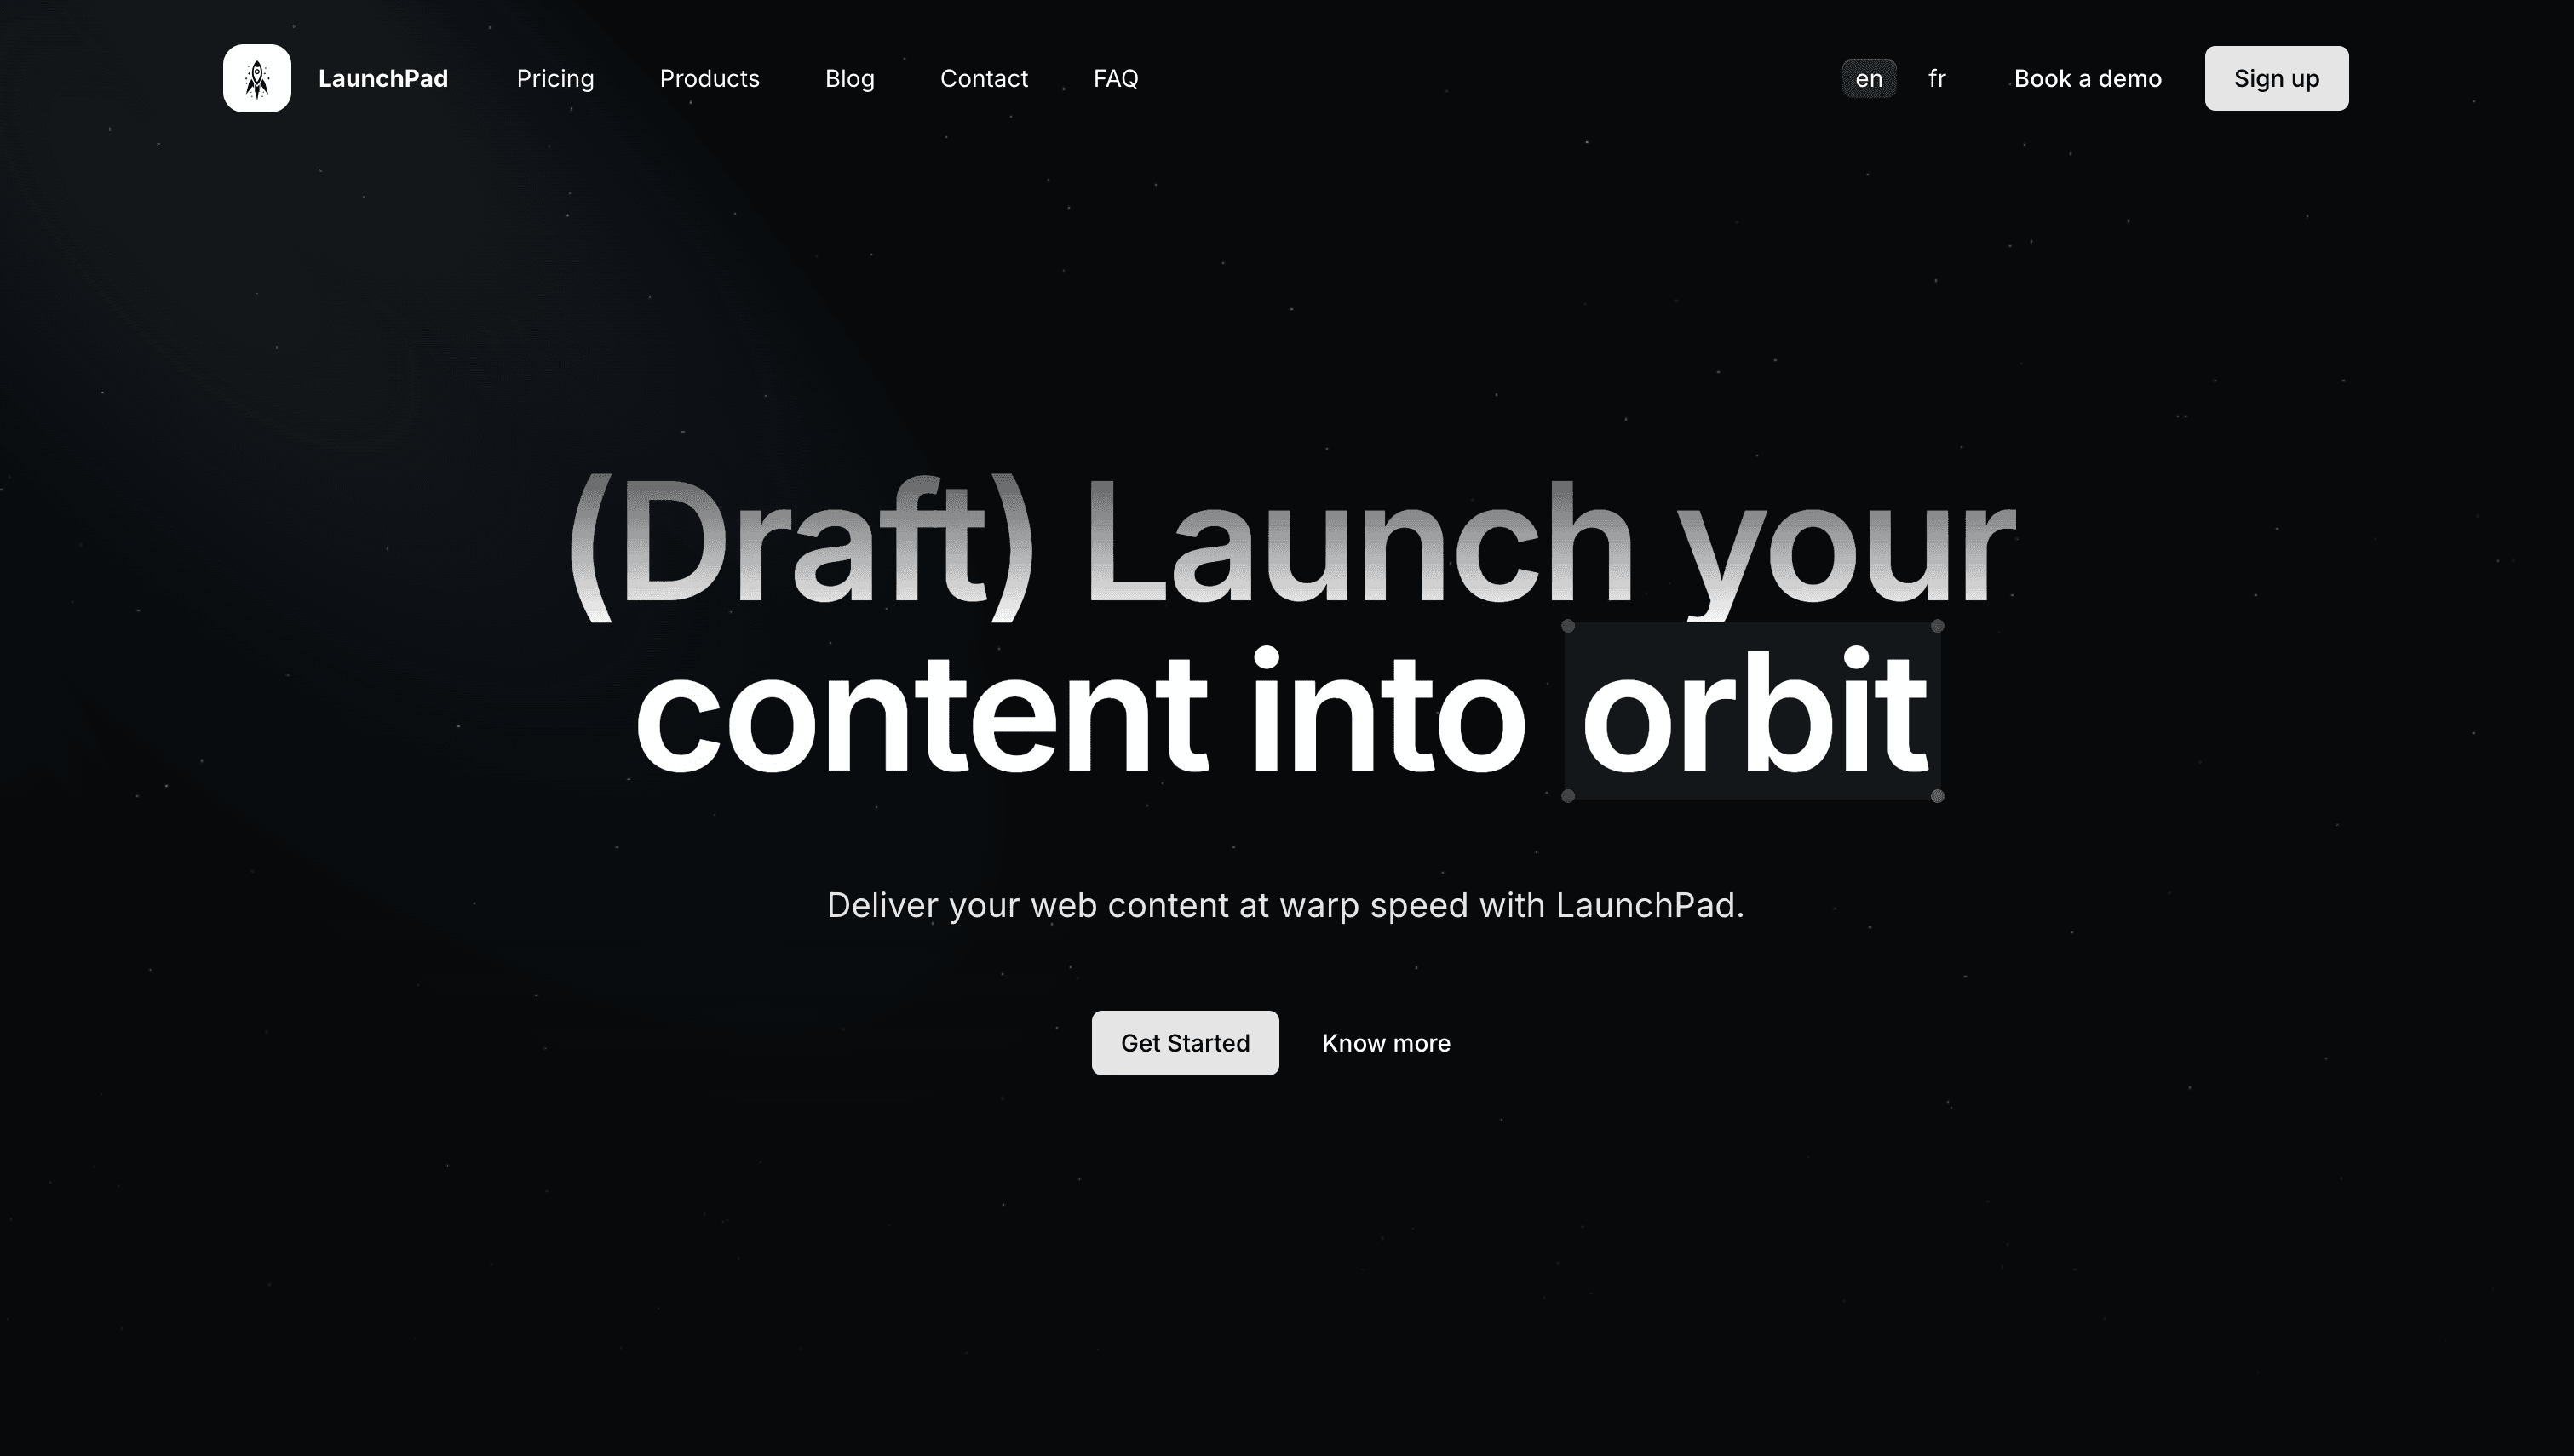
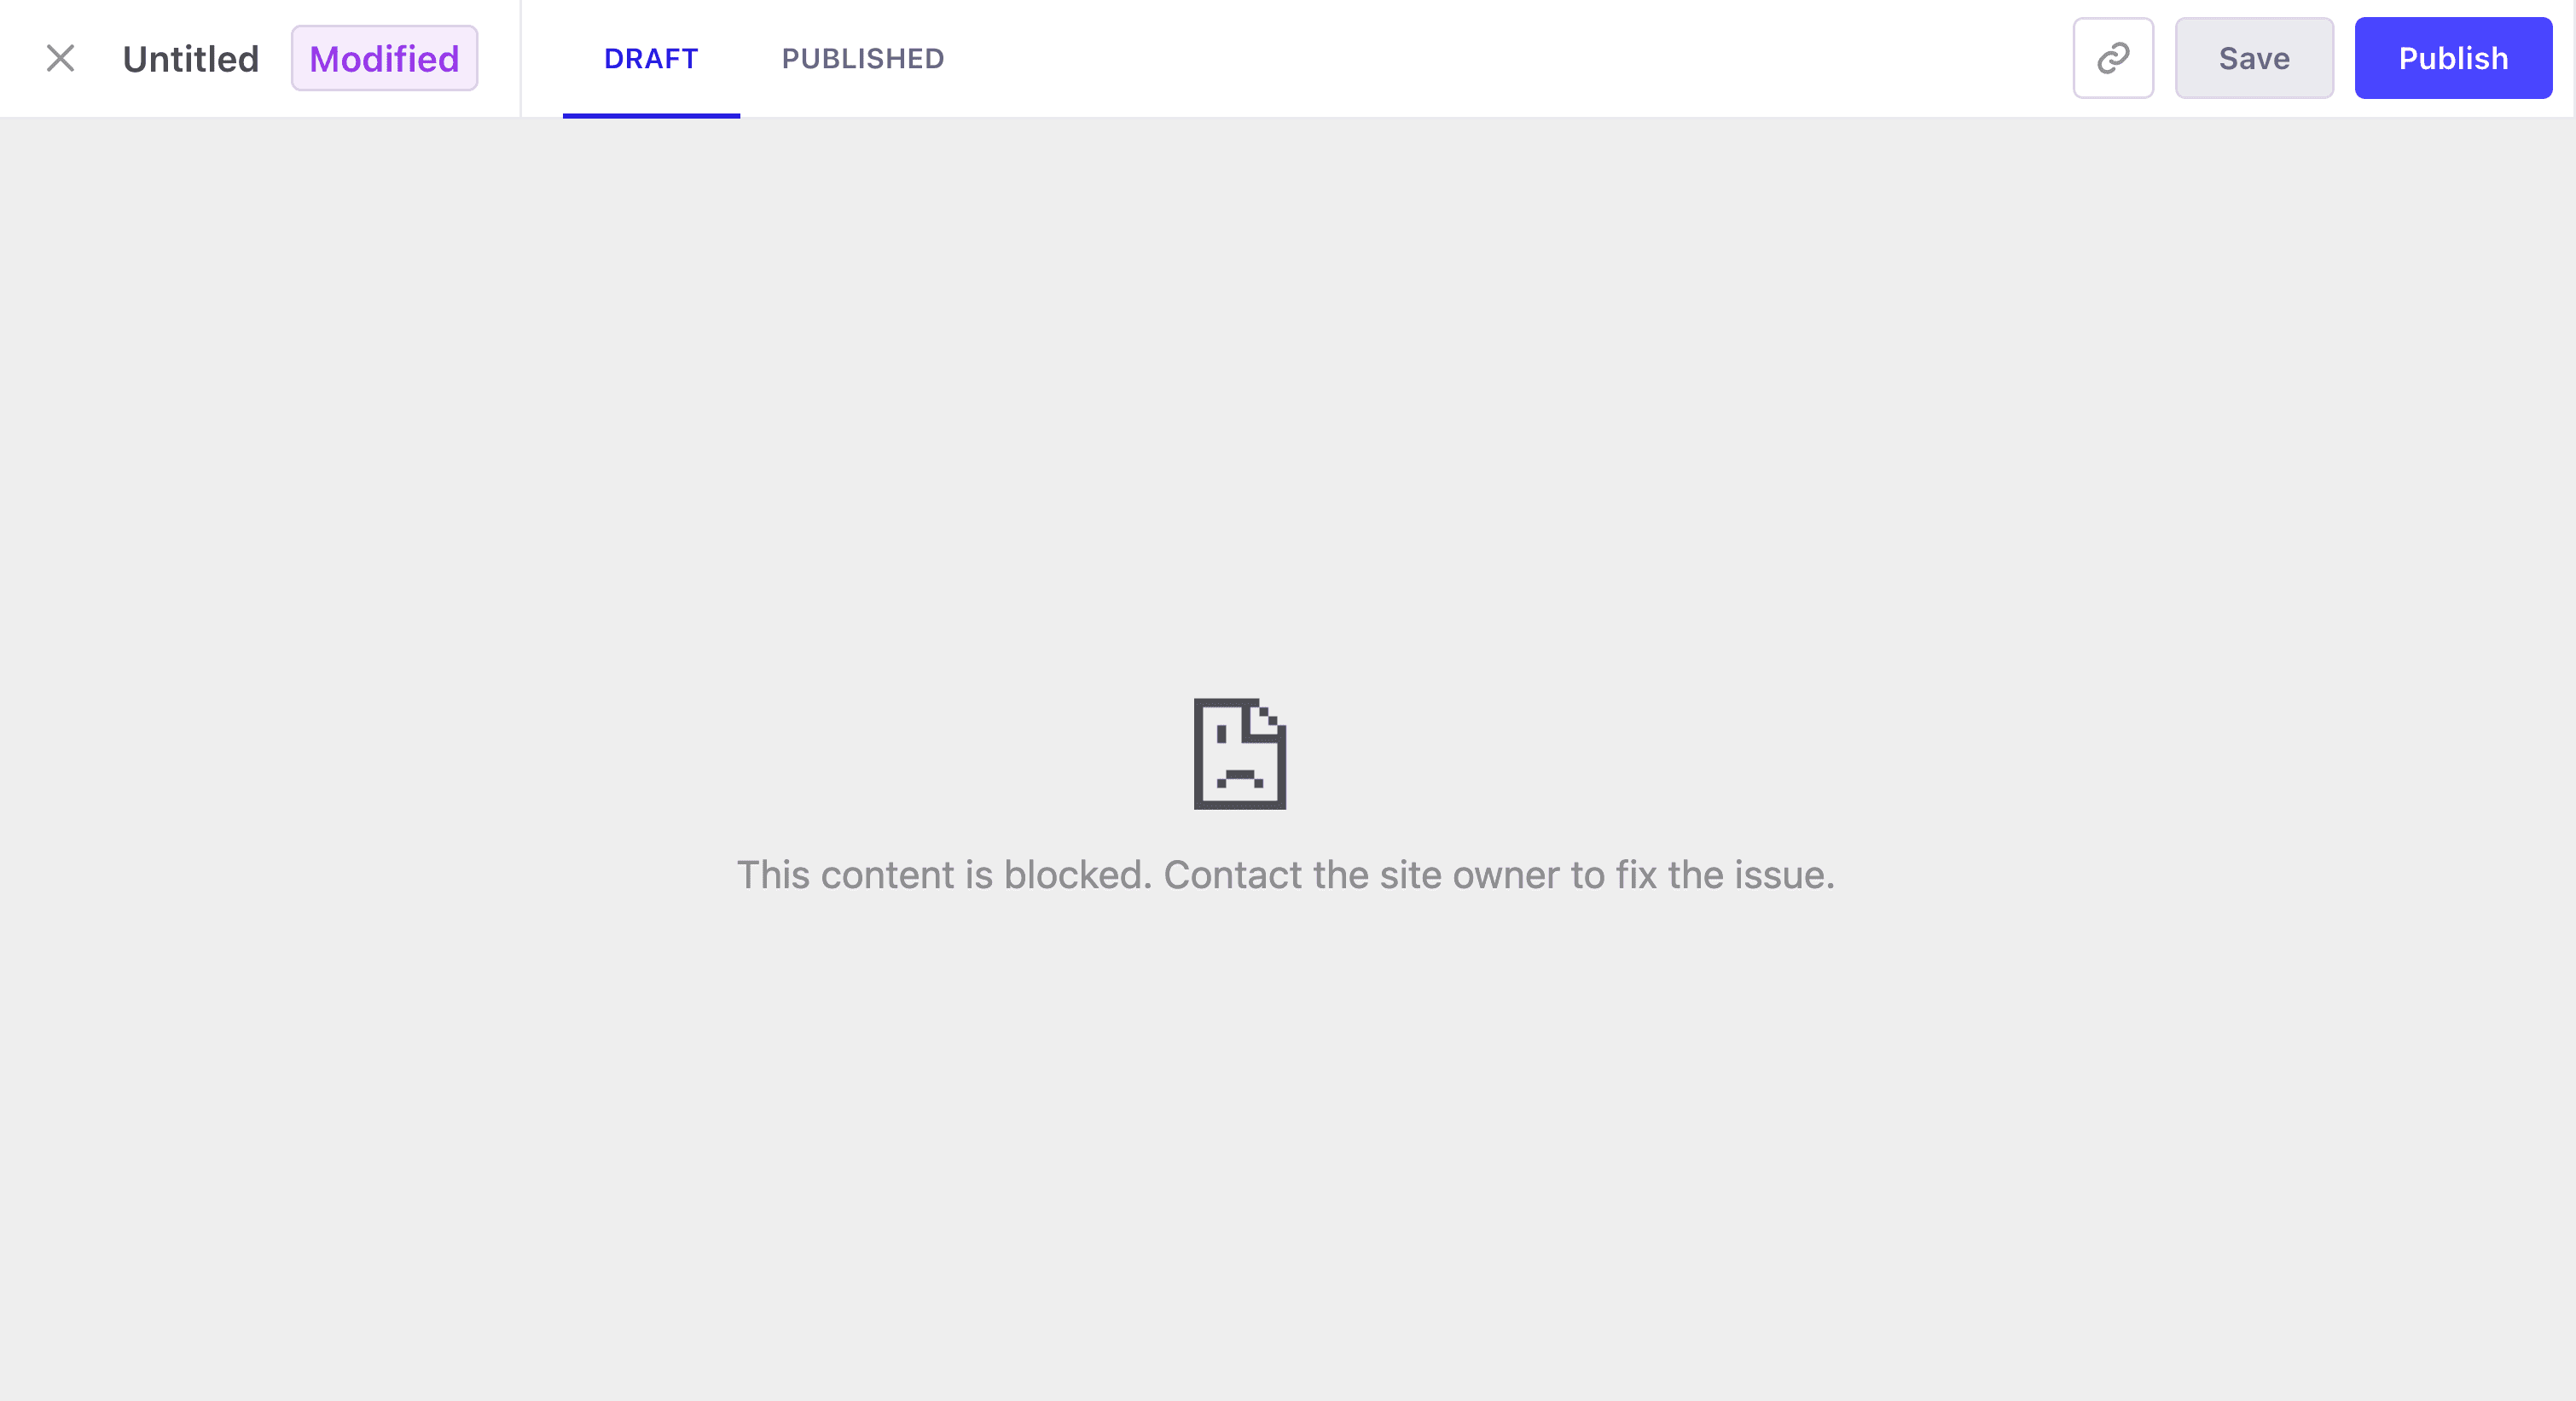
But if you navigate to one of our articles and click the Preview button.
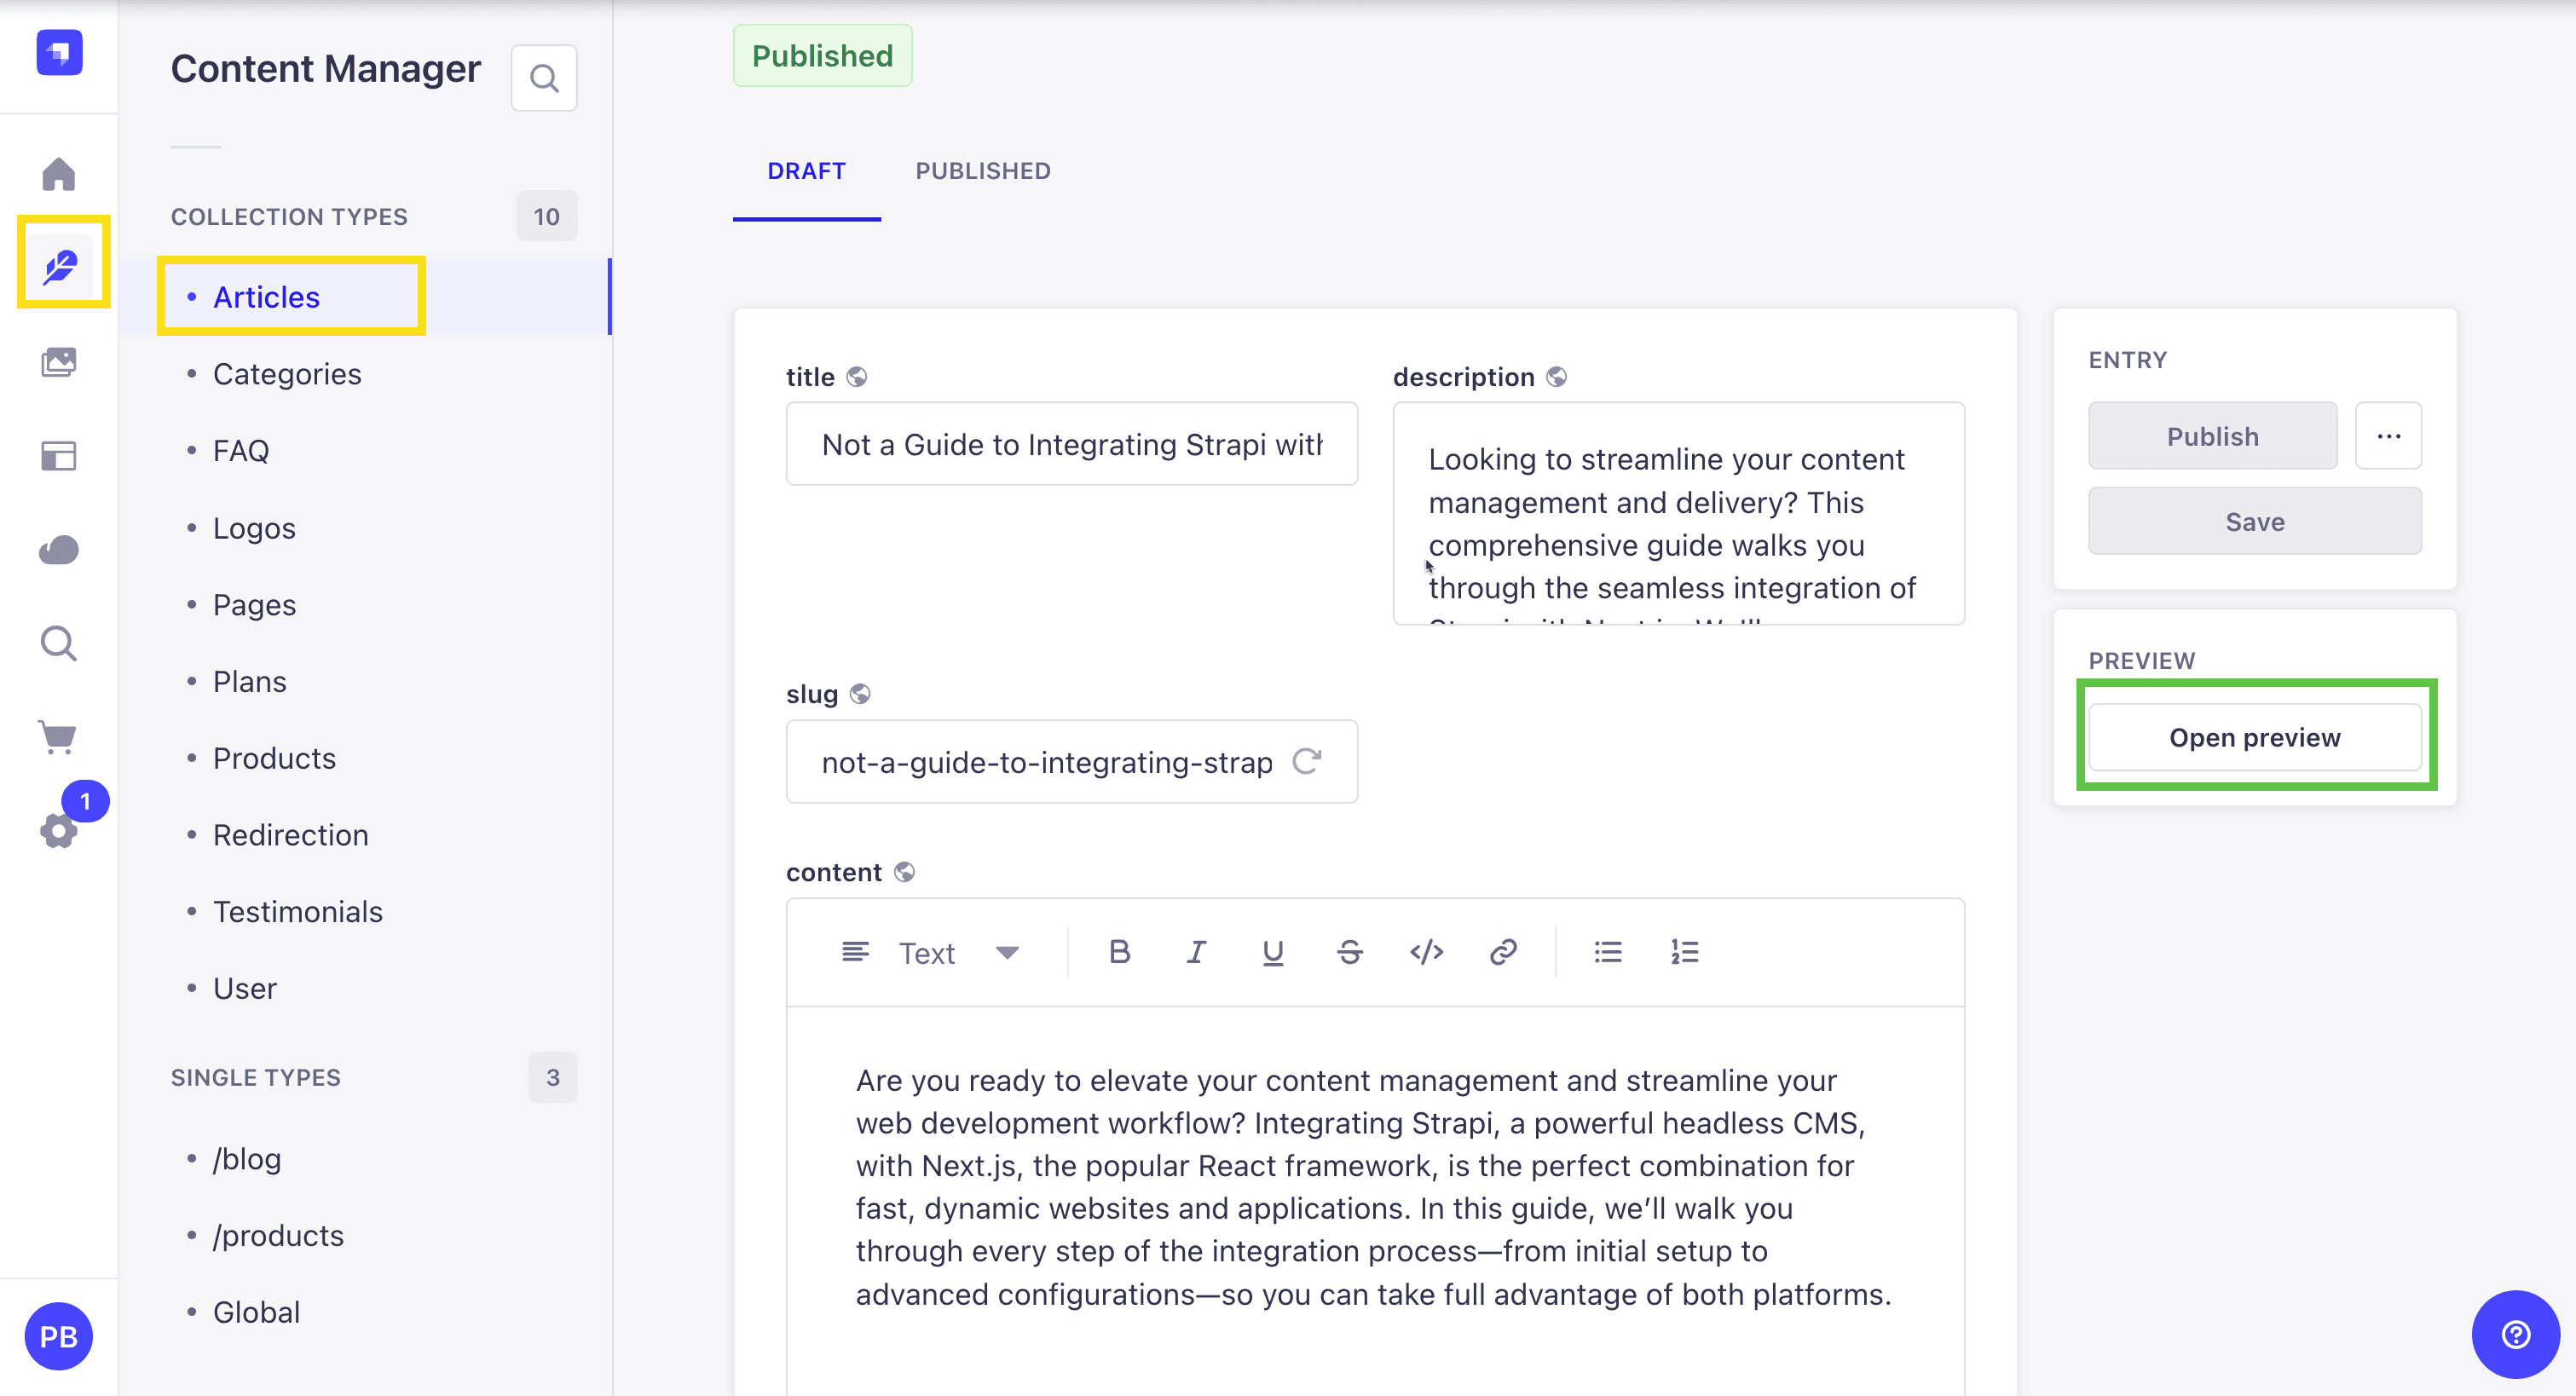
And see the following screen:
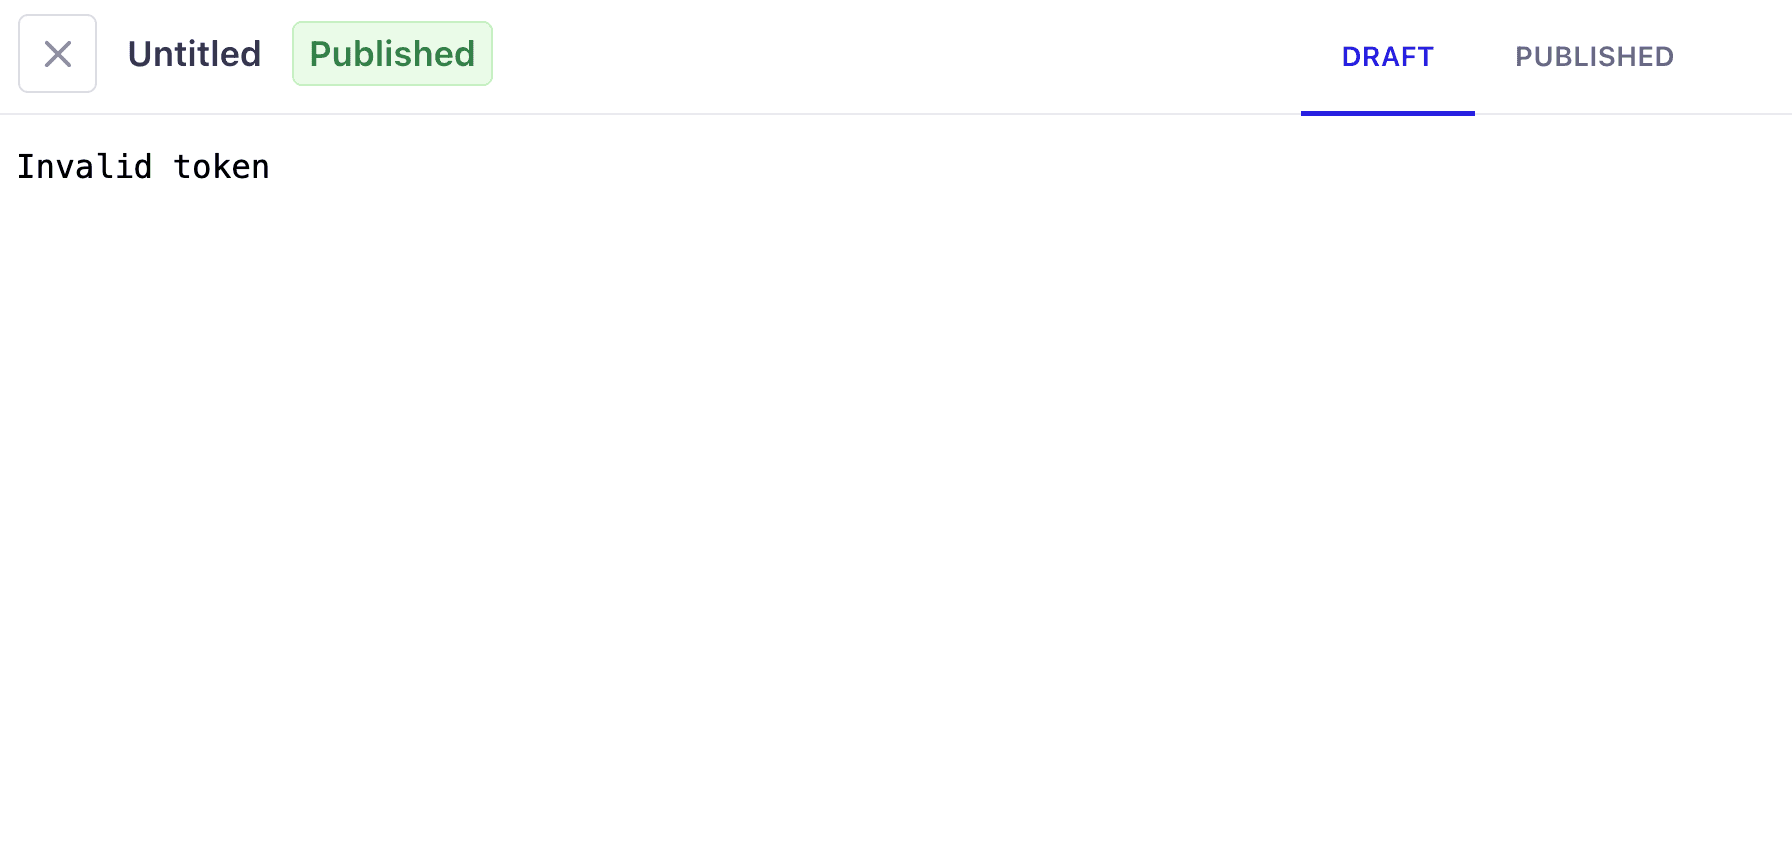
Notice that we have an invalid token error. We need to make sure that we add the appropriate token to the .env file found in both the Strapi backend folder and the Next.js frontend folder.
Let's first navigate to next/.env and make sure that the following variables are set:
Now make sure to set the following variables:
WEBSITE_URL: the URL of your Next.js frontend
NEXT_PUBLIC_API_URL: the URL of your Strapi backend
PREVIEW_SECRET: the key for the preview secret that needs to be the same in the Strapi backend .env file as well
Note: you can create a random token using the following command:
openssl rand -base64 32WEBSITE_URL=http://localhost:3000 # Add the correct ENV var for this onto your hosting platform, point it to your production website.
PORT=3000
NEXT_PUBLIC_API_URL=http://localhost:1337
PREVIEW_SECRET=tobemodified # This token needs to be the same in the Strapi backend .env file as wellNote: when deploying to Vercel, you will need to add the correct ENV vars for these variables.
Now let's navigate to strapi/.env and make sure that the following variables are set:
CLIENT_URL: the URL of your Next.js frontend
PREVIEW_SECRET: the key for the preview secret that needs to be the same in the Next.js frontend .env file as well
CLIENT_URL=http://localhost:3000
PREVIEW_SECRET=tobemodified # optional, required with Next.js draft mode
Now restart both the Next.js frontend and the Strapi backend.
Now, navigate to the article again and click the Preview button. You should see the following screen:
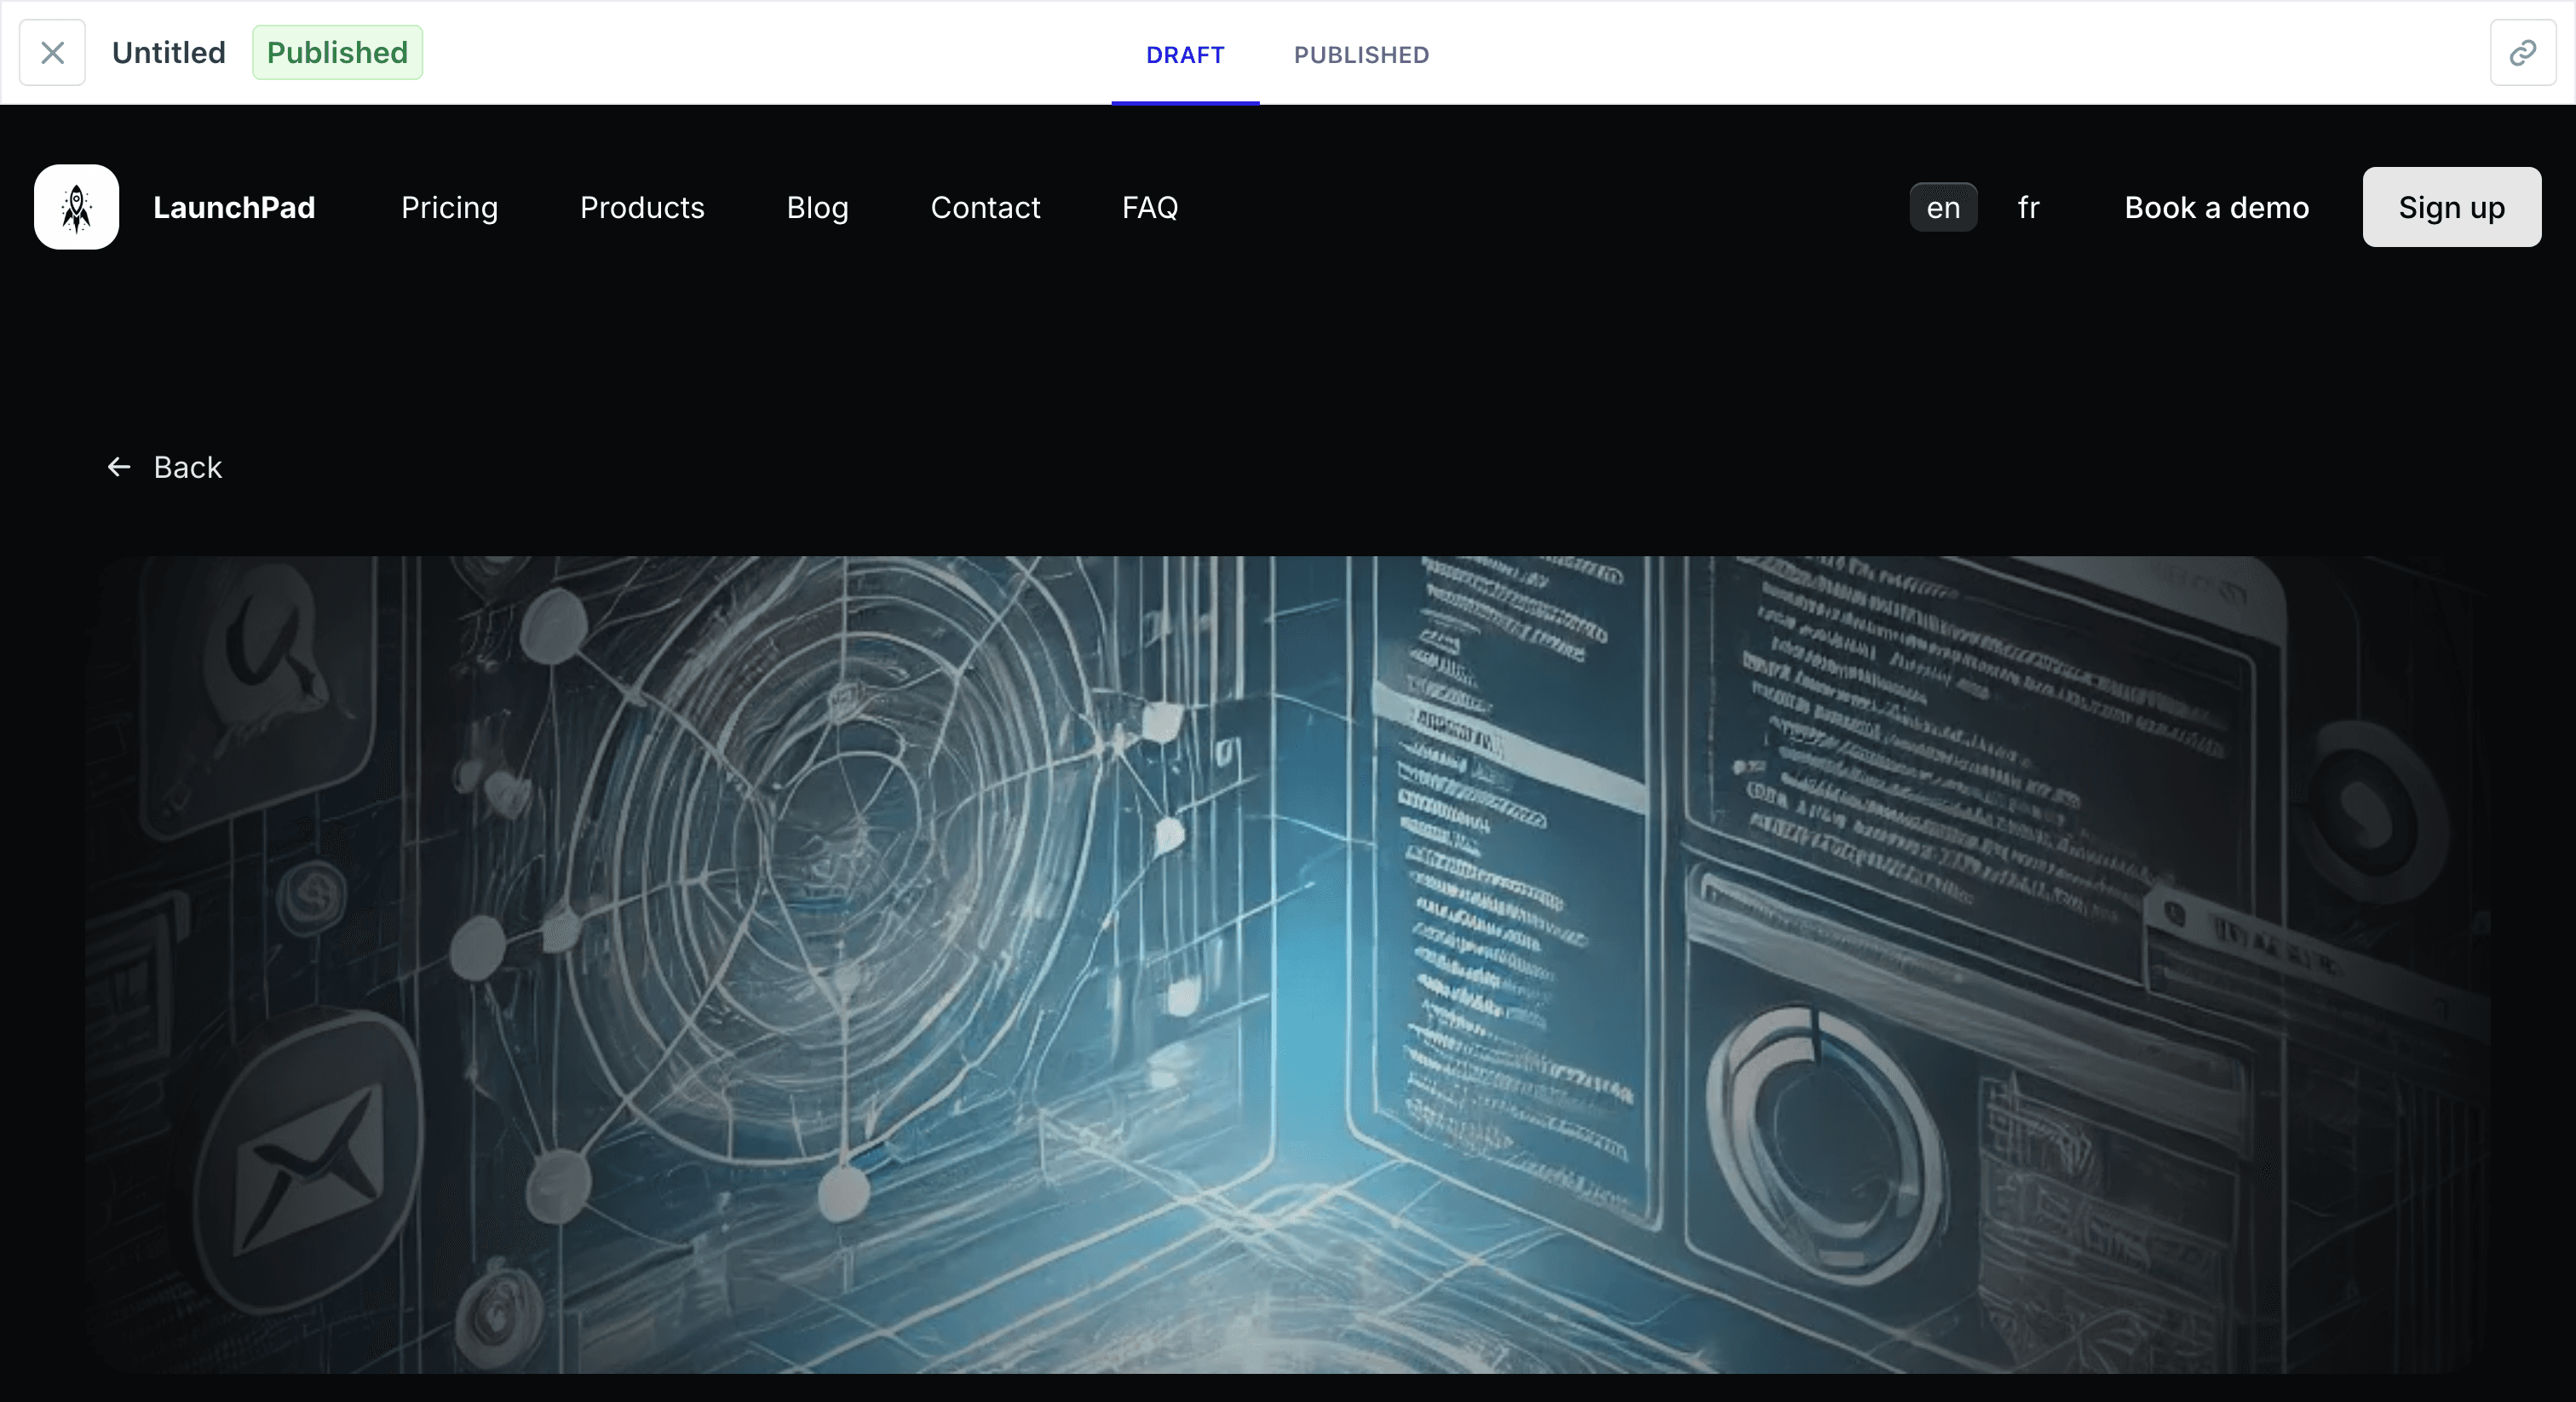
Note: After updating the .env files and restarting the project, you may need to refresh the page to see the preview functionality working.
Now that our application is working locally, let's look at how to deploy it to Strapi Cloud and Vercel.
Deploying Our Strapi Project to Strapi Cloud and Vercel
Prerequisites
- Your code is pushed to your own GitHub repository
- Created a Strapi Cloud account ( you can sign up via GitHub )
- Have a Vercel account
Deploying to Strapi Cloud
Once you have your code pushed to GitHub and created a Strapi Cloud account, you can deploy your project to Strapi Cloud by following these steps:
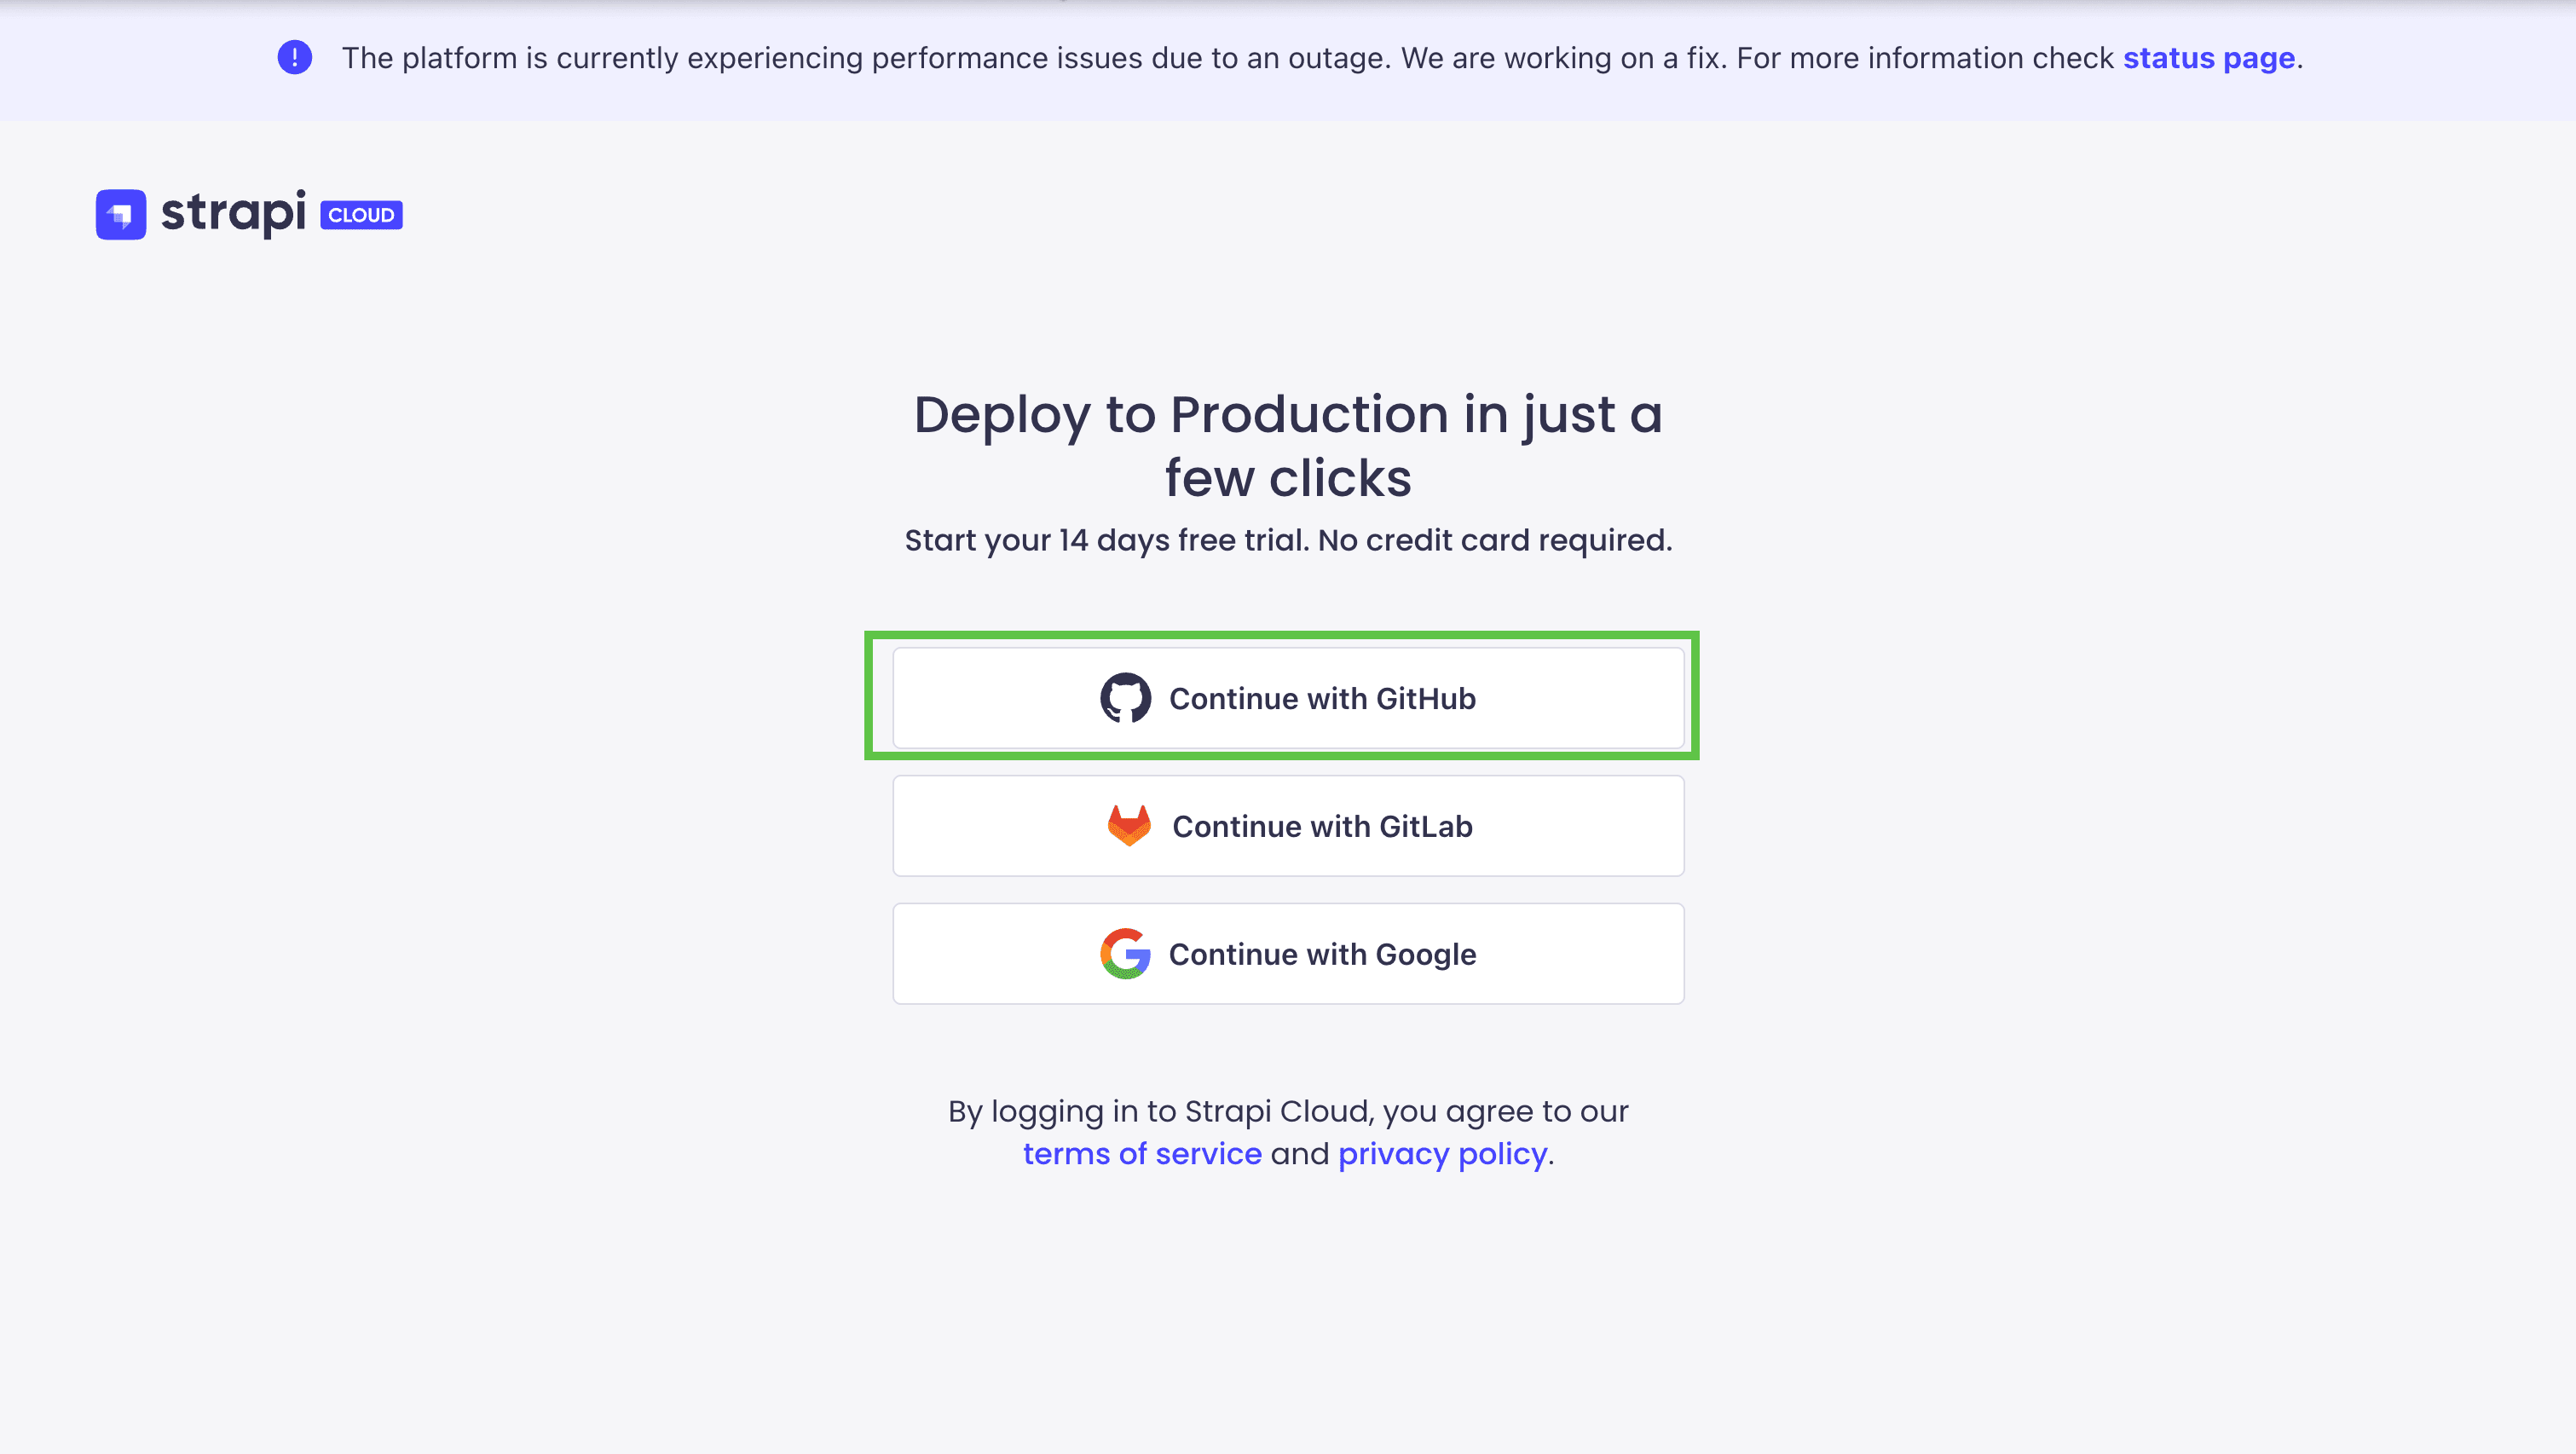
First, log into your Strapi Cloud account. You may be asked which provider you want to connect to.
I will be using GitHub, so I will click on the GitHub button.
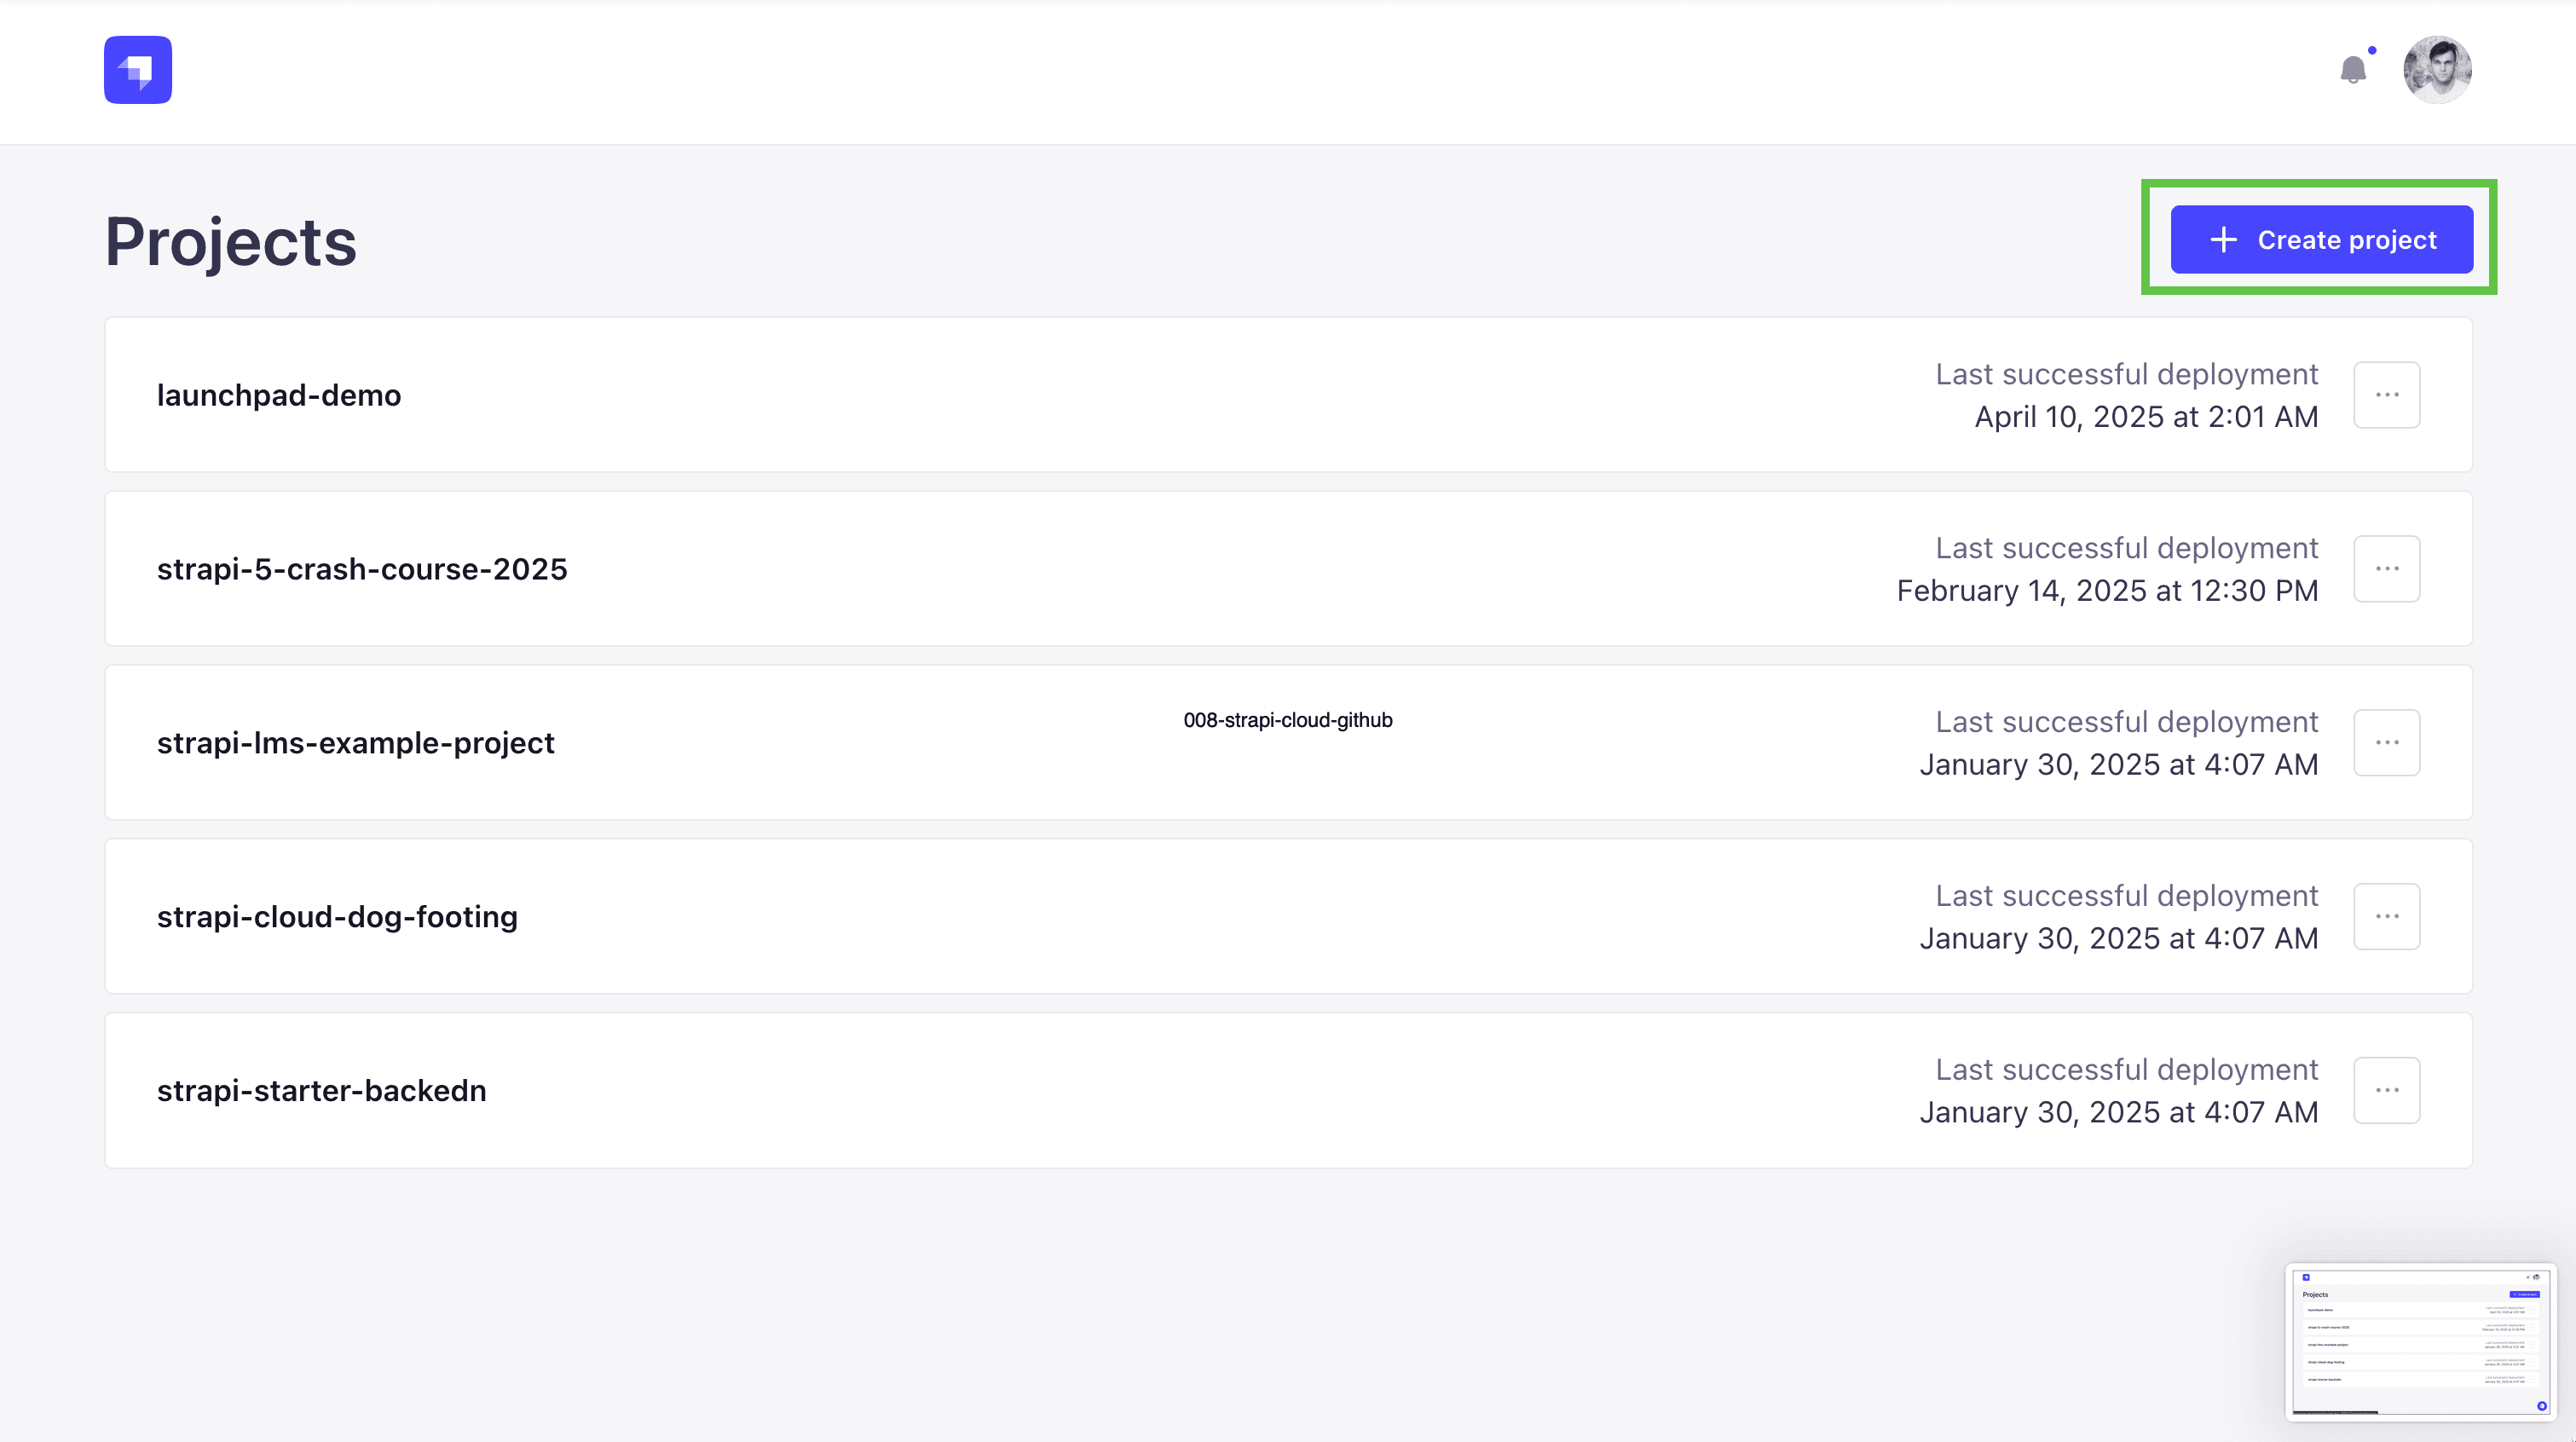
Once signed in, we will click the Create new project button.
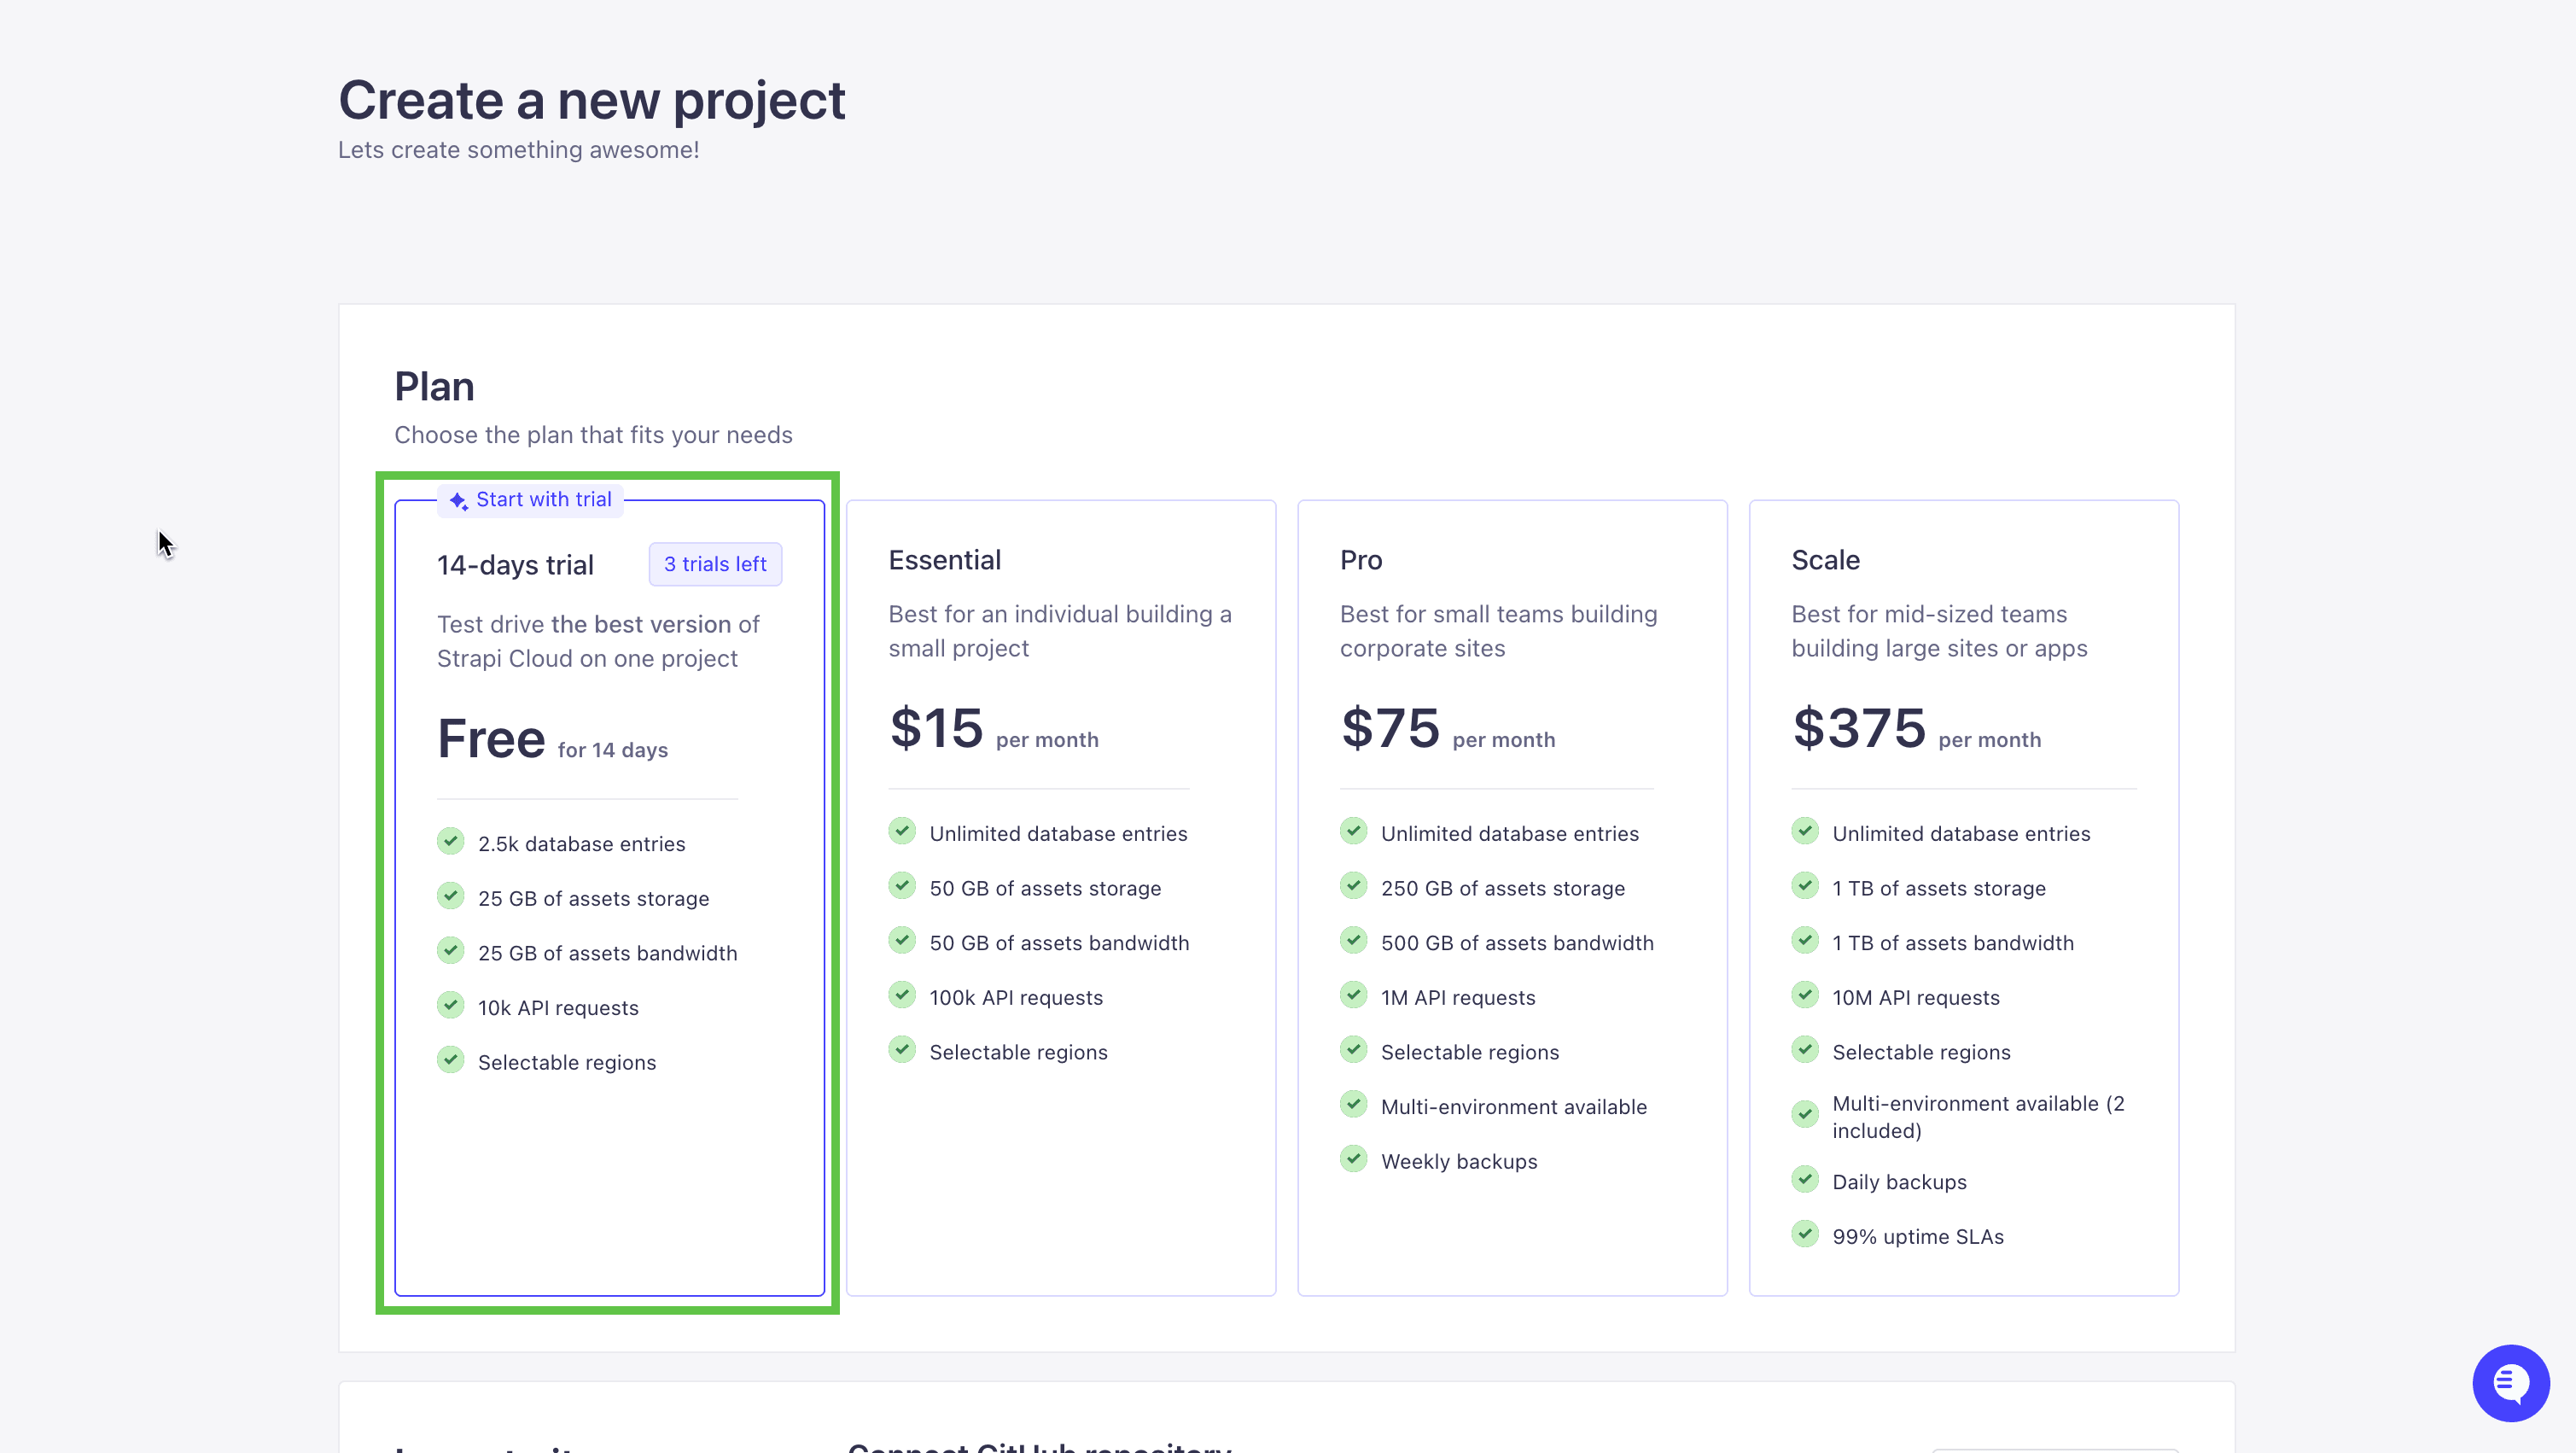
We will choose the FREE PLAN that allows you to try out Strapi Cloud for 14 days.
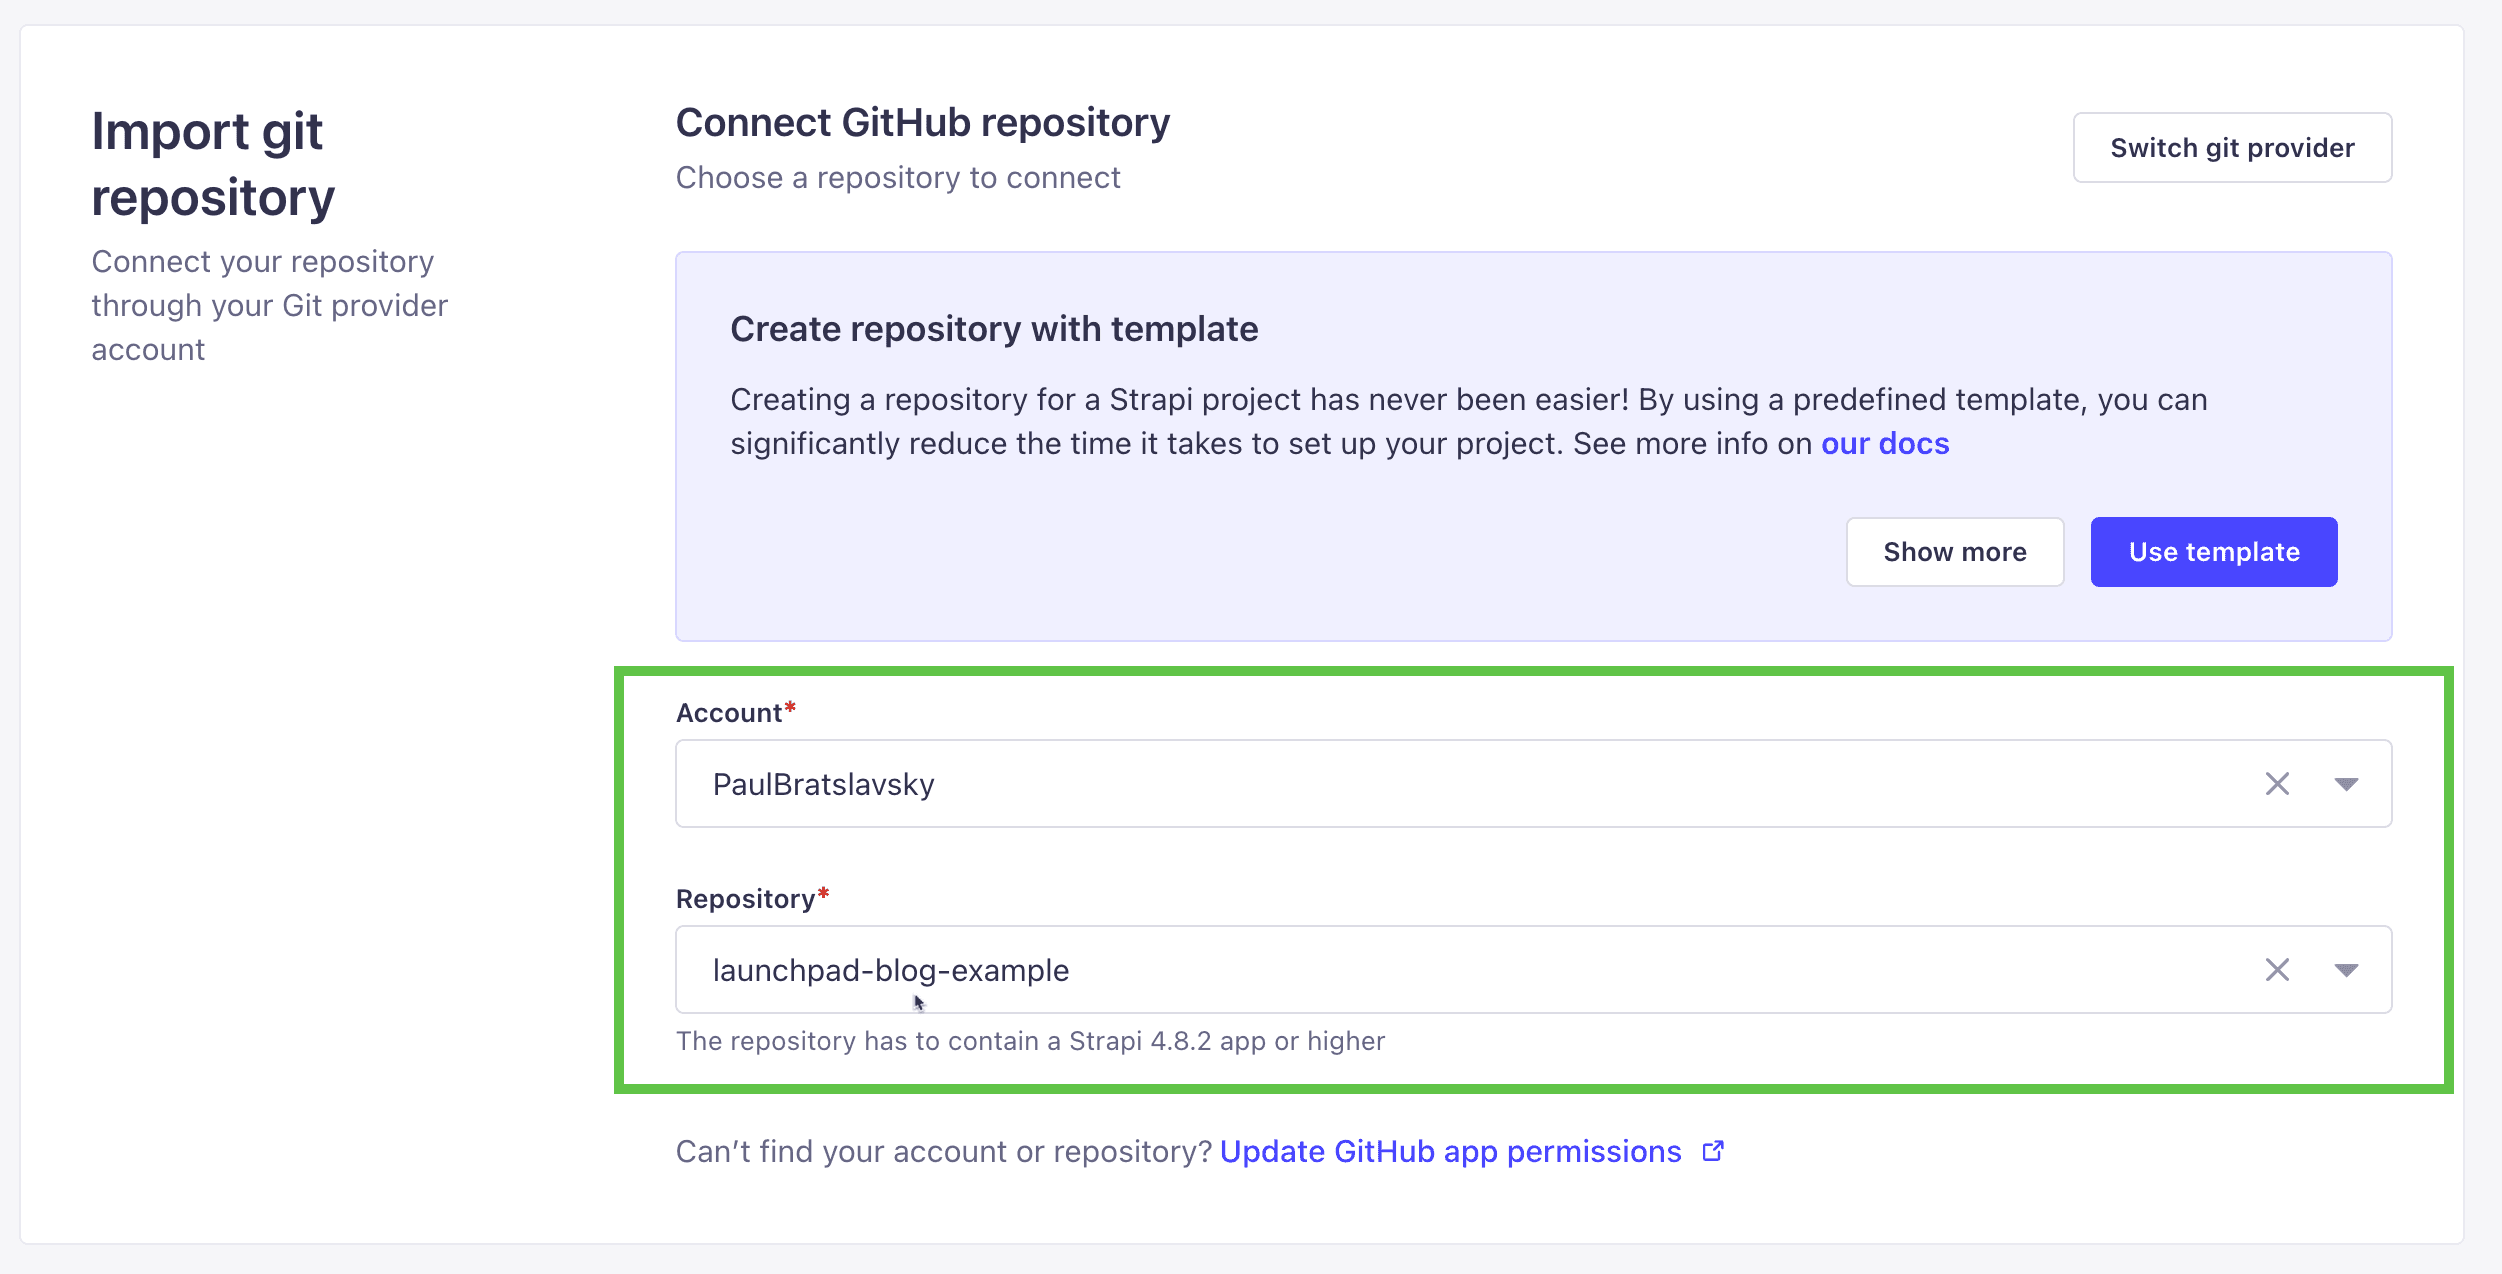
Next, we must choose the repository from which we want to deploy. Go ahead and select your project repository.
Give your project a name, for example, launchpad-demo, and then choose the region closest to you. I am going to choose the New York | USA region.
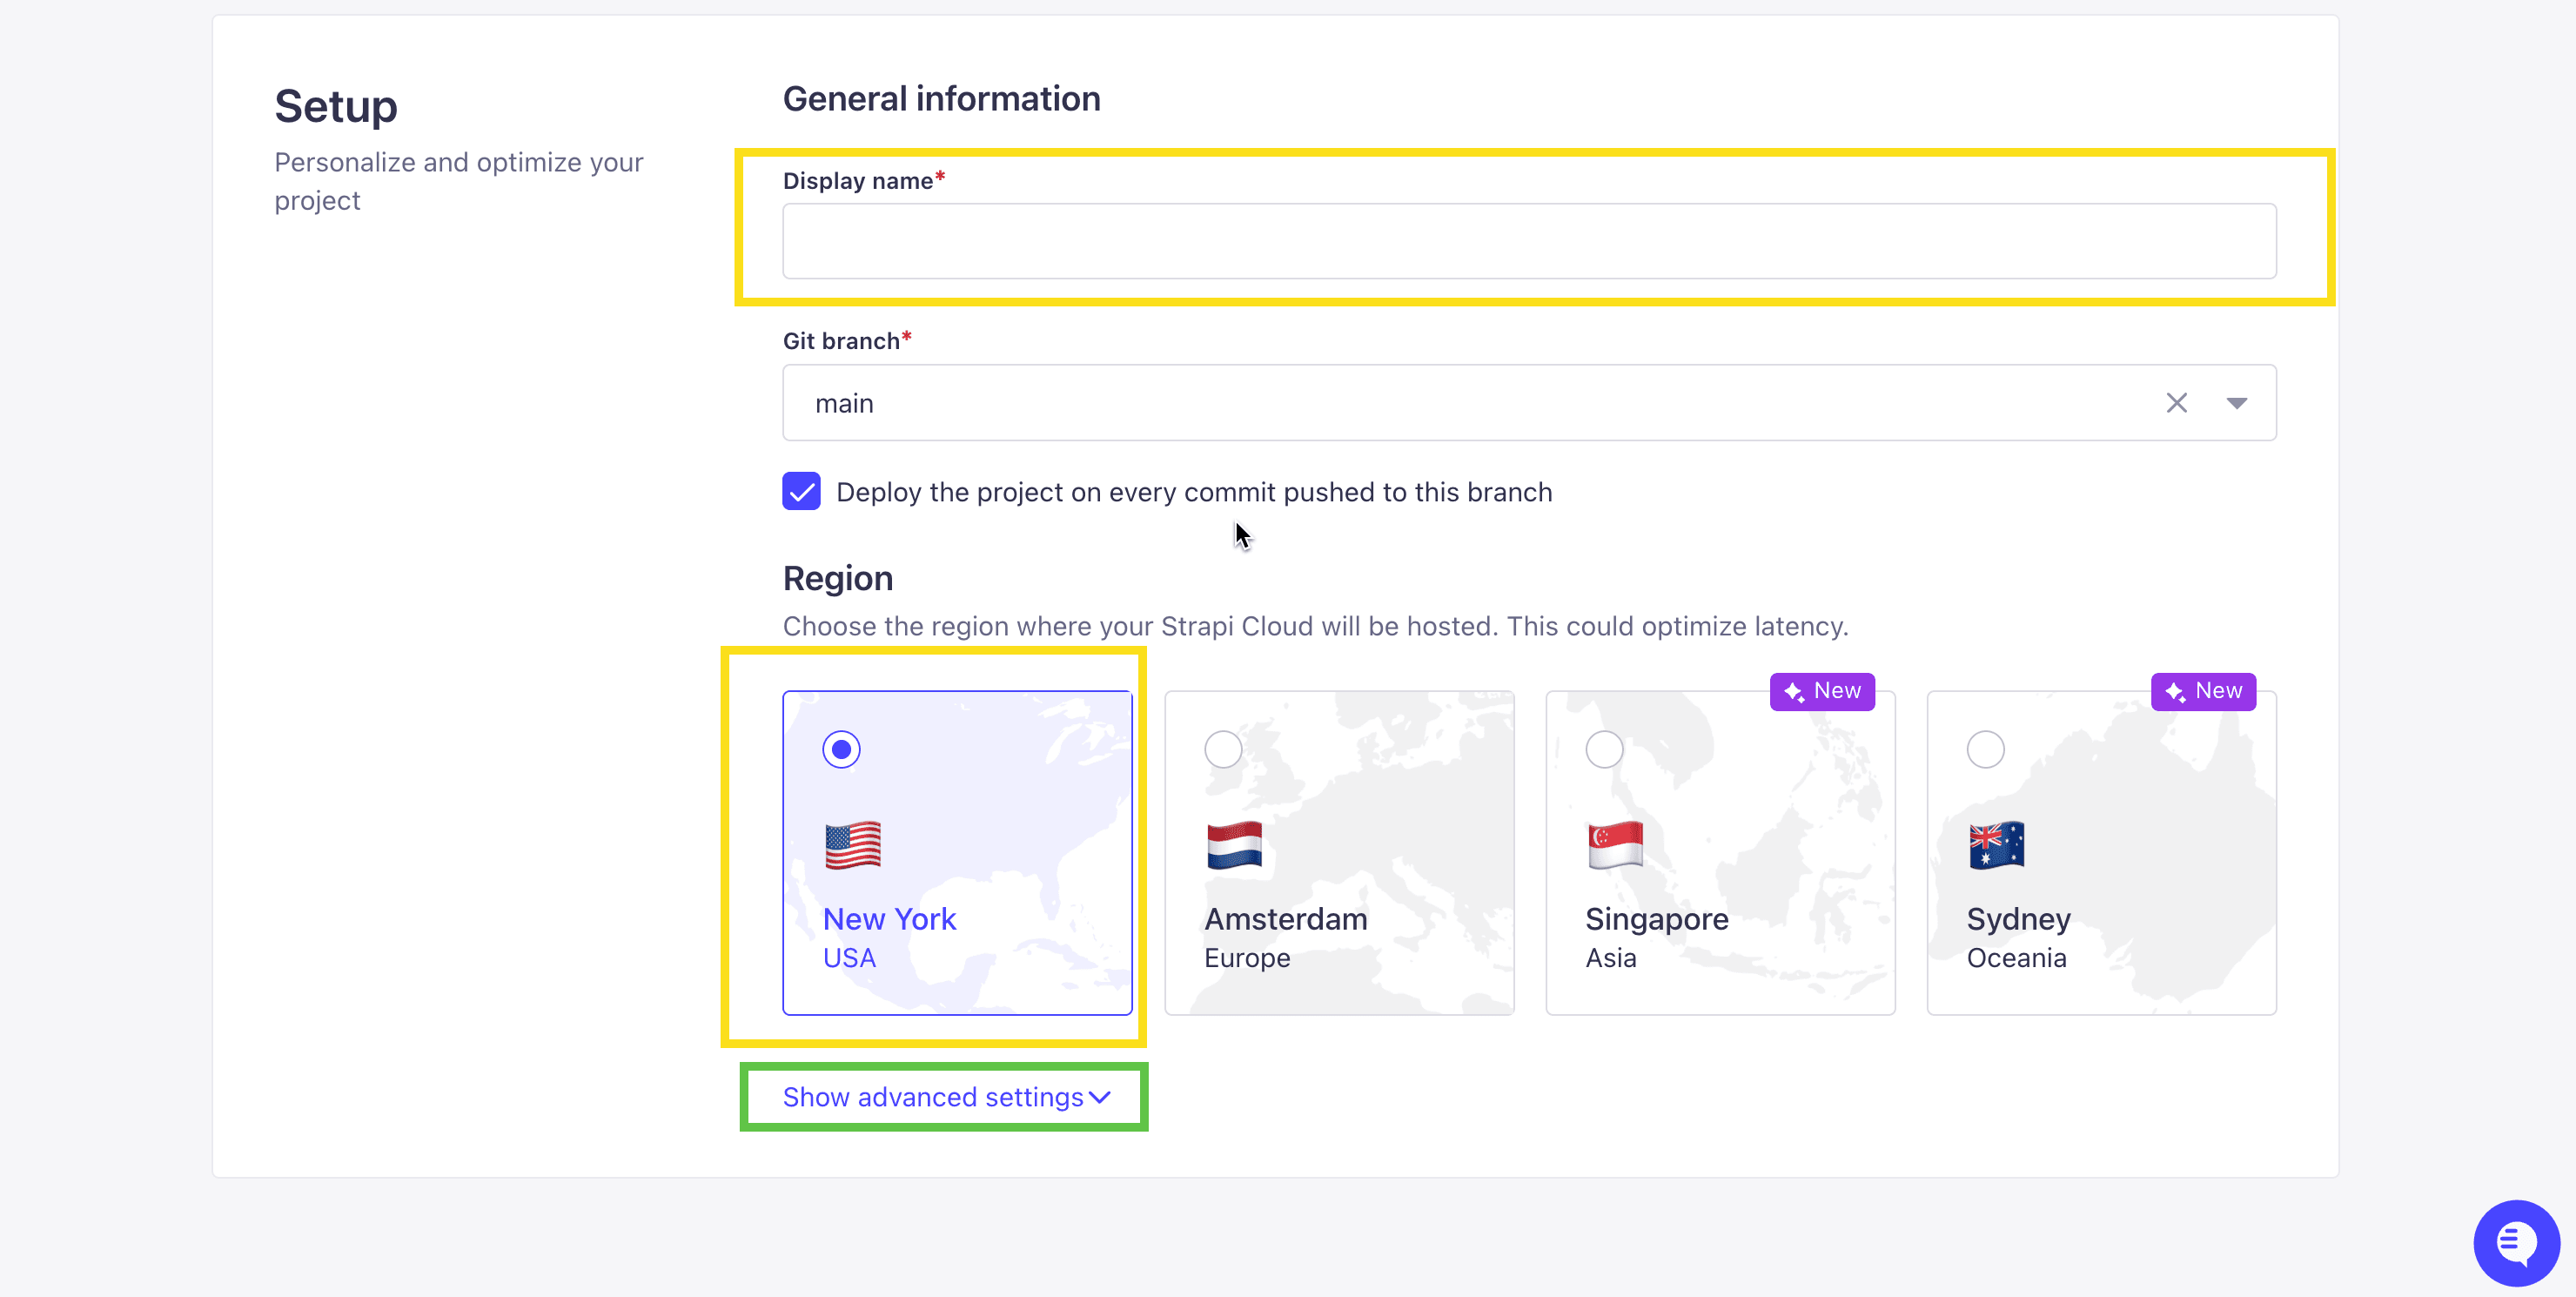
Next, click the Show Advanced Settings button and update the base directory to strapi since this folder contains the Strapi project.
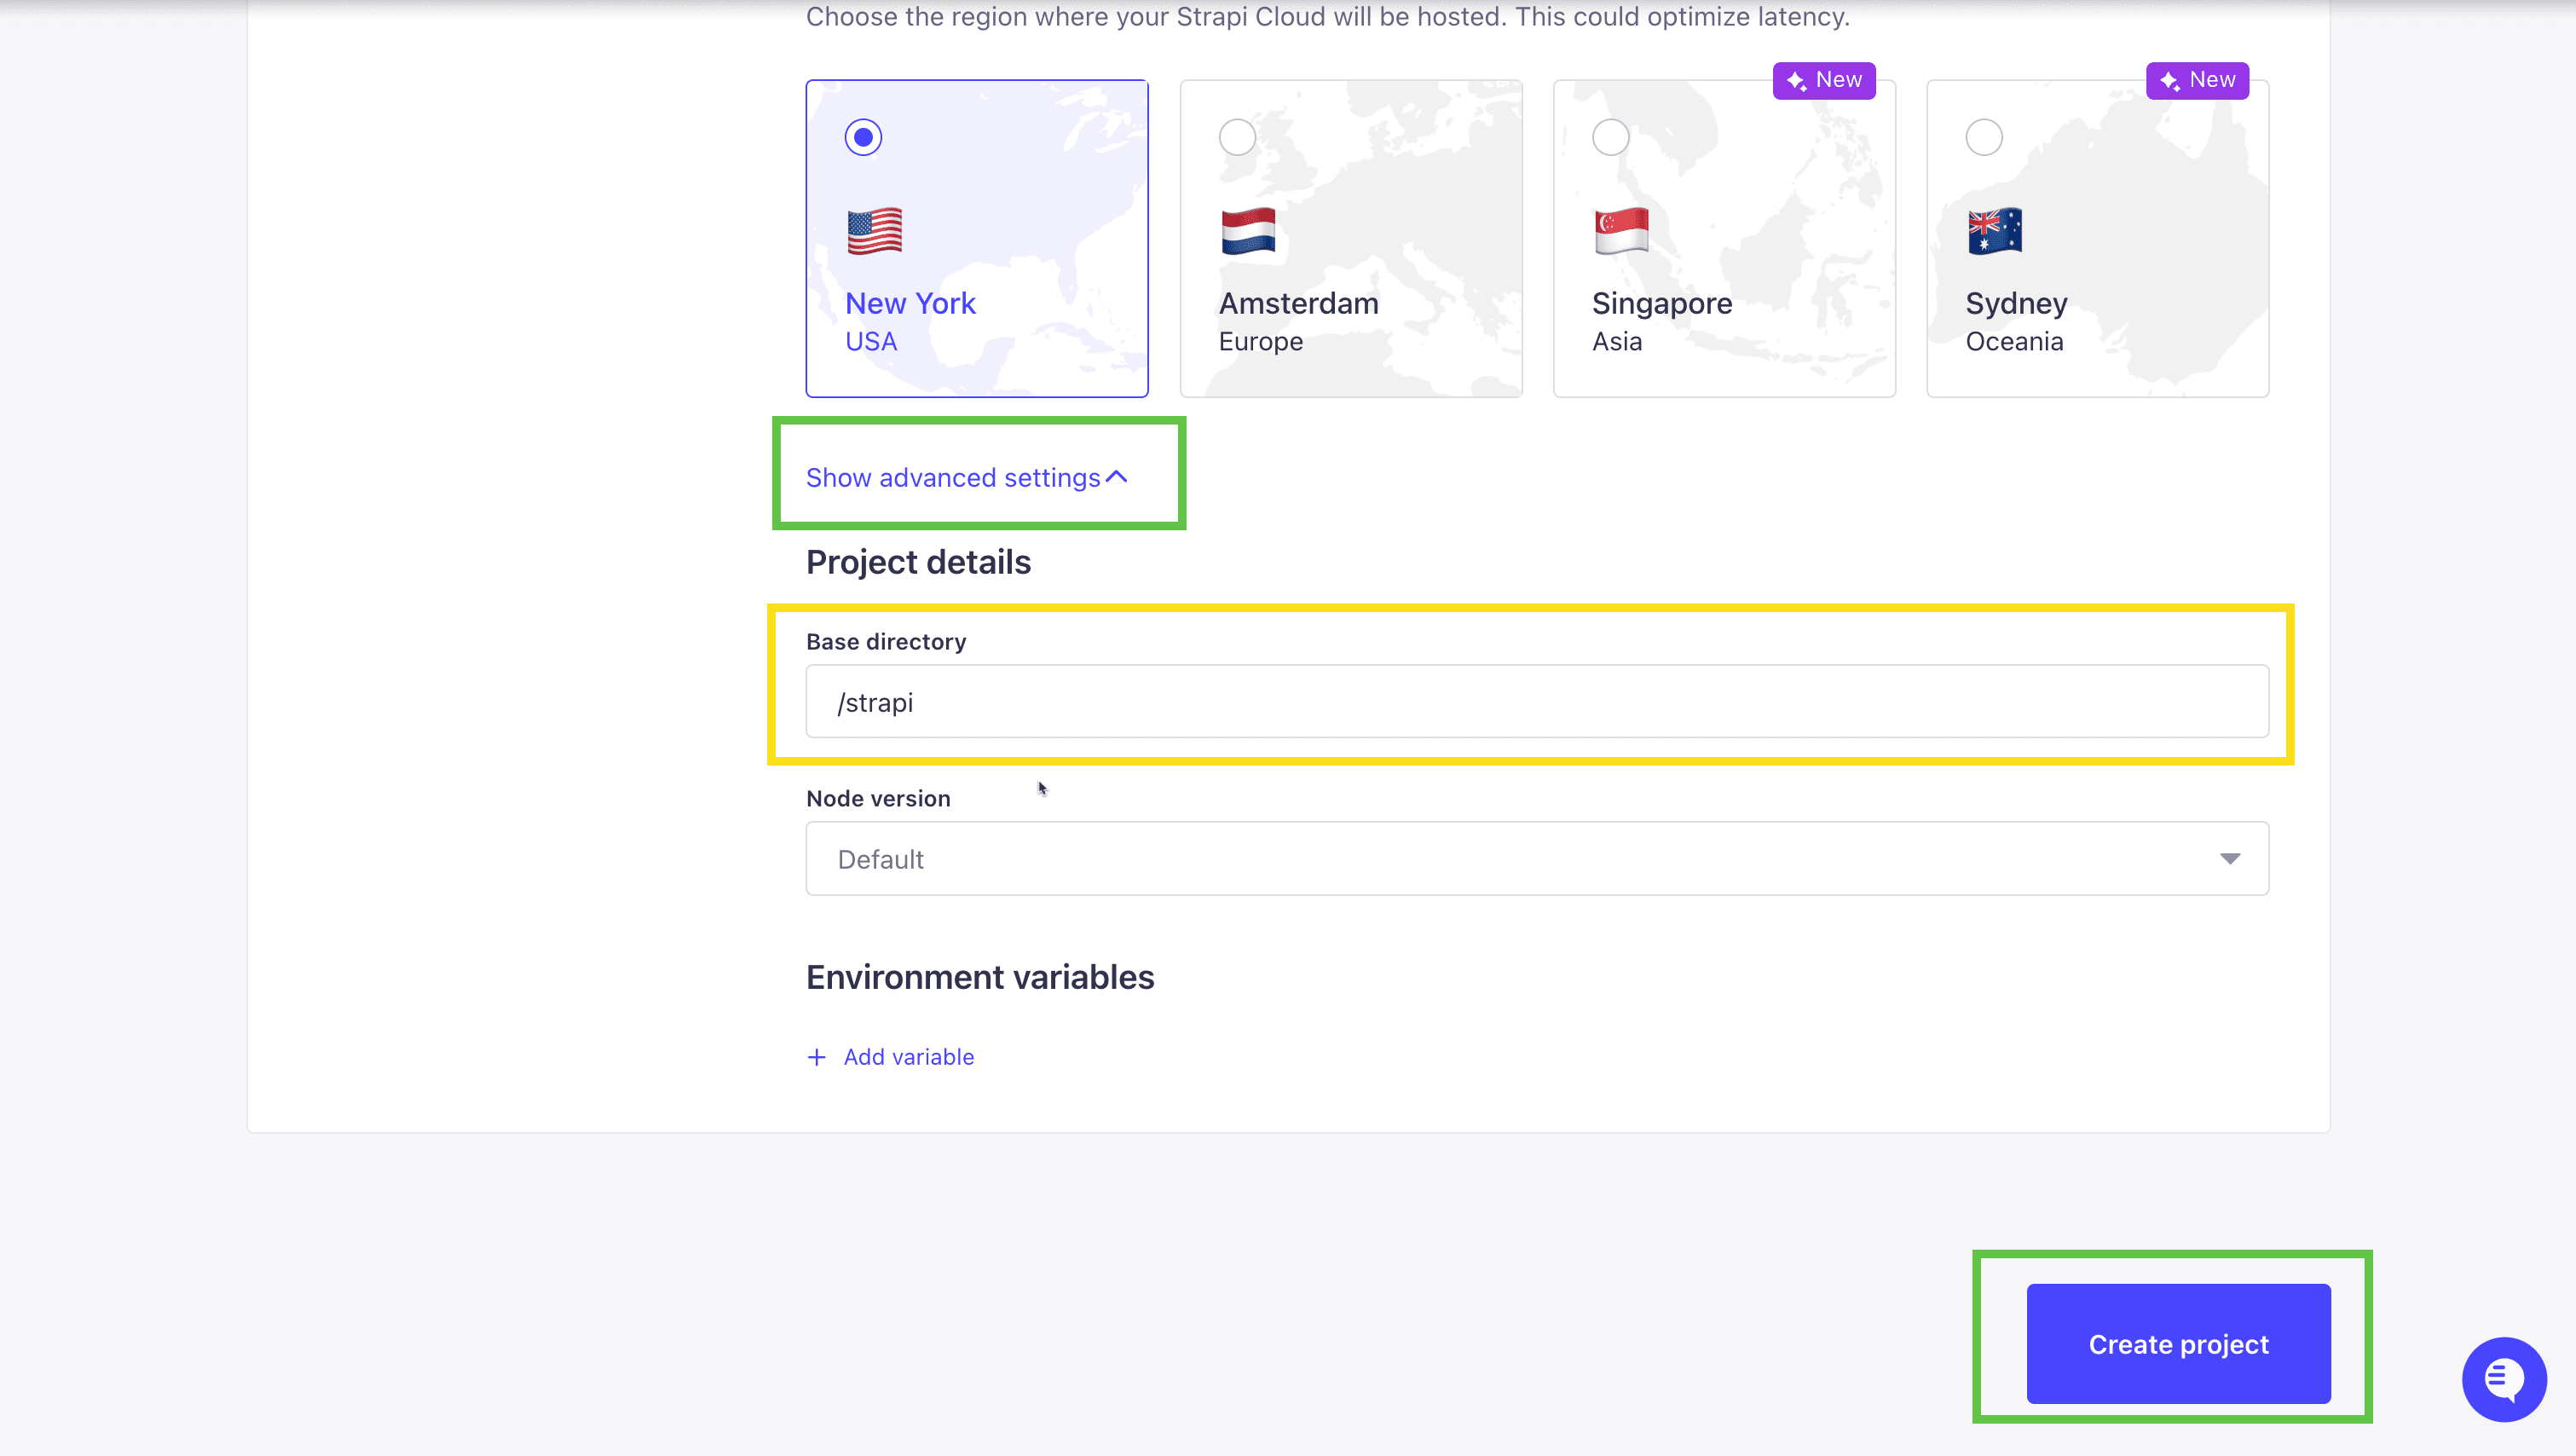
Next, click the Create project button to deploy our project.
Note: We will return later to update our environment variables after we deploy our Next.js frontend to Vercel.
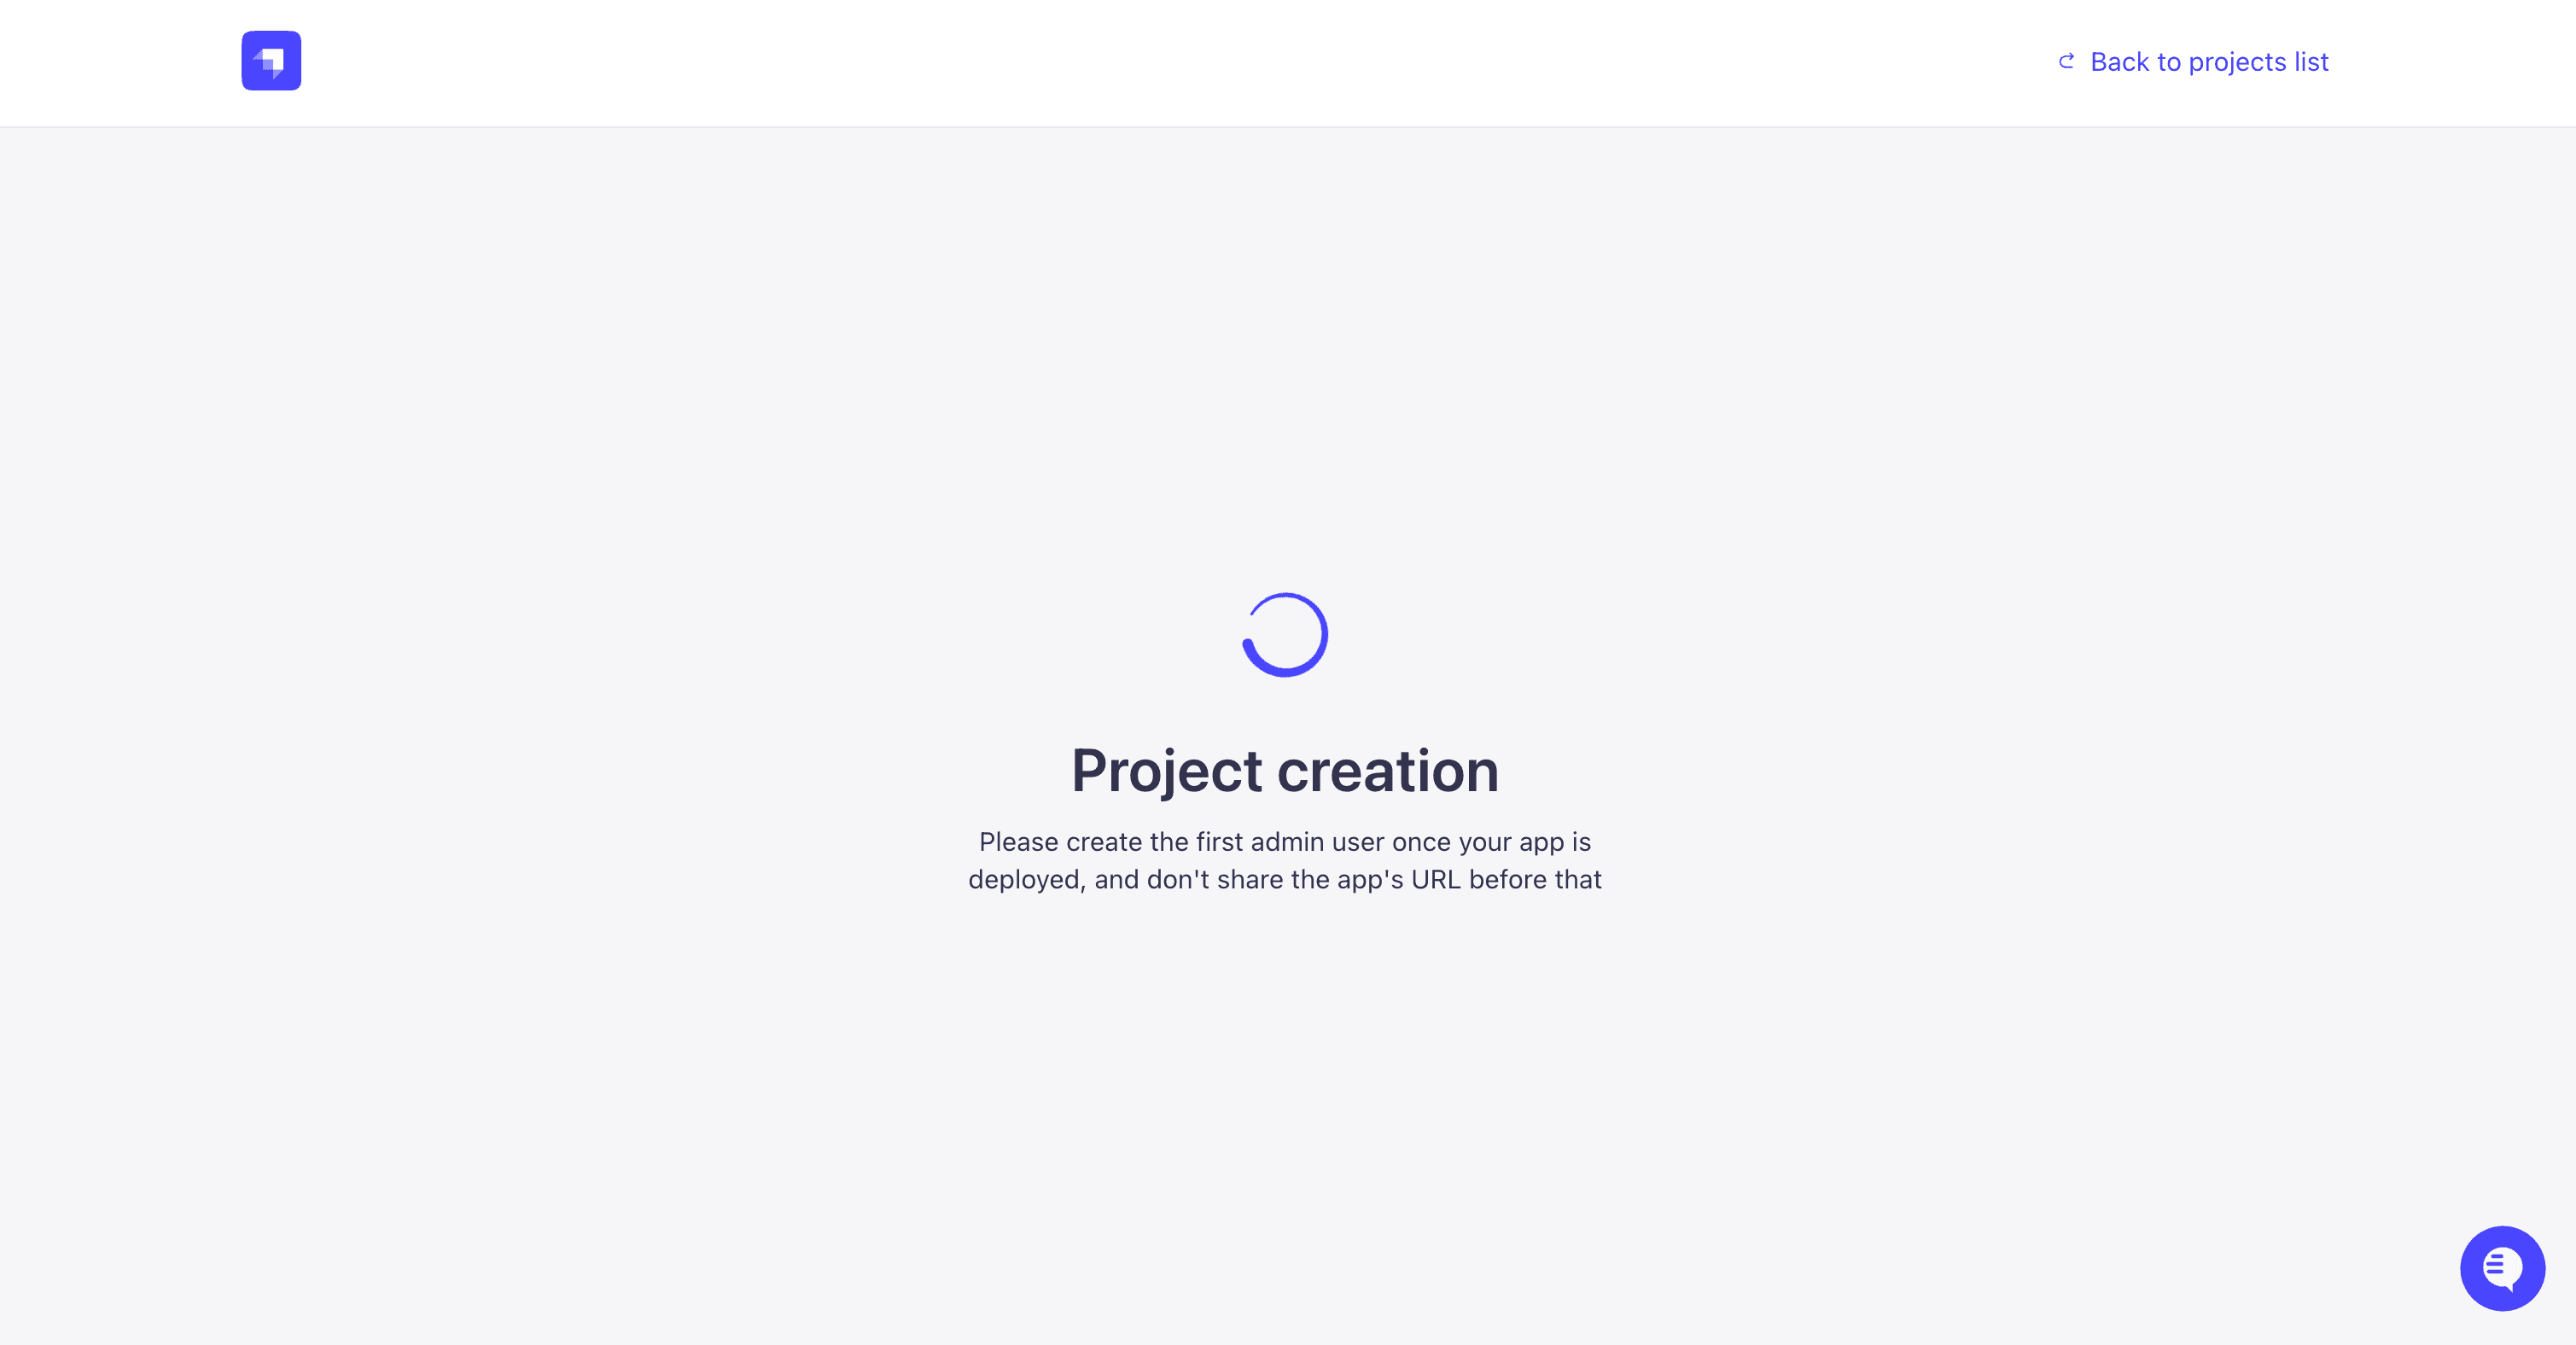
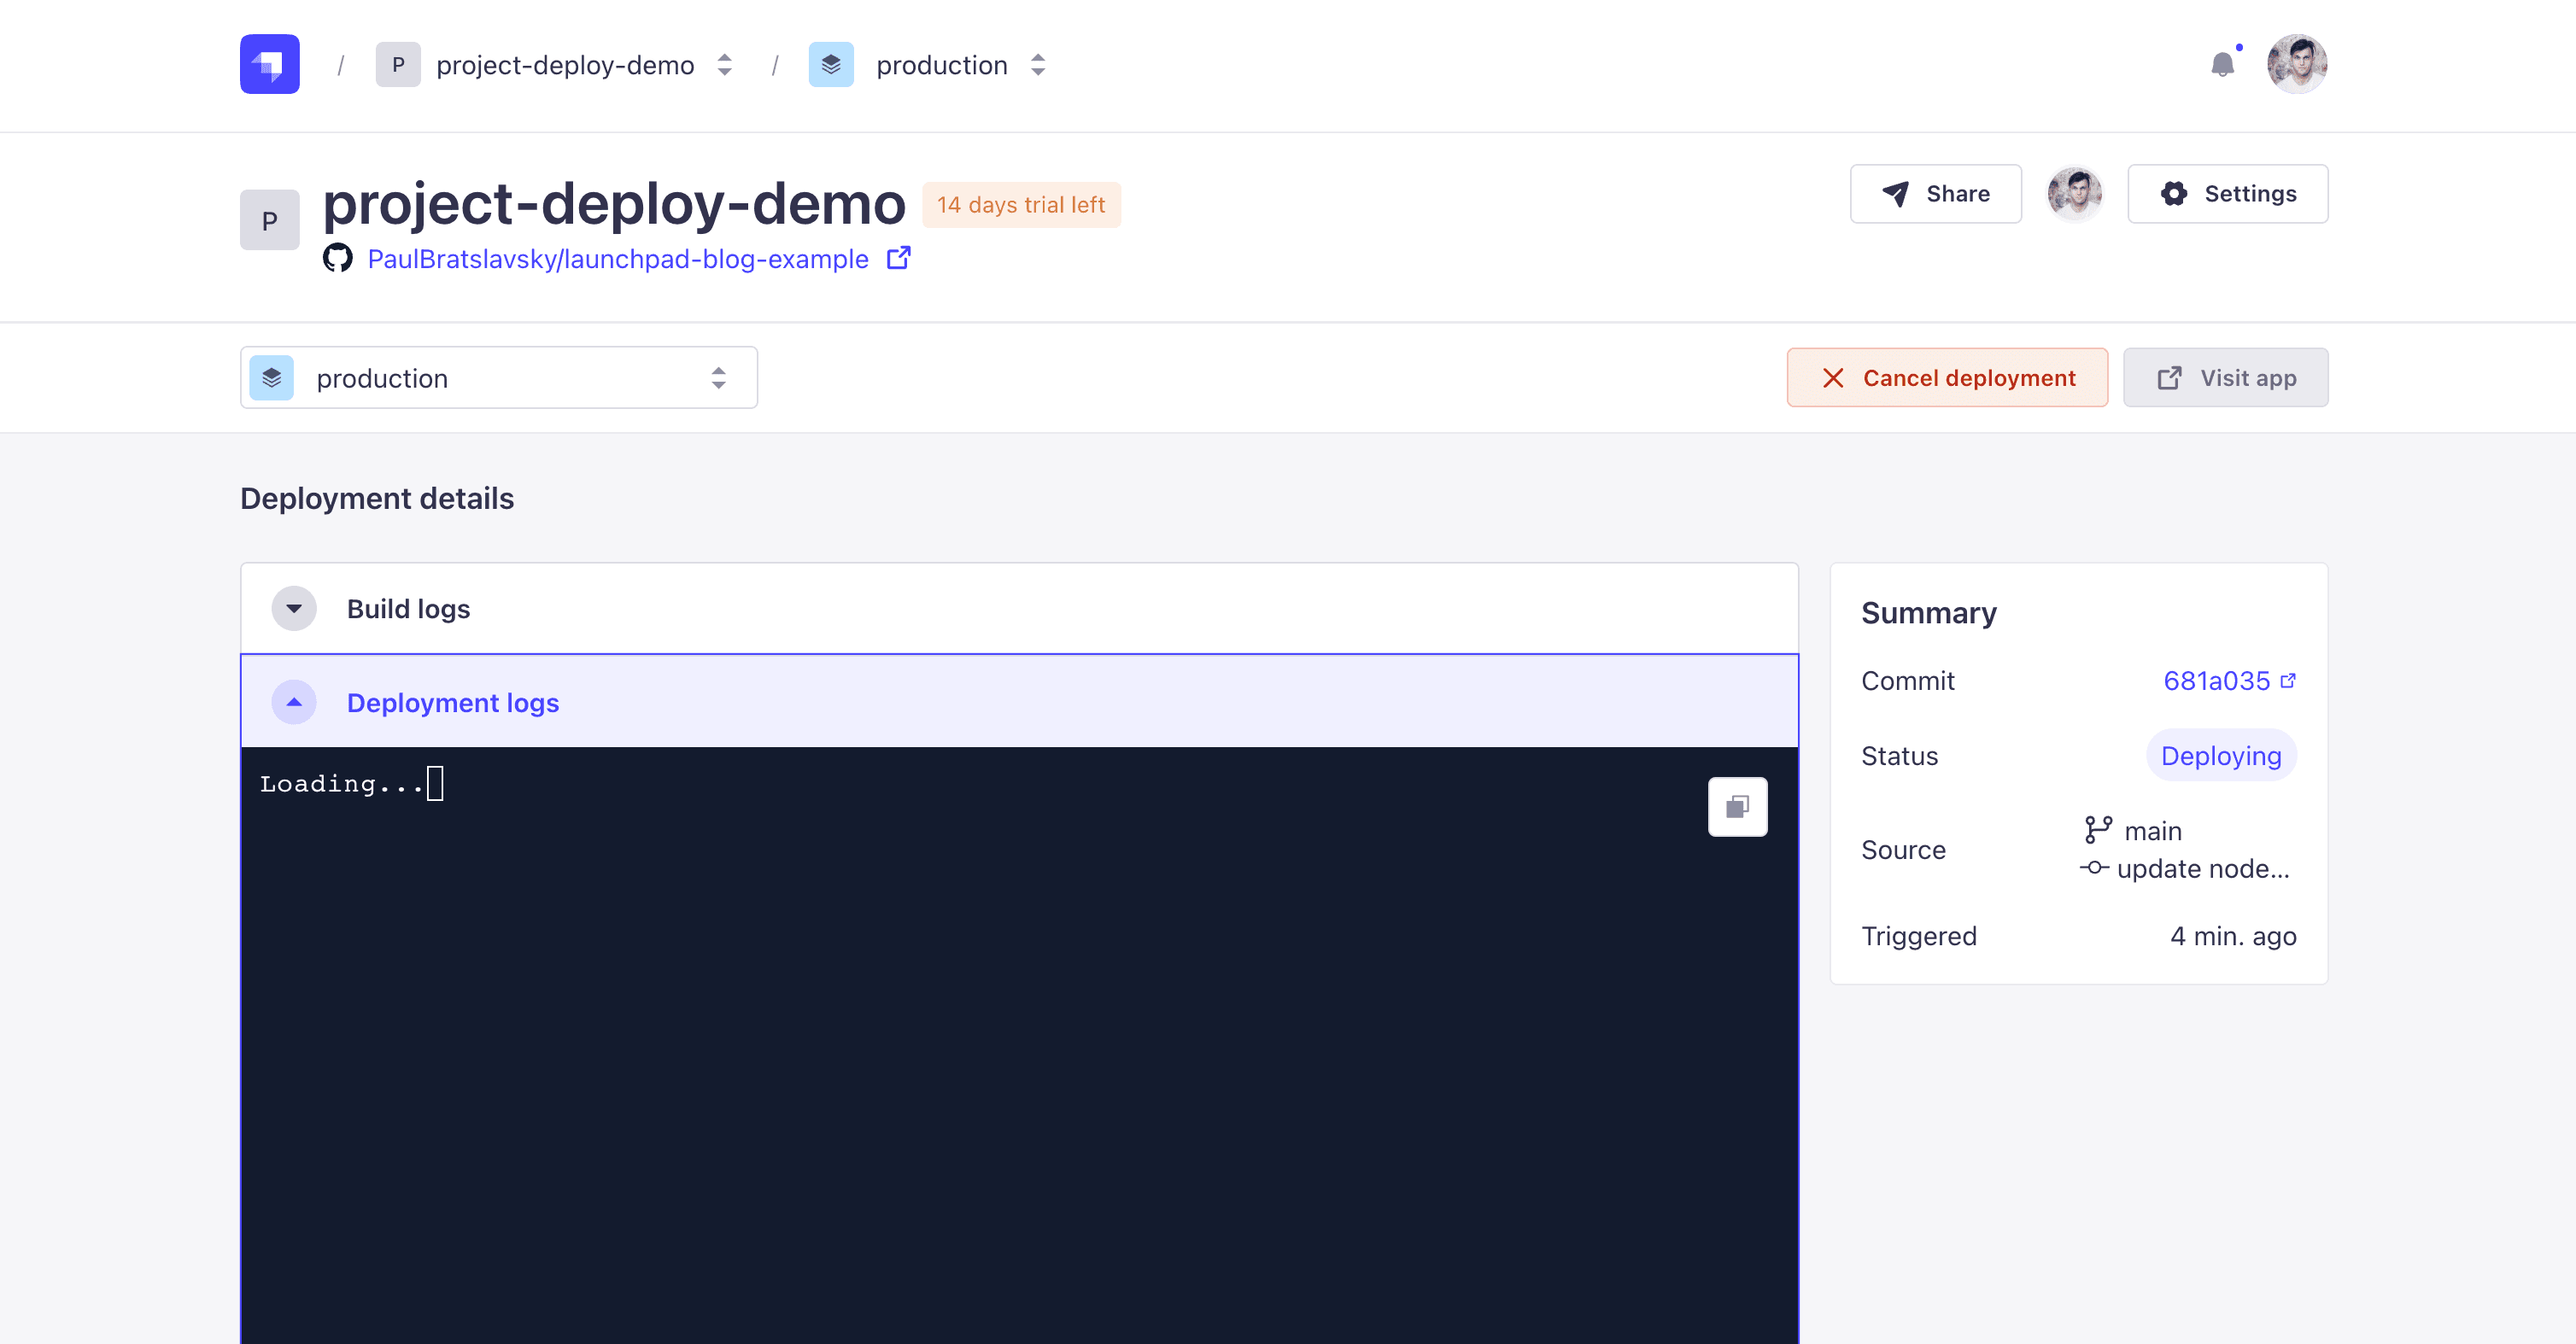
You will see the project creation screen followed by the deployment progress.
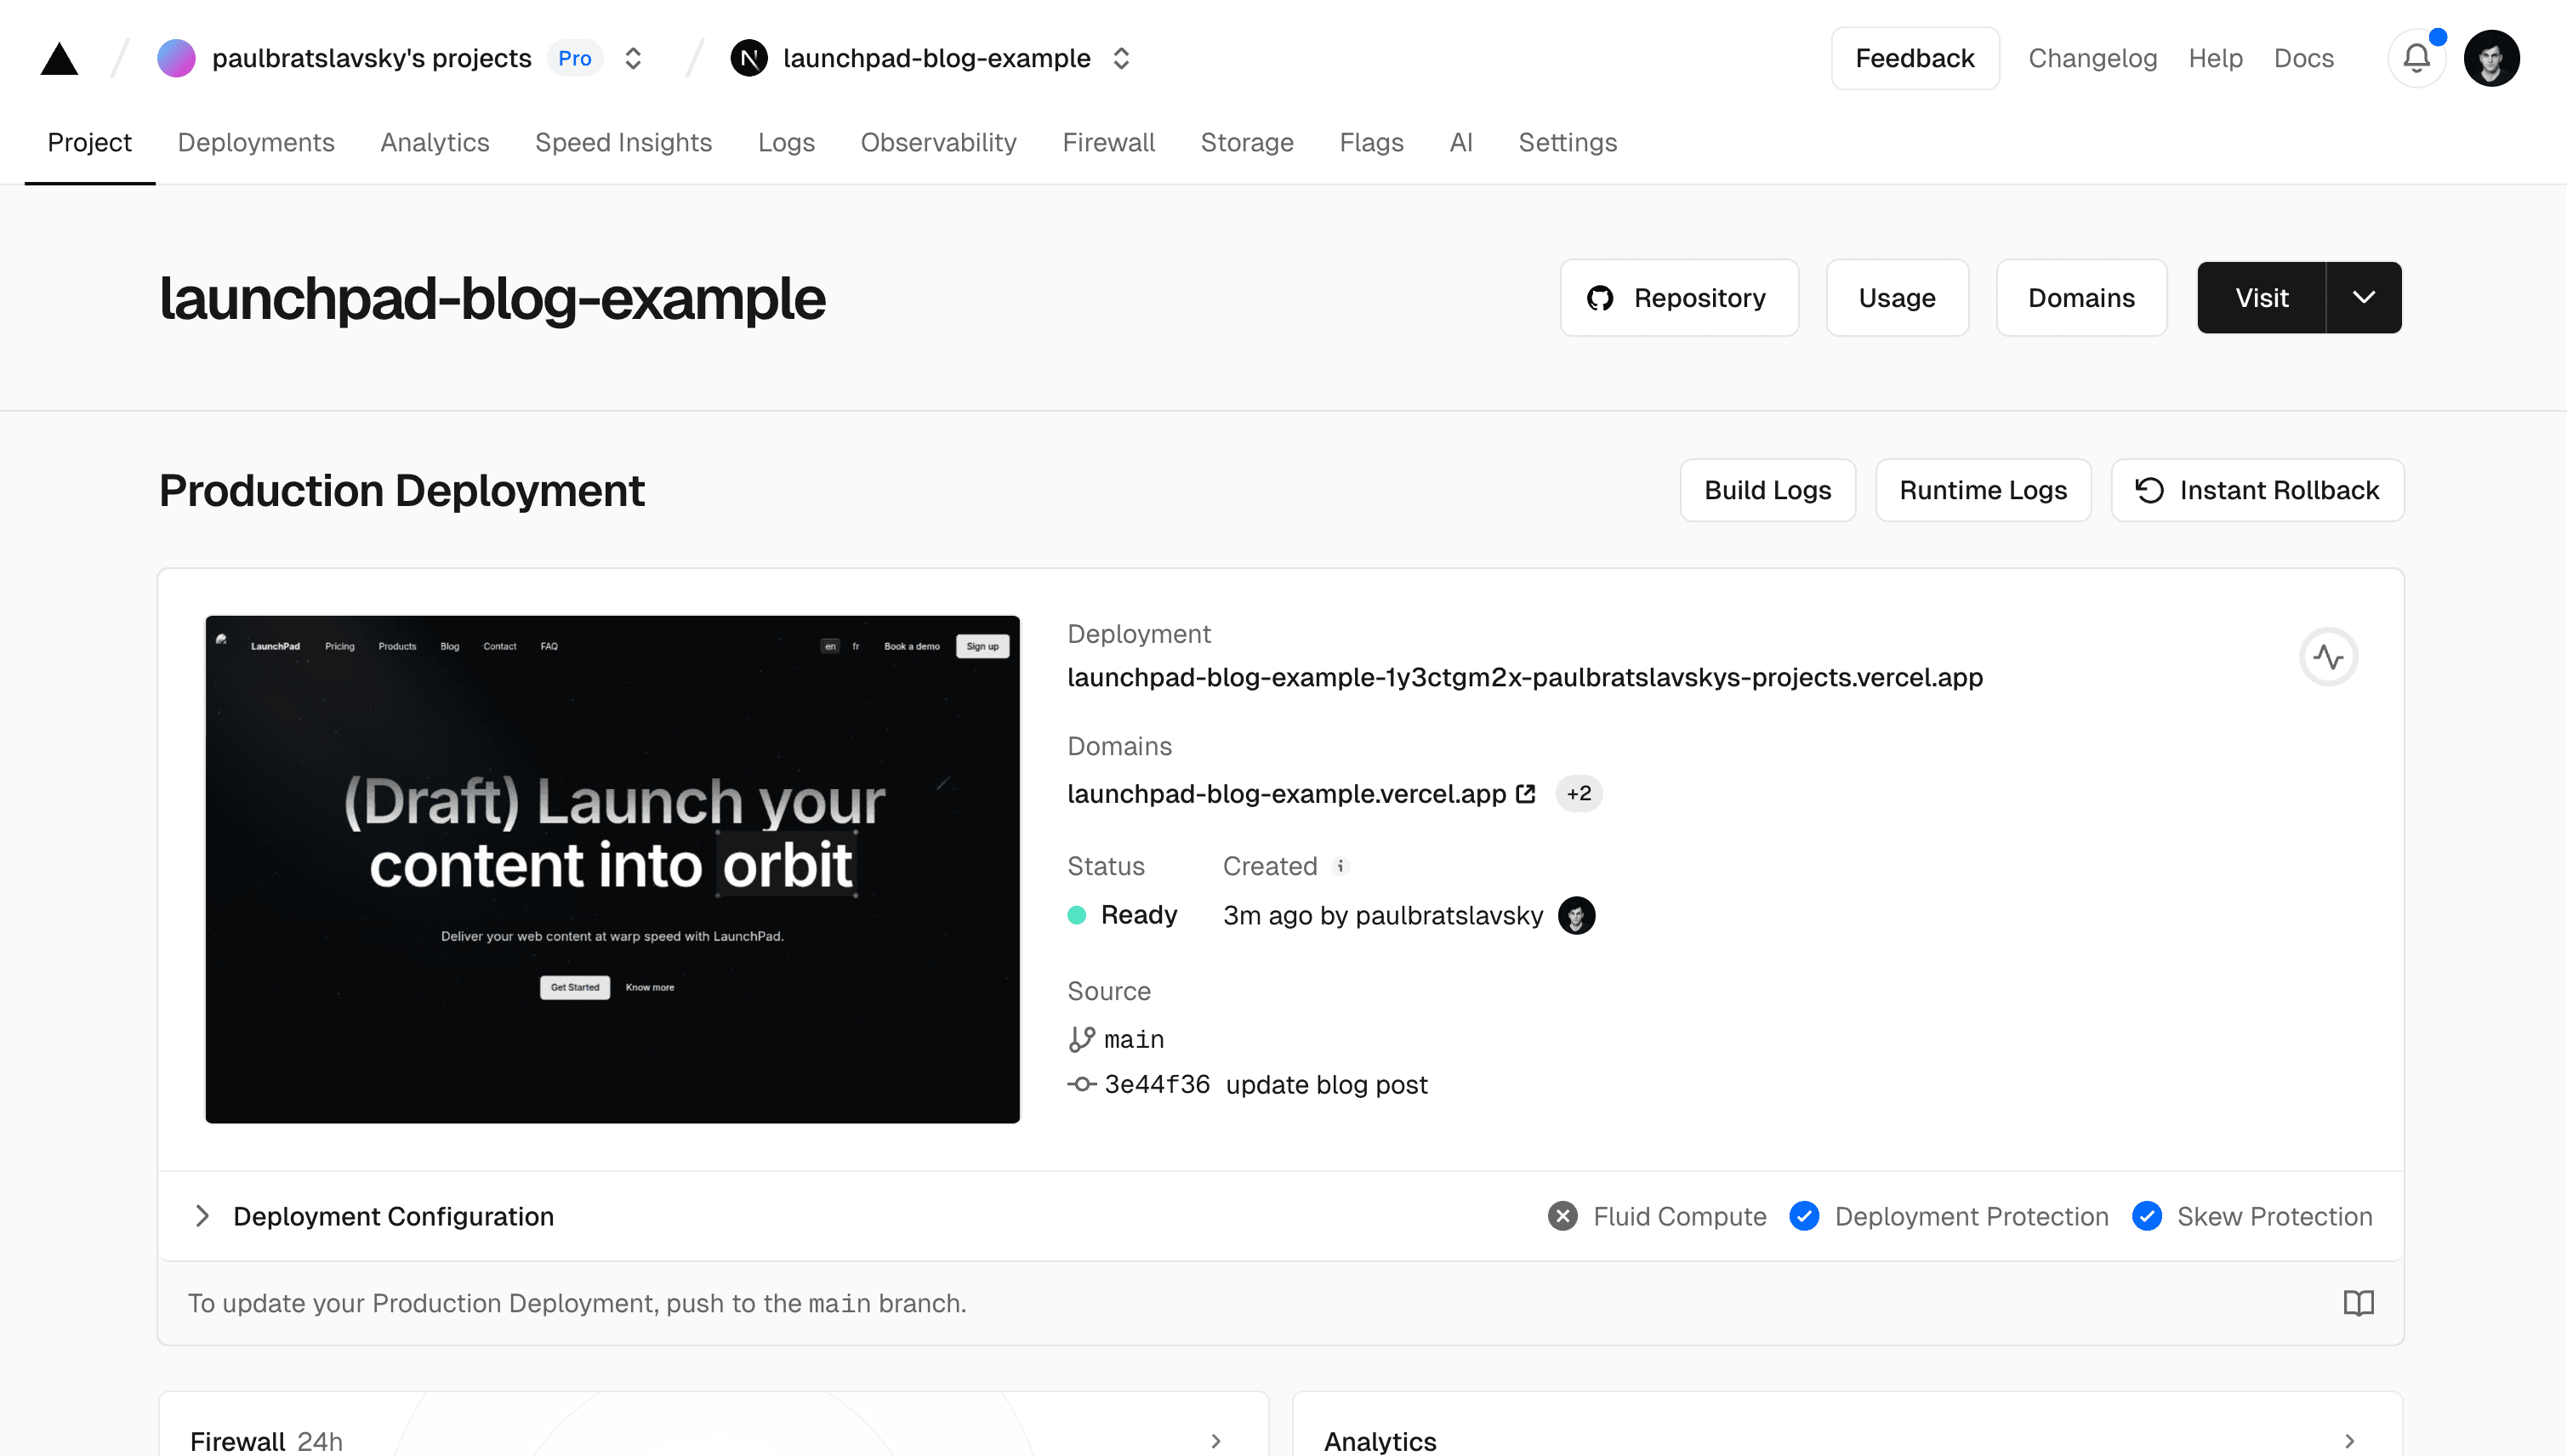
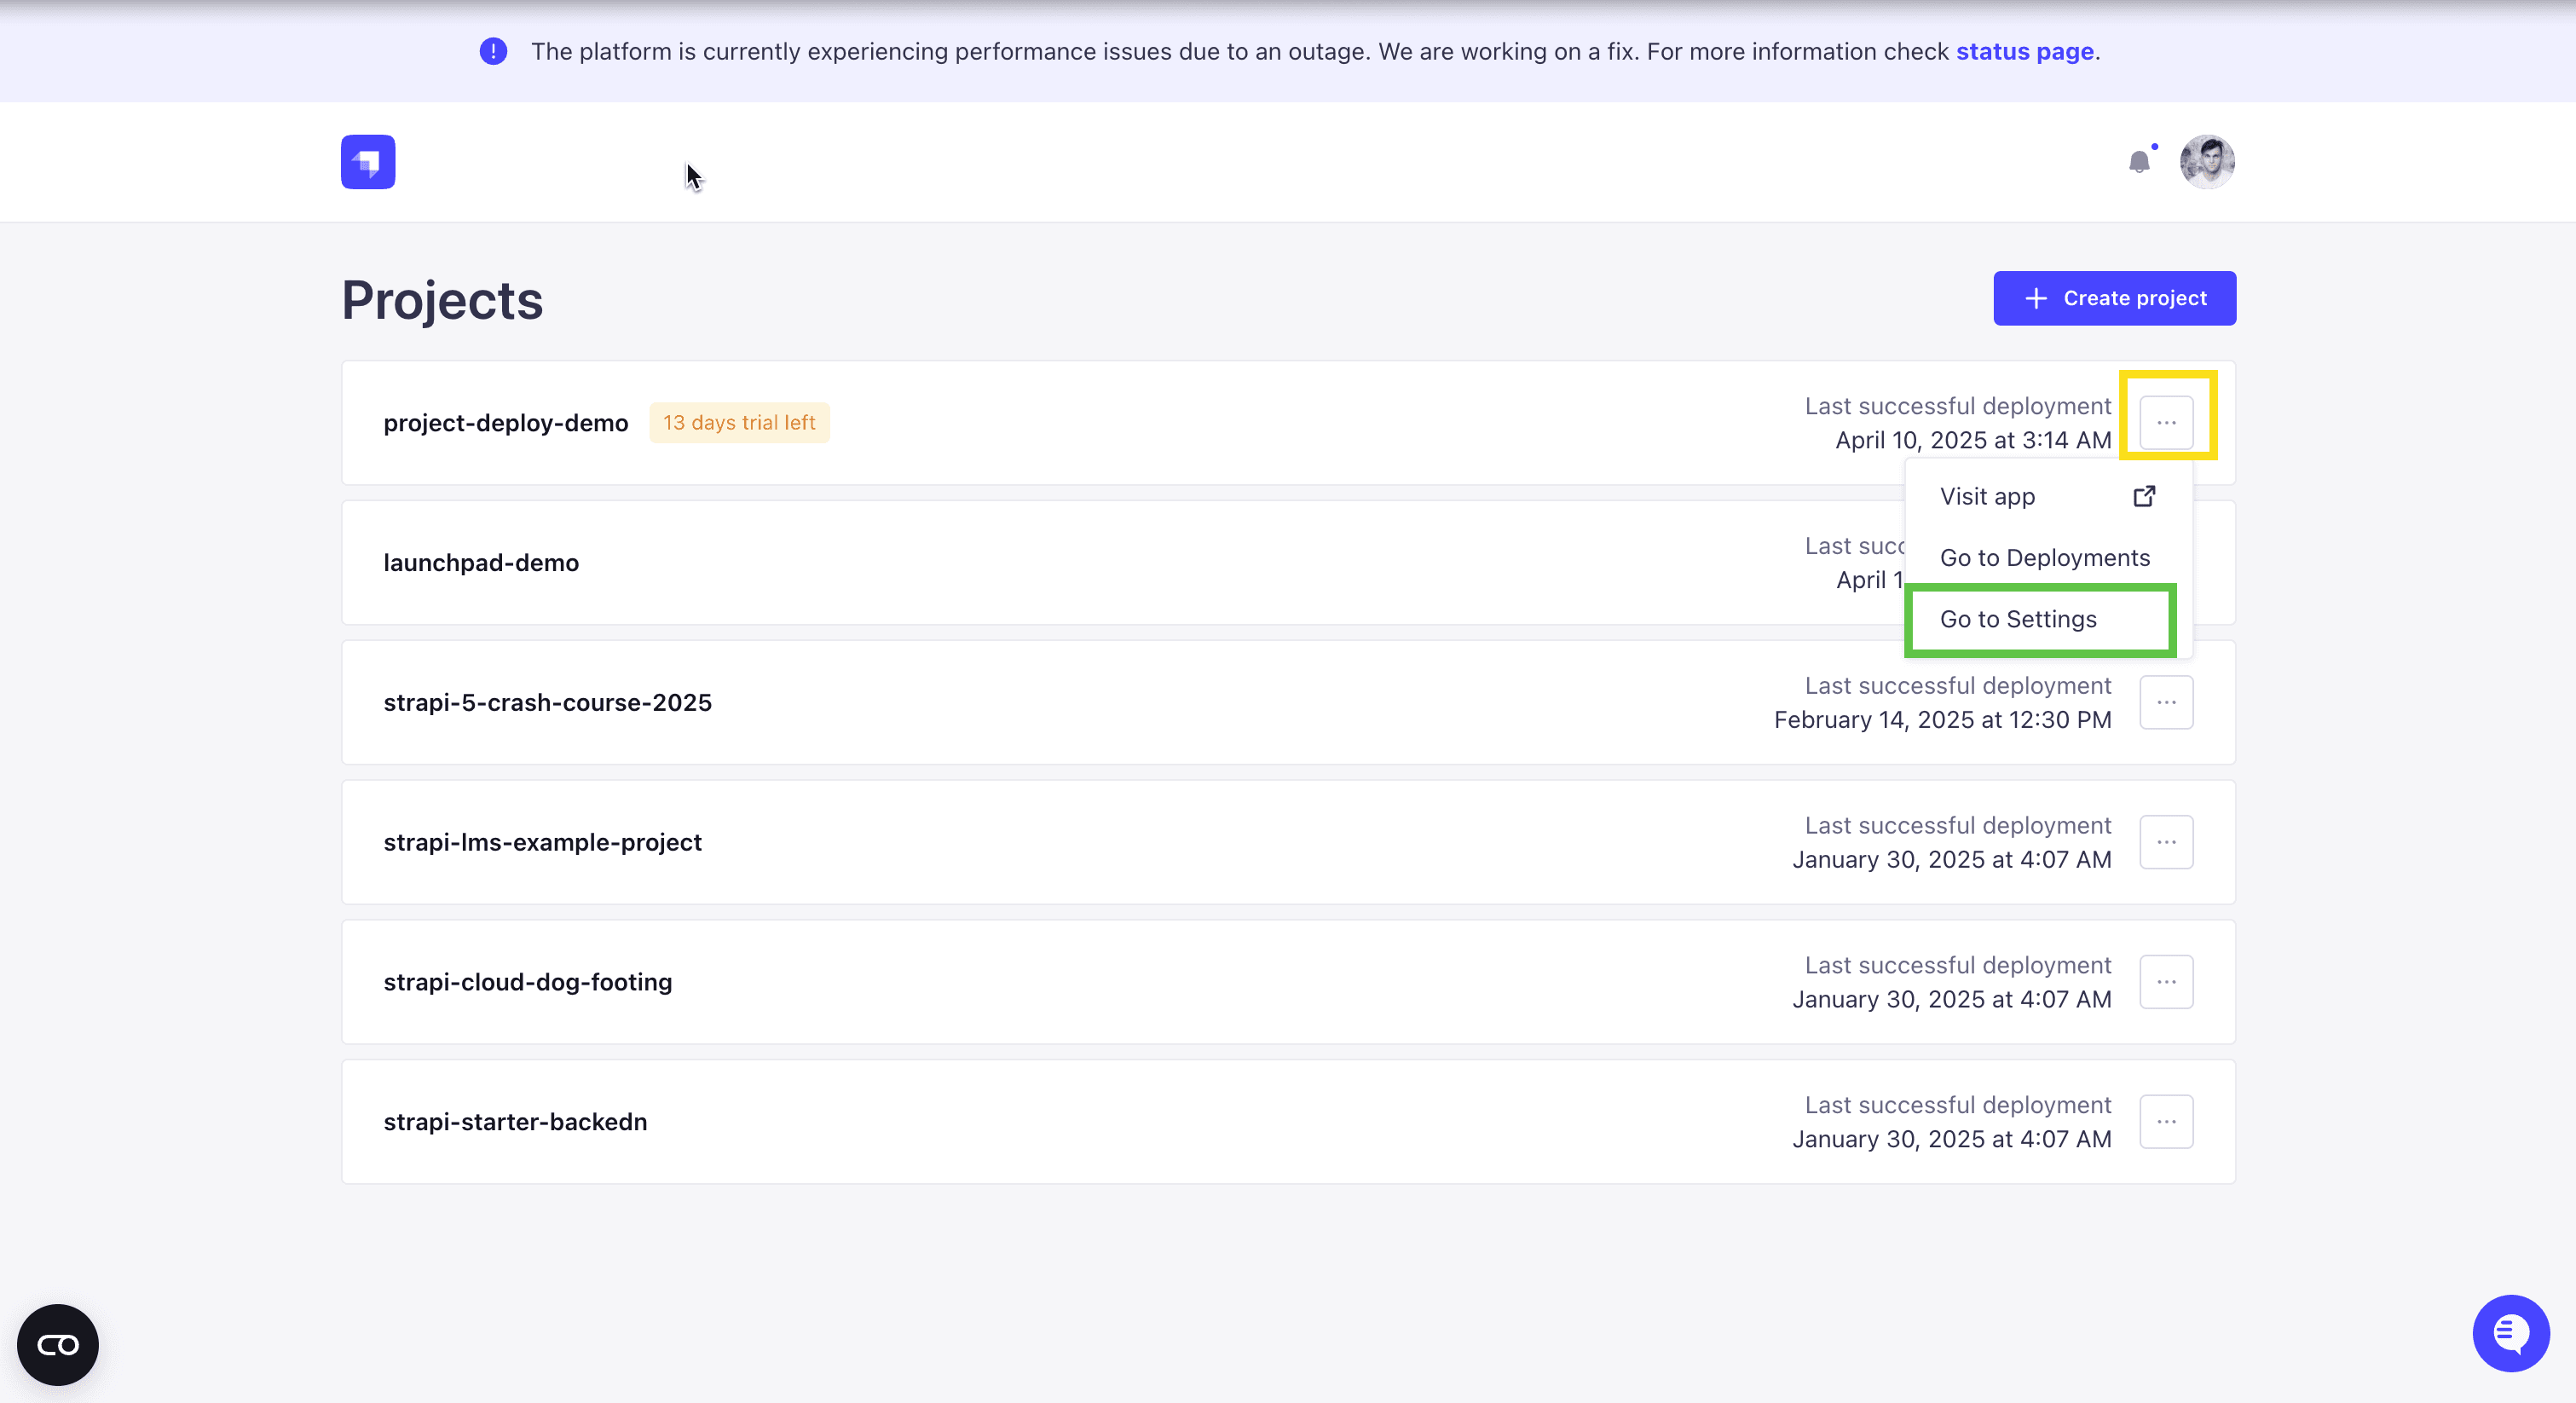
Once your project is deployed, you can visit it by clicking on the Visit button.
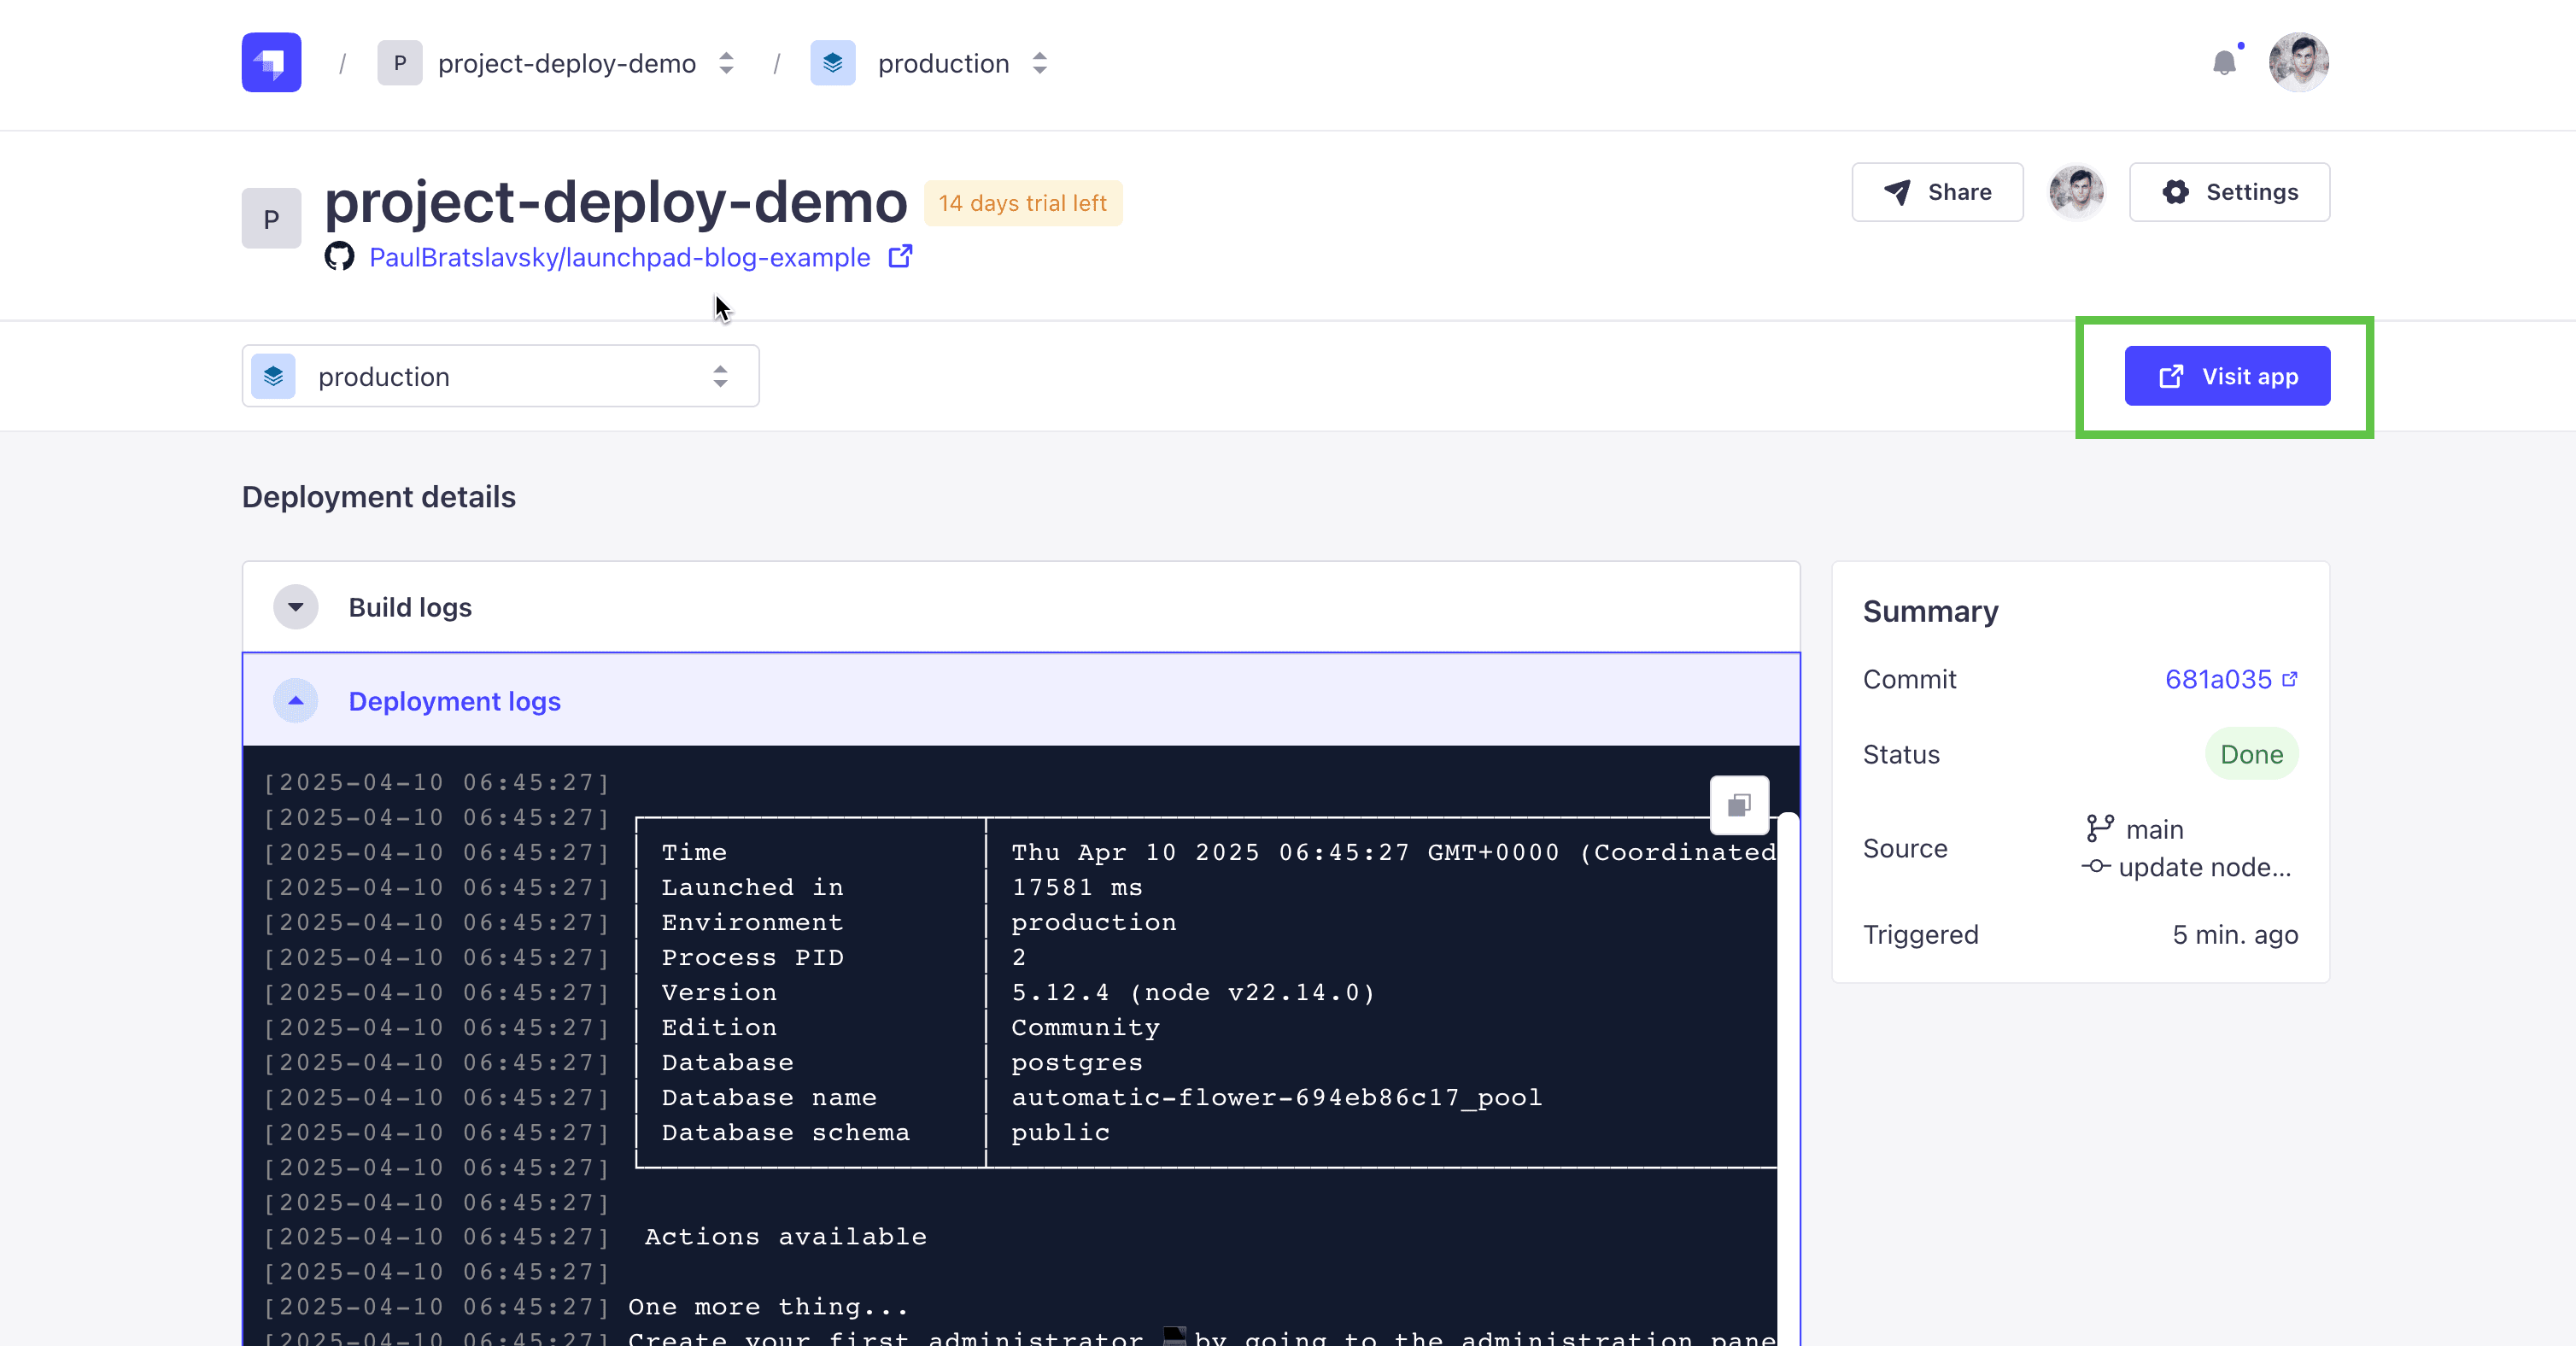
You will be redirected to create your Strapi admin user.
Once you log in, you will be redirected to the project dashboard. Let's navigate to our article content type. You will see that we don't have any articles yet.
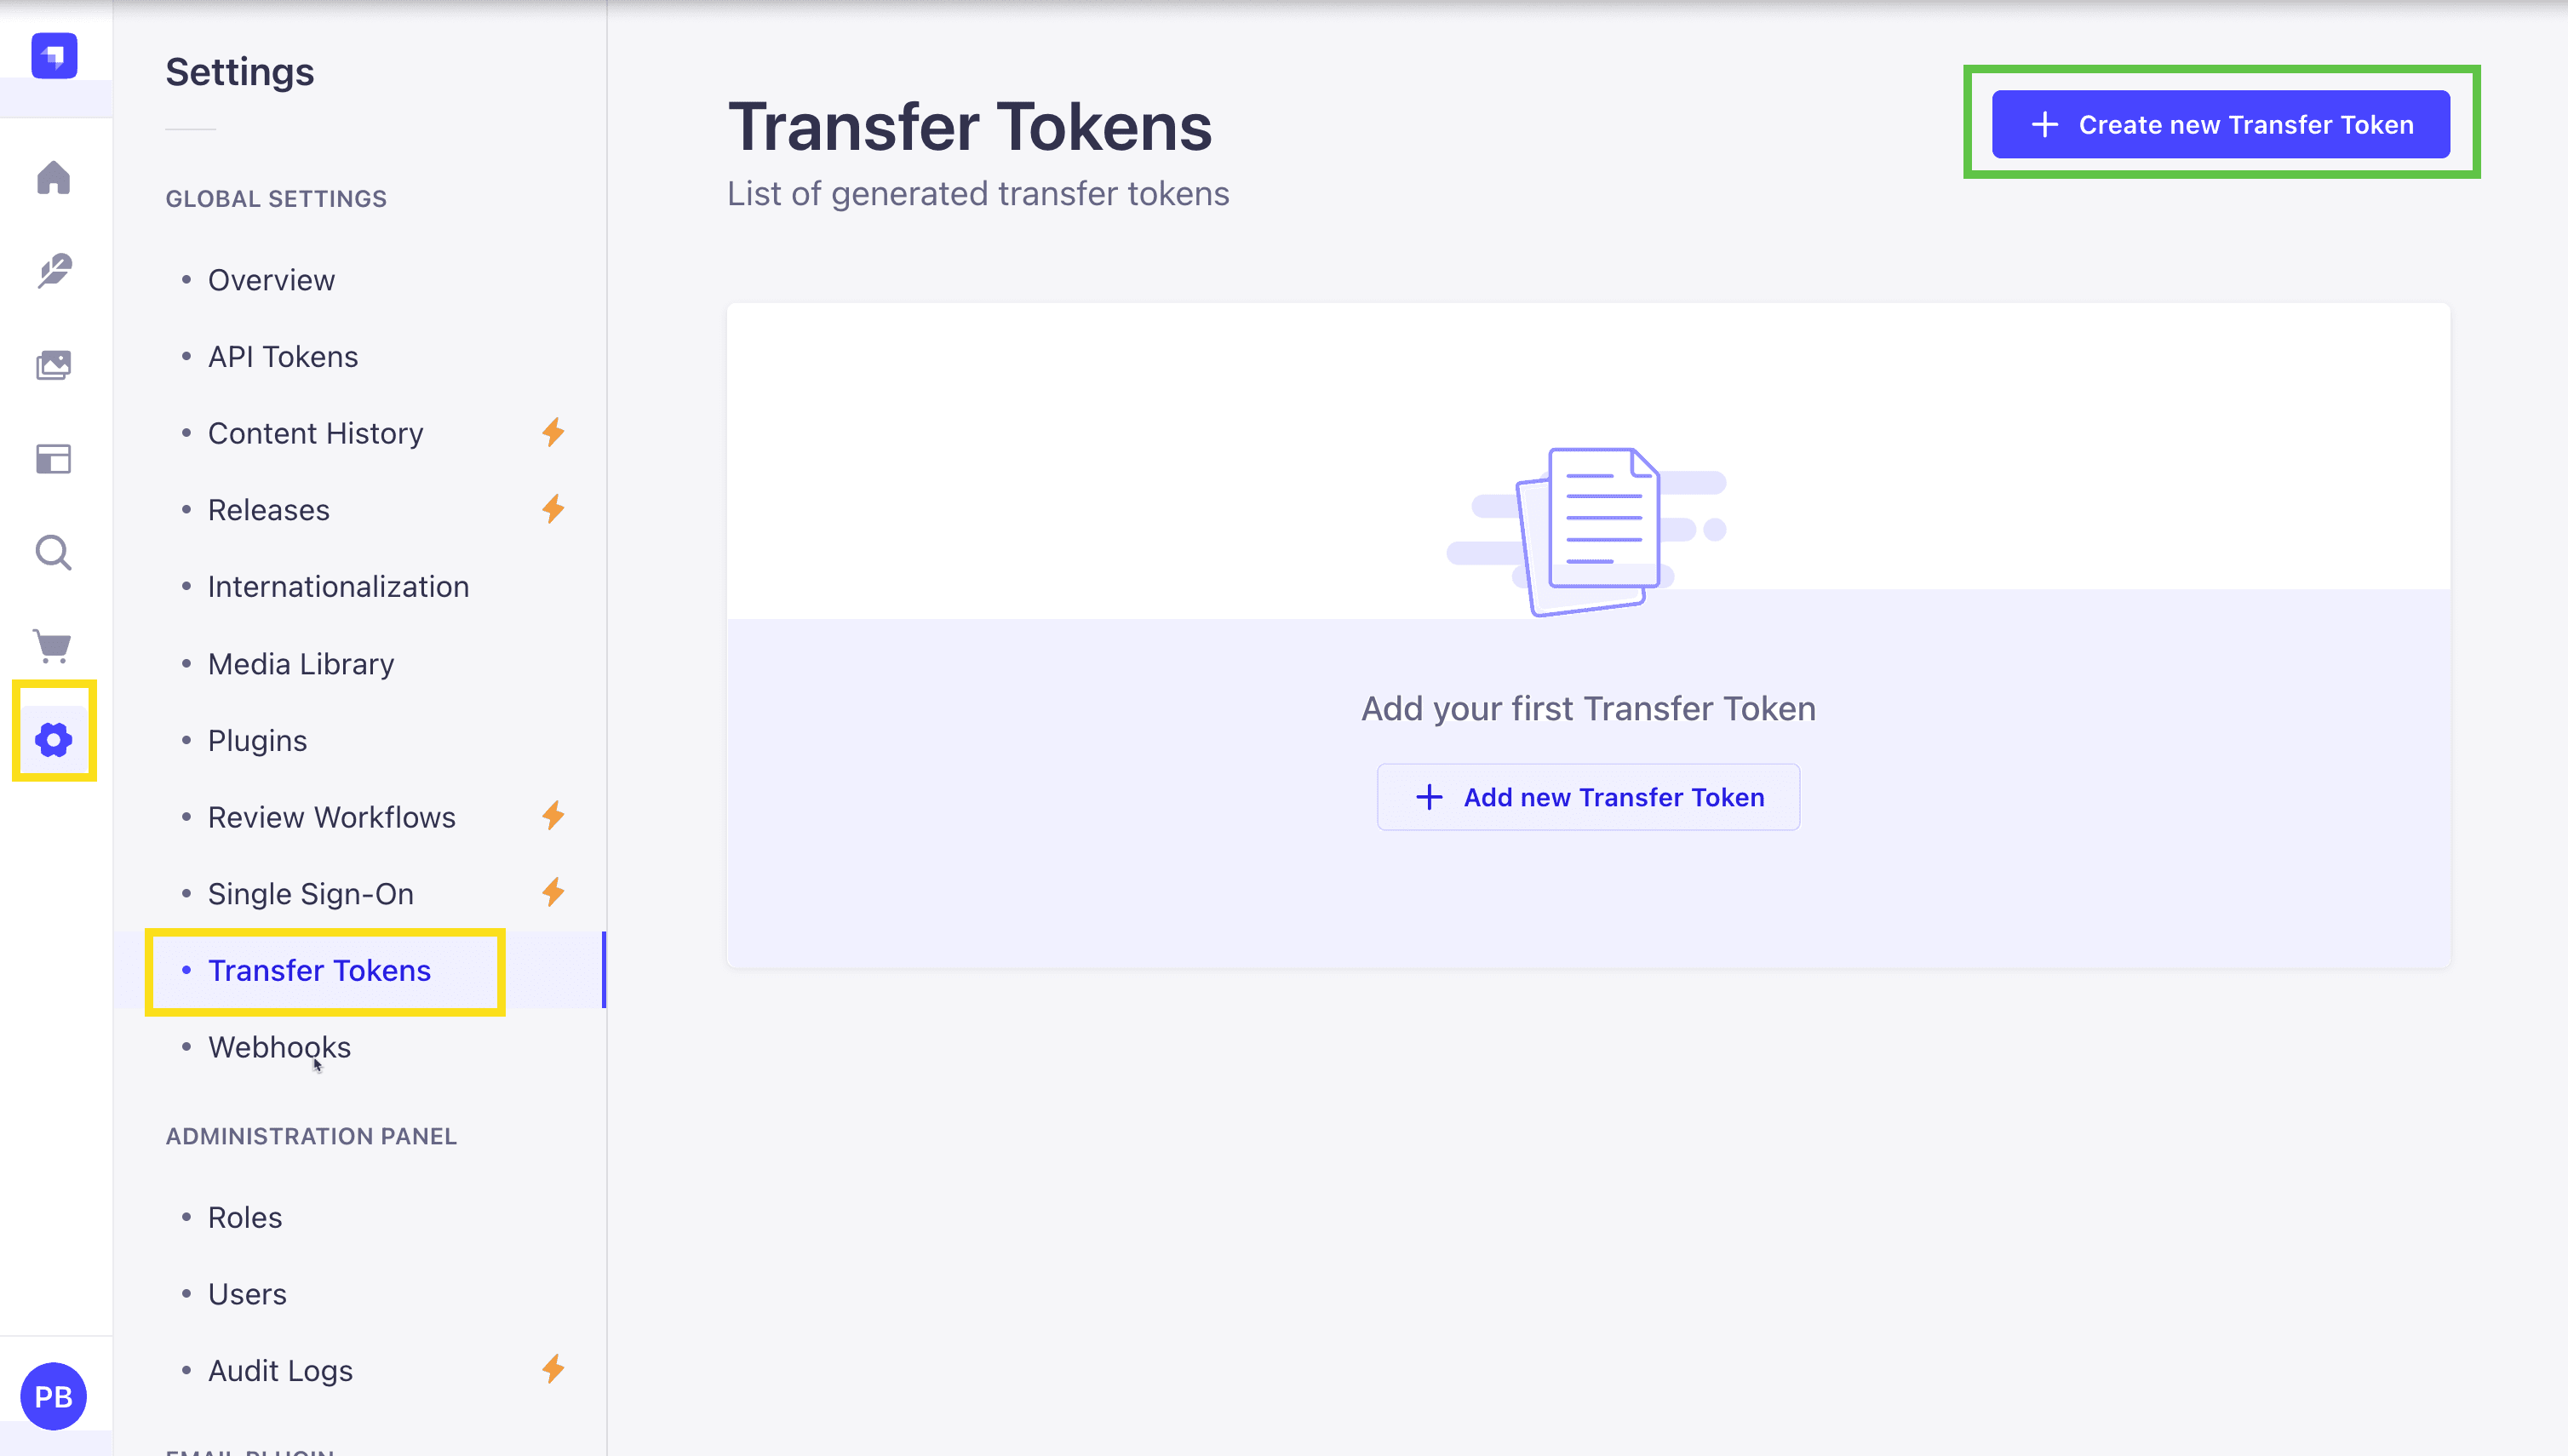
Let's use the Transfer feature to transfer our local date to our deployed Strapi Instance.
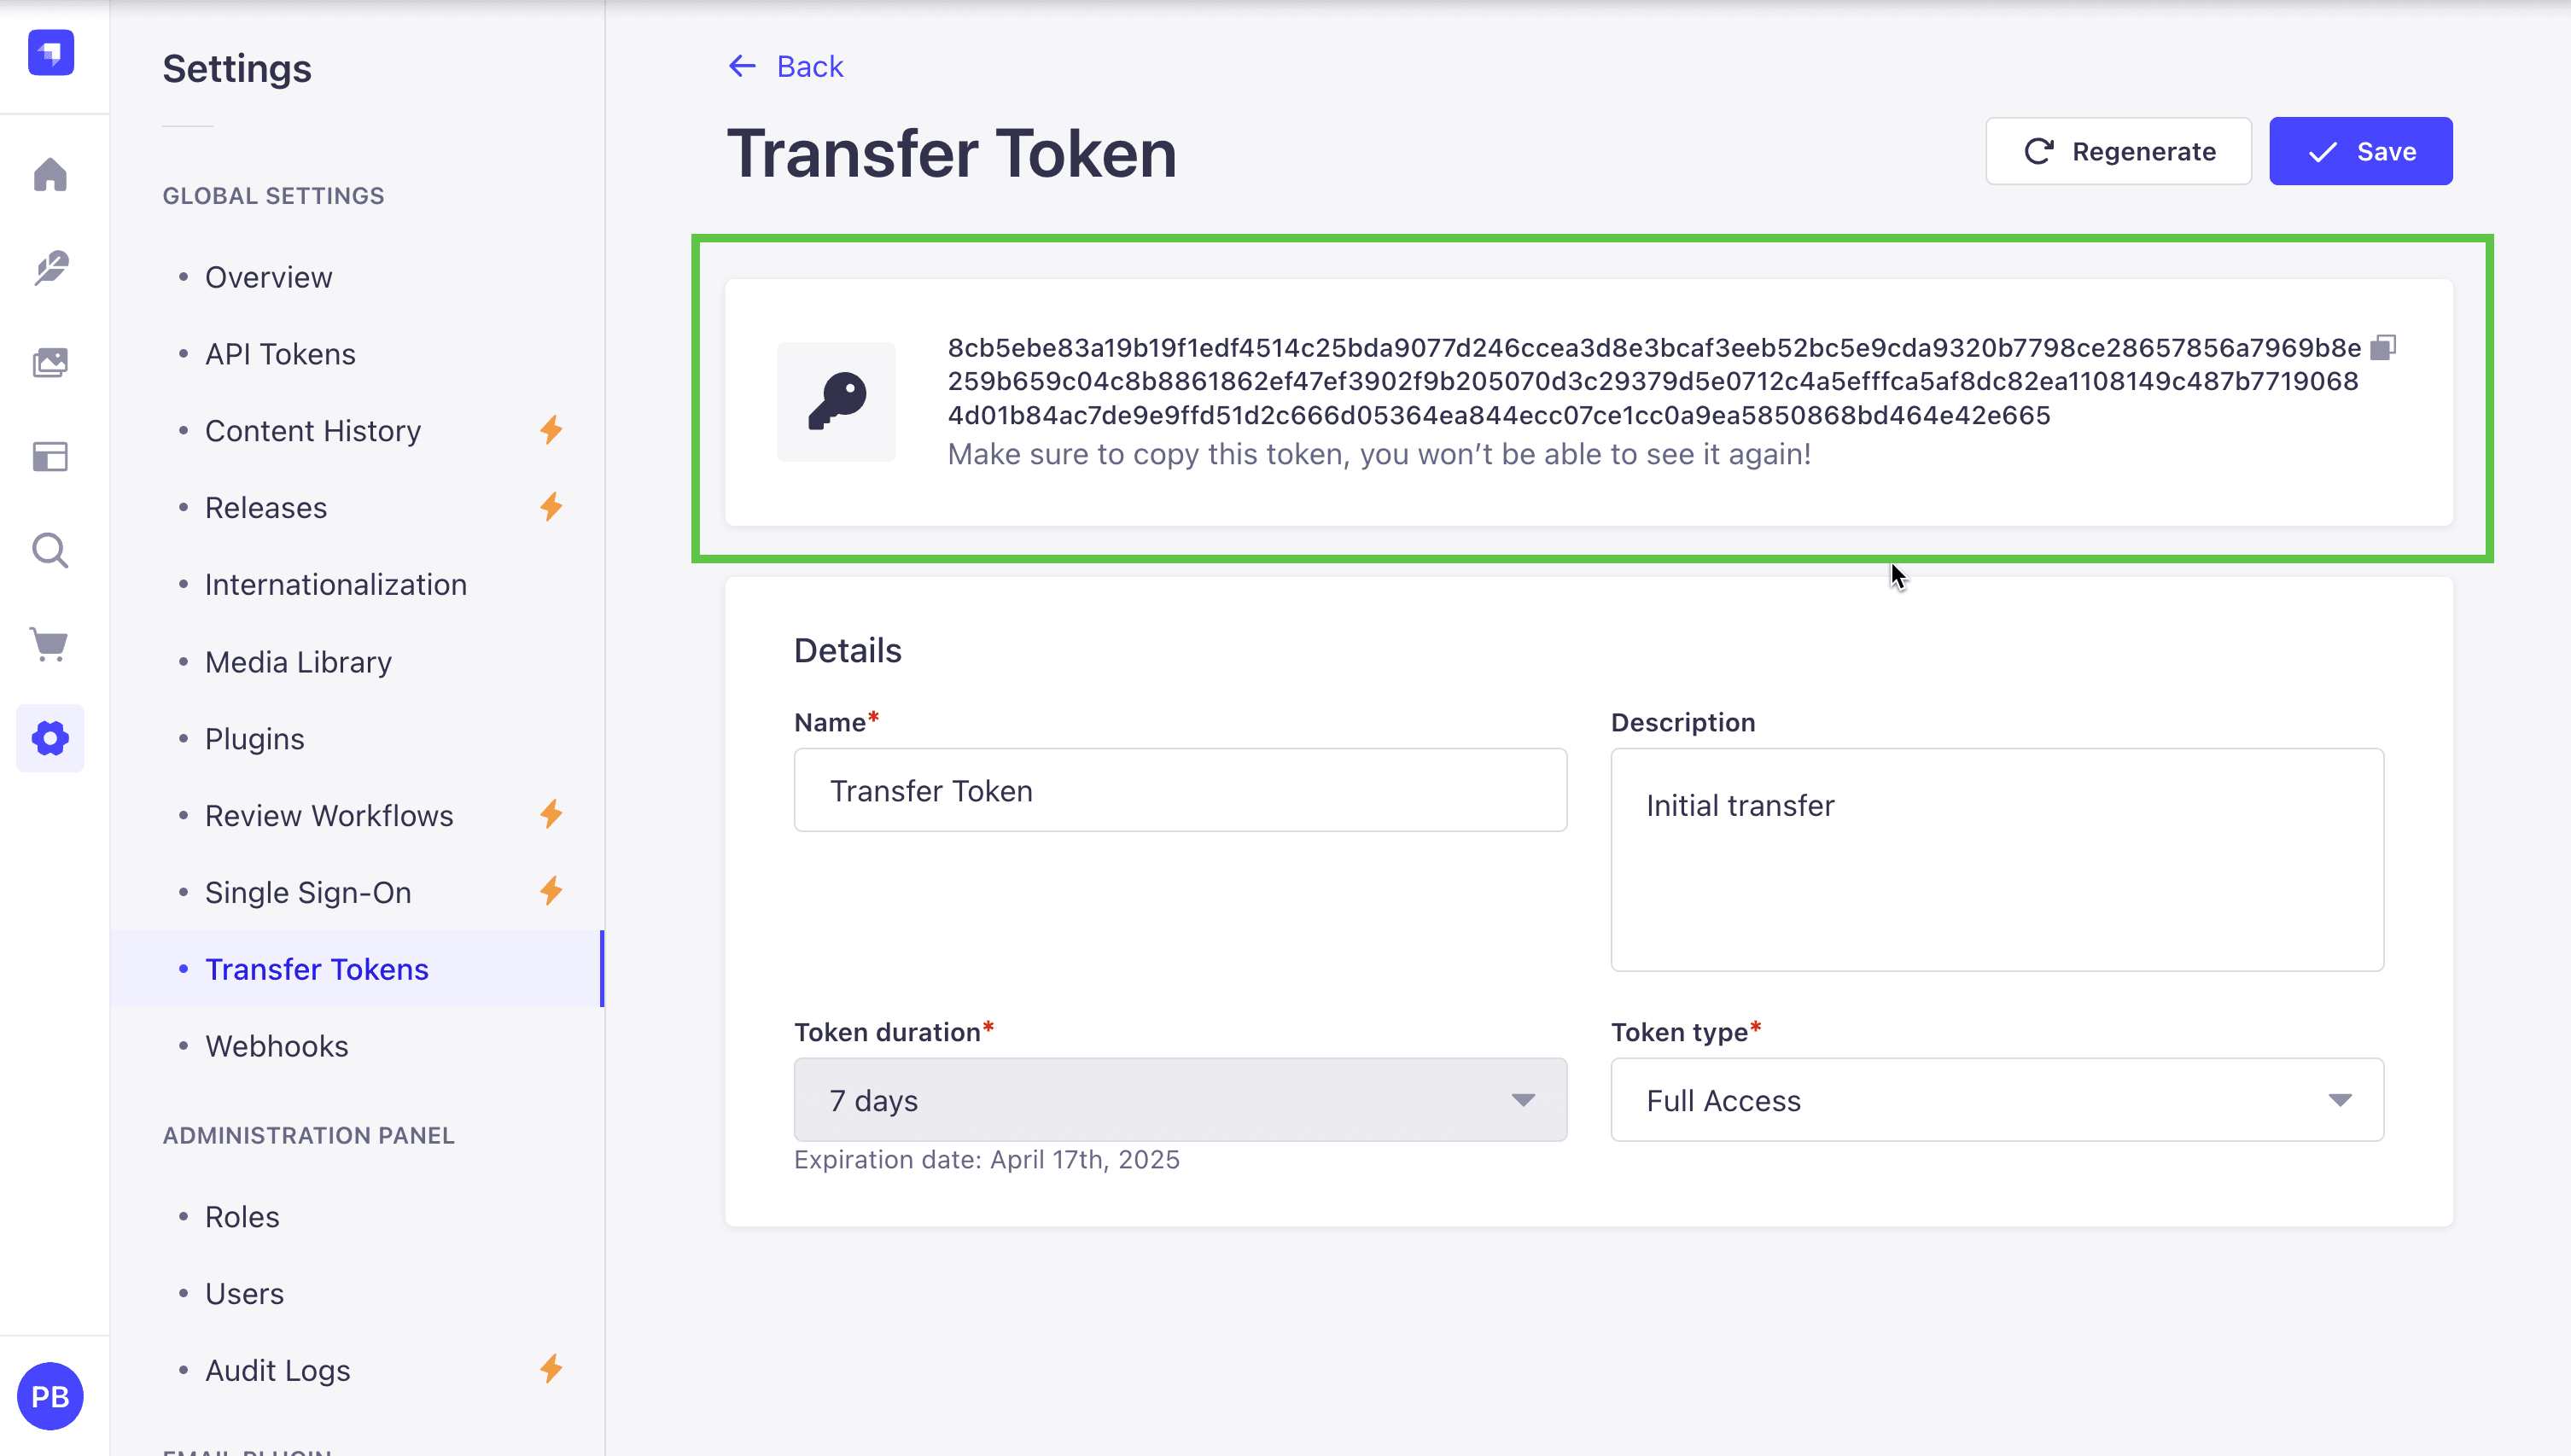
Navigate to Settings => Token Transfer and click the Create new Transfer Token button.
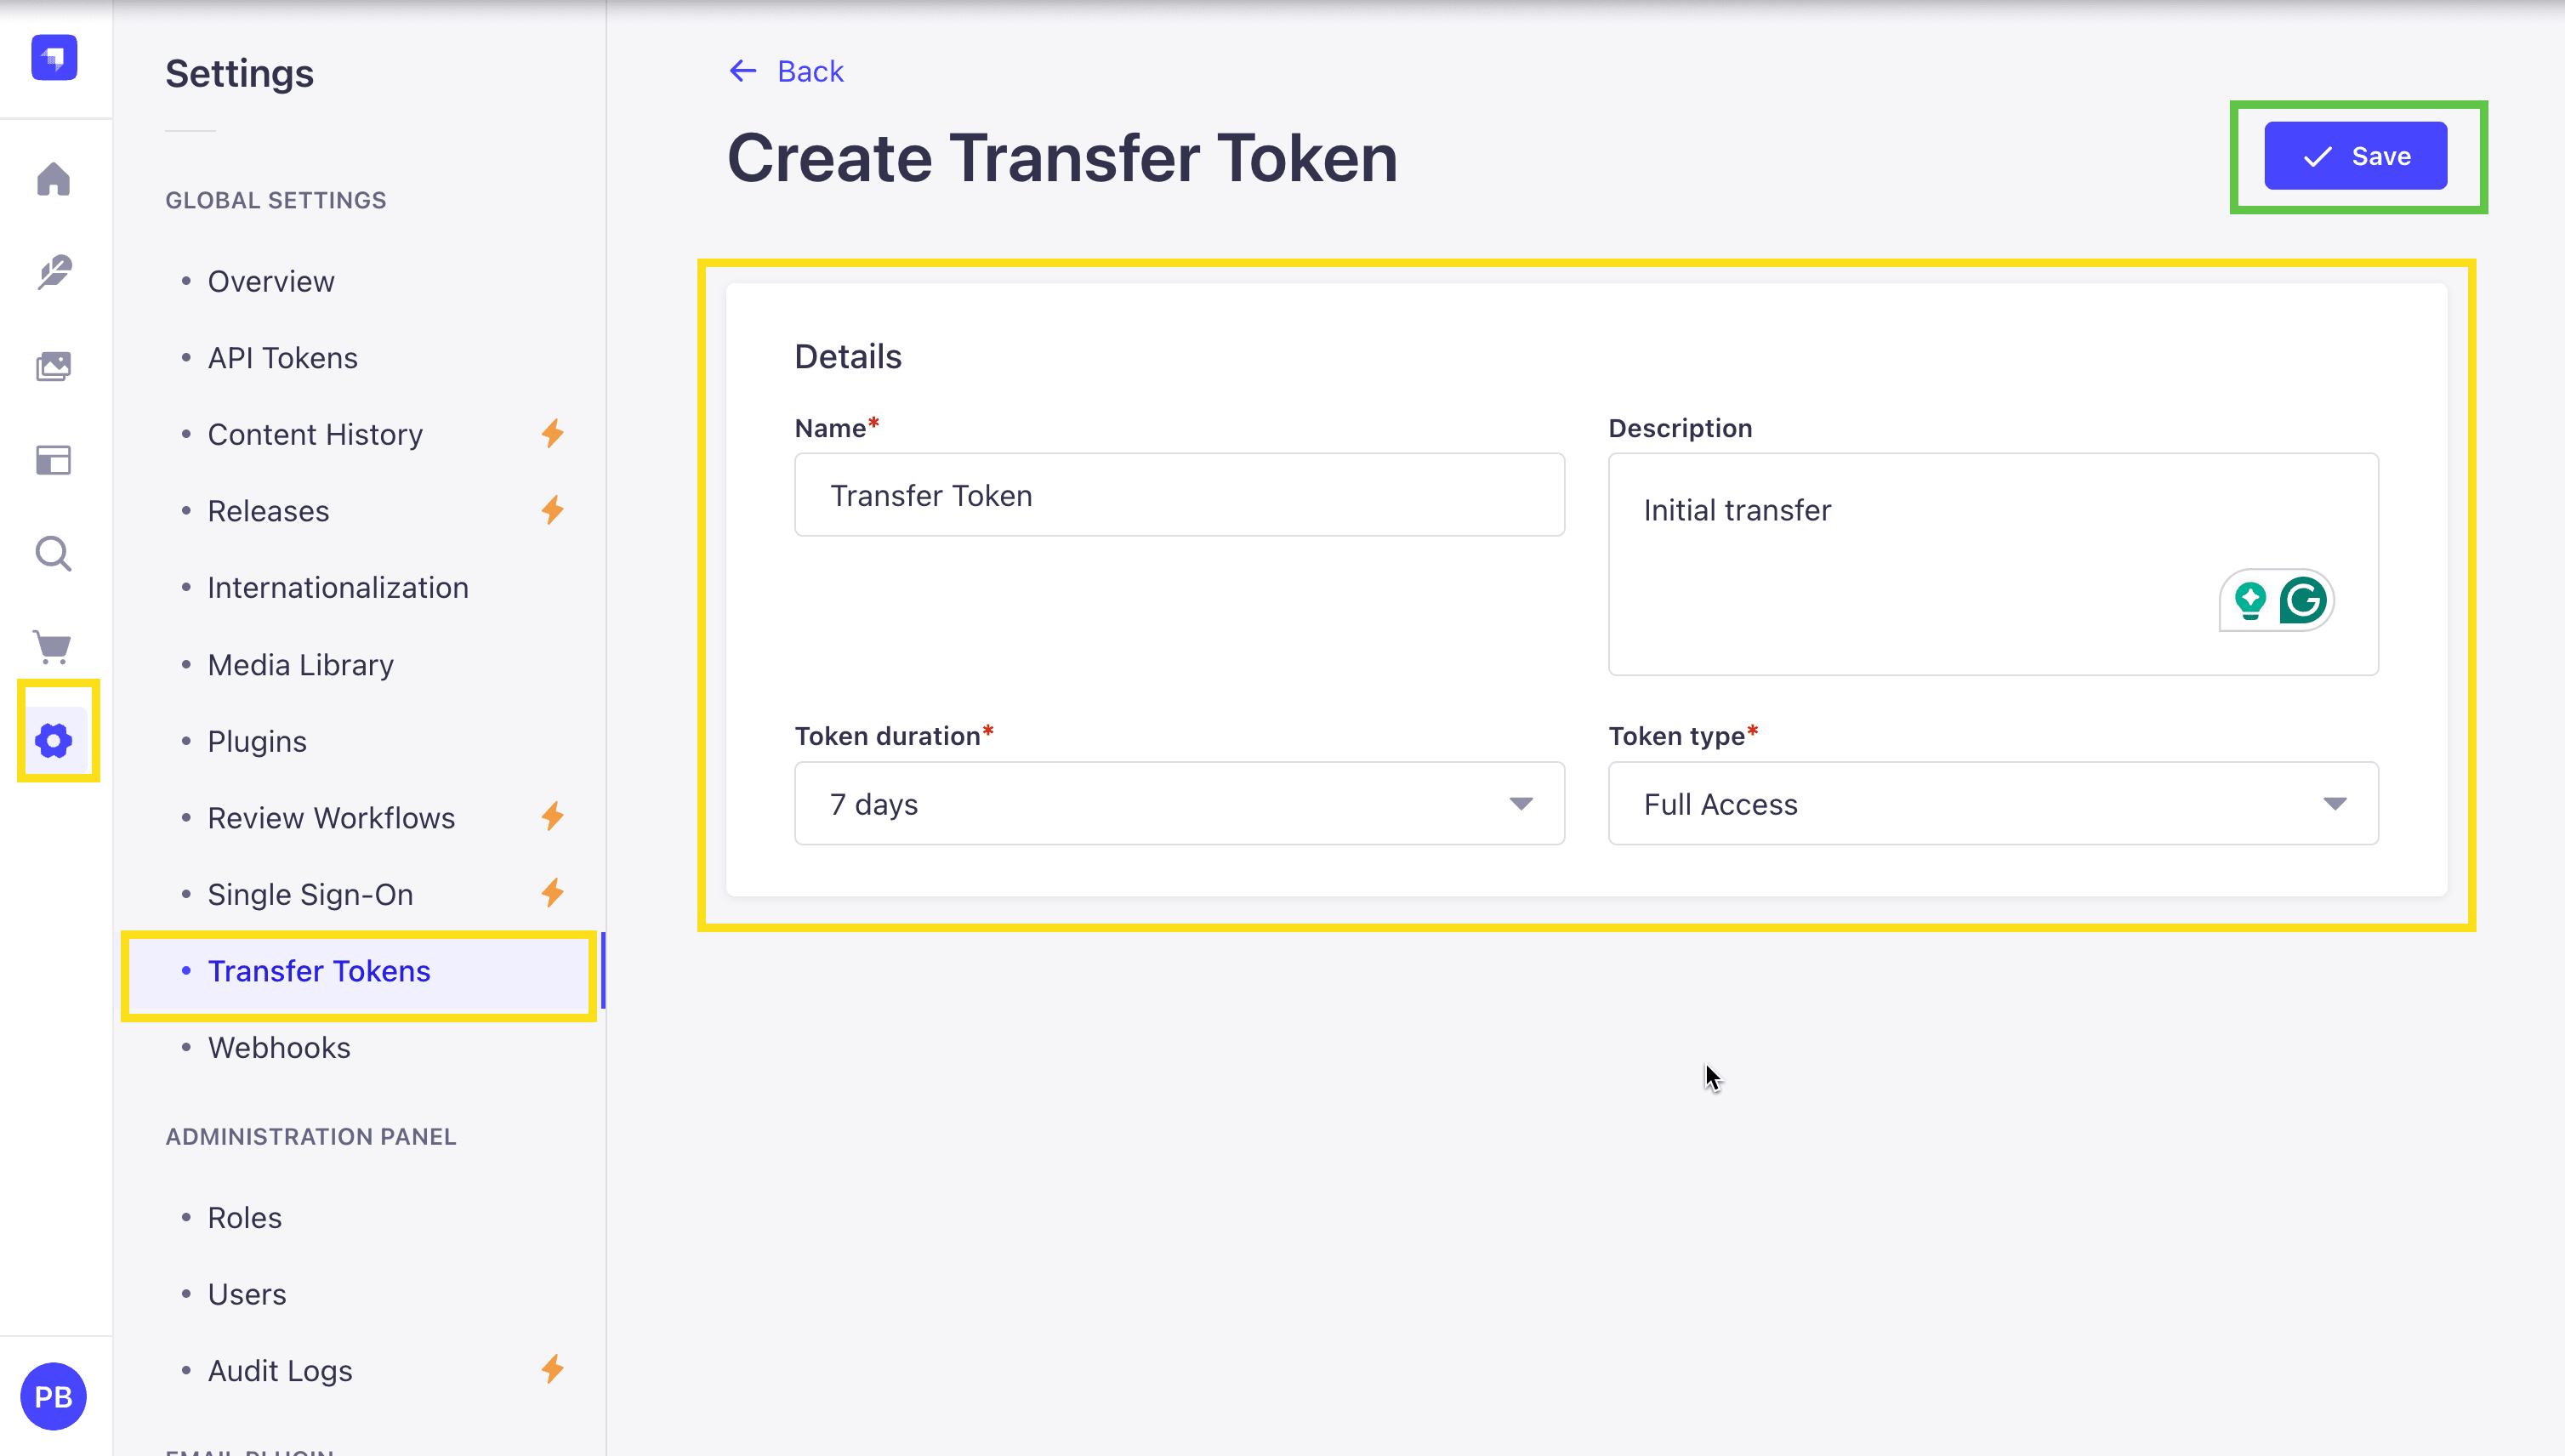
Now let's create our first transfer token. You can call it whatever you like, for duration I will choose 7 days and toke type will be Full Access. Finally, click on the Save button.
You should now see the following screen:
Now that we have our token, we can transfer our local data to our deployed Strapi Instance.
In your local instance running on your machine, navigate to the strapi folder and run the following command:
yarn strapi transfer --to your_strapi_cloud_instance_url/adminIn my case, my command was:
yarn strapi transfer --to https://automatic-flower-694eb86c17.strapiapp.com/adminMake sure to include the /admin at the end of your Strapi Cloud instance URL.
Finally, you will be prompted to paste in your transfer token.
yarn run v1.22.22
warning ../package.json: No license field
$ strapi transfer --to https://automatic-flower-694eb86c17.strapiapp.com/admin
? Please enter your transfer token for the remote Strapi destination [input is hidden]
Paste in your transfer token and press Enter.
You will see the following message:
? The transfer will delete existing data from the remote Strapi! Are you sure you want to
 proceed? (y/N)
Type y and press Enter.
You will see the following message:
Starting transfer...
✔ entities: 191 transfered (size: 210.7 KB) (elapsed: 6773 ms) (31.1 KB/s)
✔ assets: 115 transfered (size: 22.8 MB) (elapsed: 53526 ms) (436 KB/s)
✔ links: 637 transfered (size: 114.4 KB) (elapsed: 1786 ms) (64 KB/s)
✔ configuration: 71 transfered (size: 183.8 KB) (elapsed: 1608 ms) (114.3 KB/s)
┌─────────────────────────────────────────┬───────┬───────────────┐
│ Type                                    │ Count │ Size          │
├─────────────────────────────────────────┼───────┼───────────────┤
│ entities                                │   191 │     210.7 KB  │
├─────────────────────────────────────────┼───────┼───────────────┤
│ -- api::article.article                 │    12 │ (      76 KB) │
├─────────────────────────────────────────┼───────┼───────────────┤
│ -- api::blog-page.blog-page             │     2 │ (     1.4 KB) │
├─────────────────────────────────────────┼───────┼───────────────┤
│ -- api::category.category               │     9 │ (     2.1 KB) │
├─────────────────────────────────────────┼───────┼───────────────┤
│ -- api::faq.faq                         │    14 │ (     6.7 KB) │
├─────────────────────────────────────────┼───────┼───────────────┤
│ -- api::global.global                   │     4 │ (       9 KB) │
├─────────────────────────────────────────┼───────┼───────────────┤
│ -- api::logo.logo                       │    16 │ (     3.7 KB) │
├─────────────────────────────────────────┼───────┼───────────────┤
│ -- api::page.page                       │    16 │ (    34.4 KB) │
├─────────────────────────────────────────┼───────┼───────────────┤
│ -- api::plan.plan                       │     8 │ (     5.6 KB) │
├─────────────────────────────────────────┼───────┼───────────────┤
│ -- api::product-page.product-page       │     2 │ (     1.5 KB) │
├─────────────────────────────────────────┼───────┼───────────────┤
│ -- api::product.product                 │    10 │ (     7.6 KB) │
├─────────────────────────────────────────┼───────┼───────────────┤
│ -- api::redirection.redirection         │     4 │ (       1 KB) │
├─────────────────────────────────────────┼───────┼───────────────┤
│ -- api::testimonial.testimonial         │    14 │ (     6.4 KB) │
├─────────────────────────────────────────┼───────┼───────────────┤
│ -- plugin::i18n.locale                  │     2 │ (     505 B ) │
├─────────────────────────────────────────┼───────┼───────────────┤
│ -- plugin::upload.file                  │    43 │ (    45.2 KB) │
├─────────────────────────────────────────┼───────┼───────────────┤
│ -- plugin::upload.folder                │     3 │ (     783 B ) │
├─────────────────────────────────────────┼───────┼───────────────┤
│ -- plugin::users-permissions.permission │    30 │ (     8.2 KB) │
├─────────────────────────────────────────┼───────┼───────────────┤
│ -- plugin::users-permissions.role       │     2 │ (     656 B ) │
├─────────────────────────────────────────┼───────┼───────────────┤
│ assets                                  │   115 │      22.8 MB  │
├─────────────────────────────────────────┼───────┼───────────────┤
│ -- .jpeg                                │     7 │ (    35.4 KB) │
├─────────────────────────────────────────┼───────┼───────────────┤
│ -- .jpg                                 │    36 │ (   502.1 KB) │
├─────────────────────────────────────────┼───────┼───────────────┤
│ -- .png                                 │    50 │ (    20.6 MB) │
├─────────────────────────────────────────┼───────┼───────────────┤
│ -- .svg                                 │     7 │ (    21.3 KB) │
├─────────────────────────────────────────┼───────┼───────────────┤
│ -- .webp                                │    15 │ (     1.6 MB) │
├─────────────────────────────────────────┼───────┼───────────────┤
│ links                                   │   637 │     114.4 KB  │
├─────────────────────────────────────────┼───────┼───────────────┤
│ configuration                           │    71 │     183.8 KB  │
├─────────────────────────────────────────┼───────┼───────────────┤
│ Total                                   │  1014 │      23.3 MB  │
└─────────────────────────────────────────┴───────┴───────────────┘
Transfer process has been completed successfully!
✨  Done in 147.63s.
Now that our transfer is complete let's navigate to our Strapi Cloud project and see if our articles are there.
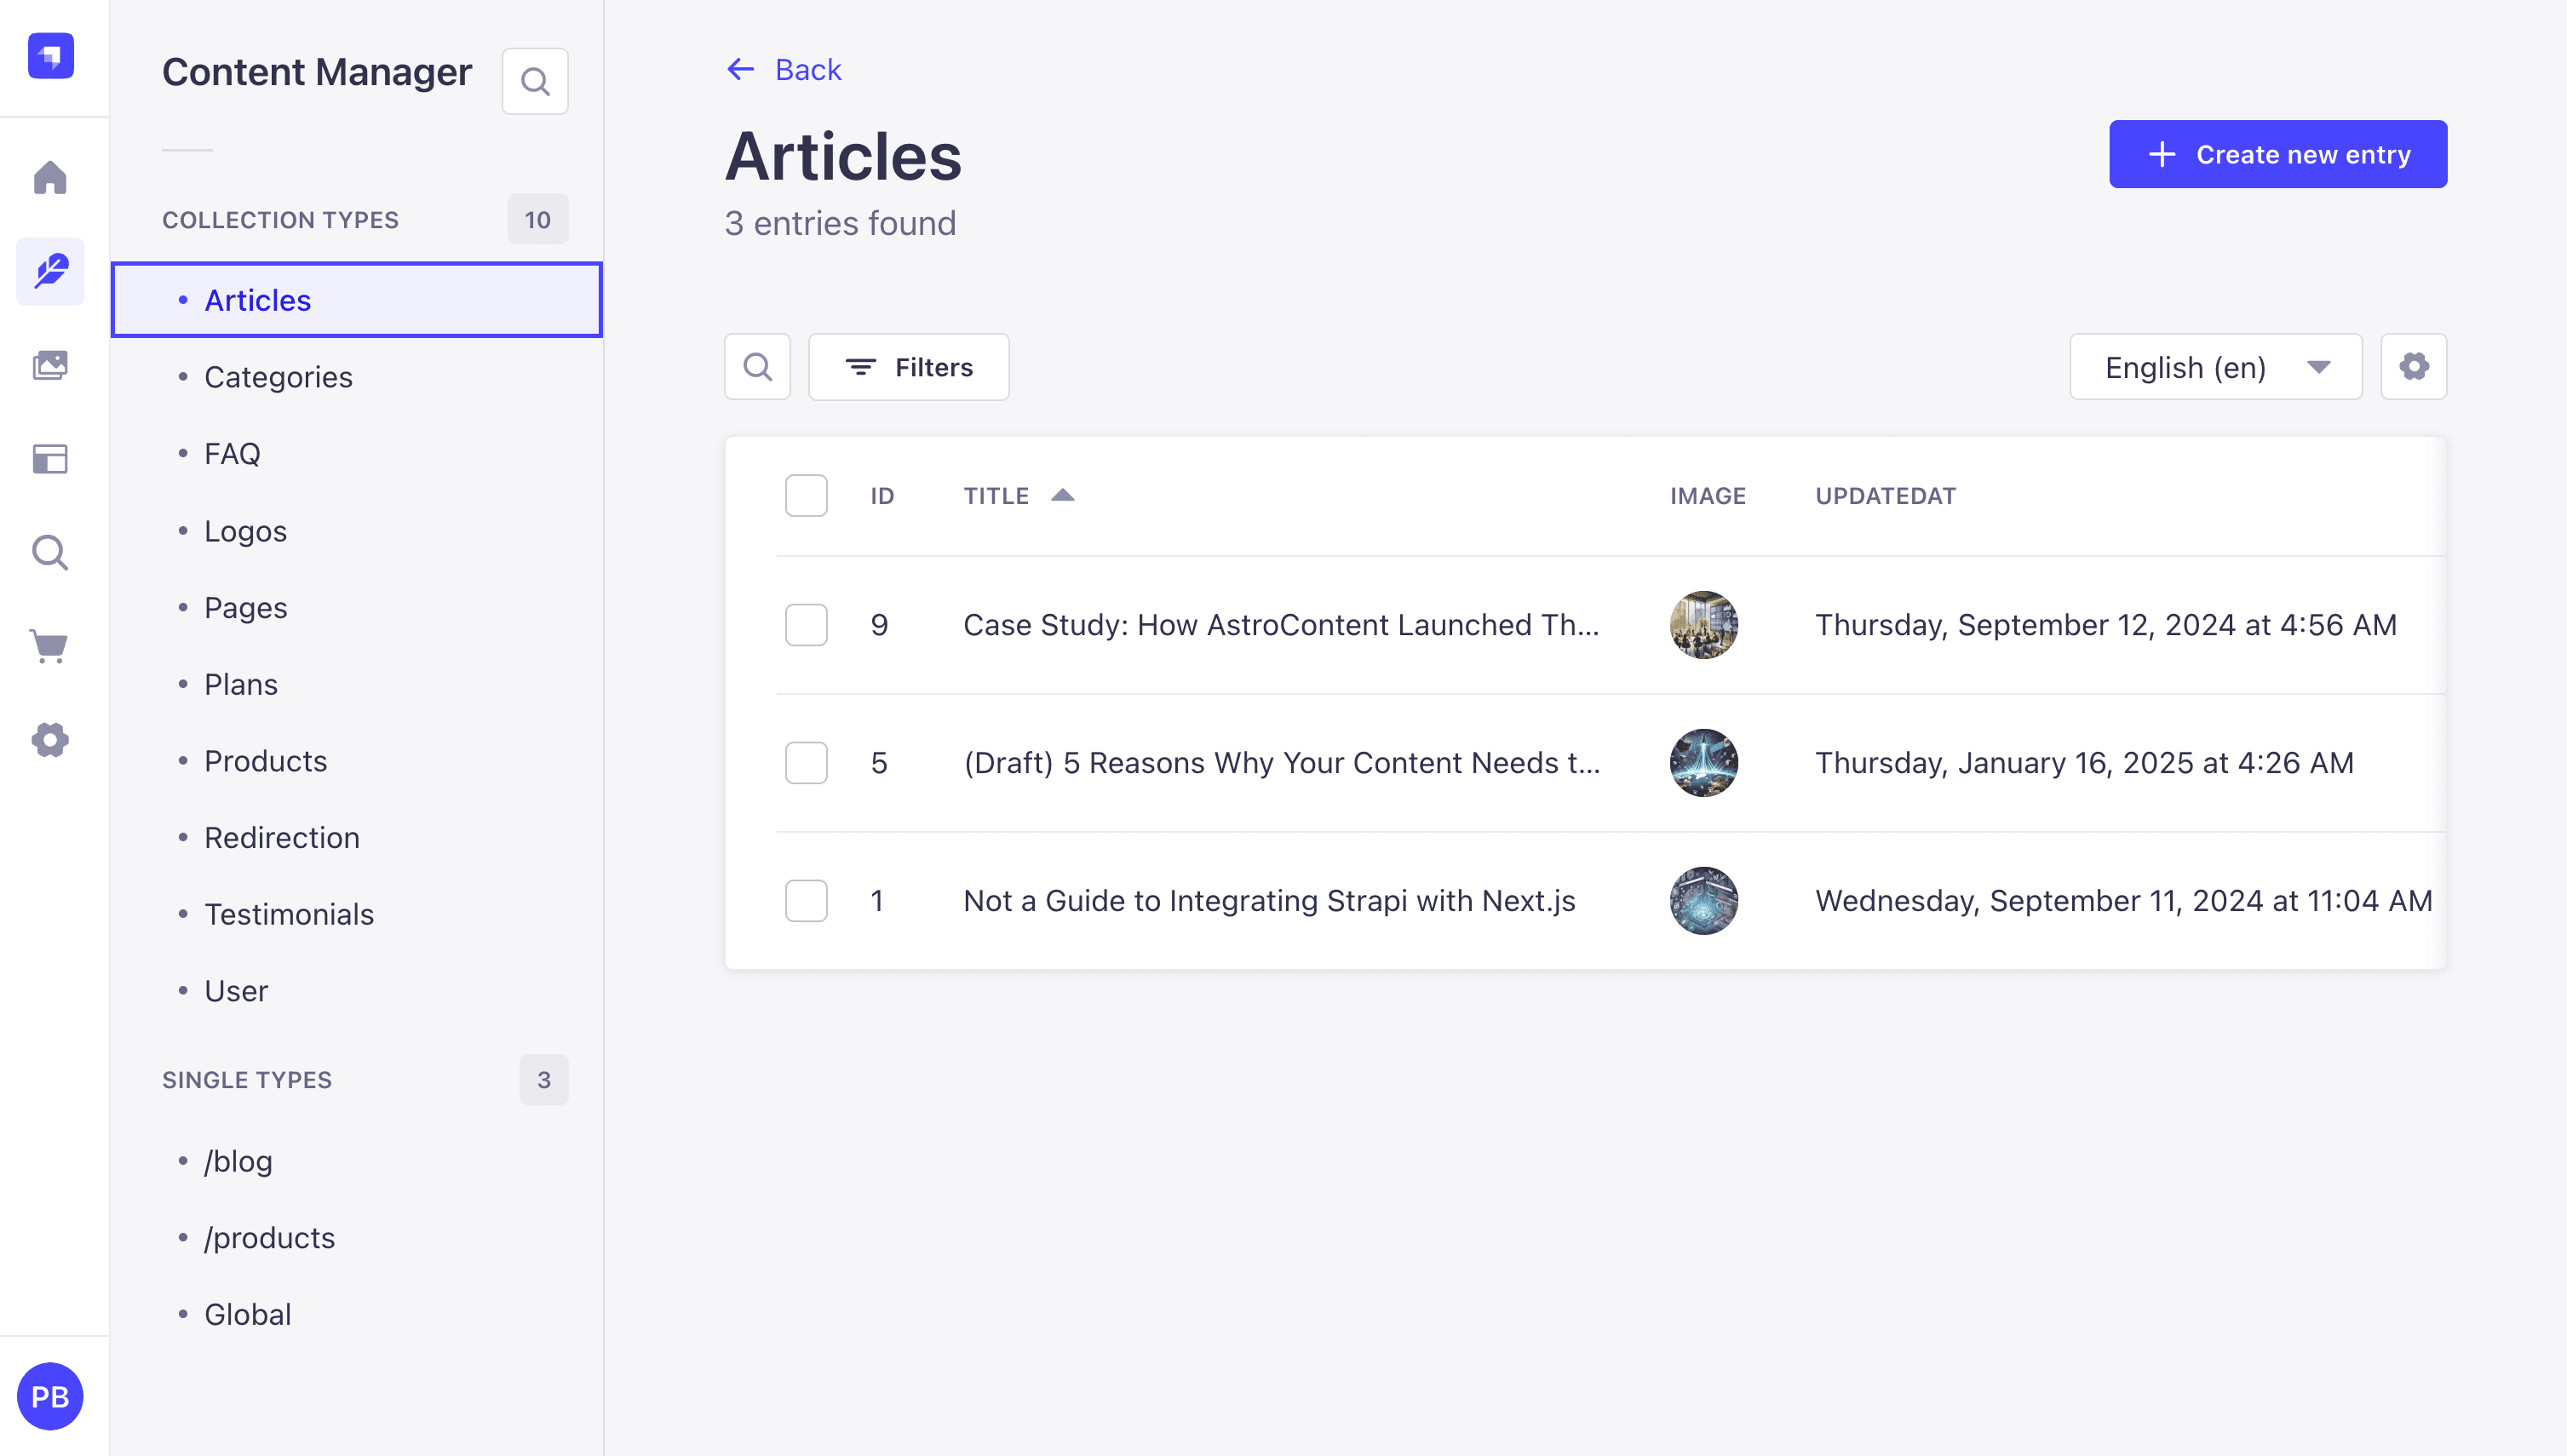
You will see that our articles are there.
Nice, now that our Strapi Project is deployed to Strapi Cloud, let's deploy our Next.js frontend to Vercel.
Deploying to Vercel
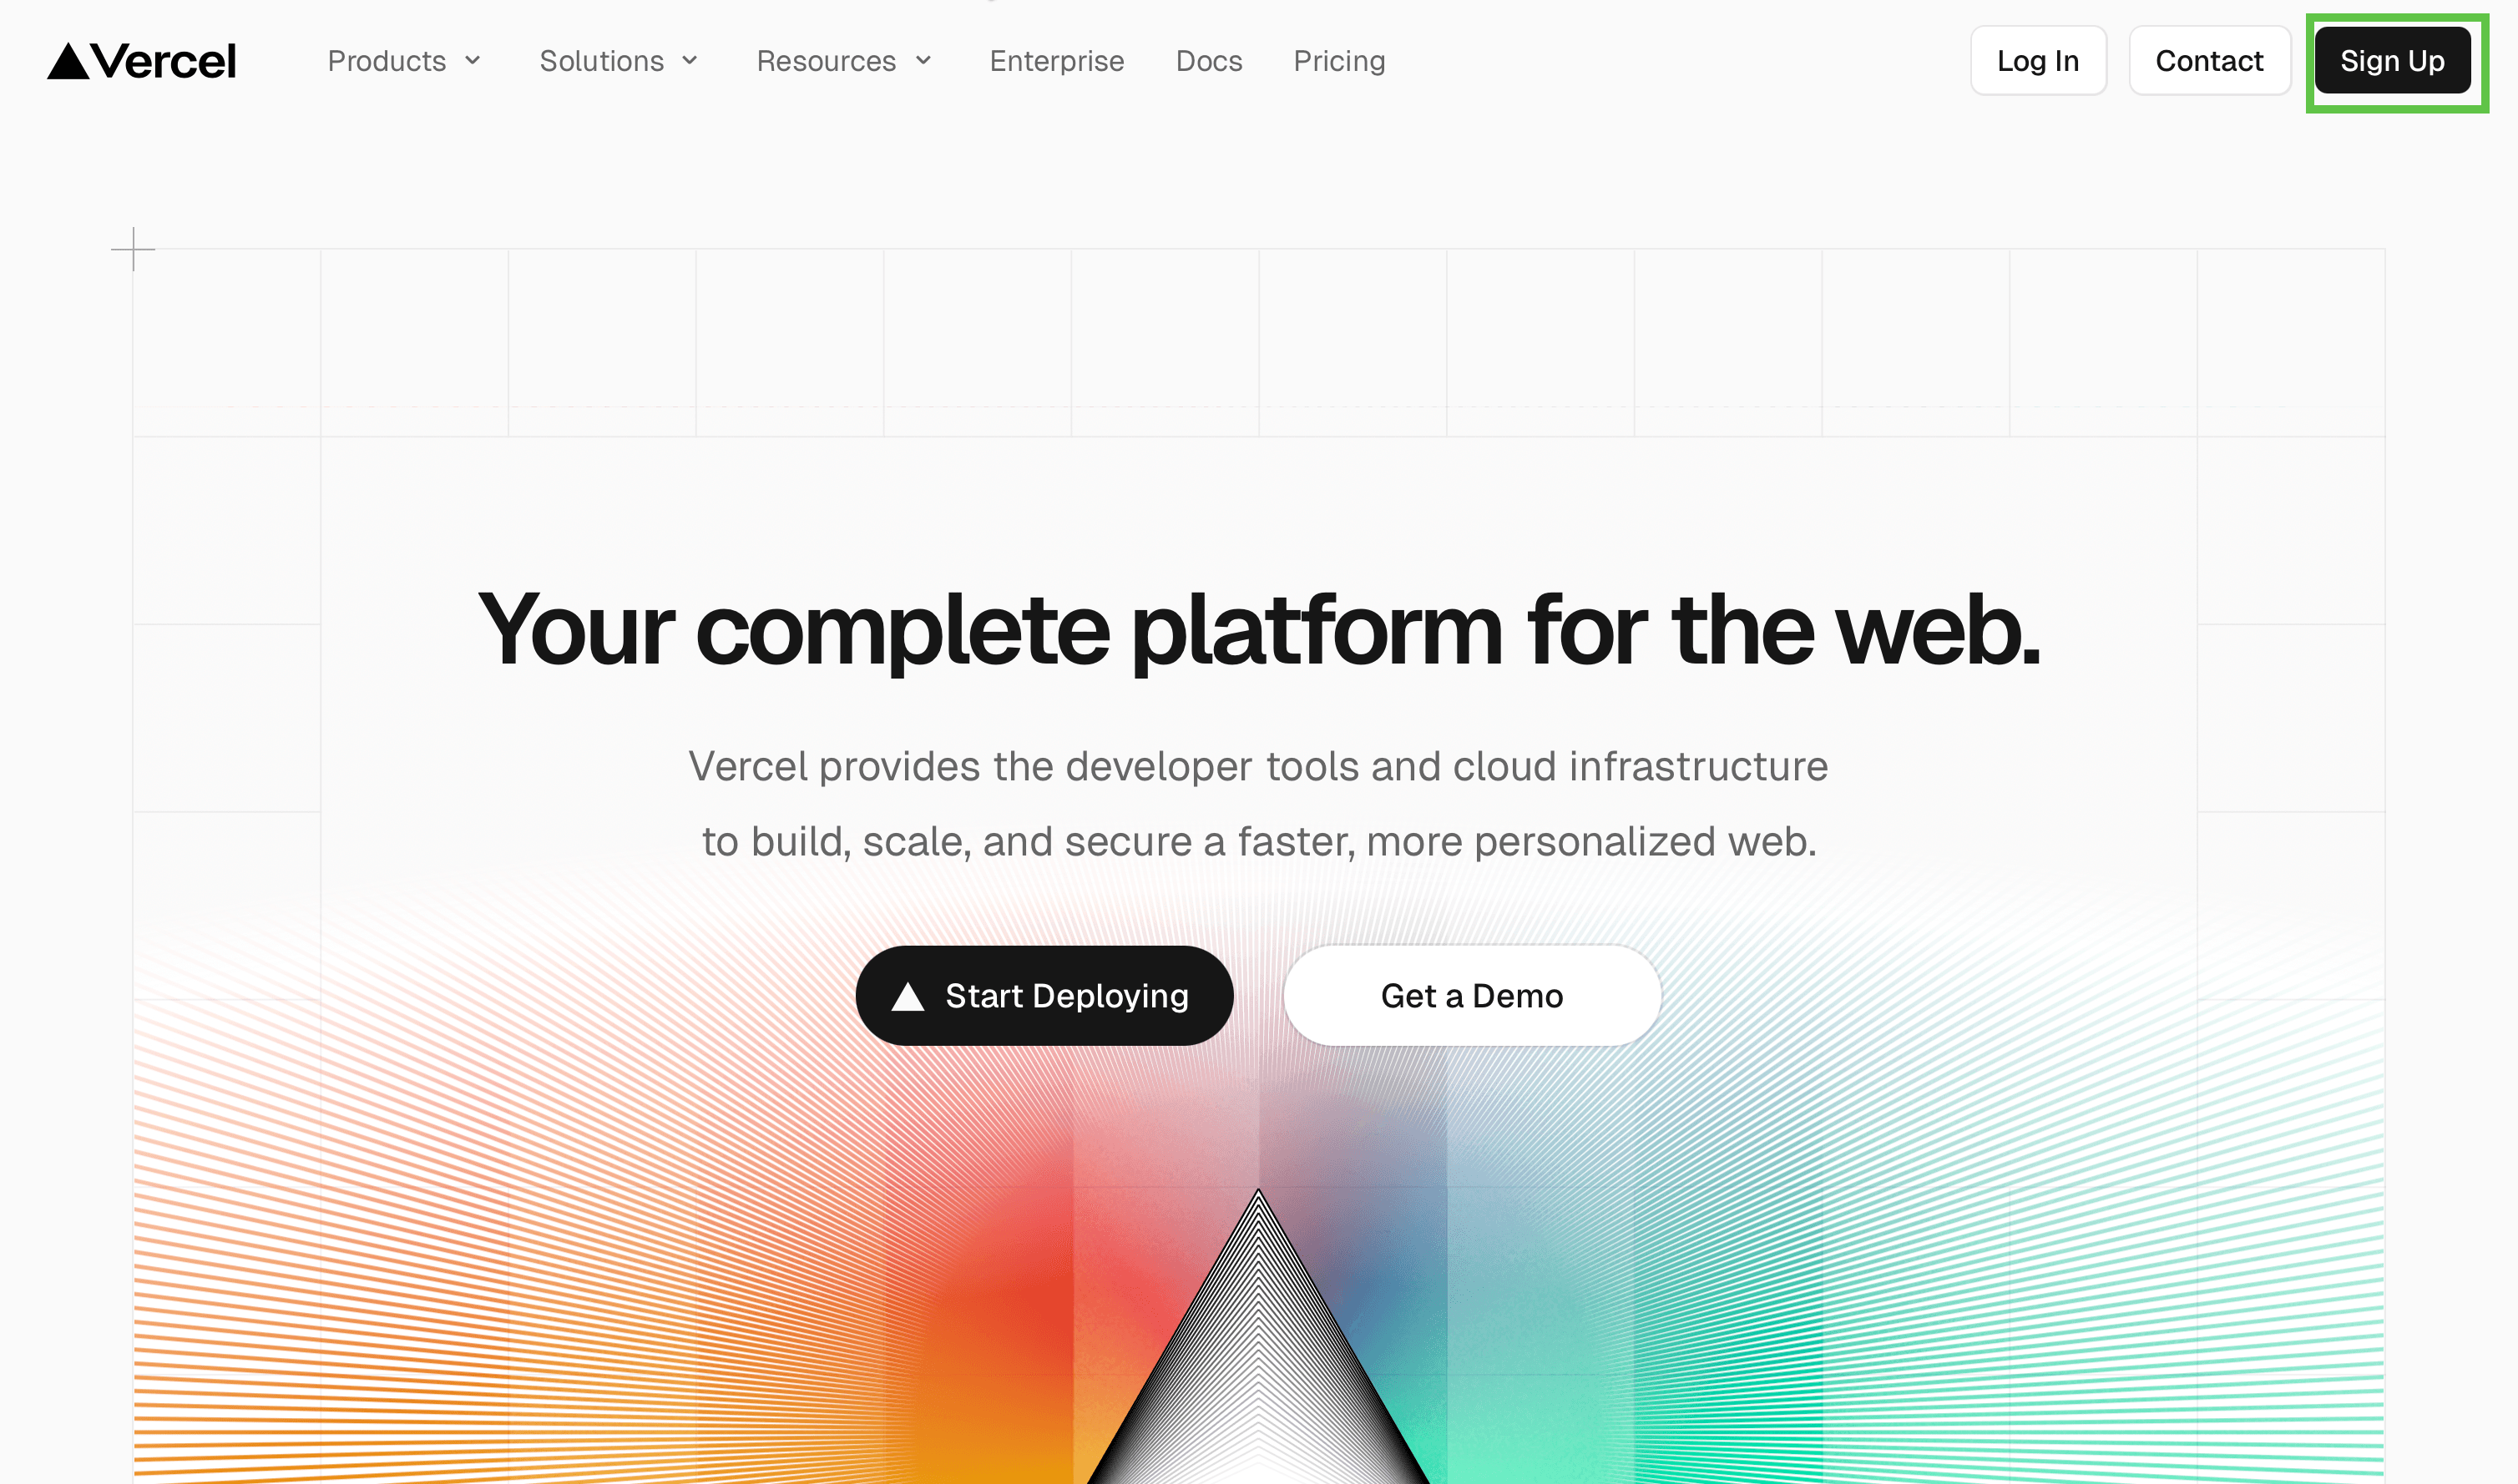
If you don't have a Vercel account, let's create one.
Navigate to the following link here and click the "Sign Up" button to get started.
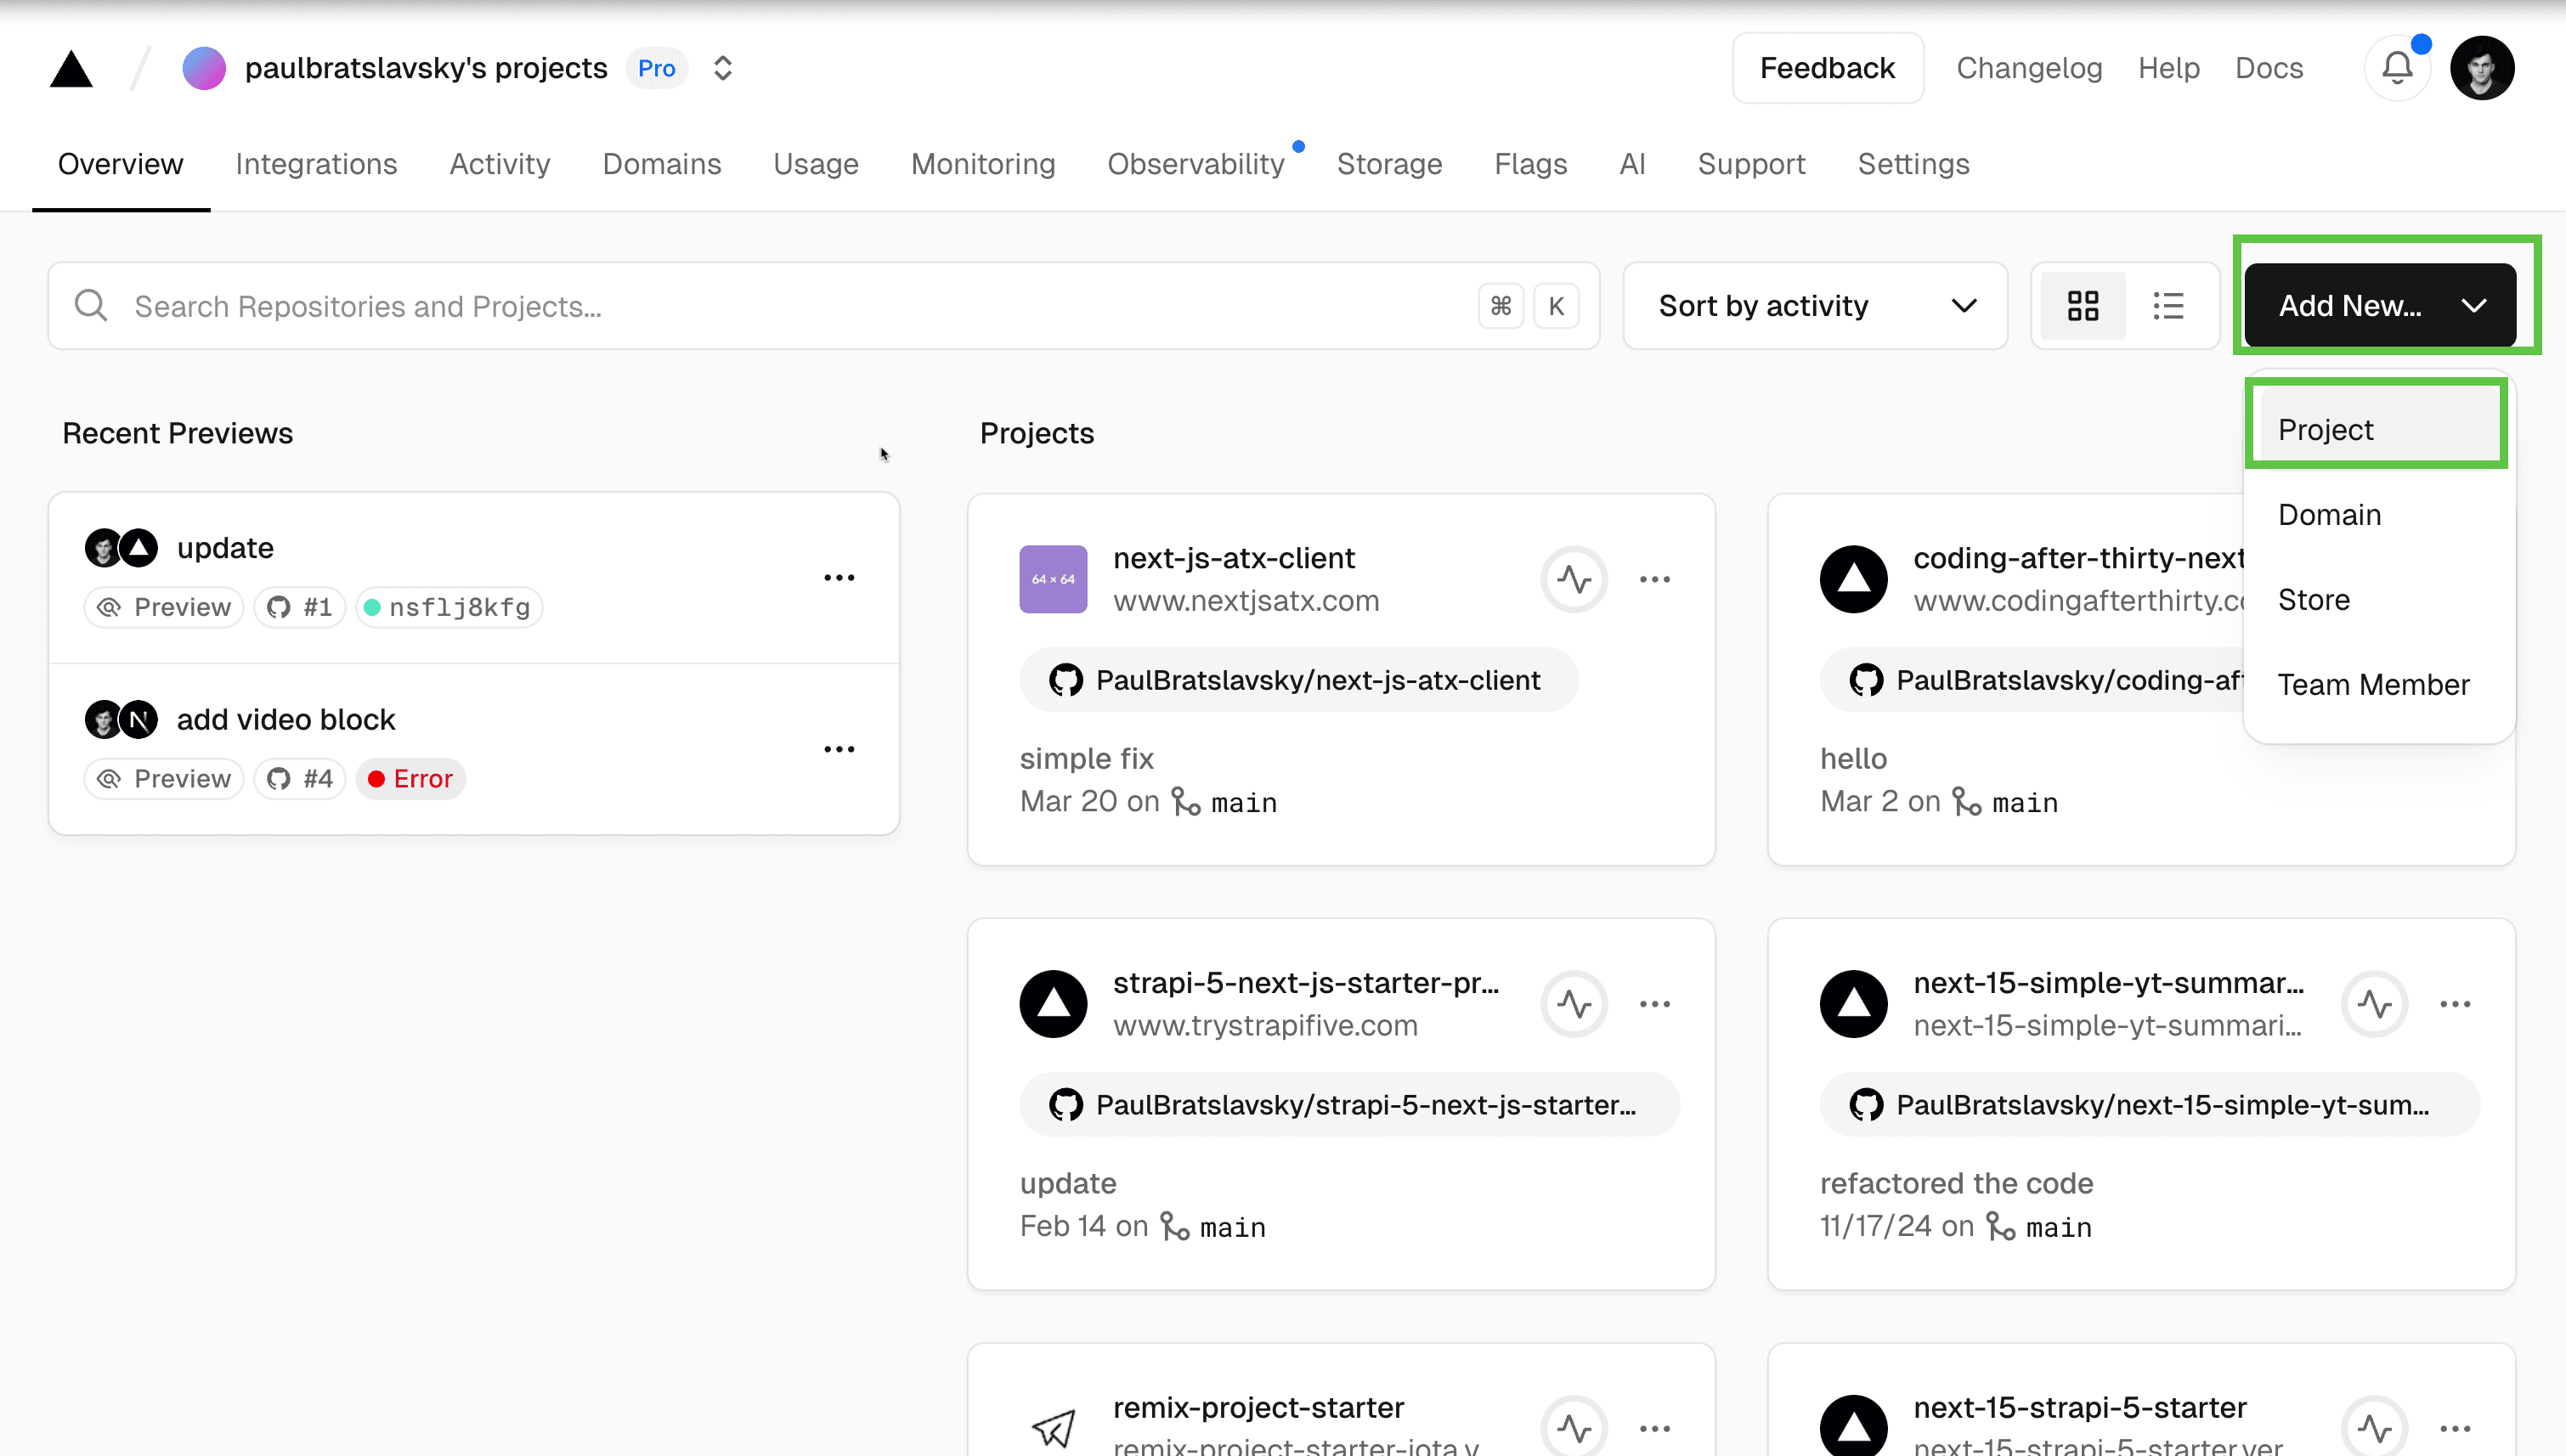
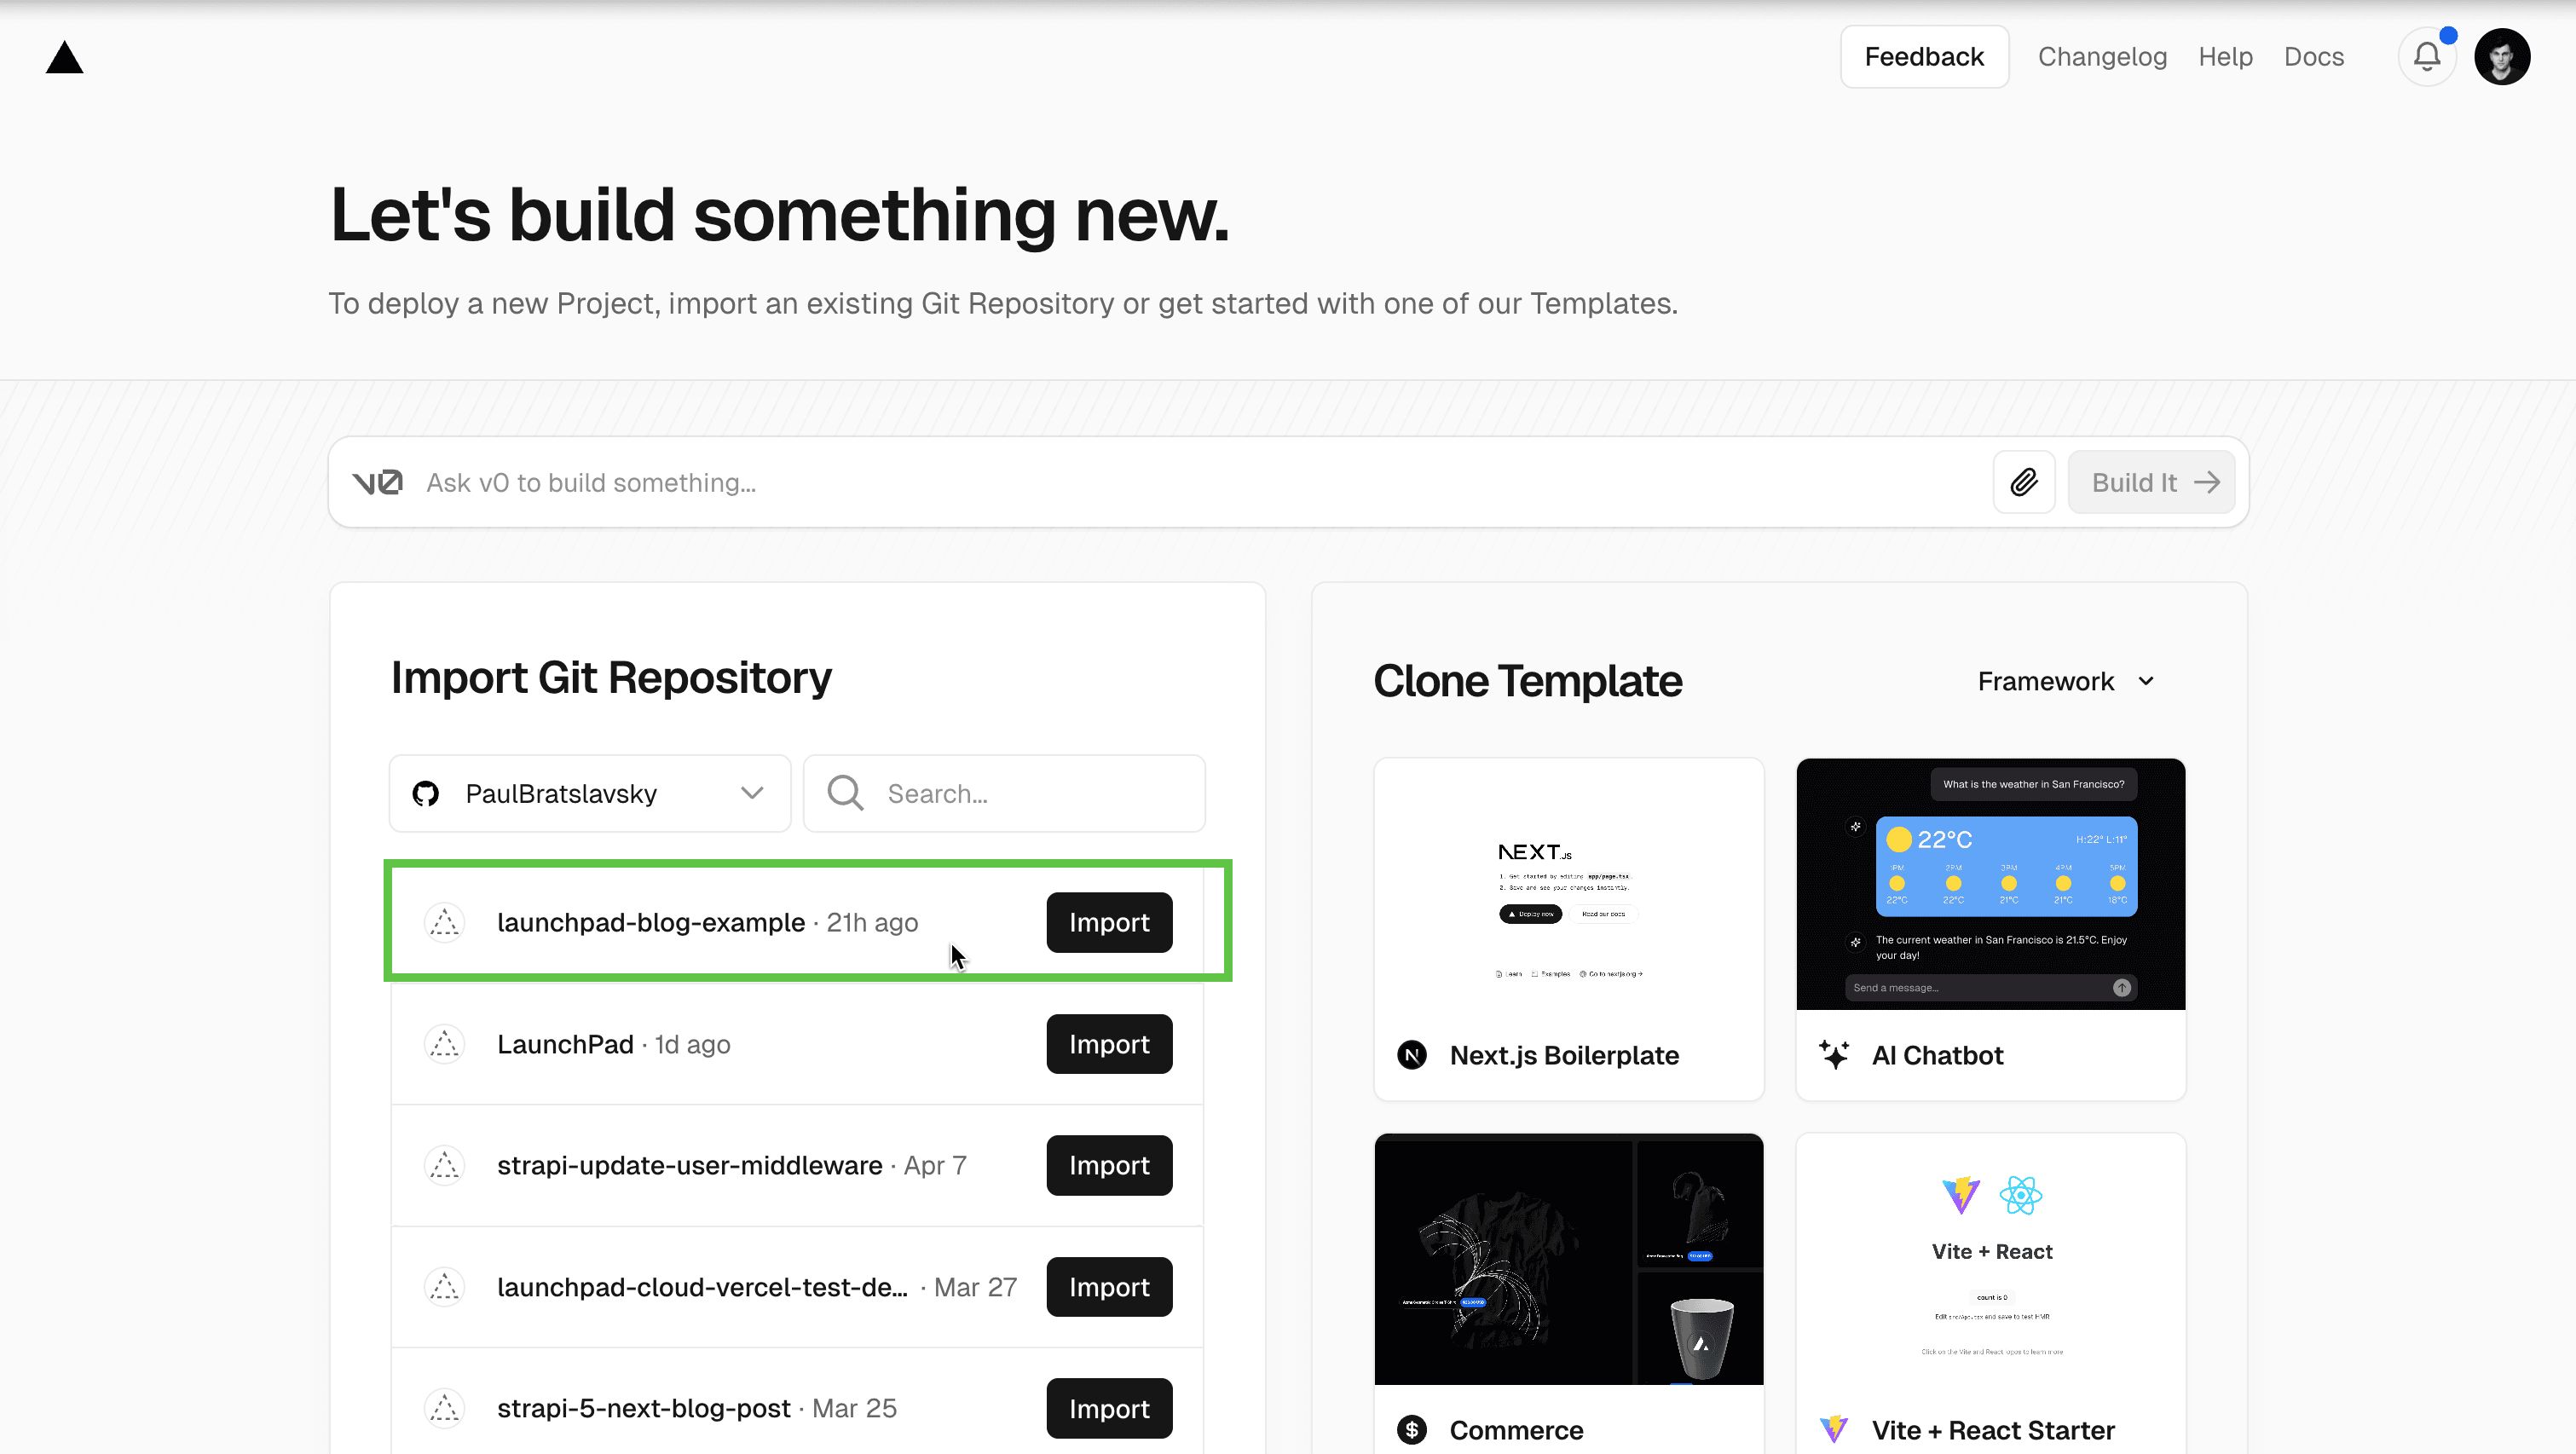
Once you have a Vercel account, let's navigate to the Vercel dashboard and, click on the Add New button, and select Project
Now, let's connect our GitHub repository and select our project repository.
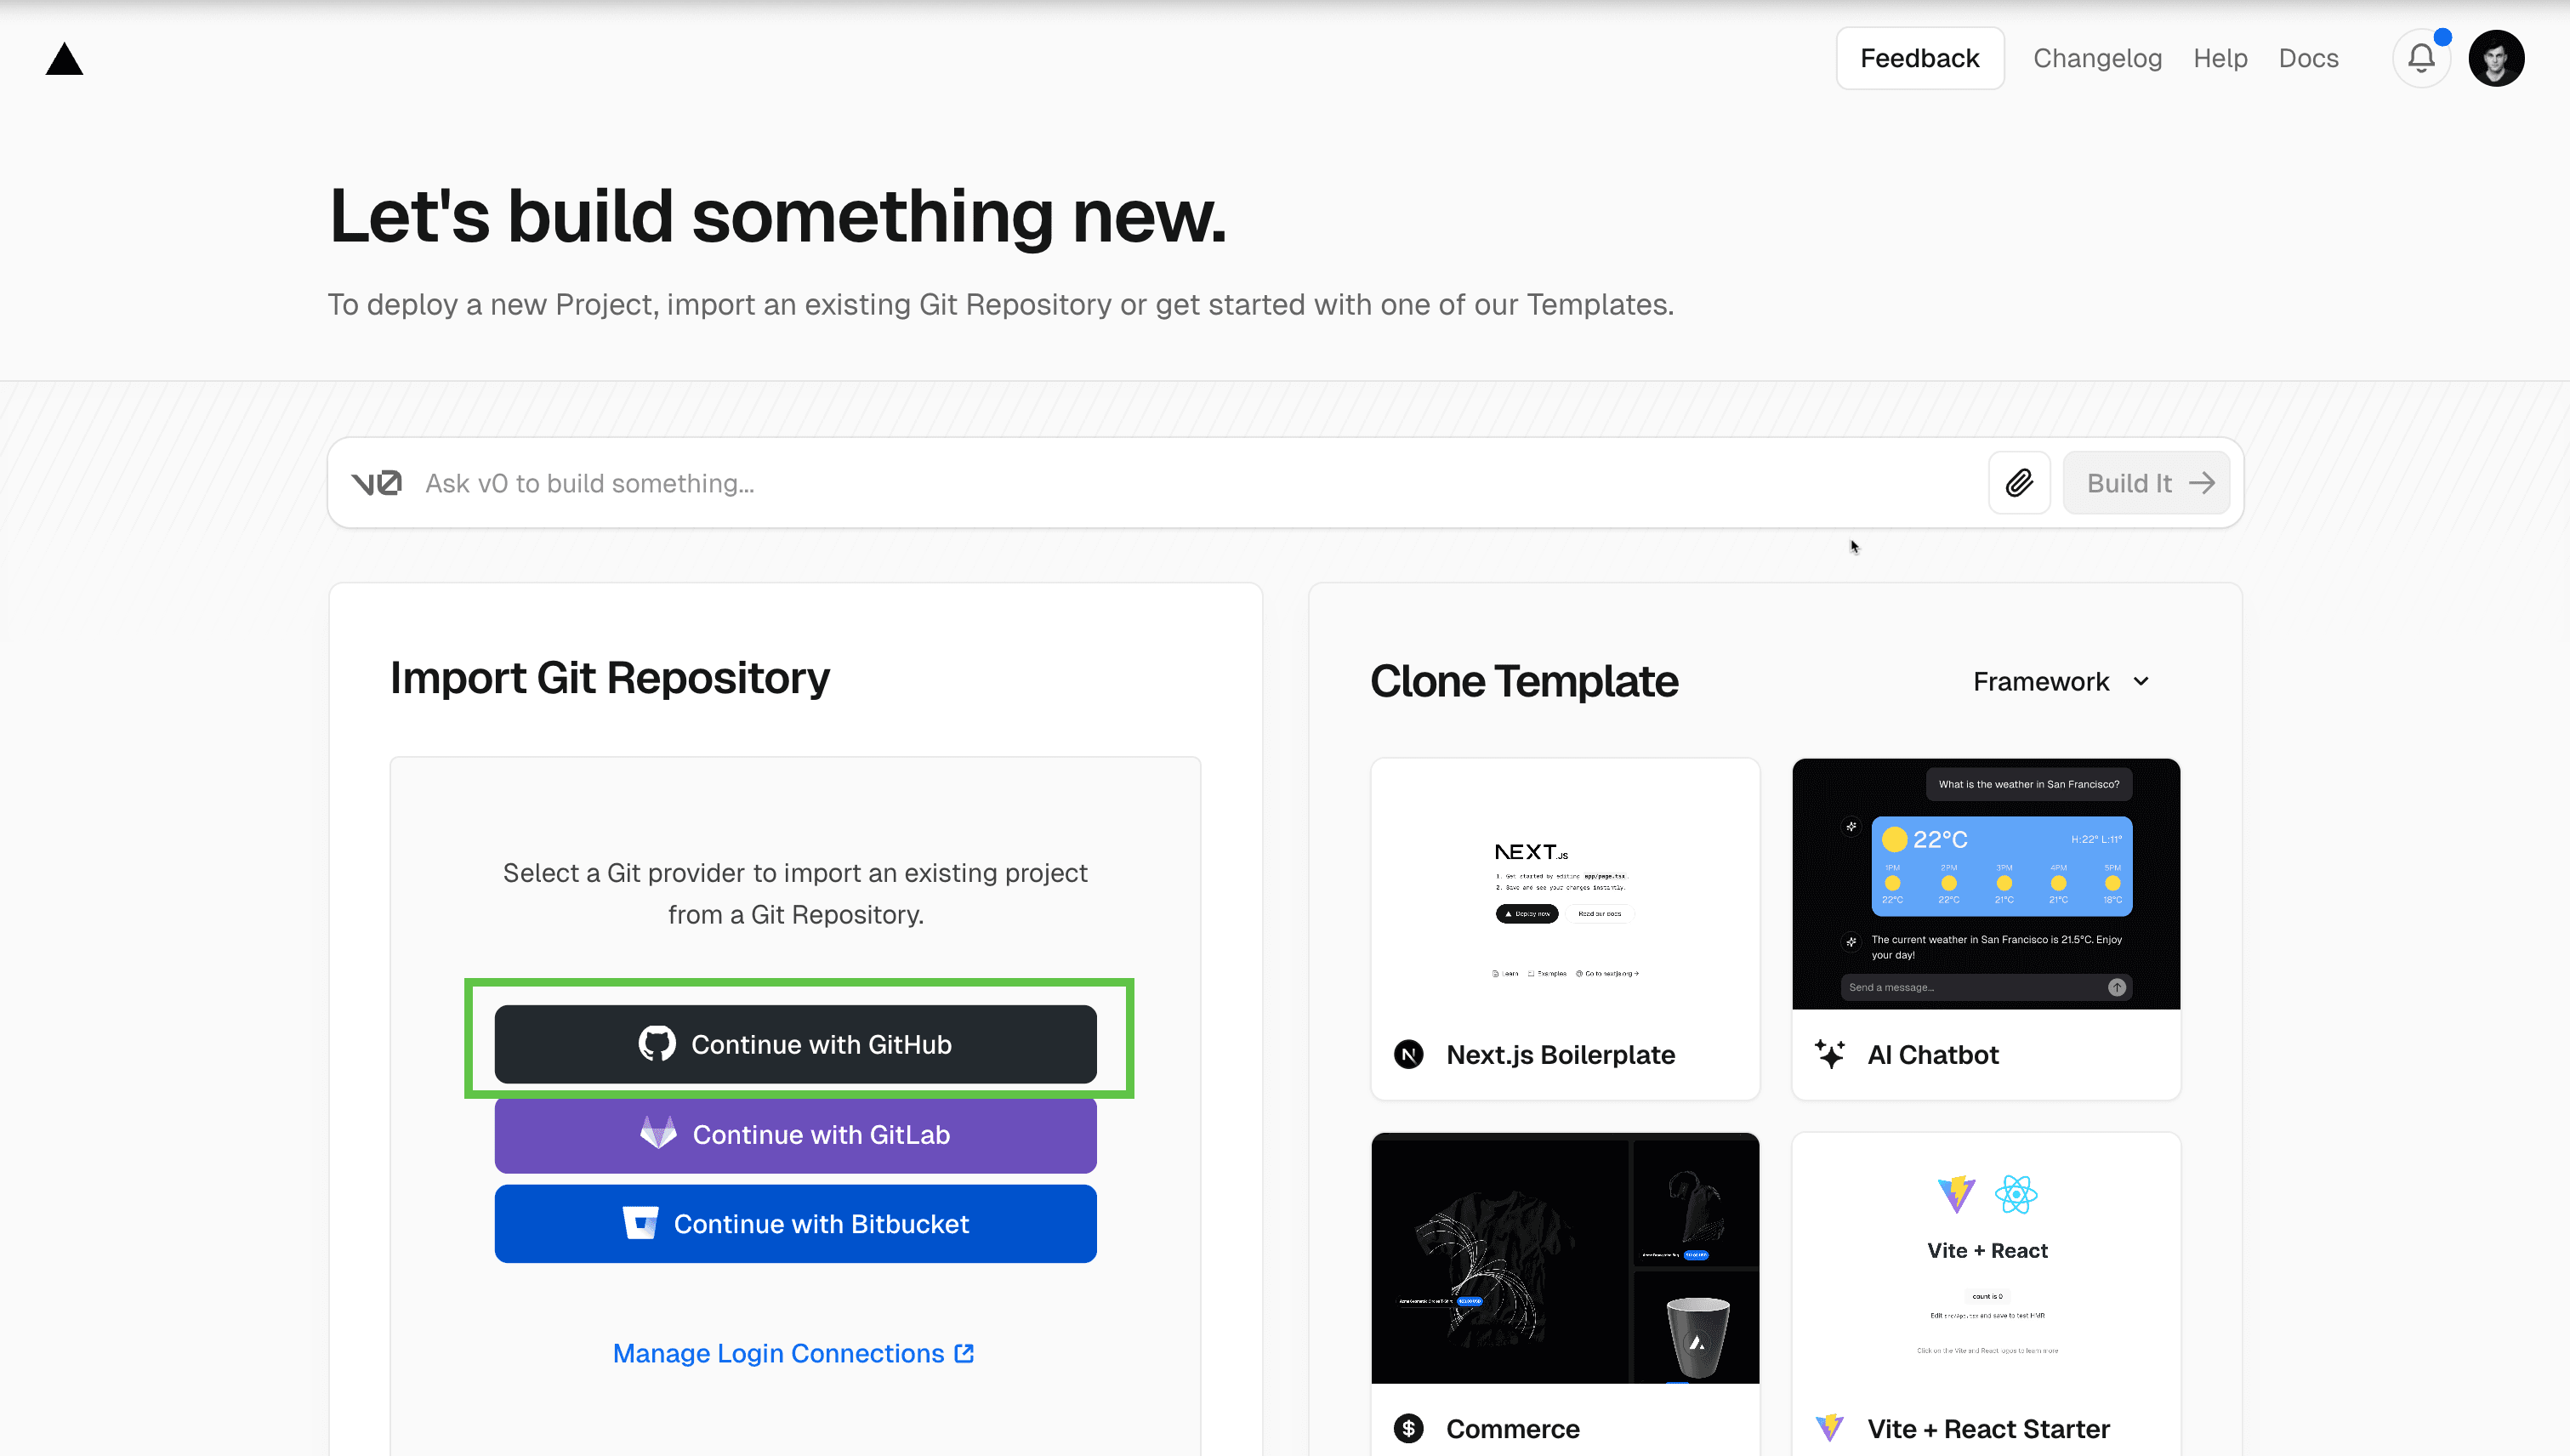
I am going to select the repo I am using for this blog post, but you should select the repo that you want to deploy.
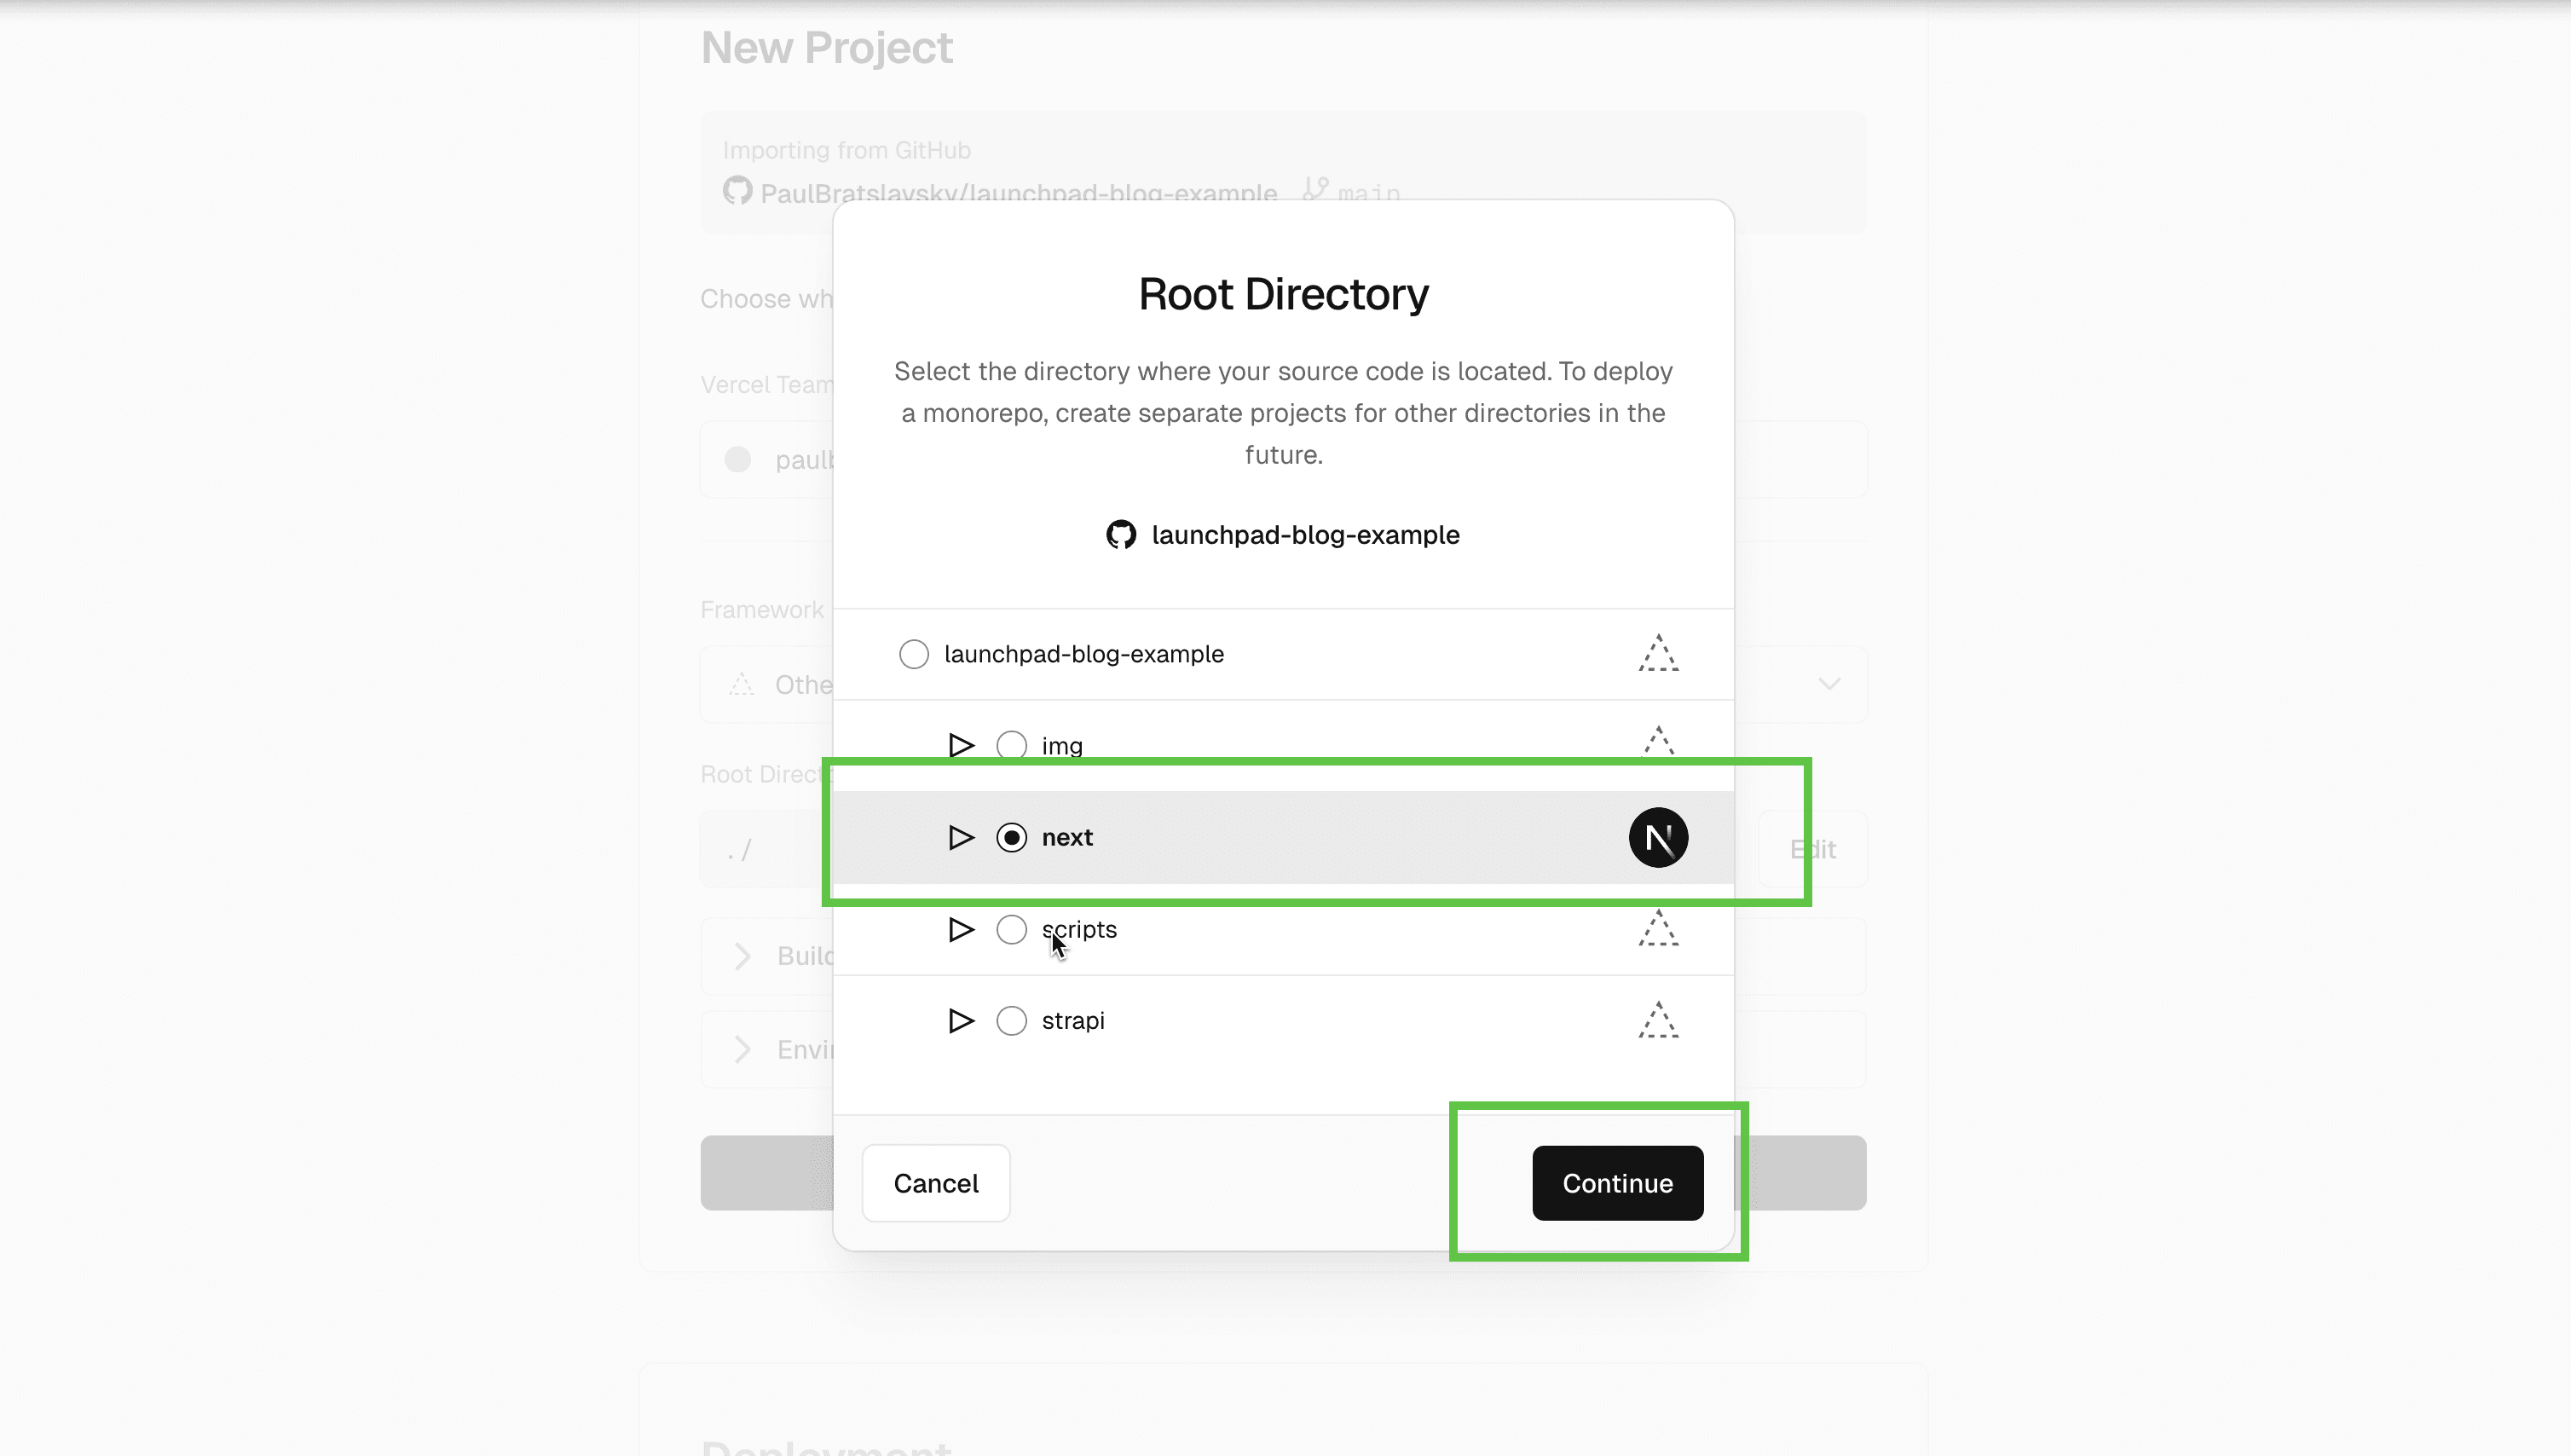
Now, let's click the Edit button to edit the project root directory.
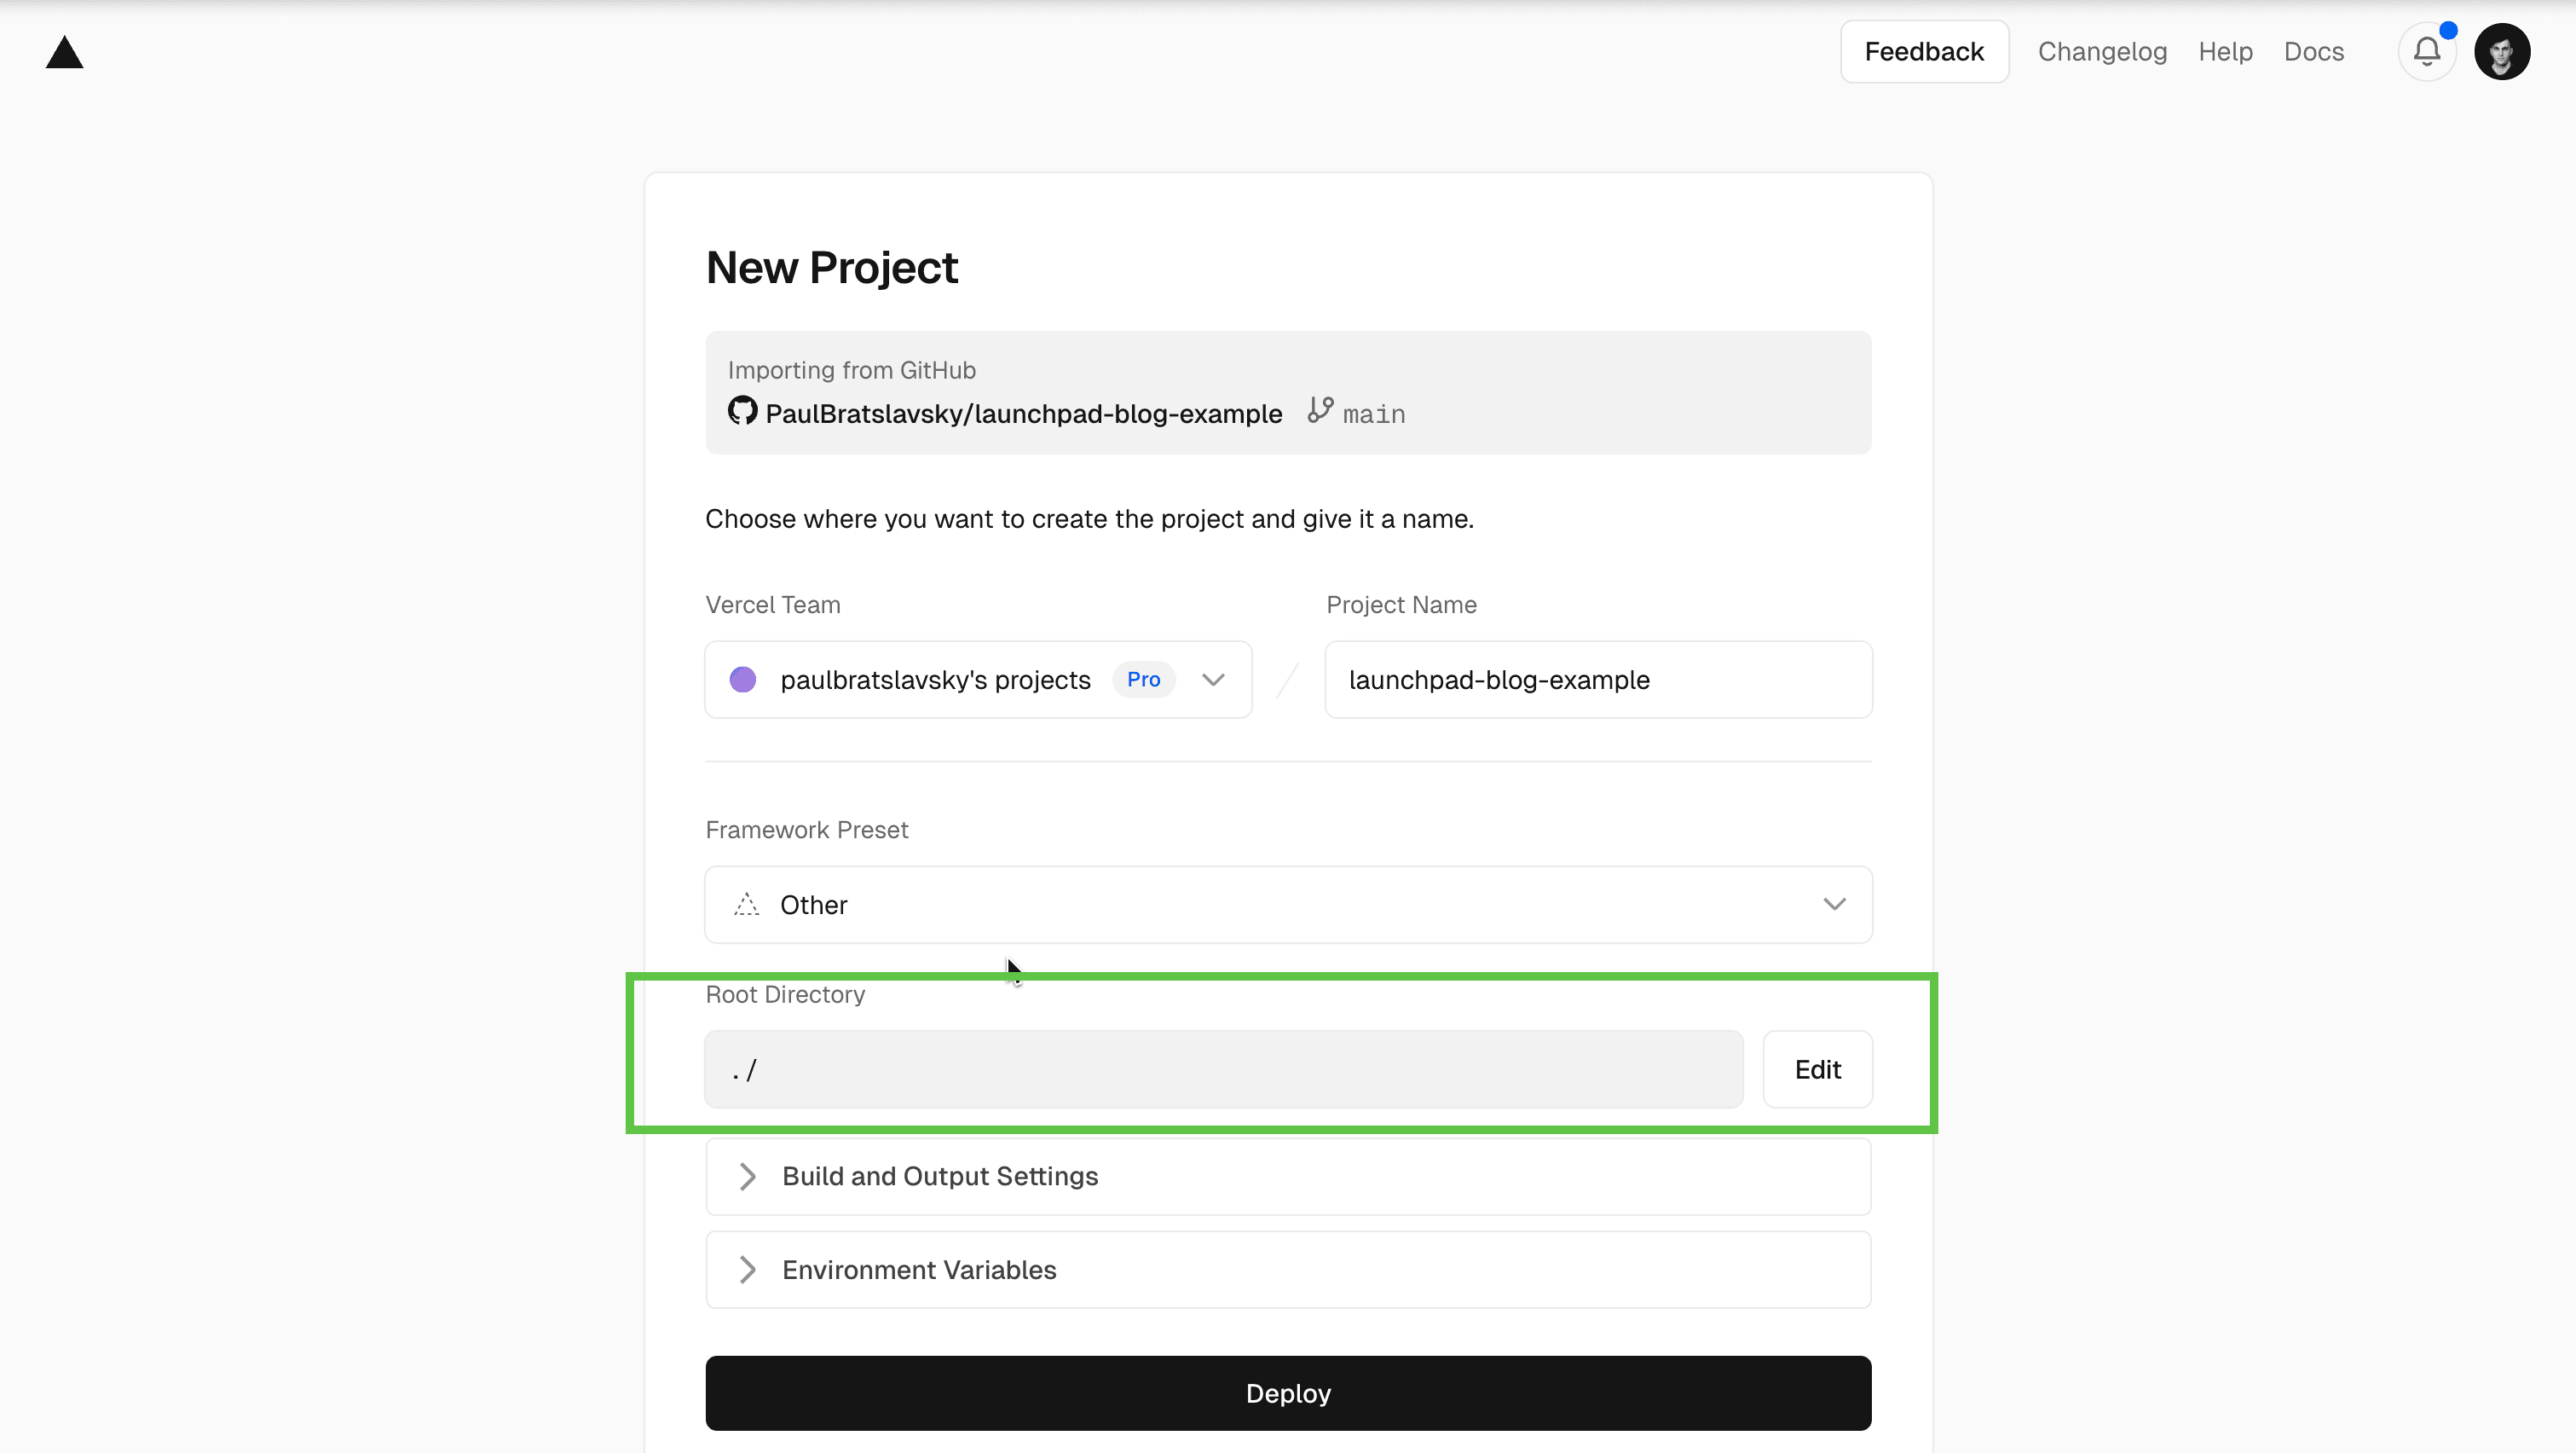
Select the next folder as the project root directory and click on the Continue button. Since this is where our Next.js project is located.
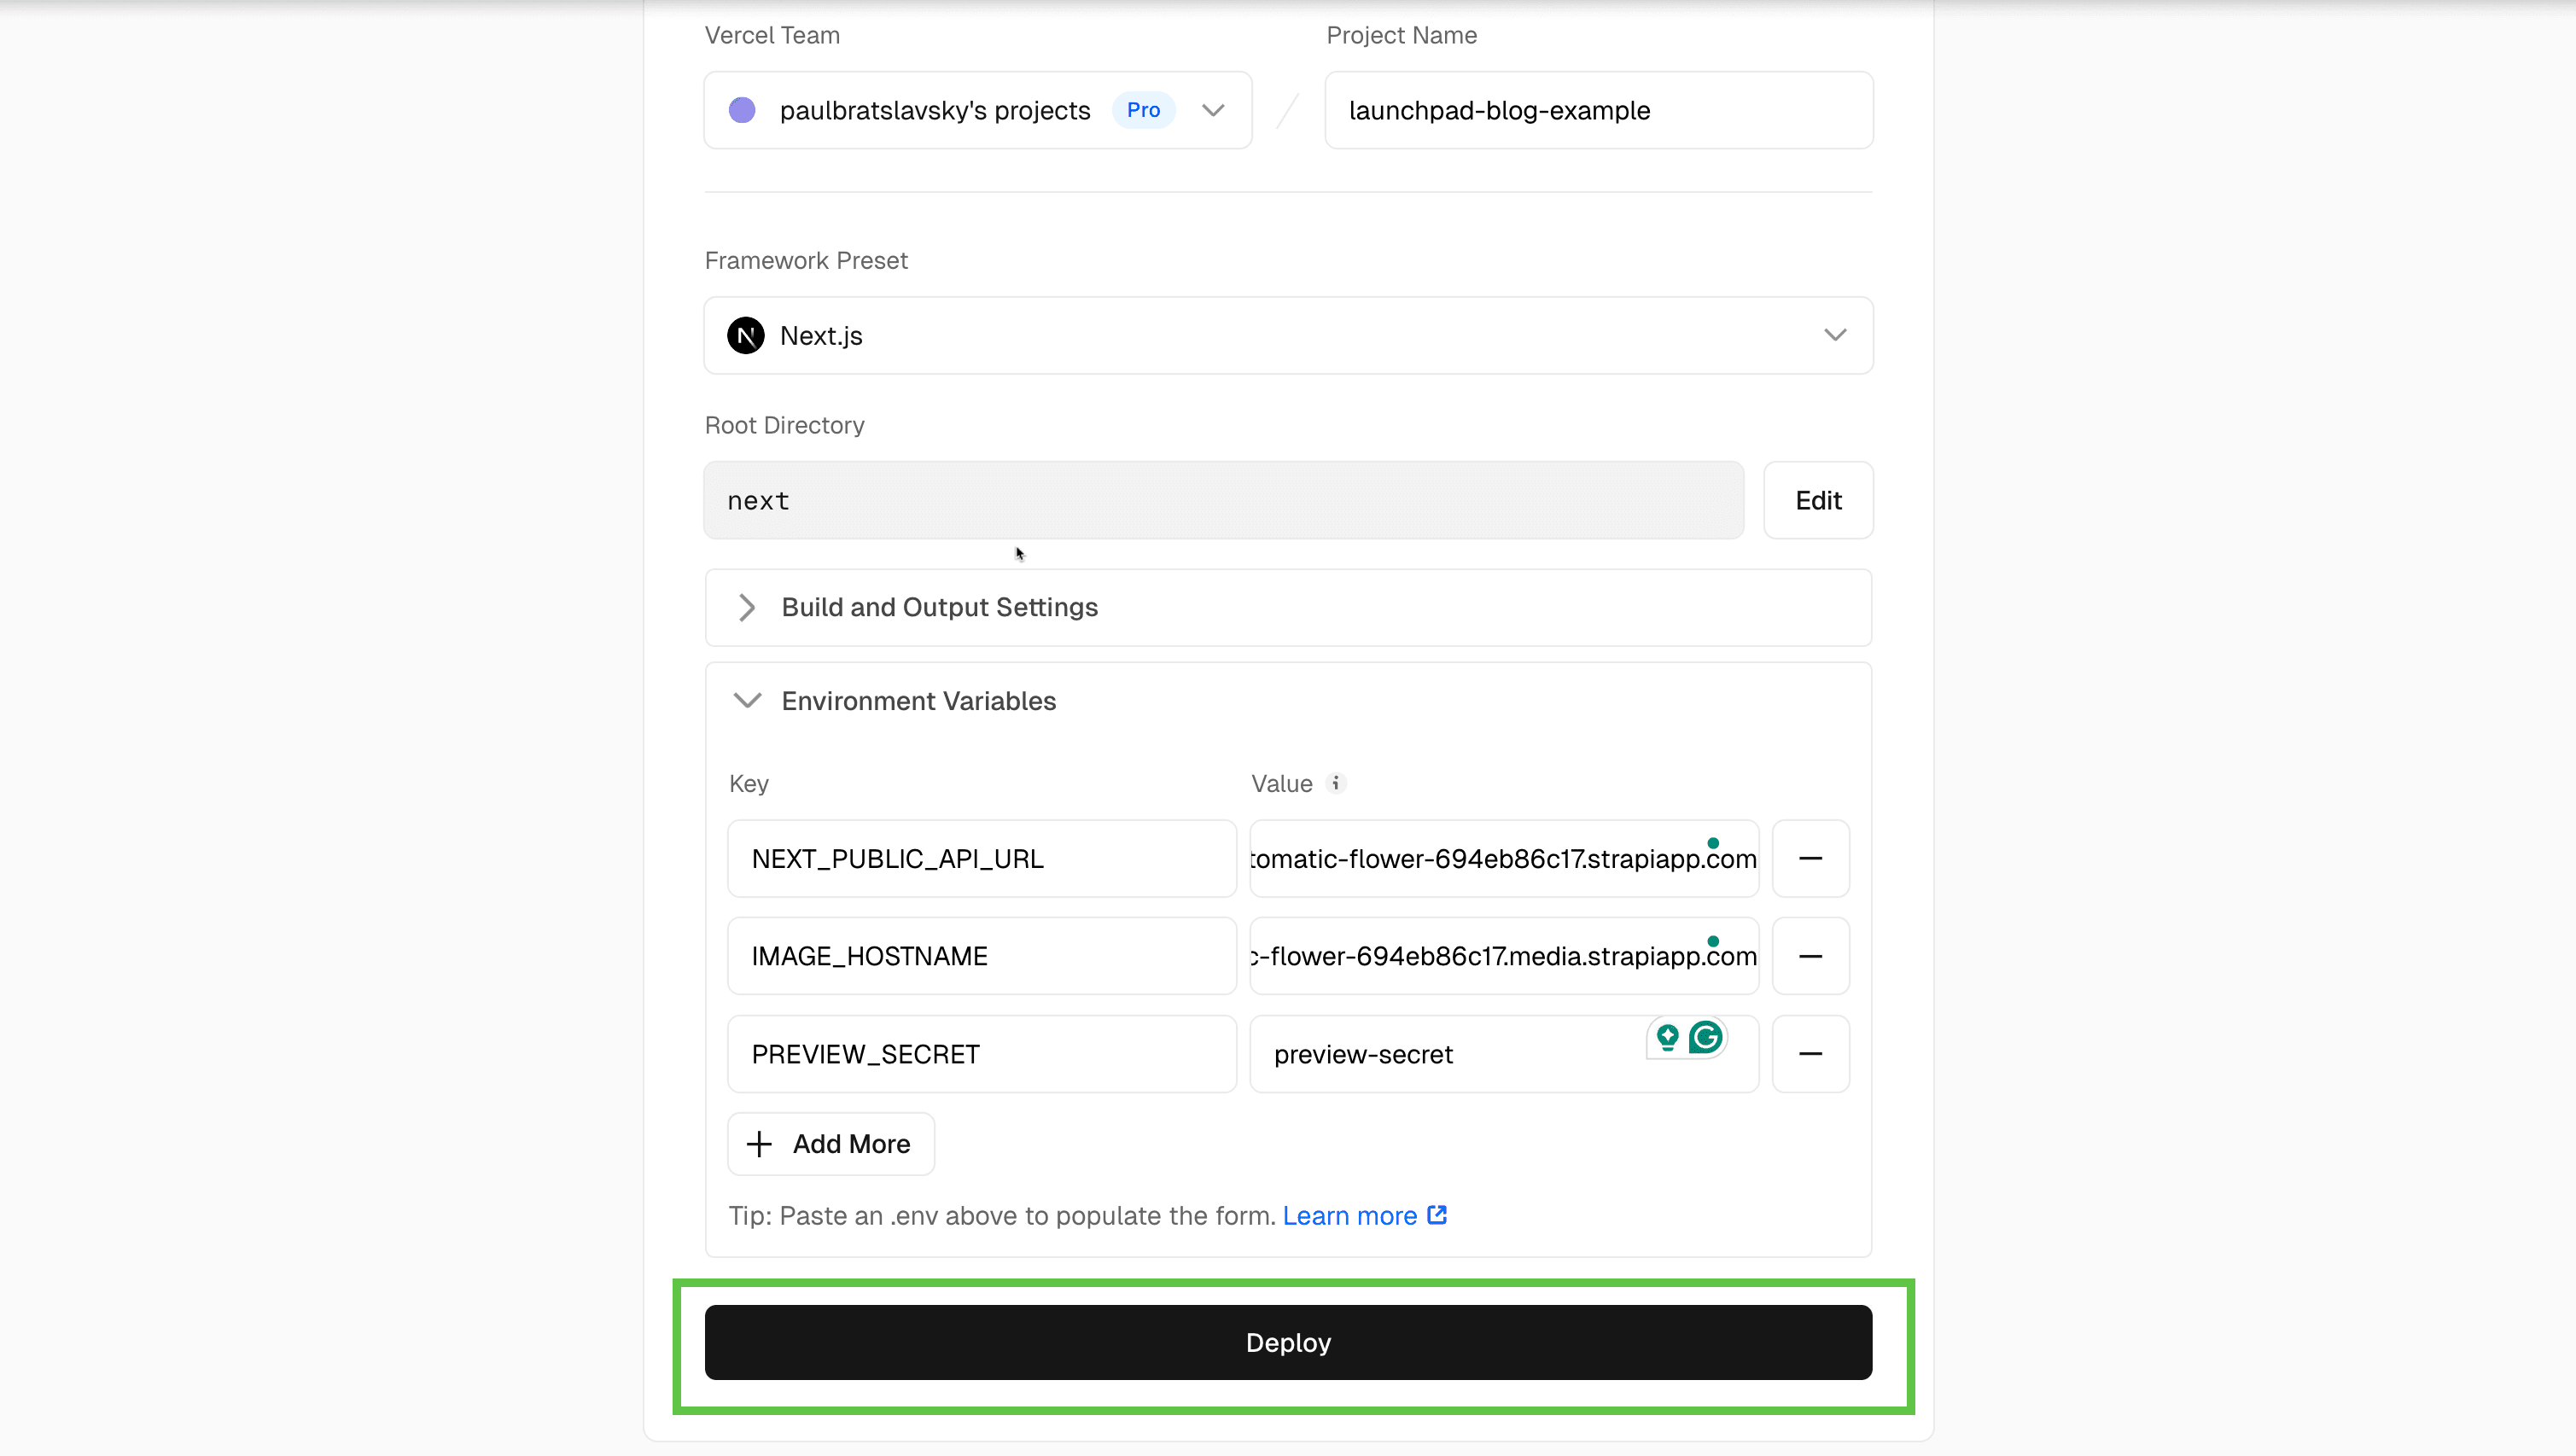
We now have to add our environment variables.
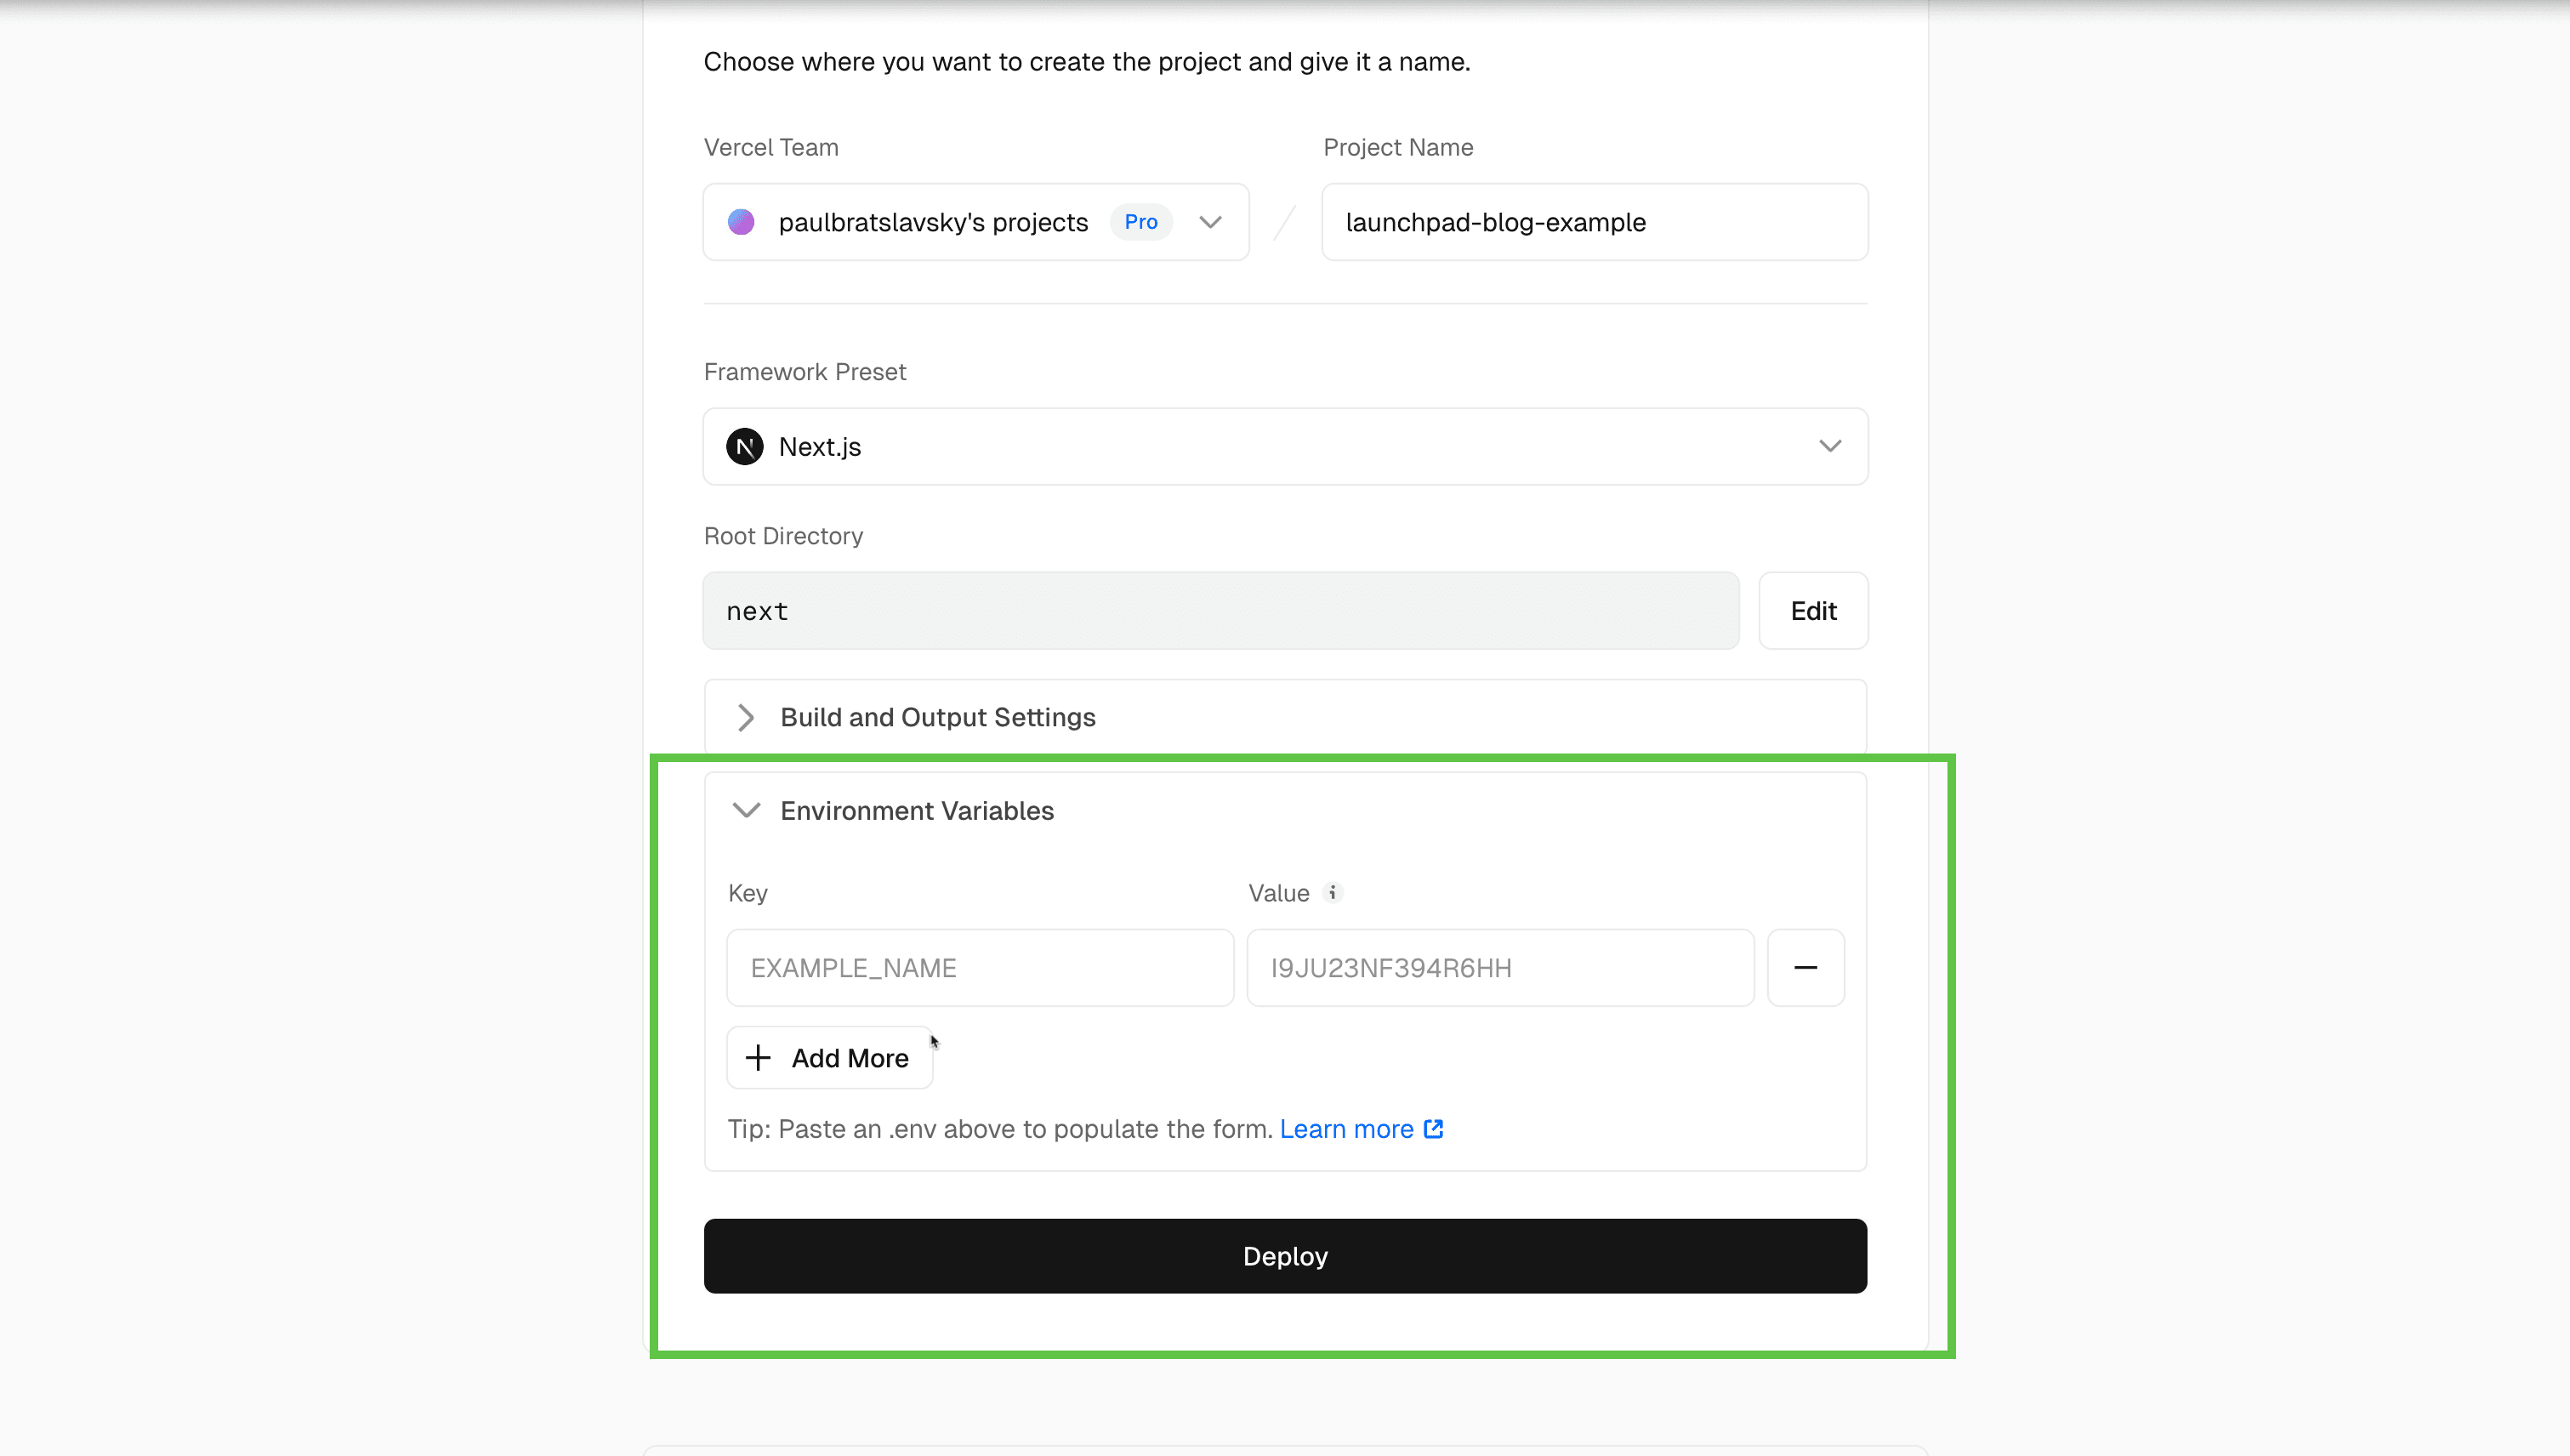
We will add the following environment variables:
NEXT_PUBLIC_API_URL: the URL of your Strapi Cloud instanceIMAGE_HOSTNAME: the URL of your Strapi Cloud Media StoragePREVIEW_SECRET: the key for the preview secret
NEXT_PUBLIC_API_URL
This is the URL of your Strapi Cloud instance. In my case it is https://automatic-flower-694eb86c17.strapiapp.com.
You can find it in your Strapi Cloud project dashboard.
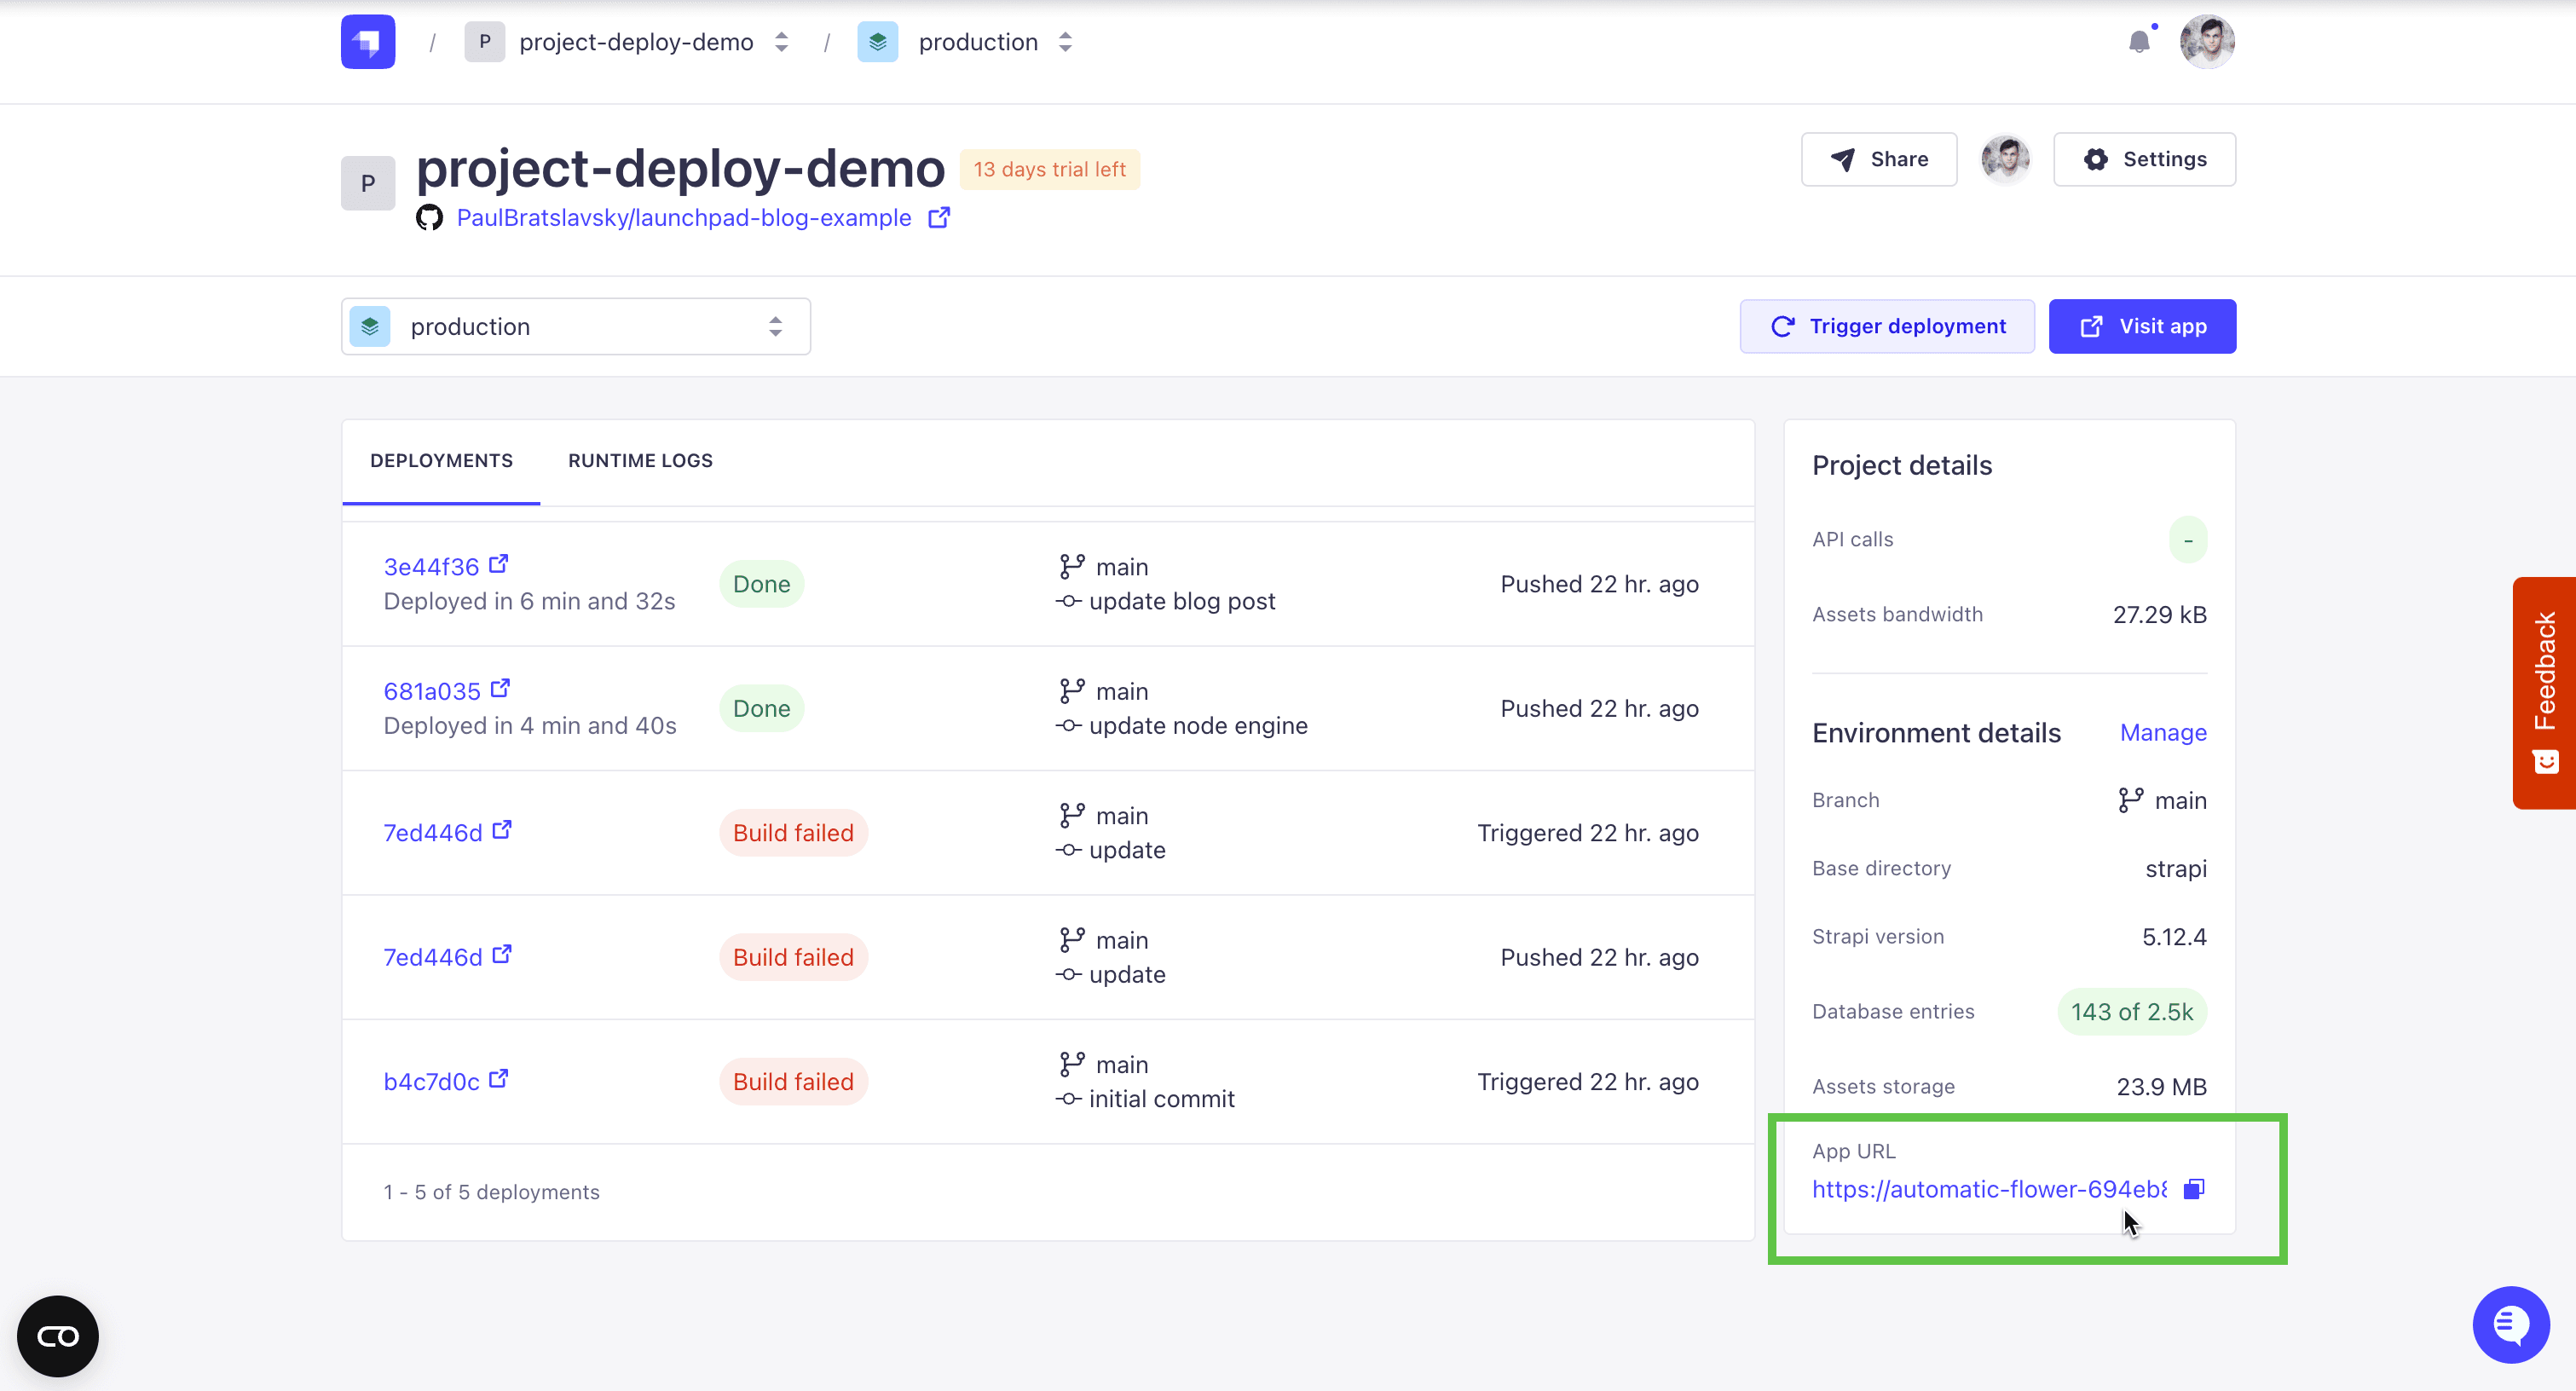
Note: when copying the link, you can remove the /admin at the end of the URL.
IMAGE_HOSTNAME
The easiest way to get the IMAGE_HOSTNAME is inside your Strapi Cloud project in the Media Library section. Select any image and click on the Copy URL button.
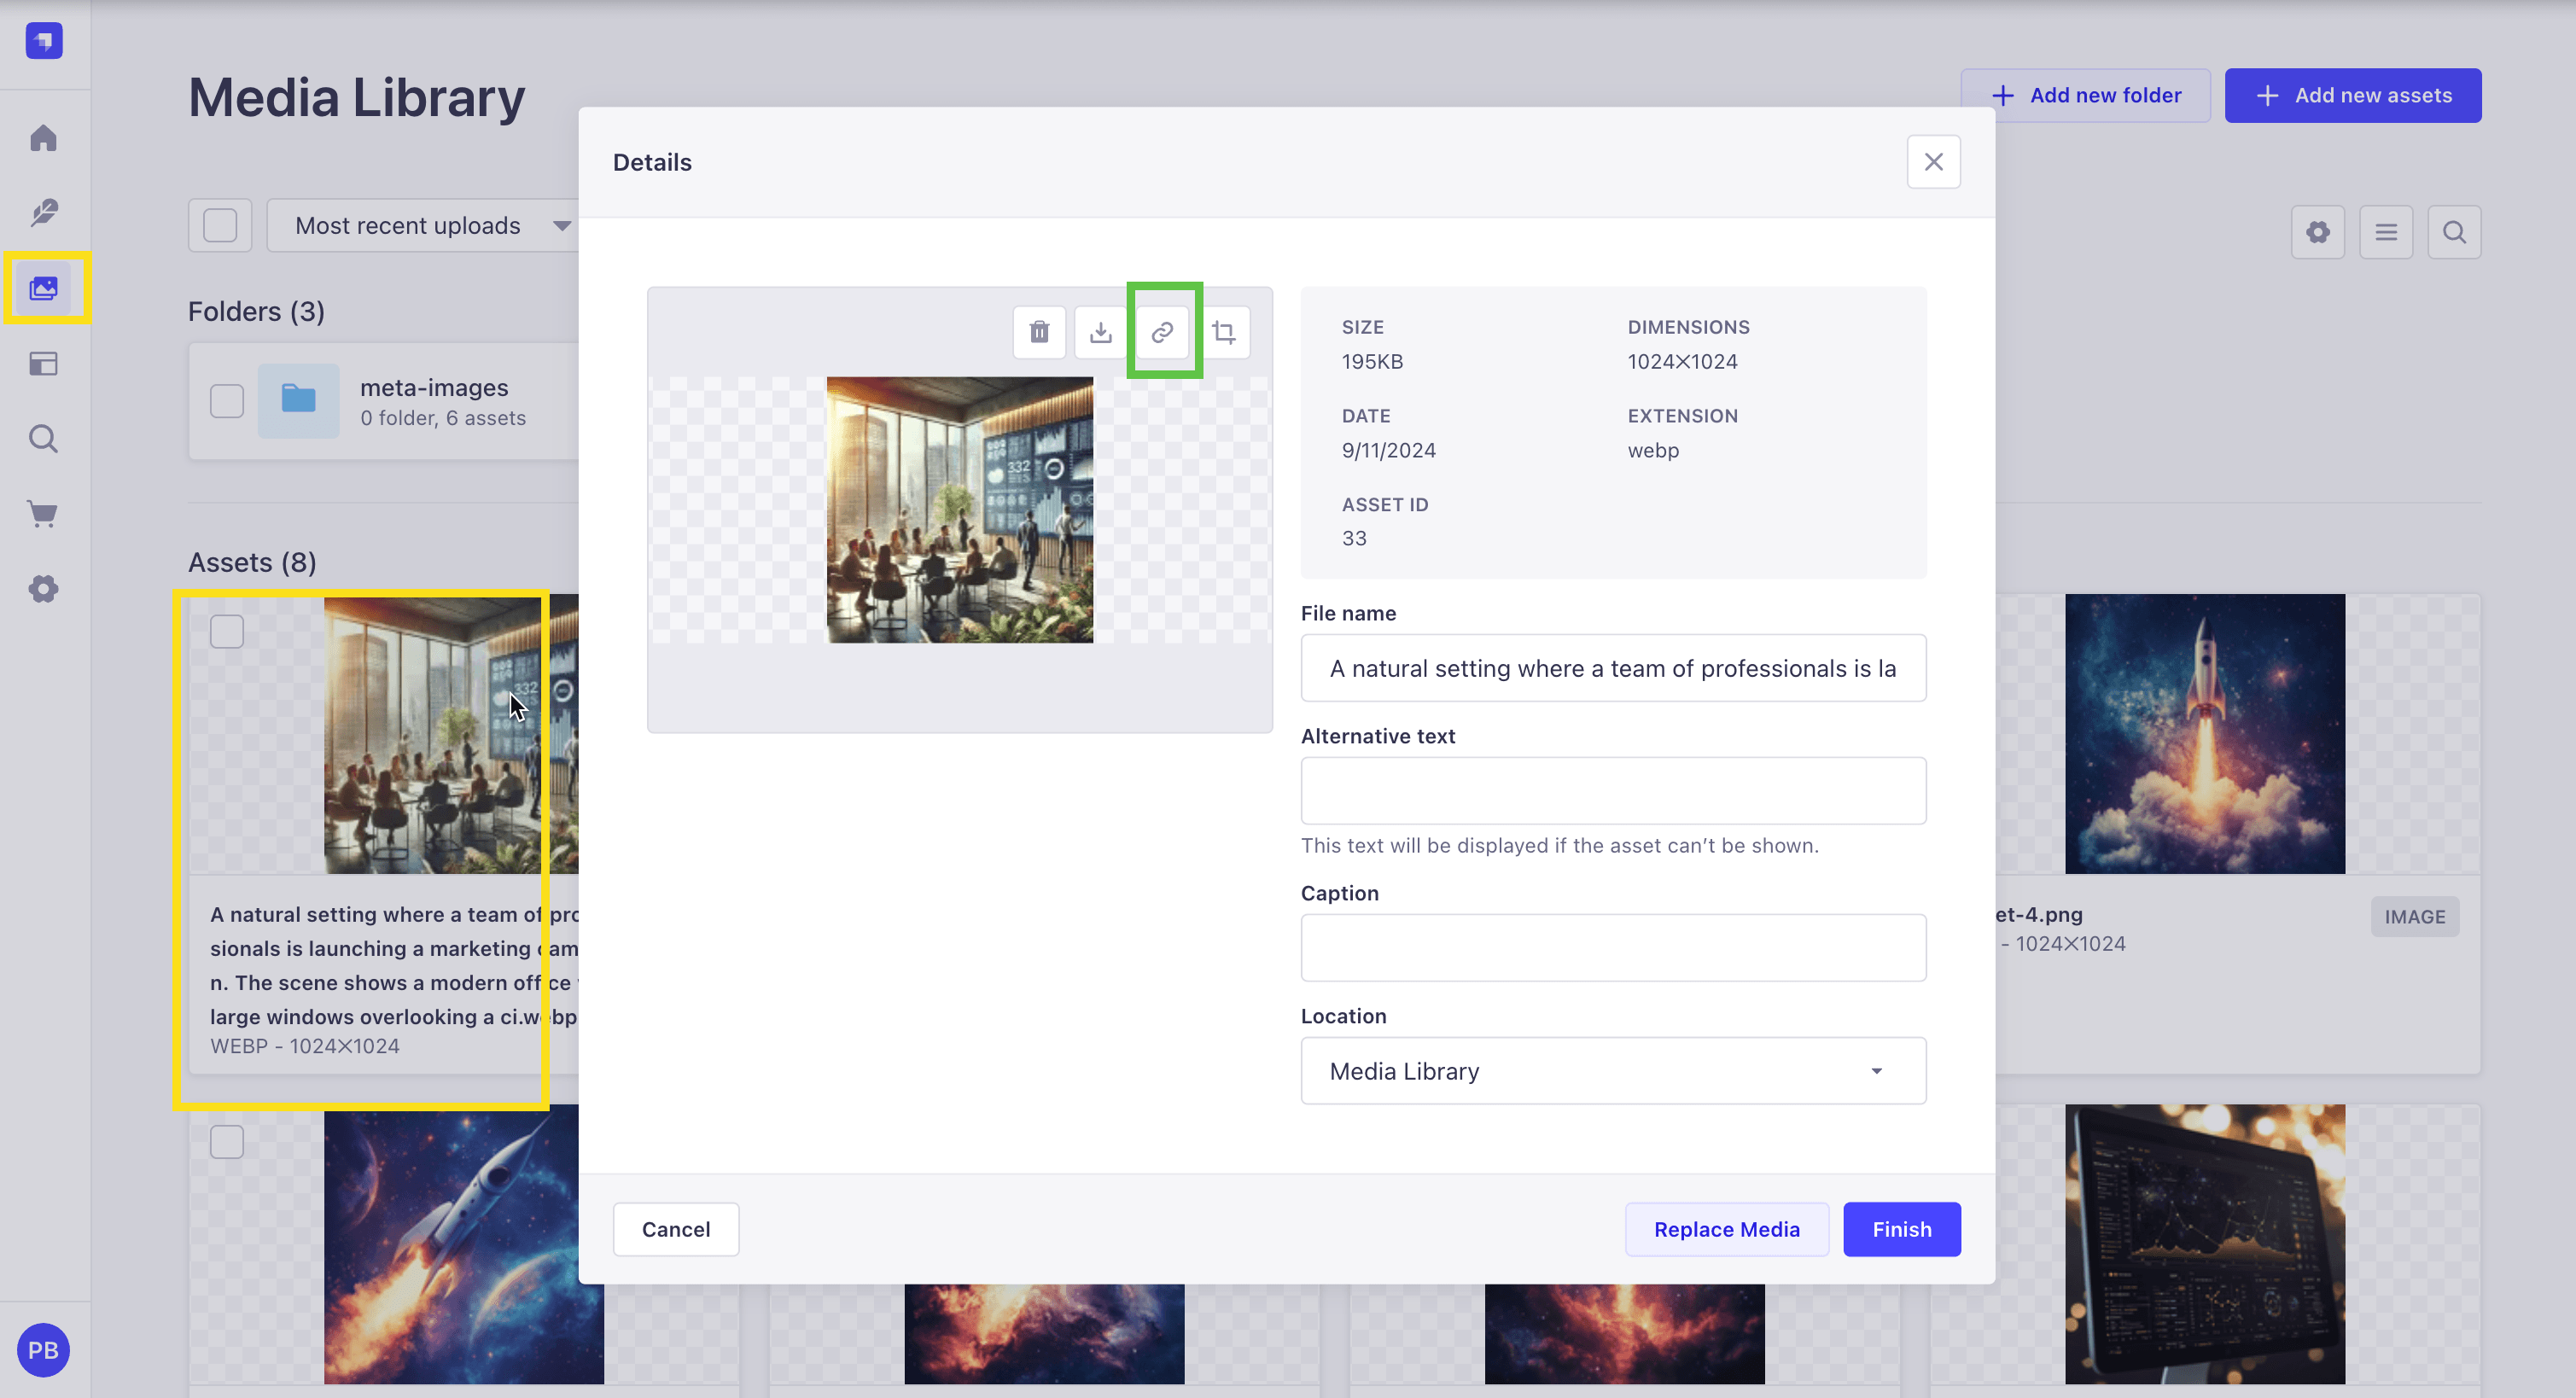
You will get a URL like this:
https://automatic-flower-694eb86c17.media.strapiapp.com/A_natural_setting_where_a_team_of_professionals_is_launching_a_marketing_campaign_The_scene_shows_a_modern_office_with_large_windows_overlooking_a_ci_165bacb7dd.webpIn this case, the IMAGE_HOSTNAME is automatic-flower-694eb86c17.media.strapiapp.com.
The naming convention for the IMAGE_HOSTNAME is {your-project-name}.media.strapiapp.com.
PREVIEW_SECRET
For the PREVIEW_SECRET, you can use any random string.
We can generate a random string using the following command:
openssl rand -base64 32But for this example, I will just call it preview-secret.
Just make sure to use the same secret key in both the Next.js frontend and the Strapi backend.
Which we will update in the next steps.
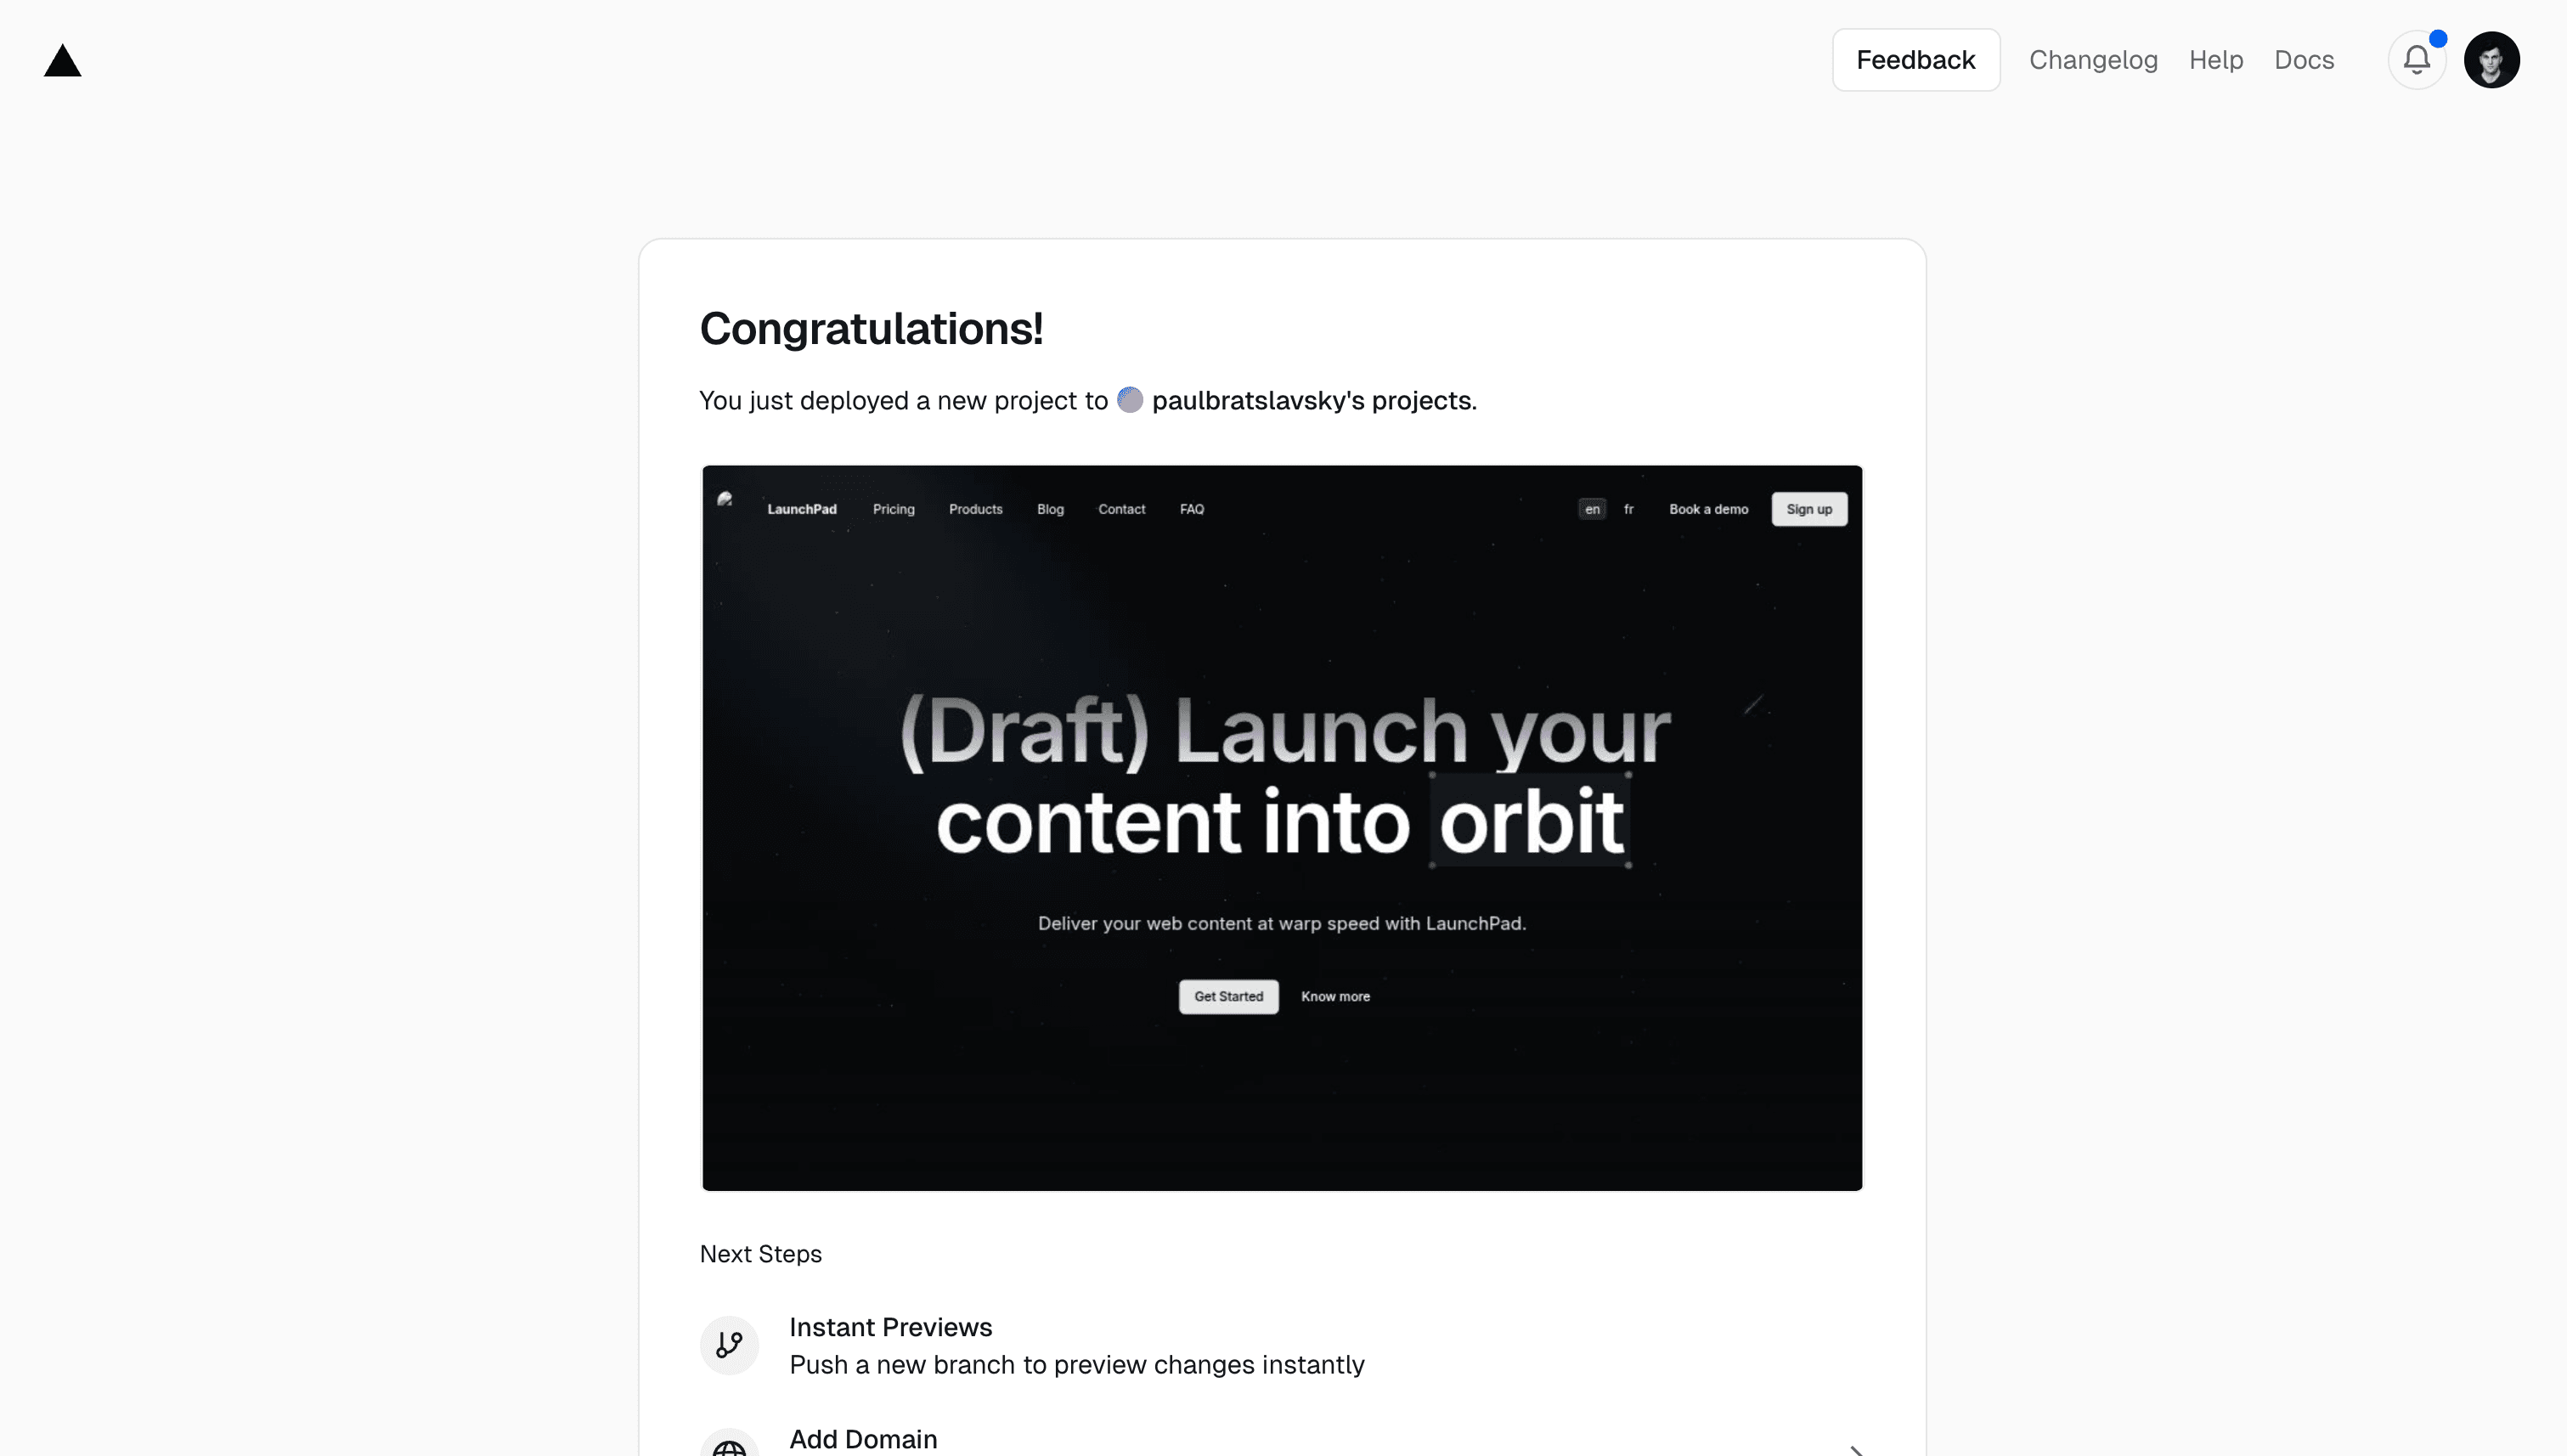
Now let's click on the Deploy button.
Once the deployment is complete, you should see the following screen:
You can click on Continue to Dashboard to go to your Vercel dashboard.
You can click on the Visit to navigate to your website.
Nice. Now that we have our Next.js frontend deployed to Vercel, let's update our Strapi Cloud project with the correct environment variables to enable the preview functionality.
Enable Preview Functionality in Strapi Cloud Production
If we navigate to our Strapi Cloud project, select and Article content type and click on the Preview button, we will get the following error:
This is because we don't have the correct environment variables set in our Strapi Cloud project.
Let's navigate to the Settings => Variables section and click on the Add Variable button.
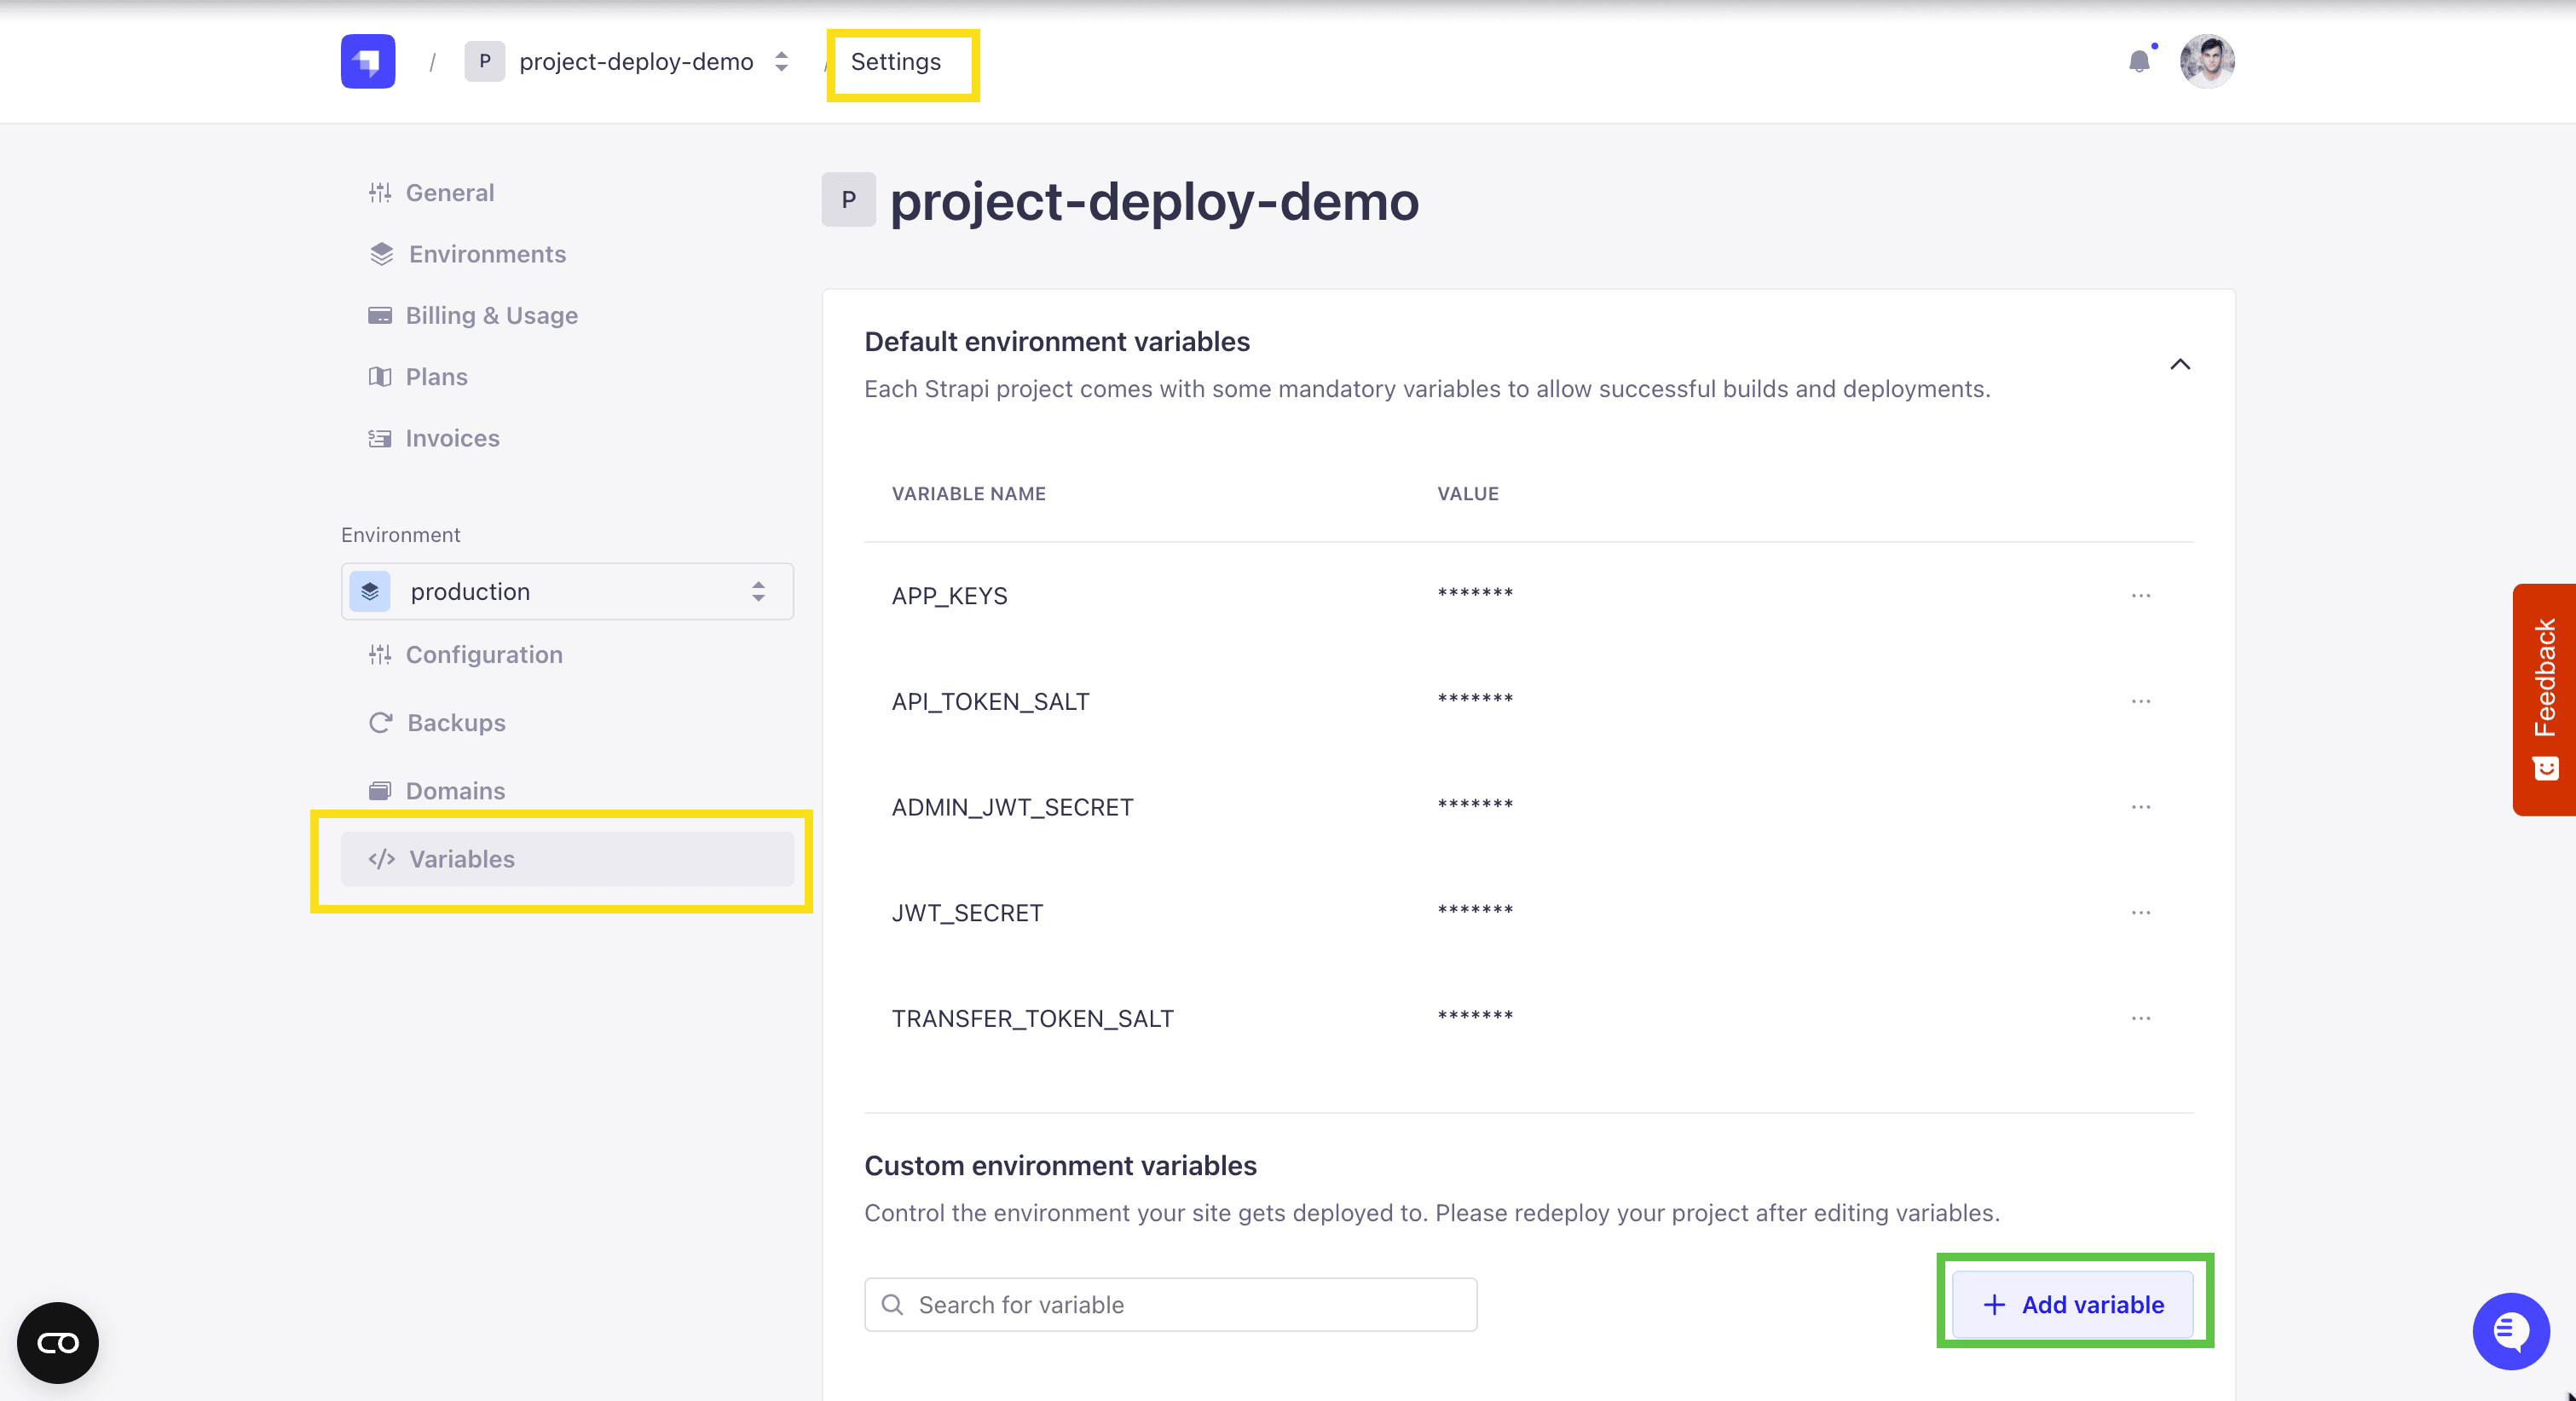
We will add the following variables:
CLIENT_URL: the URL of your Vercel Next.js frontendPREVIEW_SECRET: this is optional, required with Next.js draft mode which is what we are using.
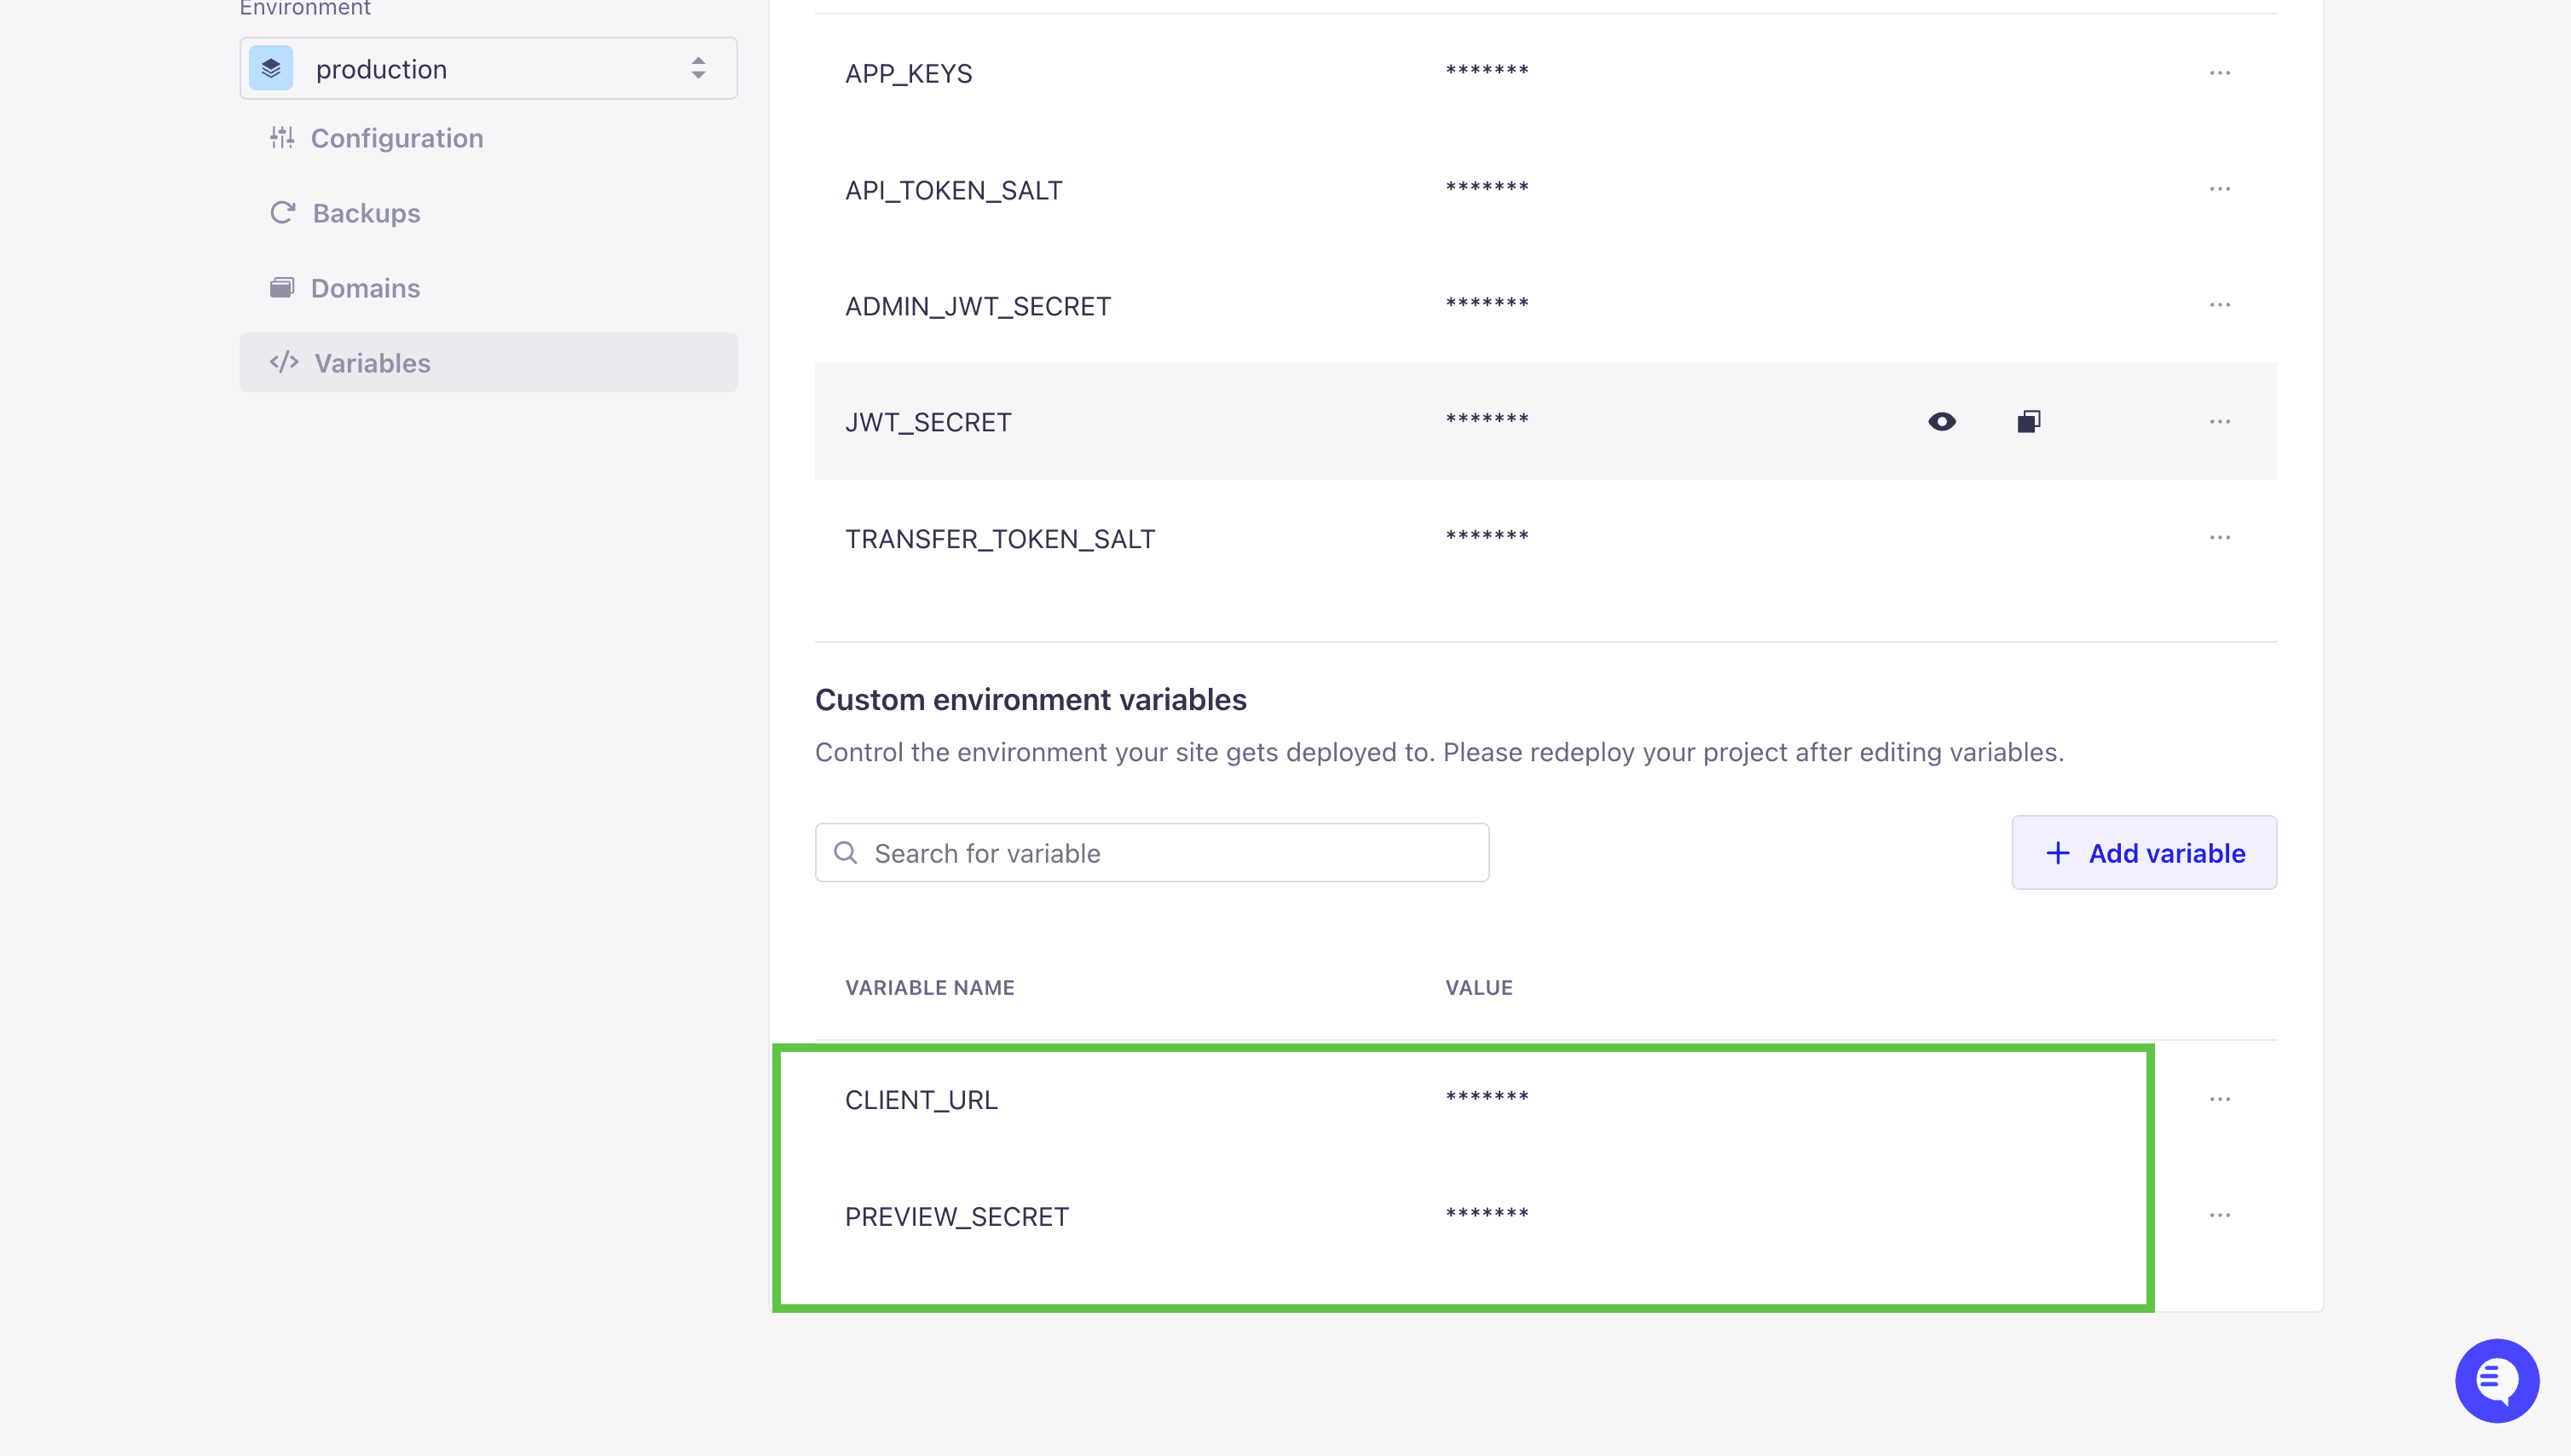
CLIENT_URL
These are the URLs of your Vercel Next.js frontend. In my case it is https://launchpad-blog-example.vercel.app.
PREVIEW_SECRET
This is the key for the preview secret. I will use preview-secret.
Note: this should match the PREVIEW_SECRET in the Next.js frontend.
Once you add the required variables, go ahead and click on the Save button.
Finally, in our project dashboard we need to click on the Trigger deployment button to apply the changes.
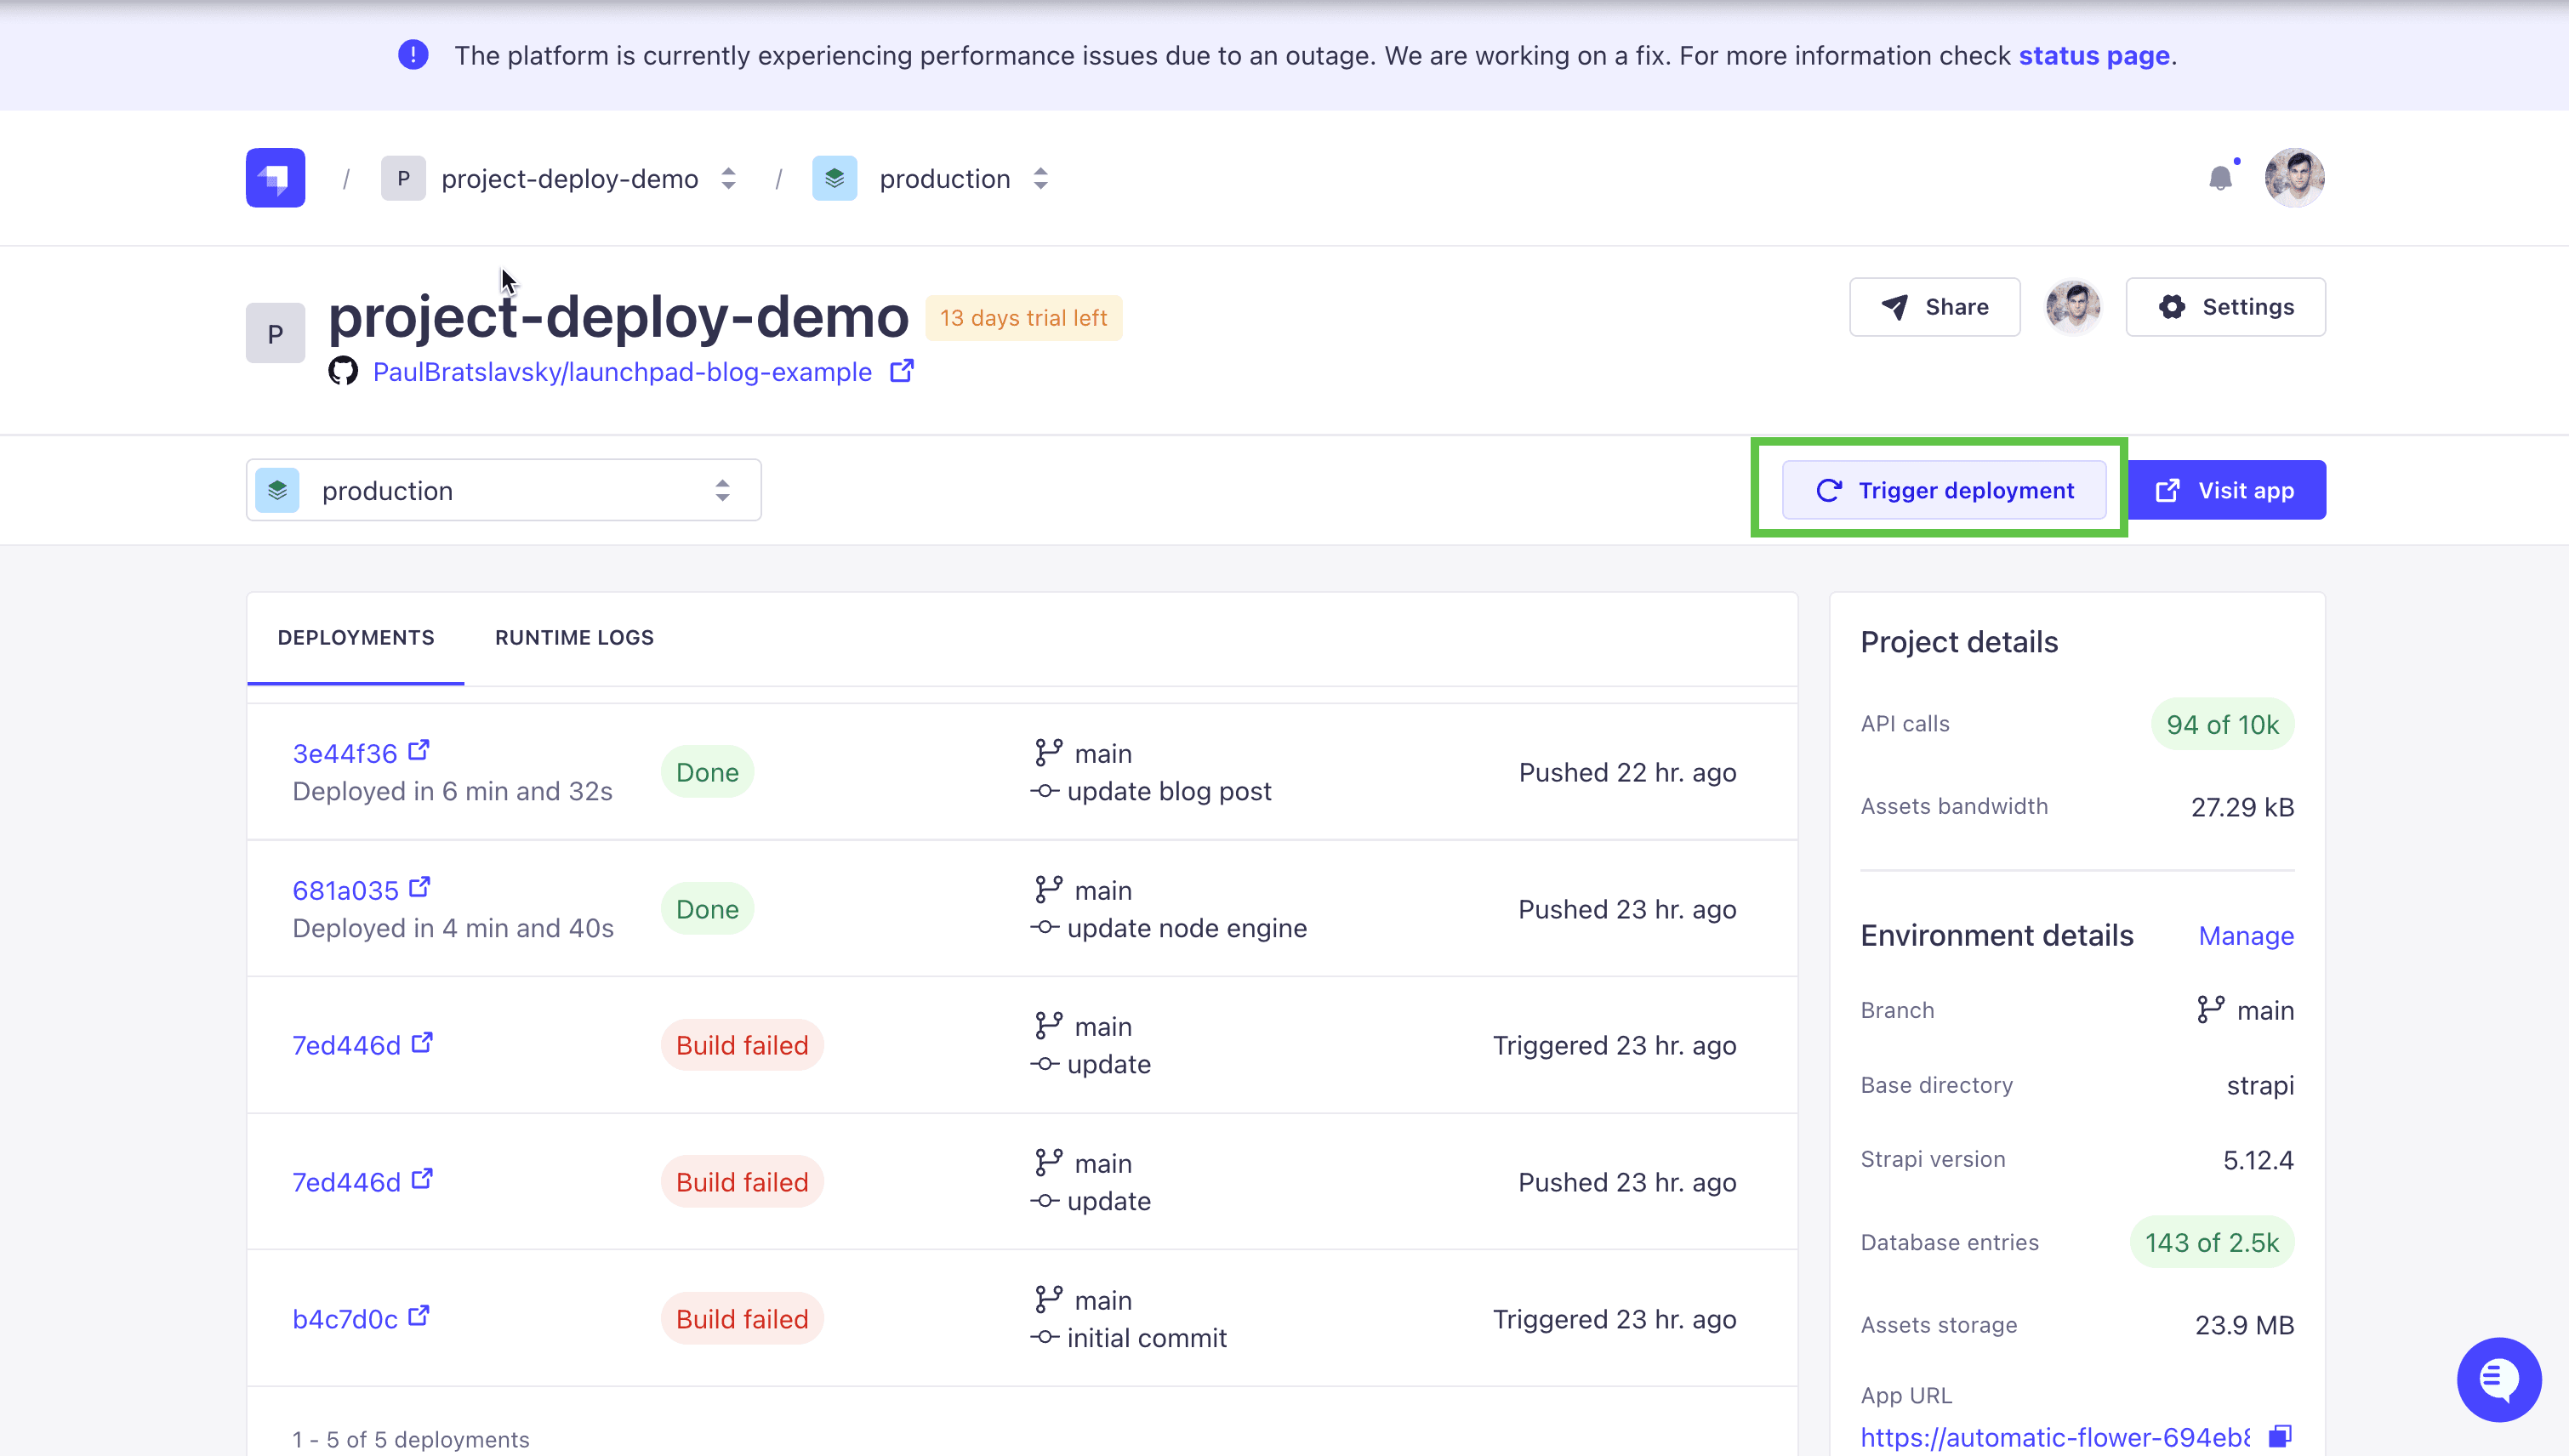
Now let's navigate to our Strapi Cloud project, select and Article content type and click on the Preview button and should see that the preview functionality is working.

Nice. We have successfully deployed Strapi and Next.js Launchpad project.
Conclusion
We covered how to explore the Launchpad demo, set up the project on your local machine, configure preview functionality, and deploy both the Strapi backend to Strapi Cloud and the Next.js frontend to Vercel.
I hope you enjoyed this tutorial. If you have any questions, please feel free to reach out to me. You can also join the Strapi Open Office Hours.
Strapi Open Office Hours
If you have any questions about Strapi 5 or would like to stop by and say hi, you can join us at Strapi's Discord Open Office Hours Monday through Friday from 12:30 pm to 1:30 pm CST: Strapi Discord Open Office Hours.