We have completed all the basic features for our YouTube Summarize AI app, which we have been working on. These include full CRUD functionality, authentication, search, pagination, and AI video summarization. If you still need to complete your project, check out our previous posts in this Epic Next.js 16 tutorial series.
Updated for Next.js 16 and Strapi 5.50 (July 2026). The backend now runs Strapi 5.50 and requires Node 20.9 or newer, with Node 22 recommended; the backend
package.jsonengines field is"node": ">=20.9.0 <=22.x.x". Pick Node 22 when Strapi Cloud asks for a Node version. Some plan names and screens in the Strapi Cloud flow have also changed since the screenshots below were taken (Strapi Cloud deployment docs).
- Part 1: Learn Next.js by building a website
- Part 2: Building Out The Hero Section of the homepage
- Part 3: Finishup up the homepage Features Section, TopNavigation and Footer
- Part 4: How to handle login and Authentification in Next.js
- Part 5: Building out the Dashboard page and upload file using NextJS server actions
- Part 6: Get Video Transcript with AI SDK
- Part 7: Strapi CRUD permissions
- Part 8: Search & pagination in Nextjs
- Part 9: Backend deployment to Strapi Cloud
- Part 10: Frontend deployment to Vercel
This post will cover how to deploy your project to Strapi Cloud.
Why Strapi Cloud
Strapi Cloud is the managed hosting platform for Strapi projects, run by the Strapi team (Strapi Cloud docs). It is the quickest way to get a Strapi project into production because the infrastructure decisions are made for you.
Get Everything You Need to Run Strapi in Production
Here are some items you get out of the box using Strapi Headless CMS Cloud that you don't have to set up yourself.
- CDN (Content Delivery Network): This helps deliver content to users more efficiently by caching content on servers located closer to the user.
- Database - Strapi Cloud includes a database for storing and managing the application data.
- Email - Strapi Cloud provides email functionality, allowing users to send emails from their applications.
- File Storage - Strapi Cloud includes file storage capabilities, allowing users to store and manage files associated with their applications.
You also can access real-time logs, share and collaborate on your project with others, and use many other features. you can learn more about Strapi Cloud here
Strapi Cloud is a paid service. It currently offers three plans, Starter, Pro, and Business, with usage-based pricing on top (Strapi Cloud plans); check the pricing page for current amounts. Strapi itself is open source and free to self-host, so you can always run the CMS on your own infrastructure instead.
There are many ways to host your Strapi CMS project, and we encourage you to use the best option available. In the future, I will create another blog post covering Strapi backend deployment to Render. The caveat is that when using your own hosting solution, you will be responsible for setting up your own database, file storage, and anything else that is required.
But today, we will take the managed approach and use Strapi Cloud.
Preparing Our Project For Deployment
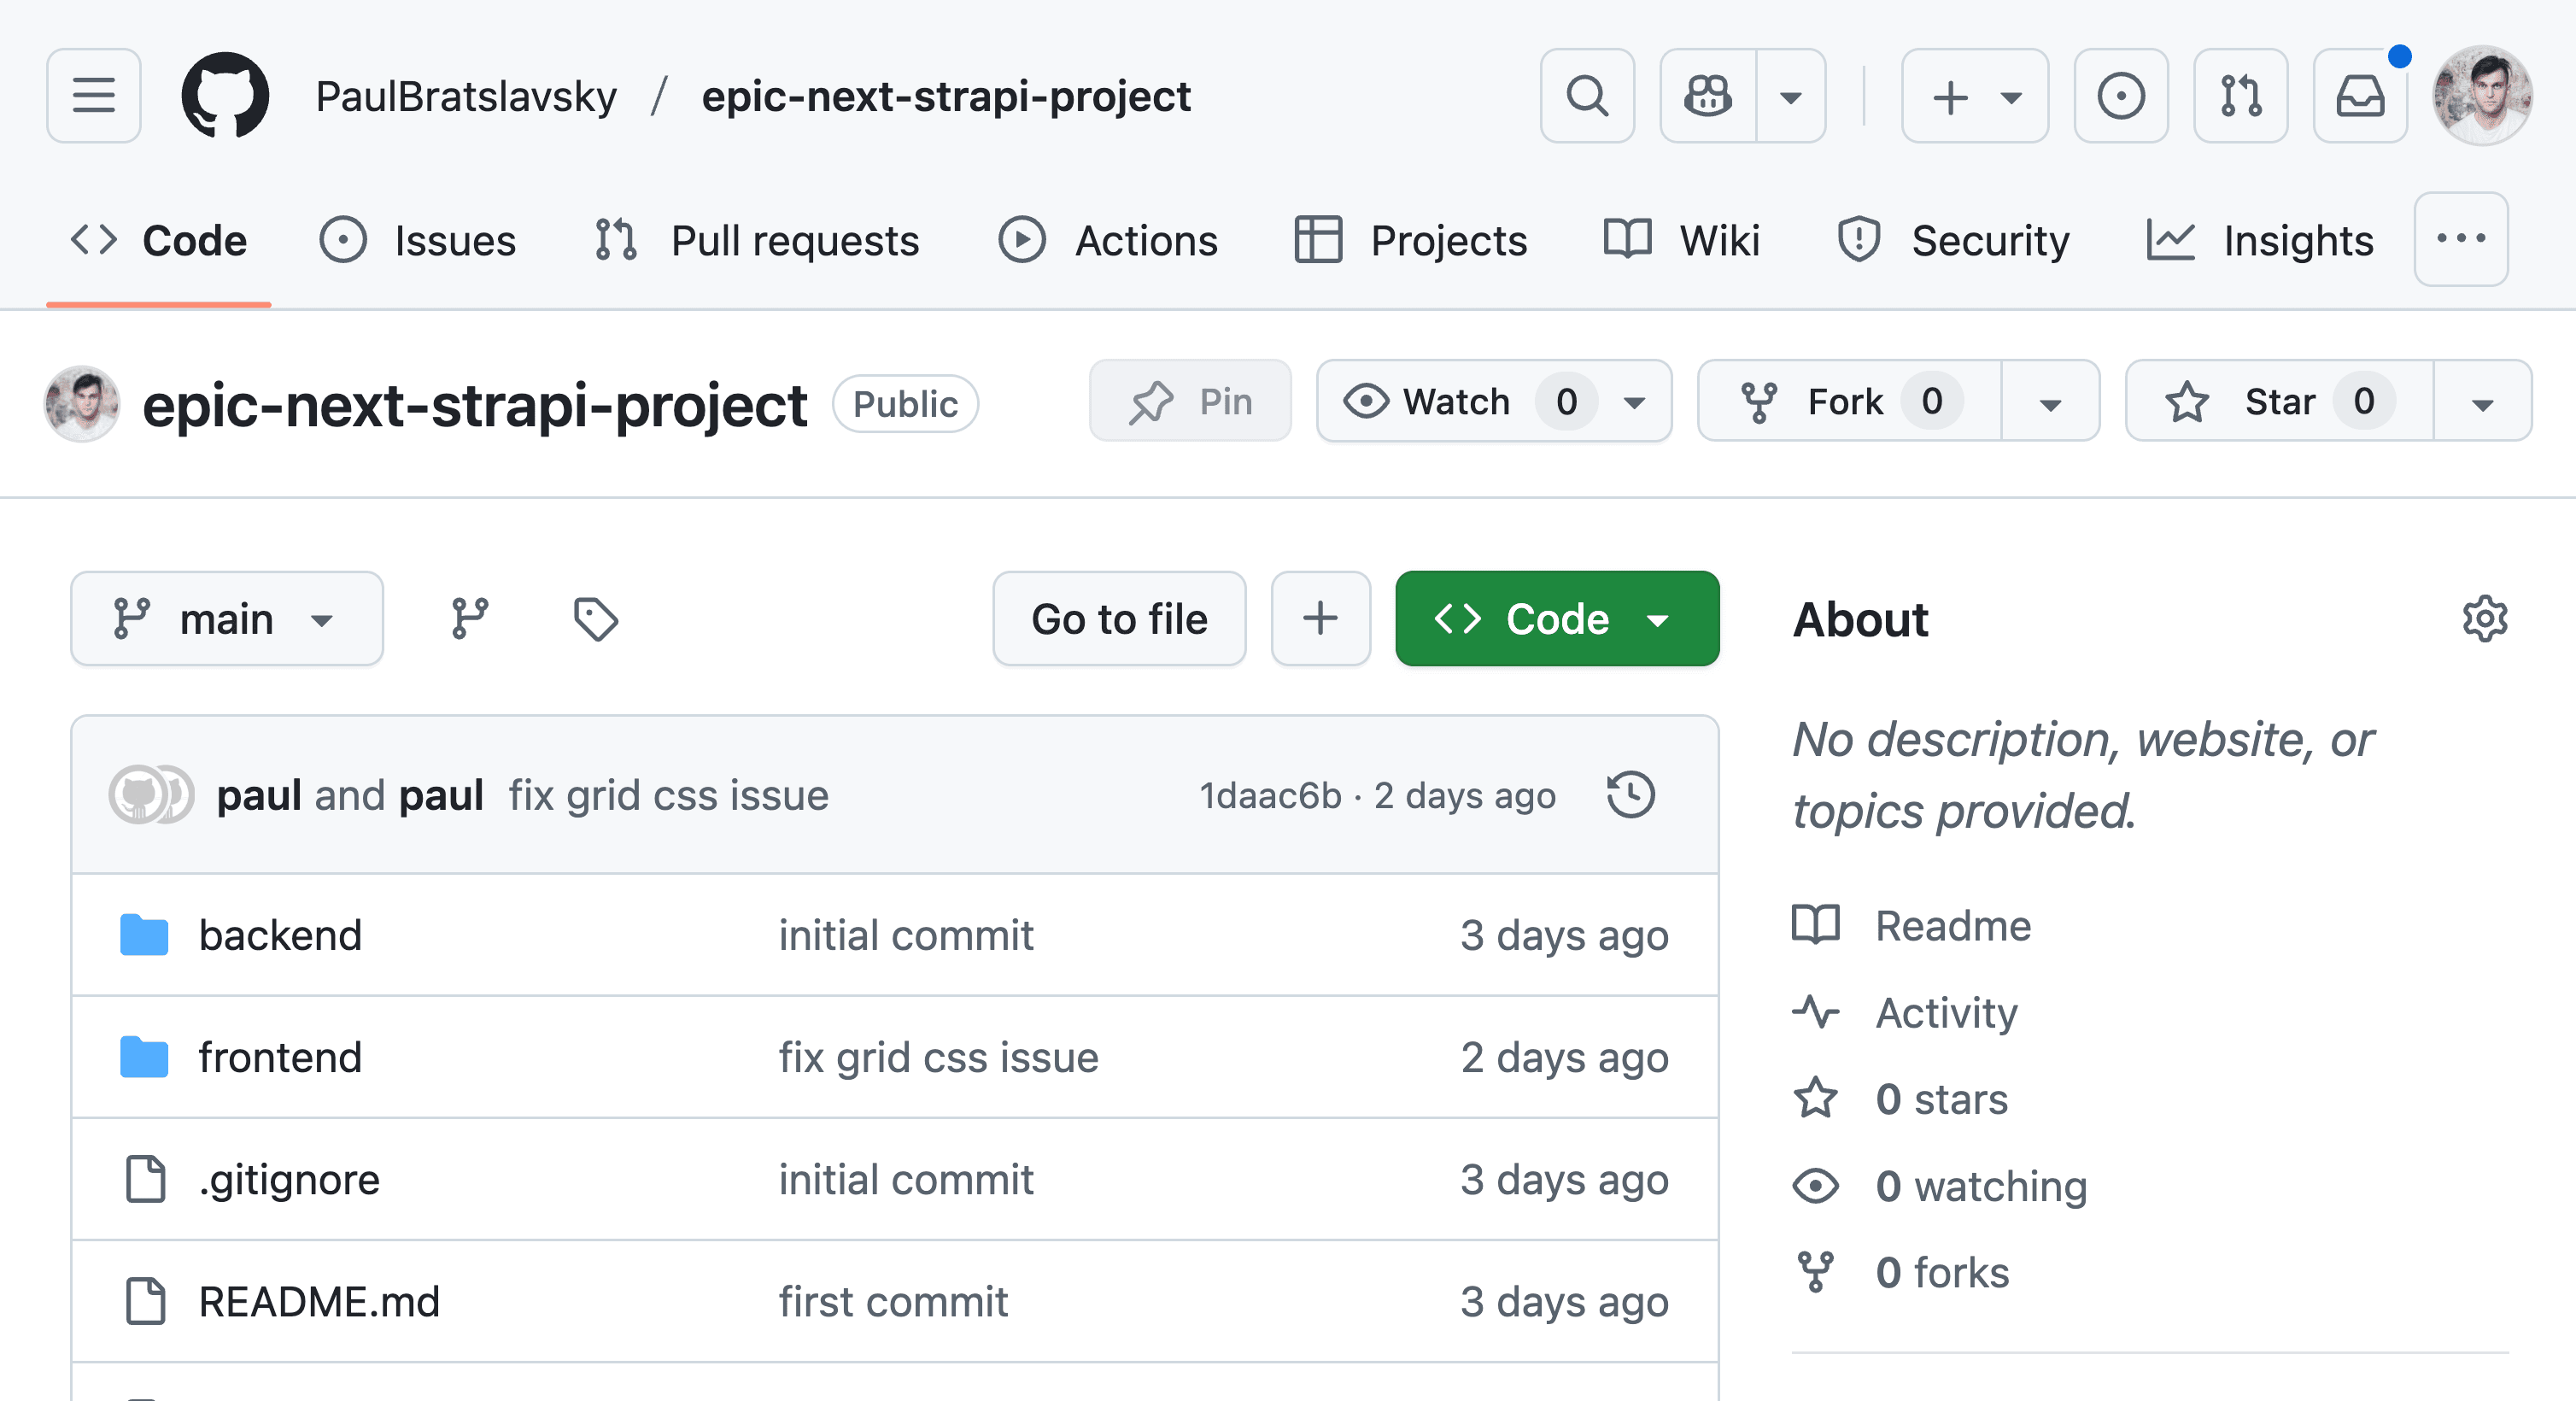
To deploy your project, you just need a GitHub repo with your project. Since you followed this tutorial, you should be ready to go.
Here is the repo of my project.
Let's get started.
Creating Your Strapi Account
We will start by creating a Strapi Cloud Account. You can log in with GitHub, Google, GitLab, or a one-time password (Strapi Cloud deployment docs). To do so, navigate to the Strapi Cloud Login.
We are going to choose GitHub as our login method, since our project lives on GitHub.

Once you click on the link, you will see the following screen. Click the Authorize Strapi Cloud button.
Now that you have your account, create your first project.
Create Your First Strapi Project

You should be greeted with the following page. Let's click the Create Project button.

You will be greeted with the following screen.
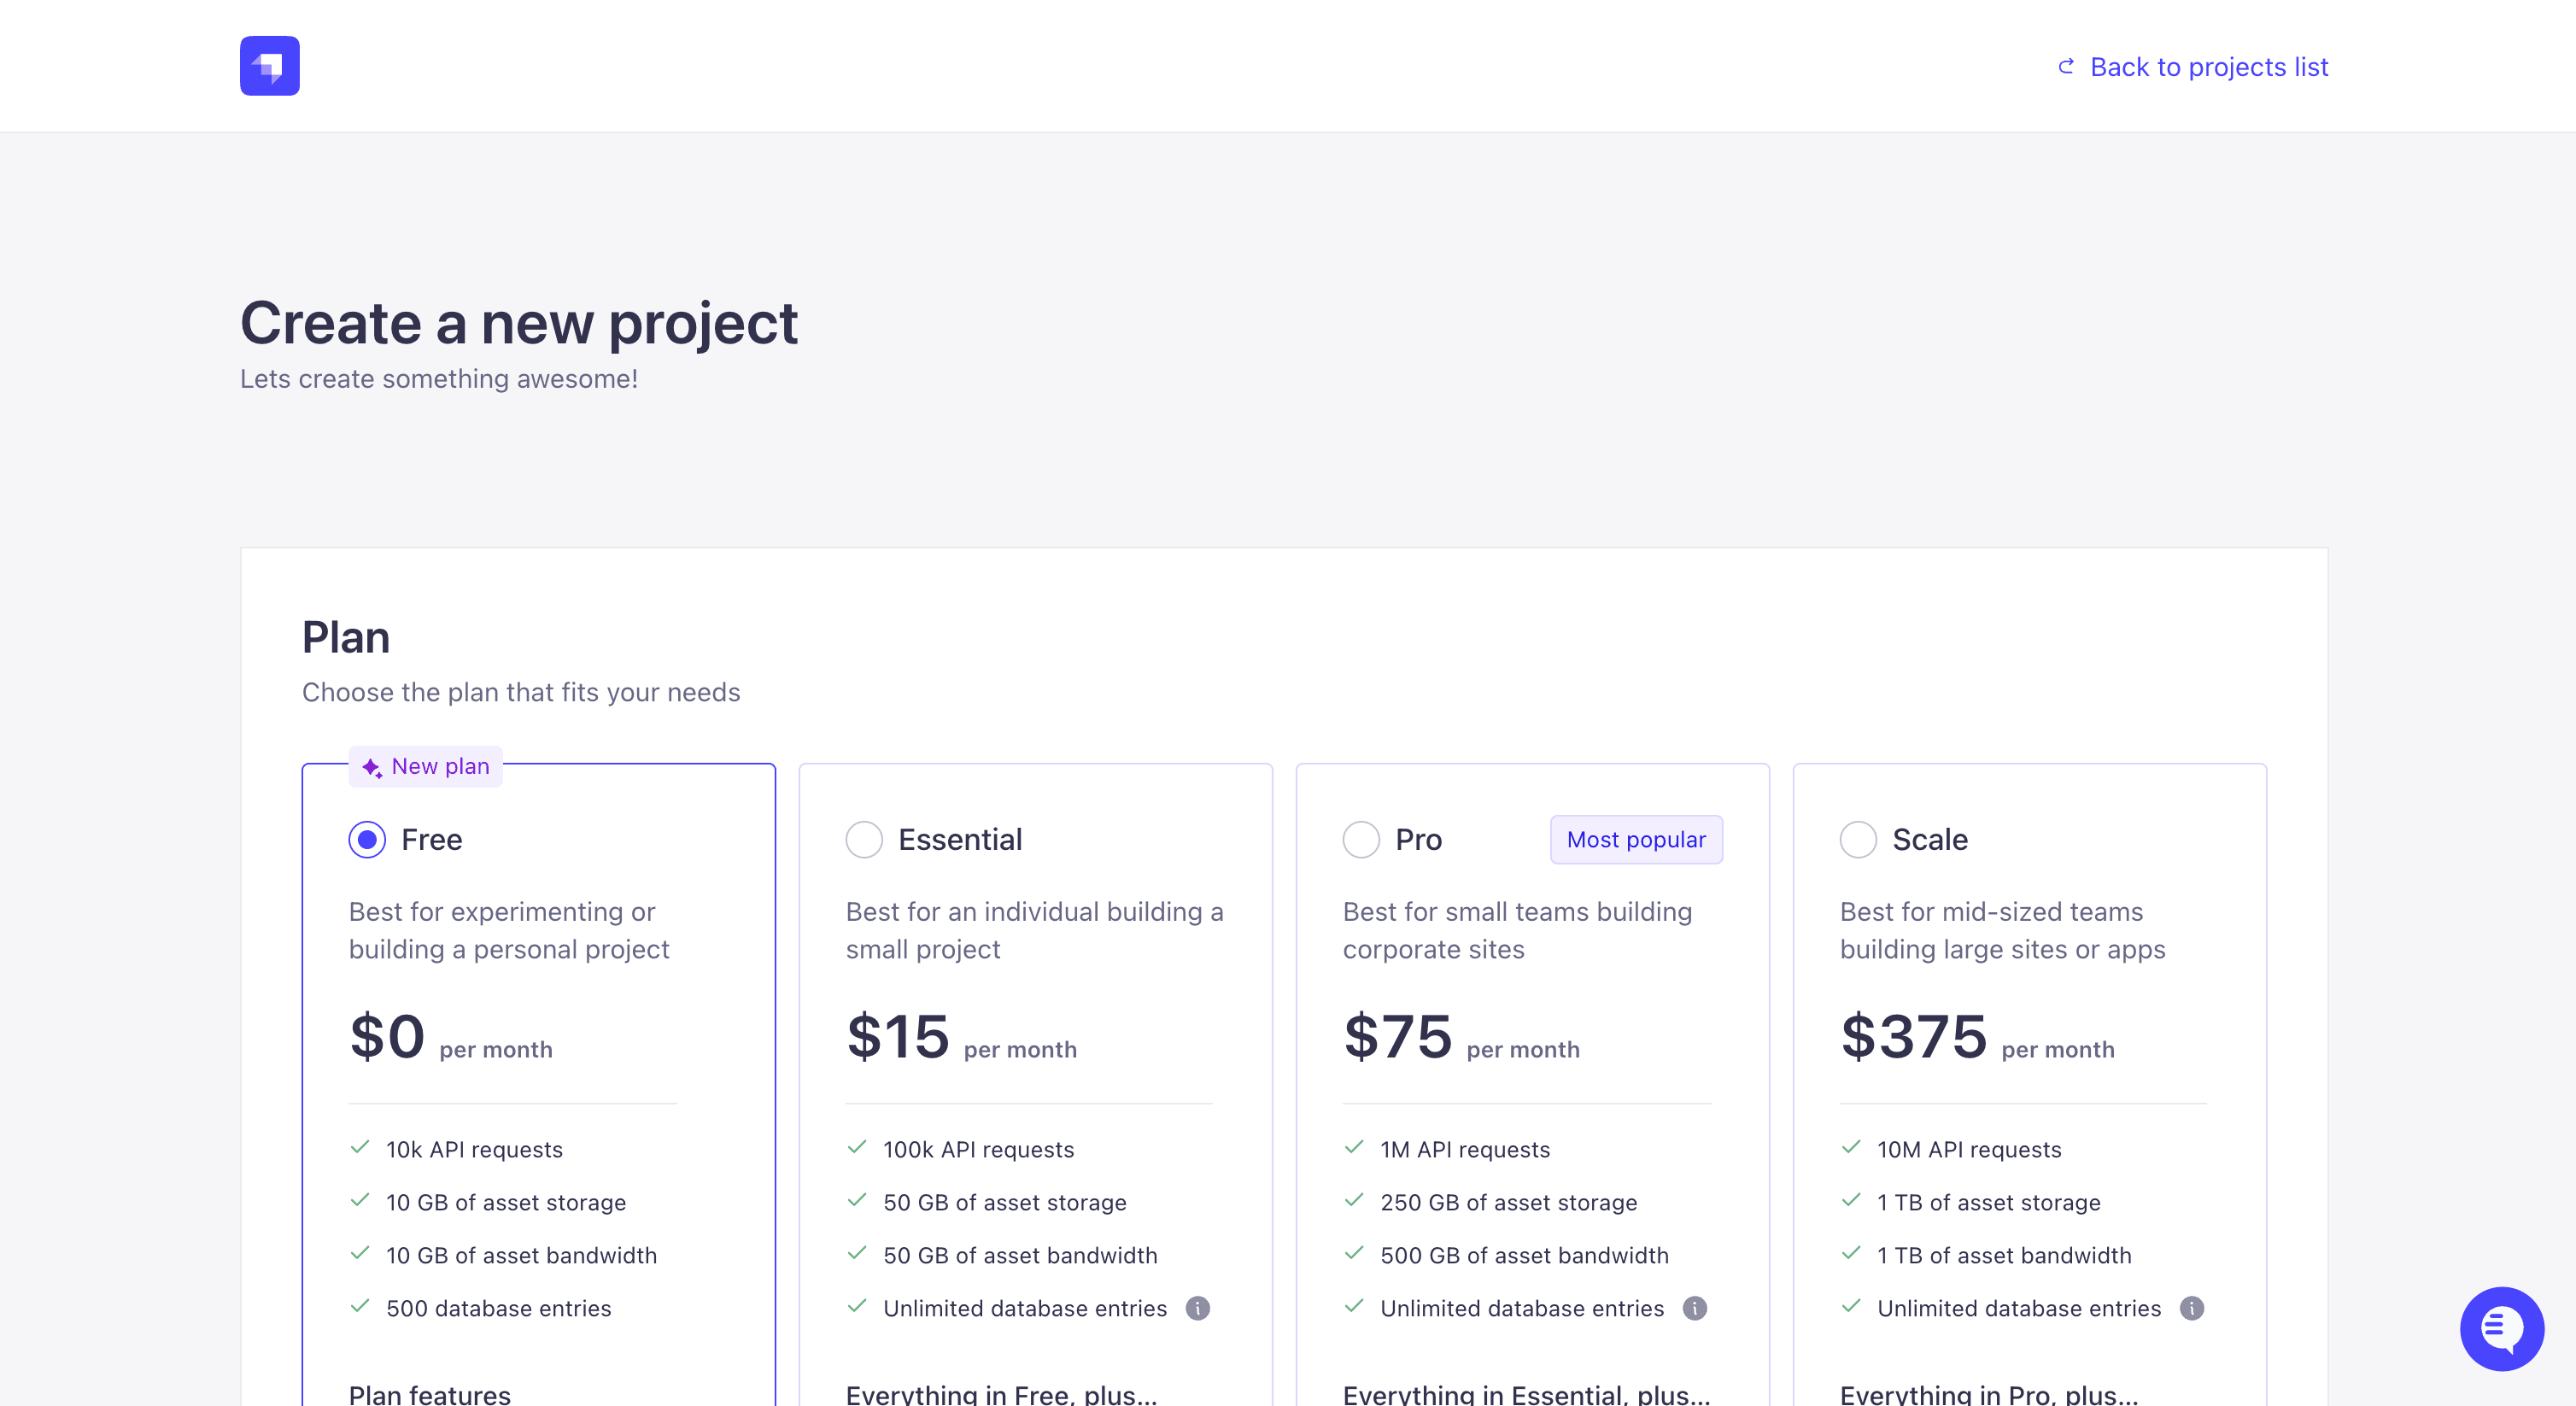 Click the
 Create my project button to continue.
Choose a plan and a billing period (Strapi Cloud deployment docs), then import your project via GitHub. Click on the button and follow the steps.

Once you authorize GitHub, you should see the following page. If not, you may need to refresh your browser.
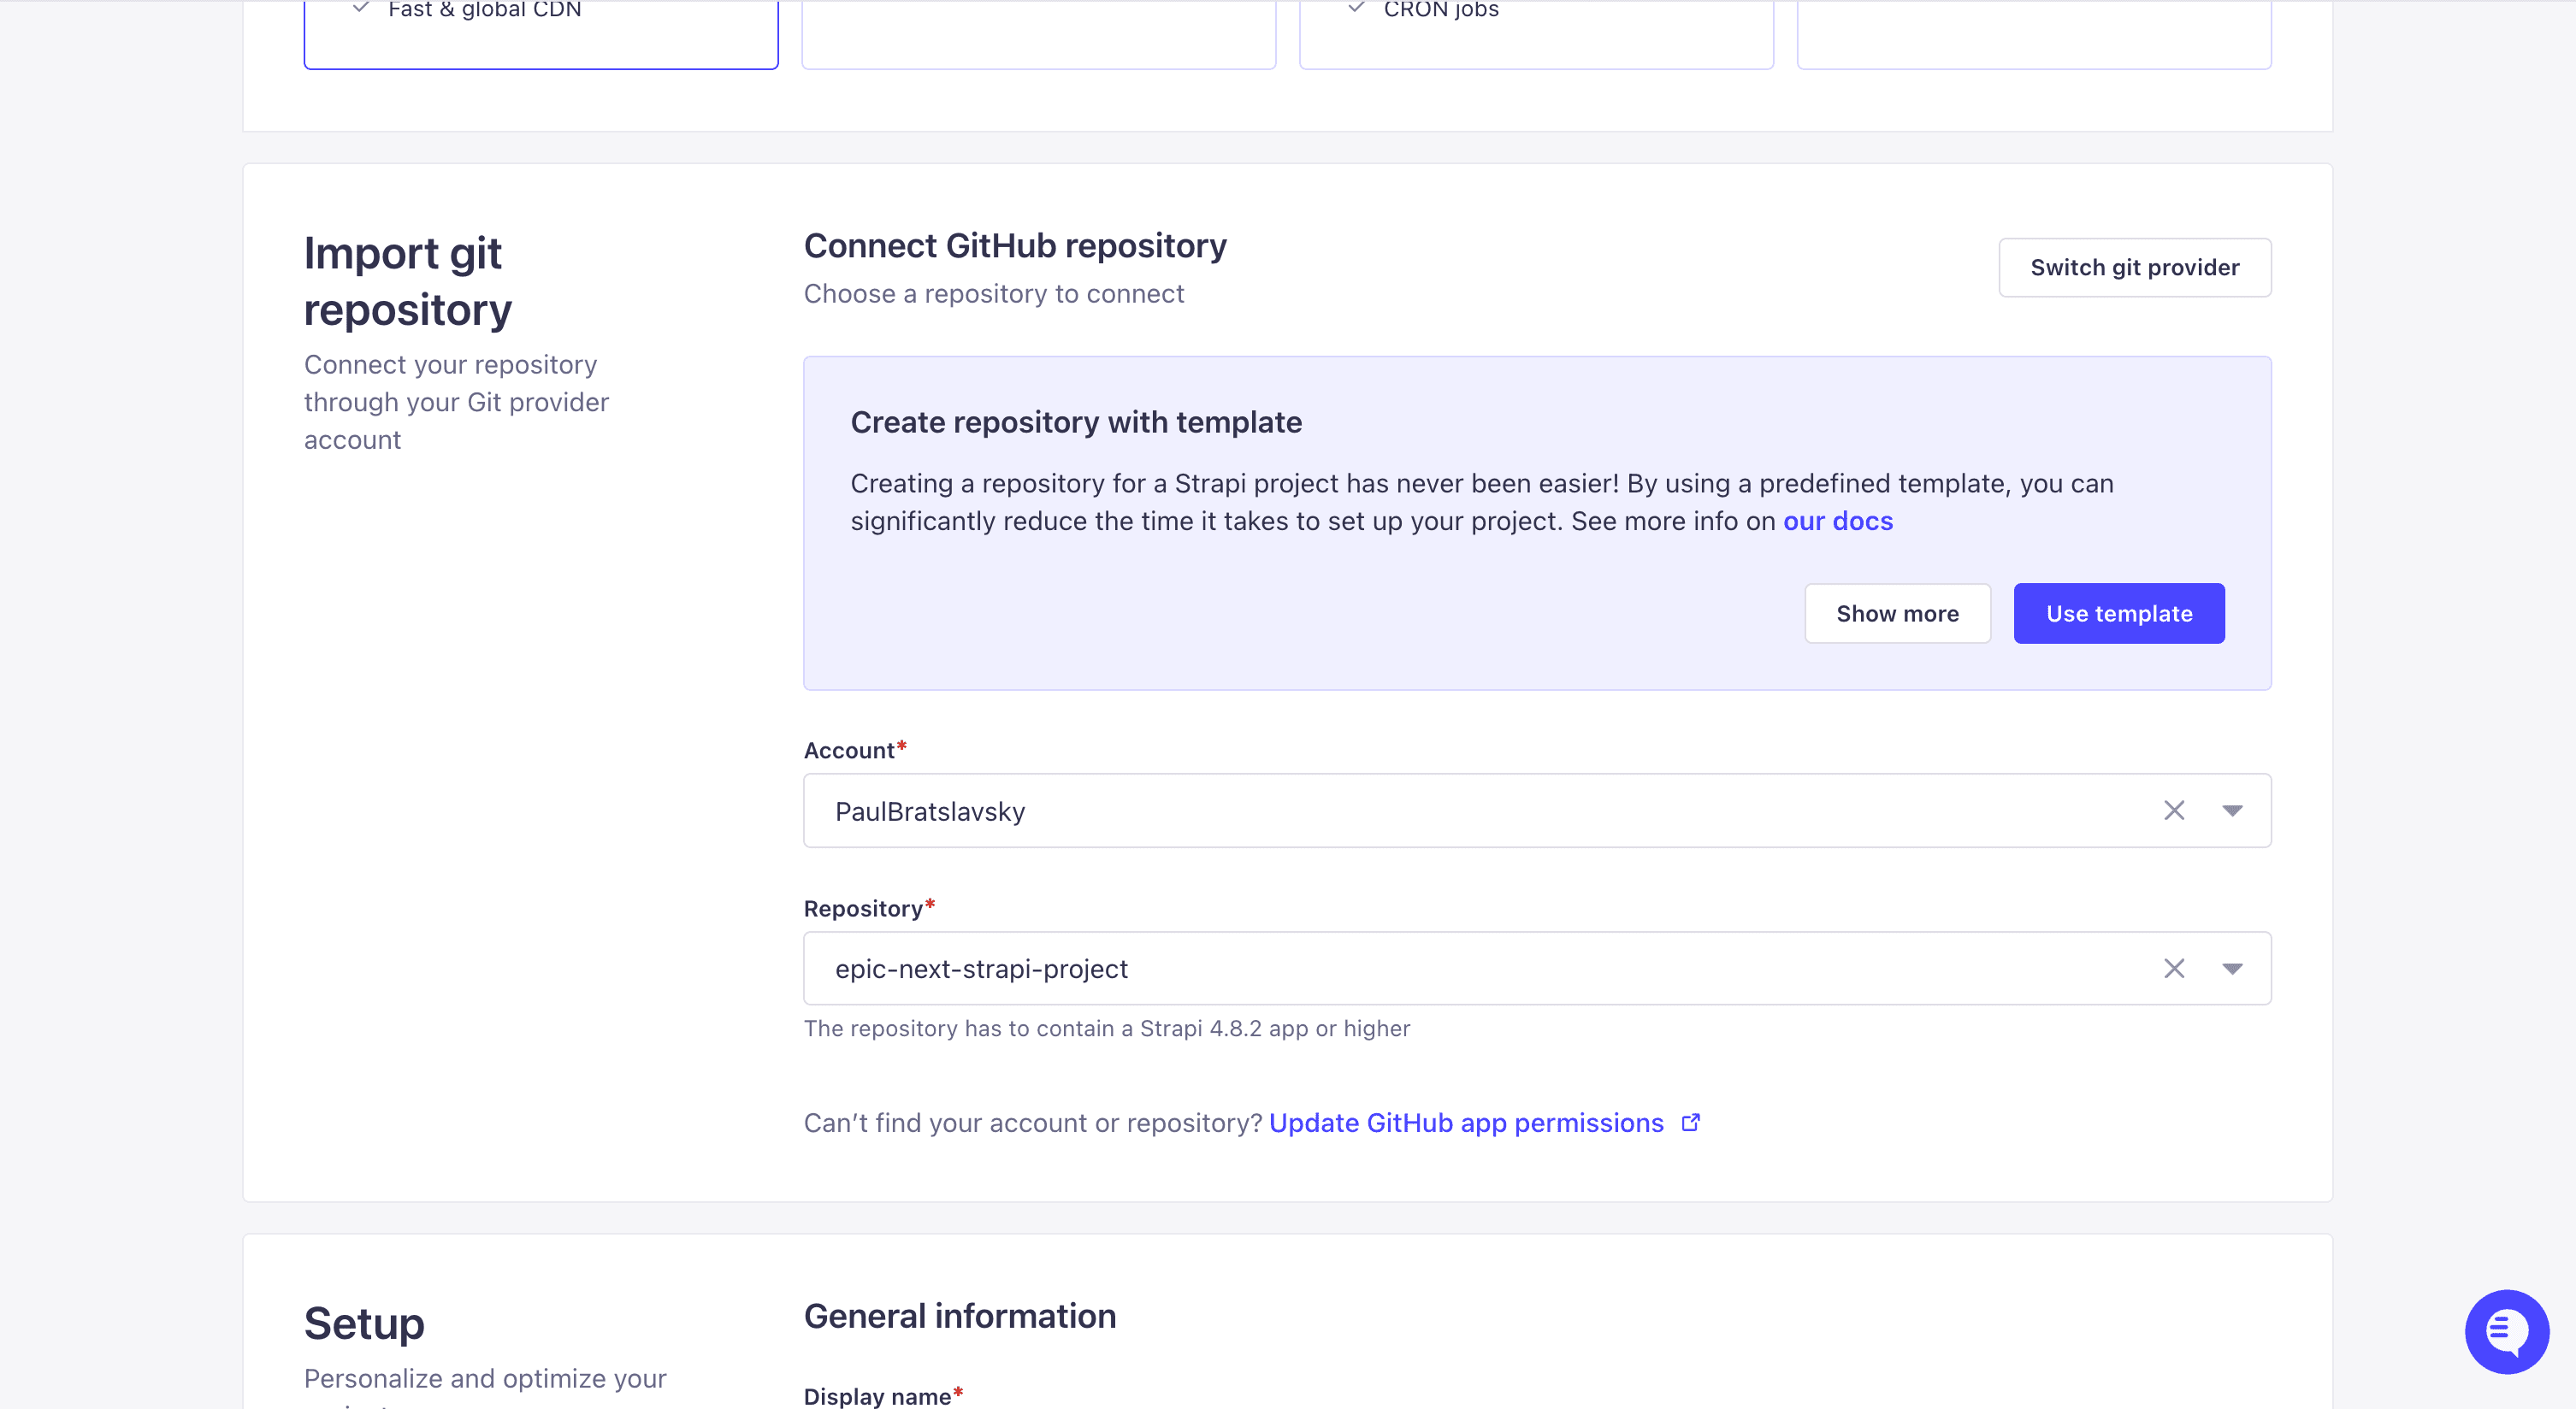
Notice I chose my GitHub account PaulBratslavsky and pointed to my repository epic-next-strapi-project.
Let's continue by completing the steps in the Setup section.
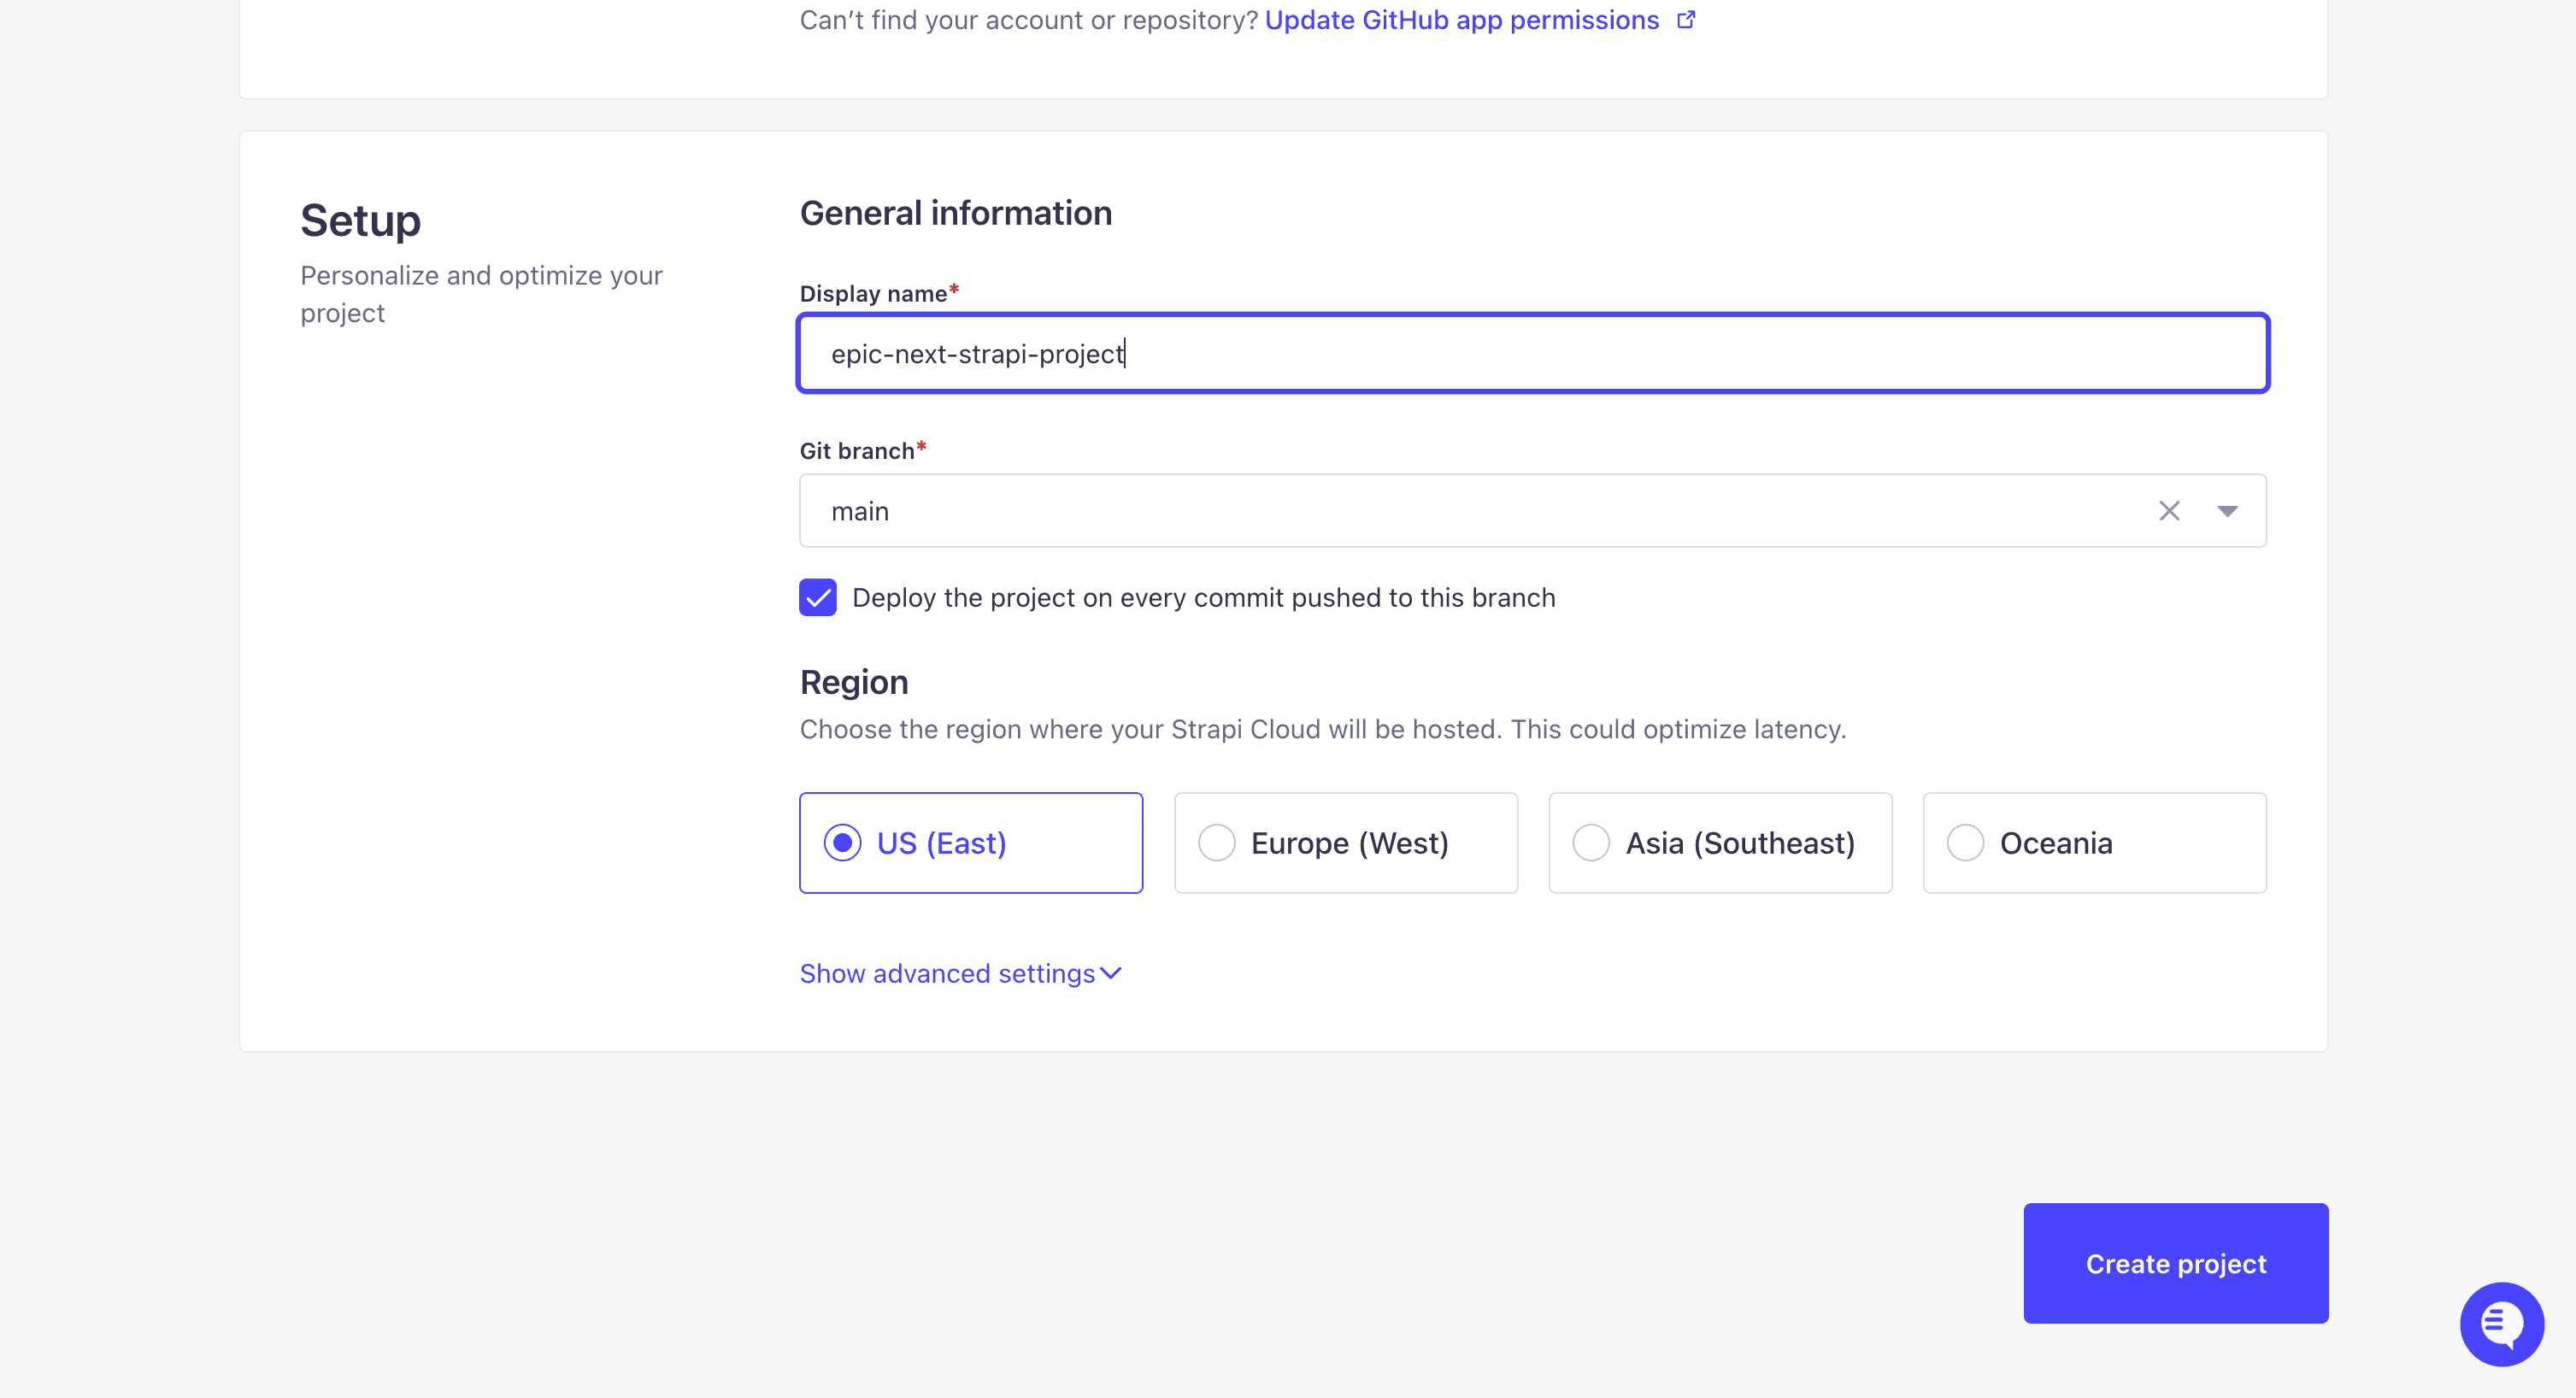
I will give my project a Display Name, point to my main branch, and select the region closest to me. Strapi Cloud currently offers US East, Europe West, and Asia Southeast regions (Strapi Cloud deployment docs).
Afterward, we will click on the Show advanced settings button. Since our frontend and backend are in the same repo, we need to point to our Strapi CMS project in the /backend folder.
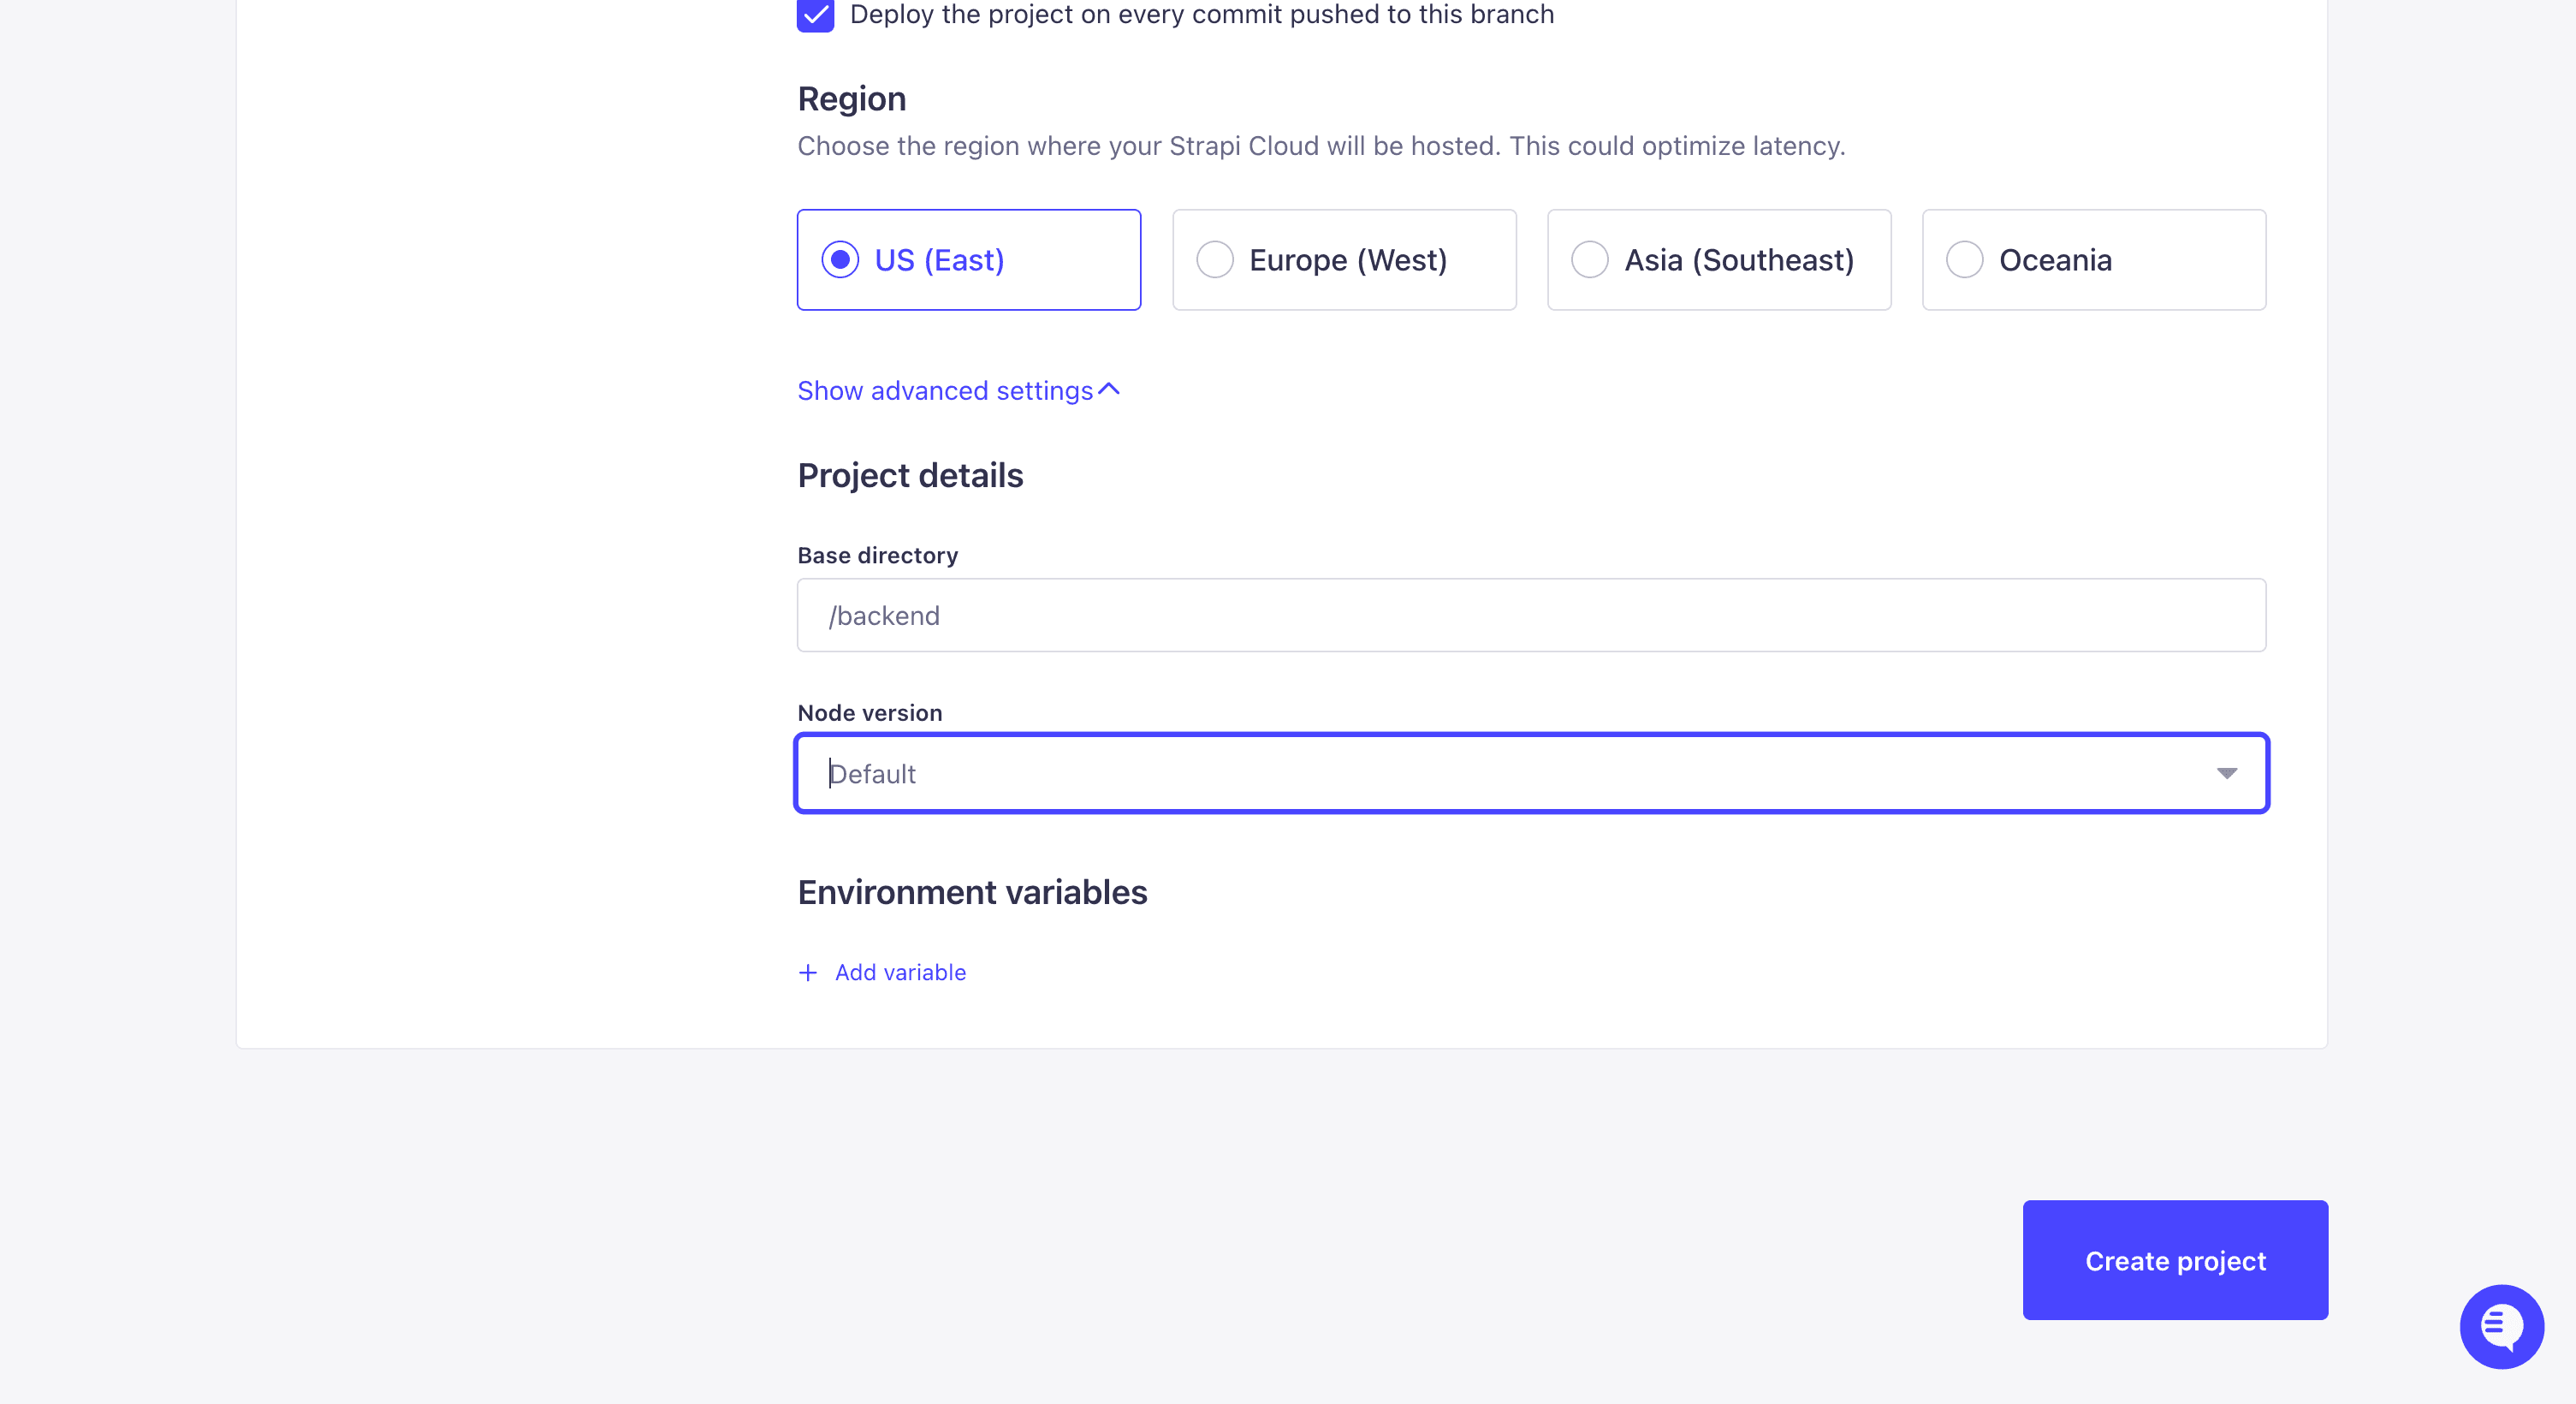
For the Node version, select 22. The project standardizes on Node 20.9 as the minimum, which is the floor Next.js 16 requires for the frontend (Next.js 16 upgrade guide), with Node 22 recommended. The backend's package.json pins that range in its engines field:
"engines": {
  "node": ">=20.9.0 <=22.x.x",
  "npm": ">=6.0.0"
}
We don't have any environment variables to add, so we can finish the flow. In the current Strapi Cloud UI, you confirm your plan with the Continue to billing button and then click Subscribe to start the first deployment (Strapi Cloud deployment docs).
You should see the following screen.
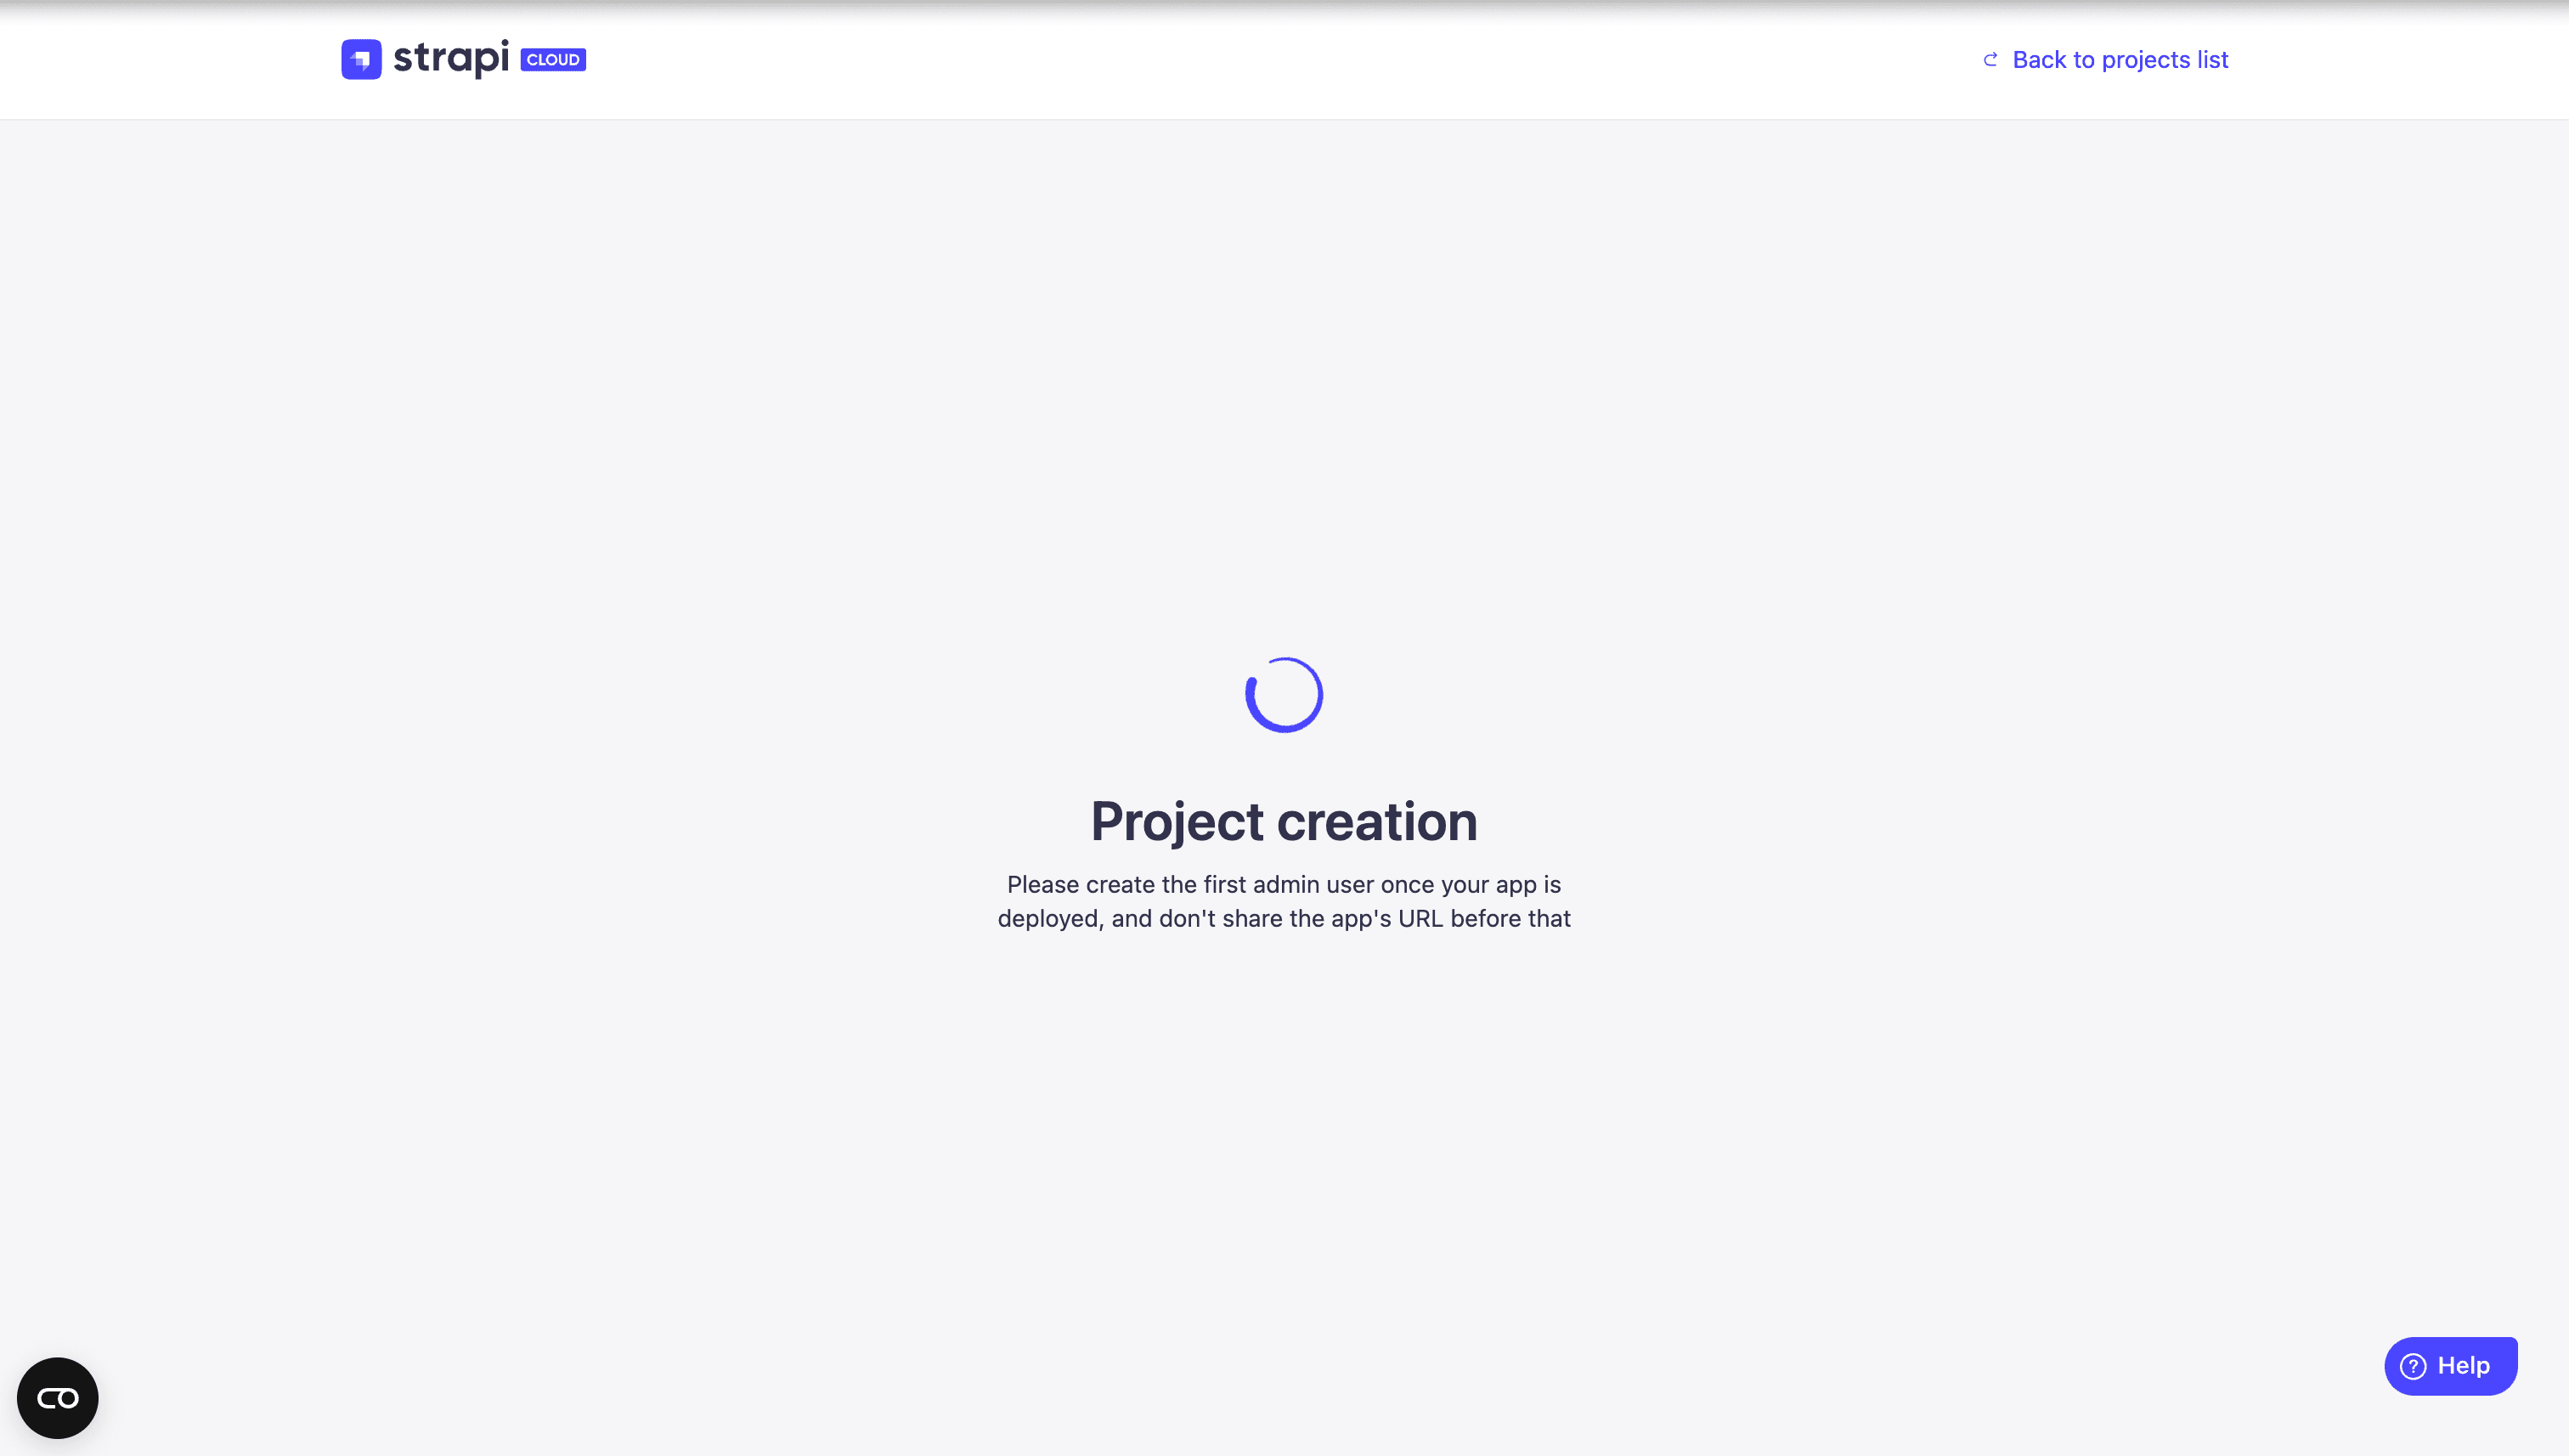
As the process continues, you will be redirected to the following page, where you should see the real-time logs for your deployment process.
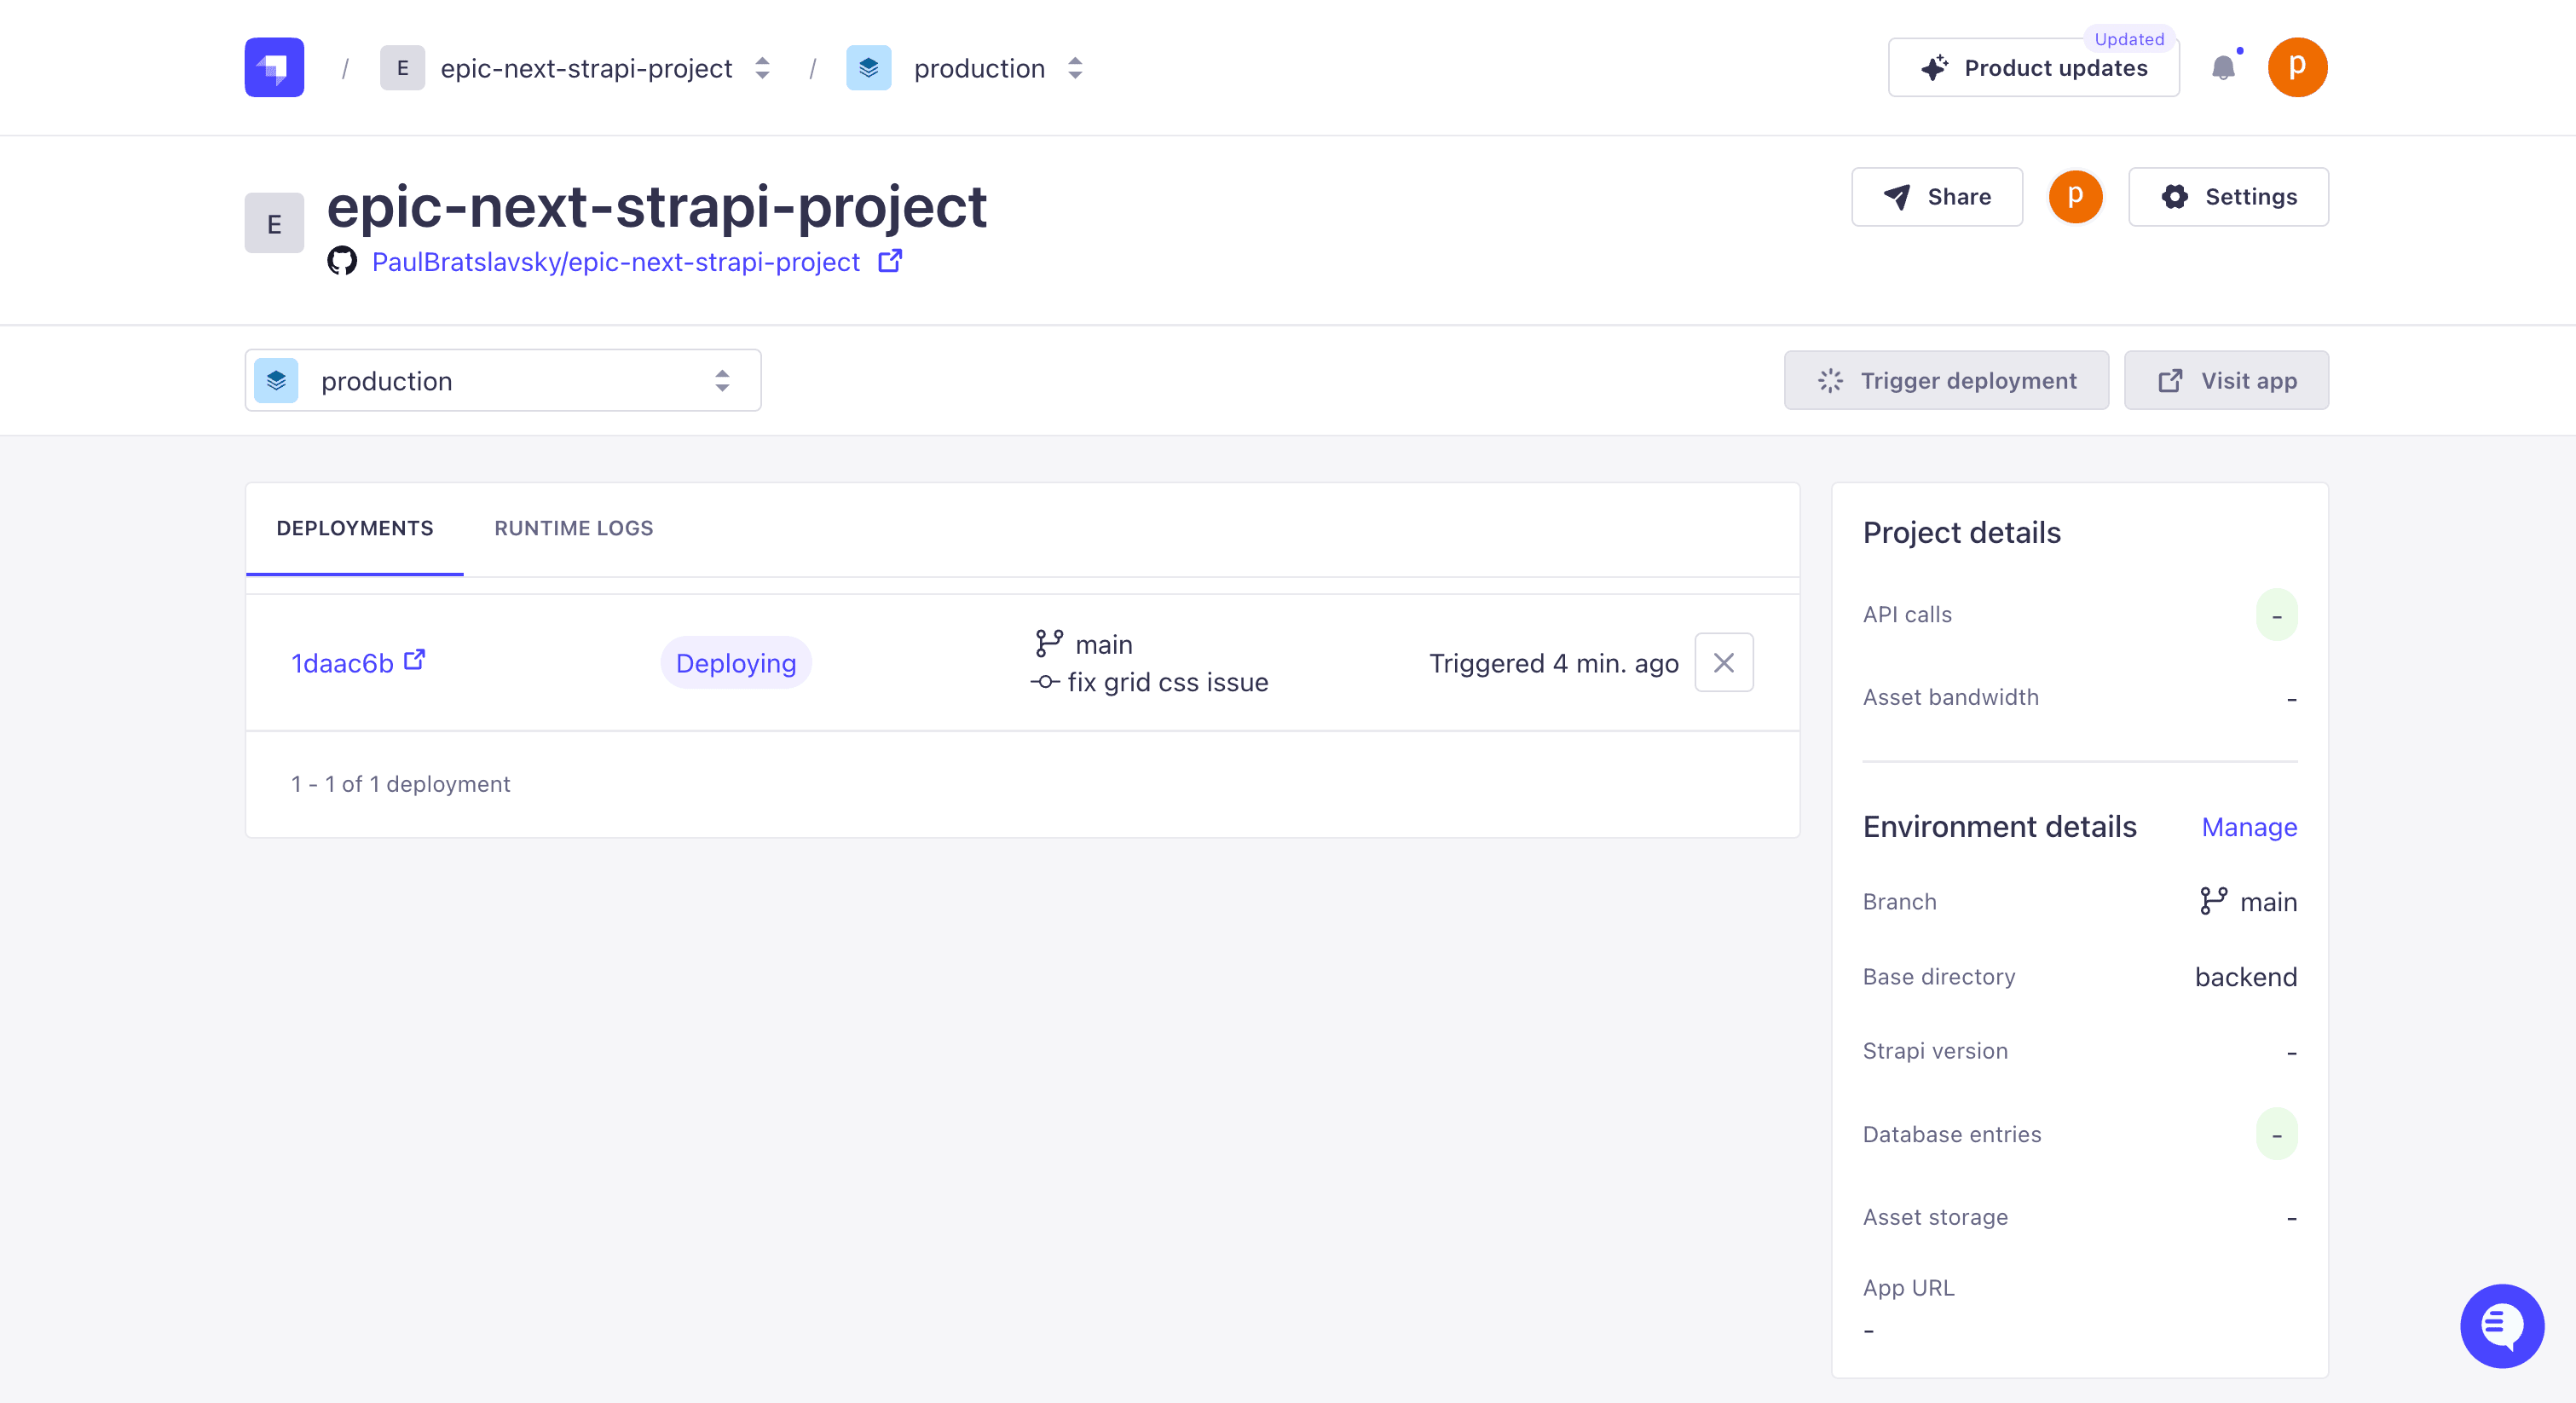
Once your project finishes deploying, you should see the following screen. You can continue your project by clicking the Visit app button.
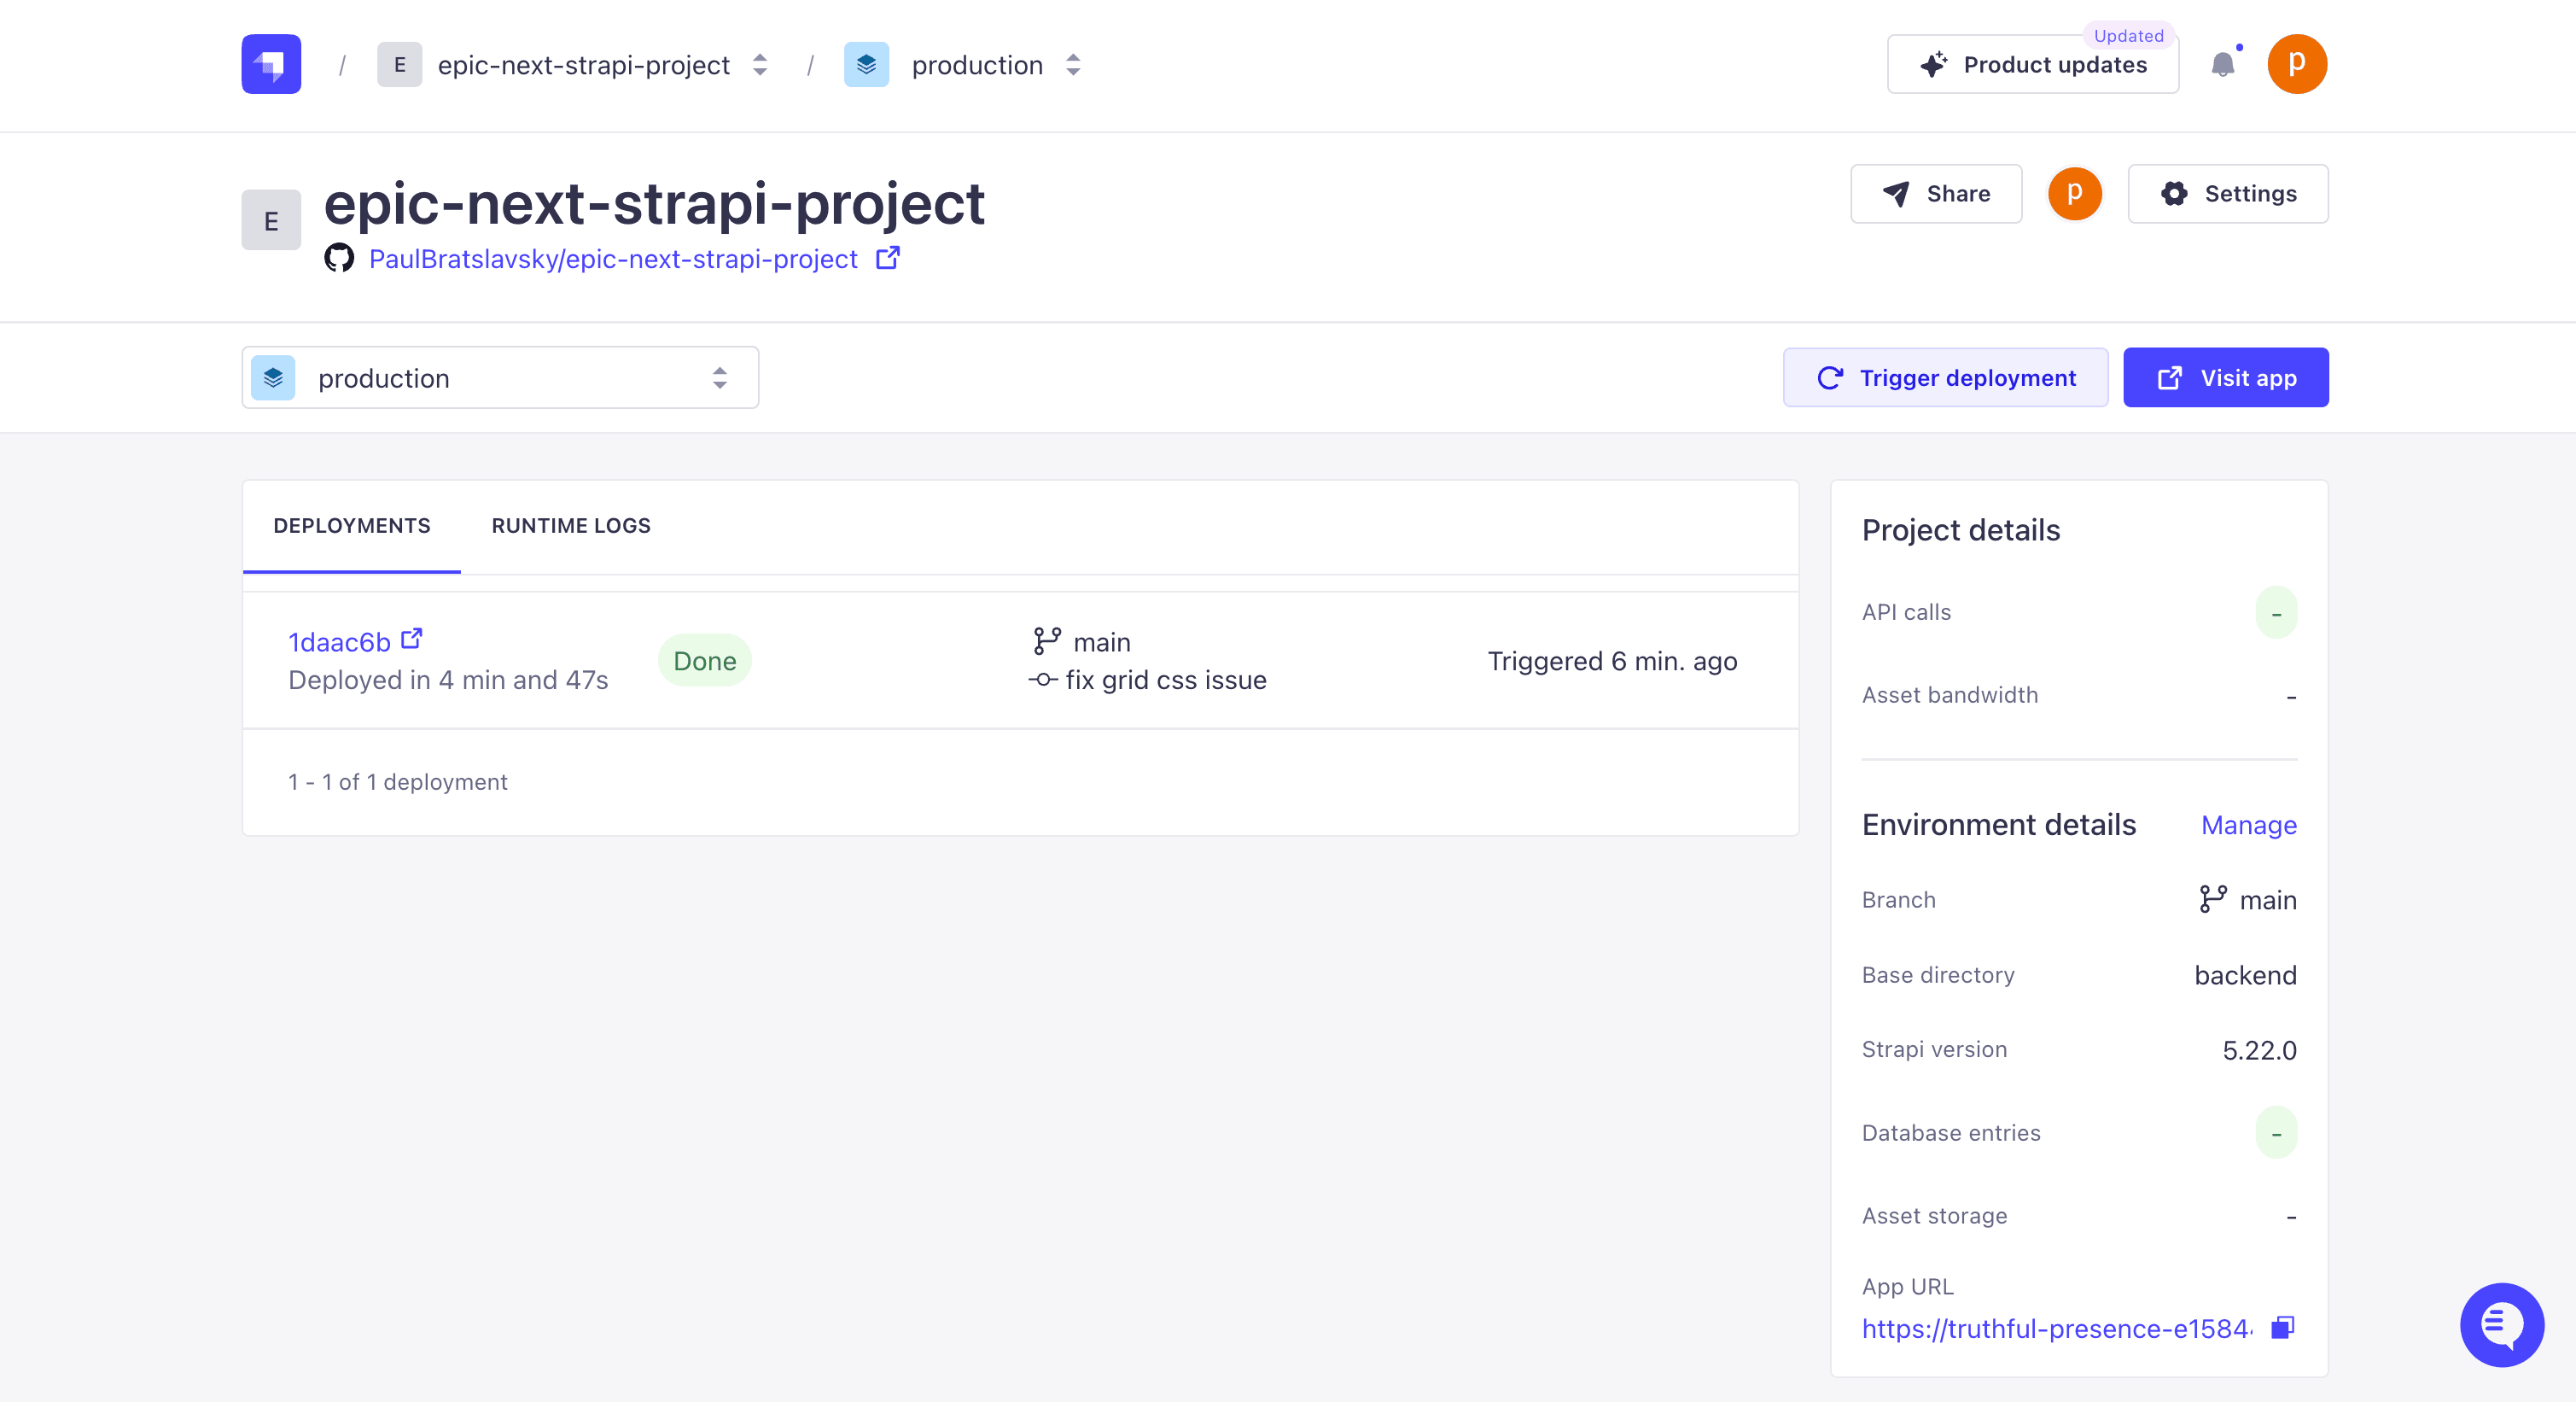
If you get the This site can't provide a secure connection message, you have to give it a moment to allow all the changes to propagate.

Once the process is finished, you will be greeted with the Create Admin user screen.
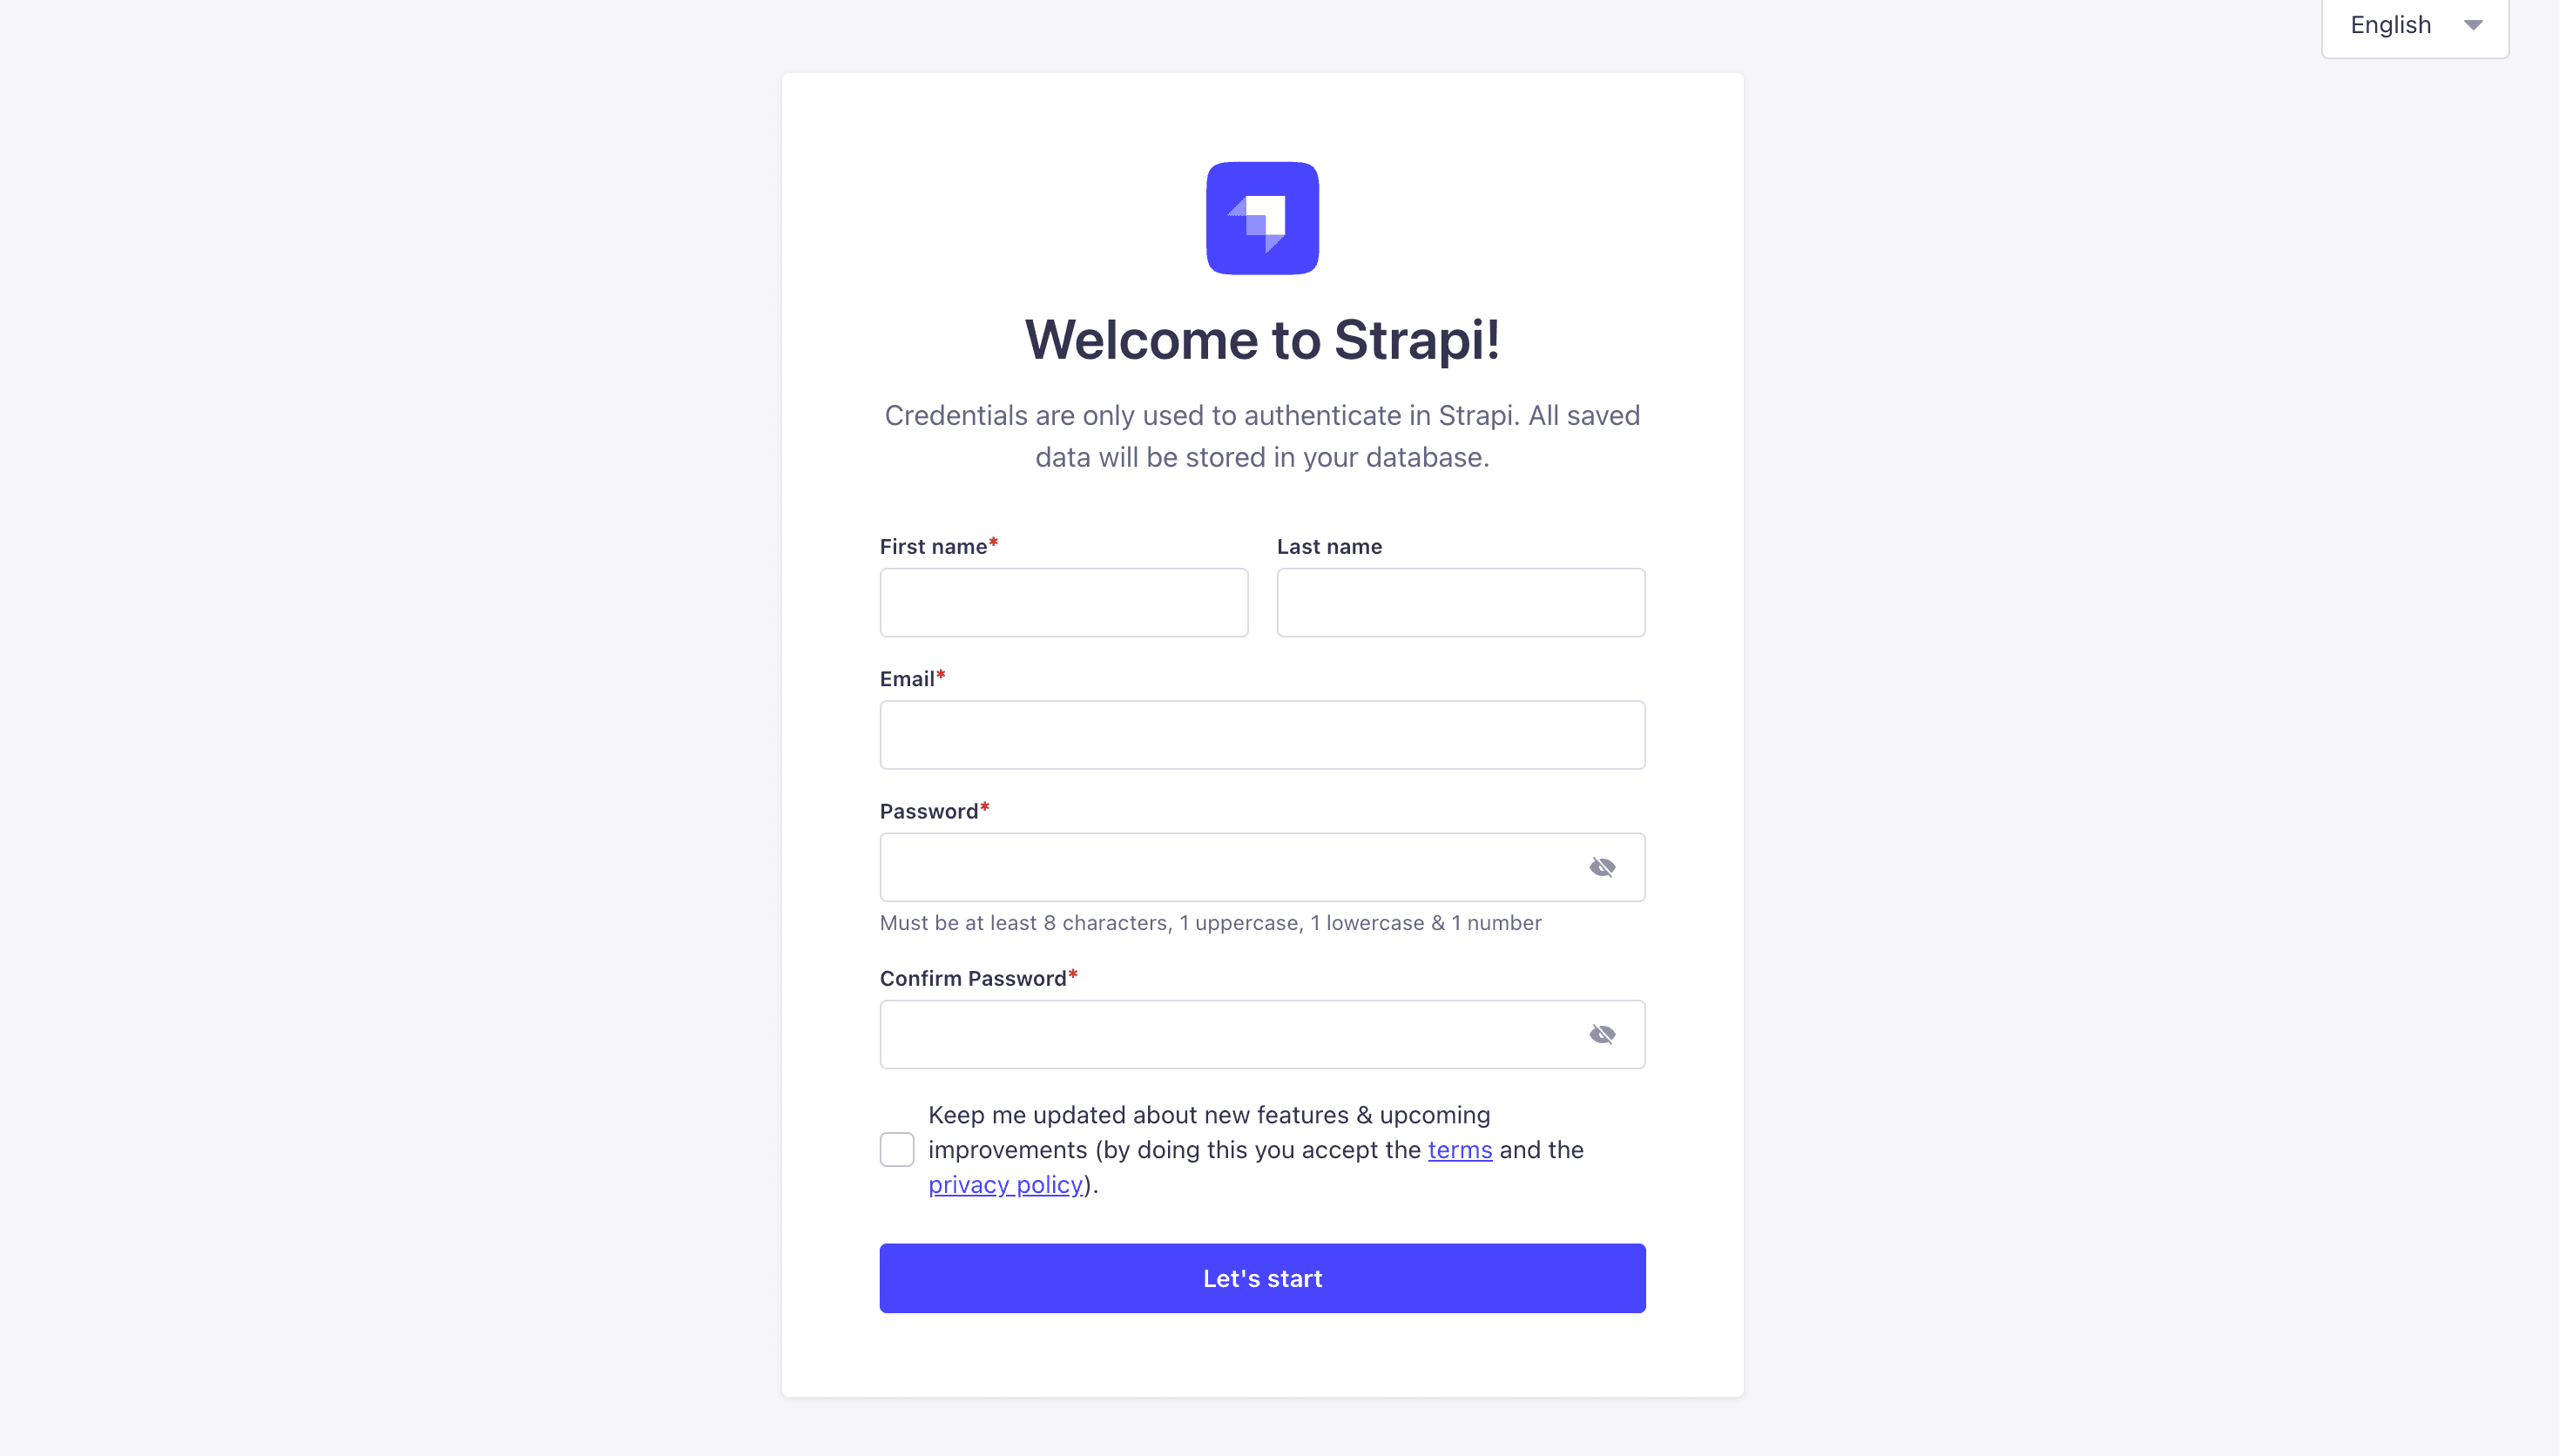
Go ahead and create your first user. Once you have done so, you will be greeted with the Strapi dashboard screen.
Congratulations, you have deployed your very first Strapi project.
How To Transfer Our Local Data To Our Cloud Instance
As a bonus, let's examine how we can transfer local Strapi data to seed our new cloud instance.
Let's start by logging into Strapi cloud, going to our deployed application, and logging in.
In your Strapi admin panel, click on the Visit App button. This will take you to your deployed app.
Enter your credentials to log in.
Navigate to Settings => Transfer Tokens and click the Add new Transfer Token button.
Fill in the following options.
Name: Transfer Description: Transfer Token Token duration: 7 days Token type Full Access
And finally, click the Save button.
You should now see your generated token.
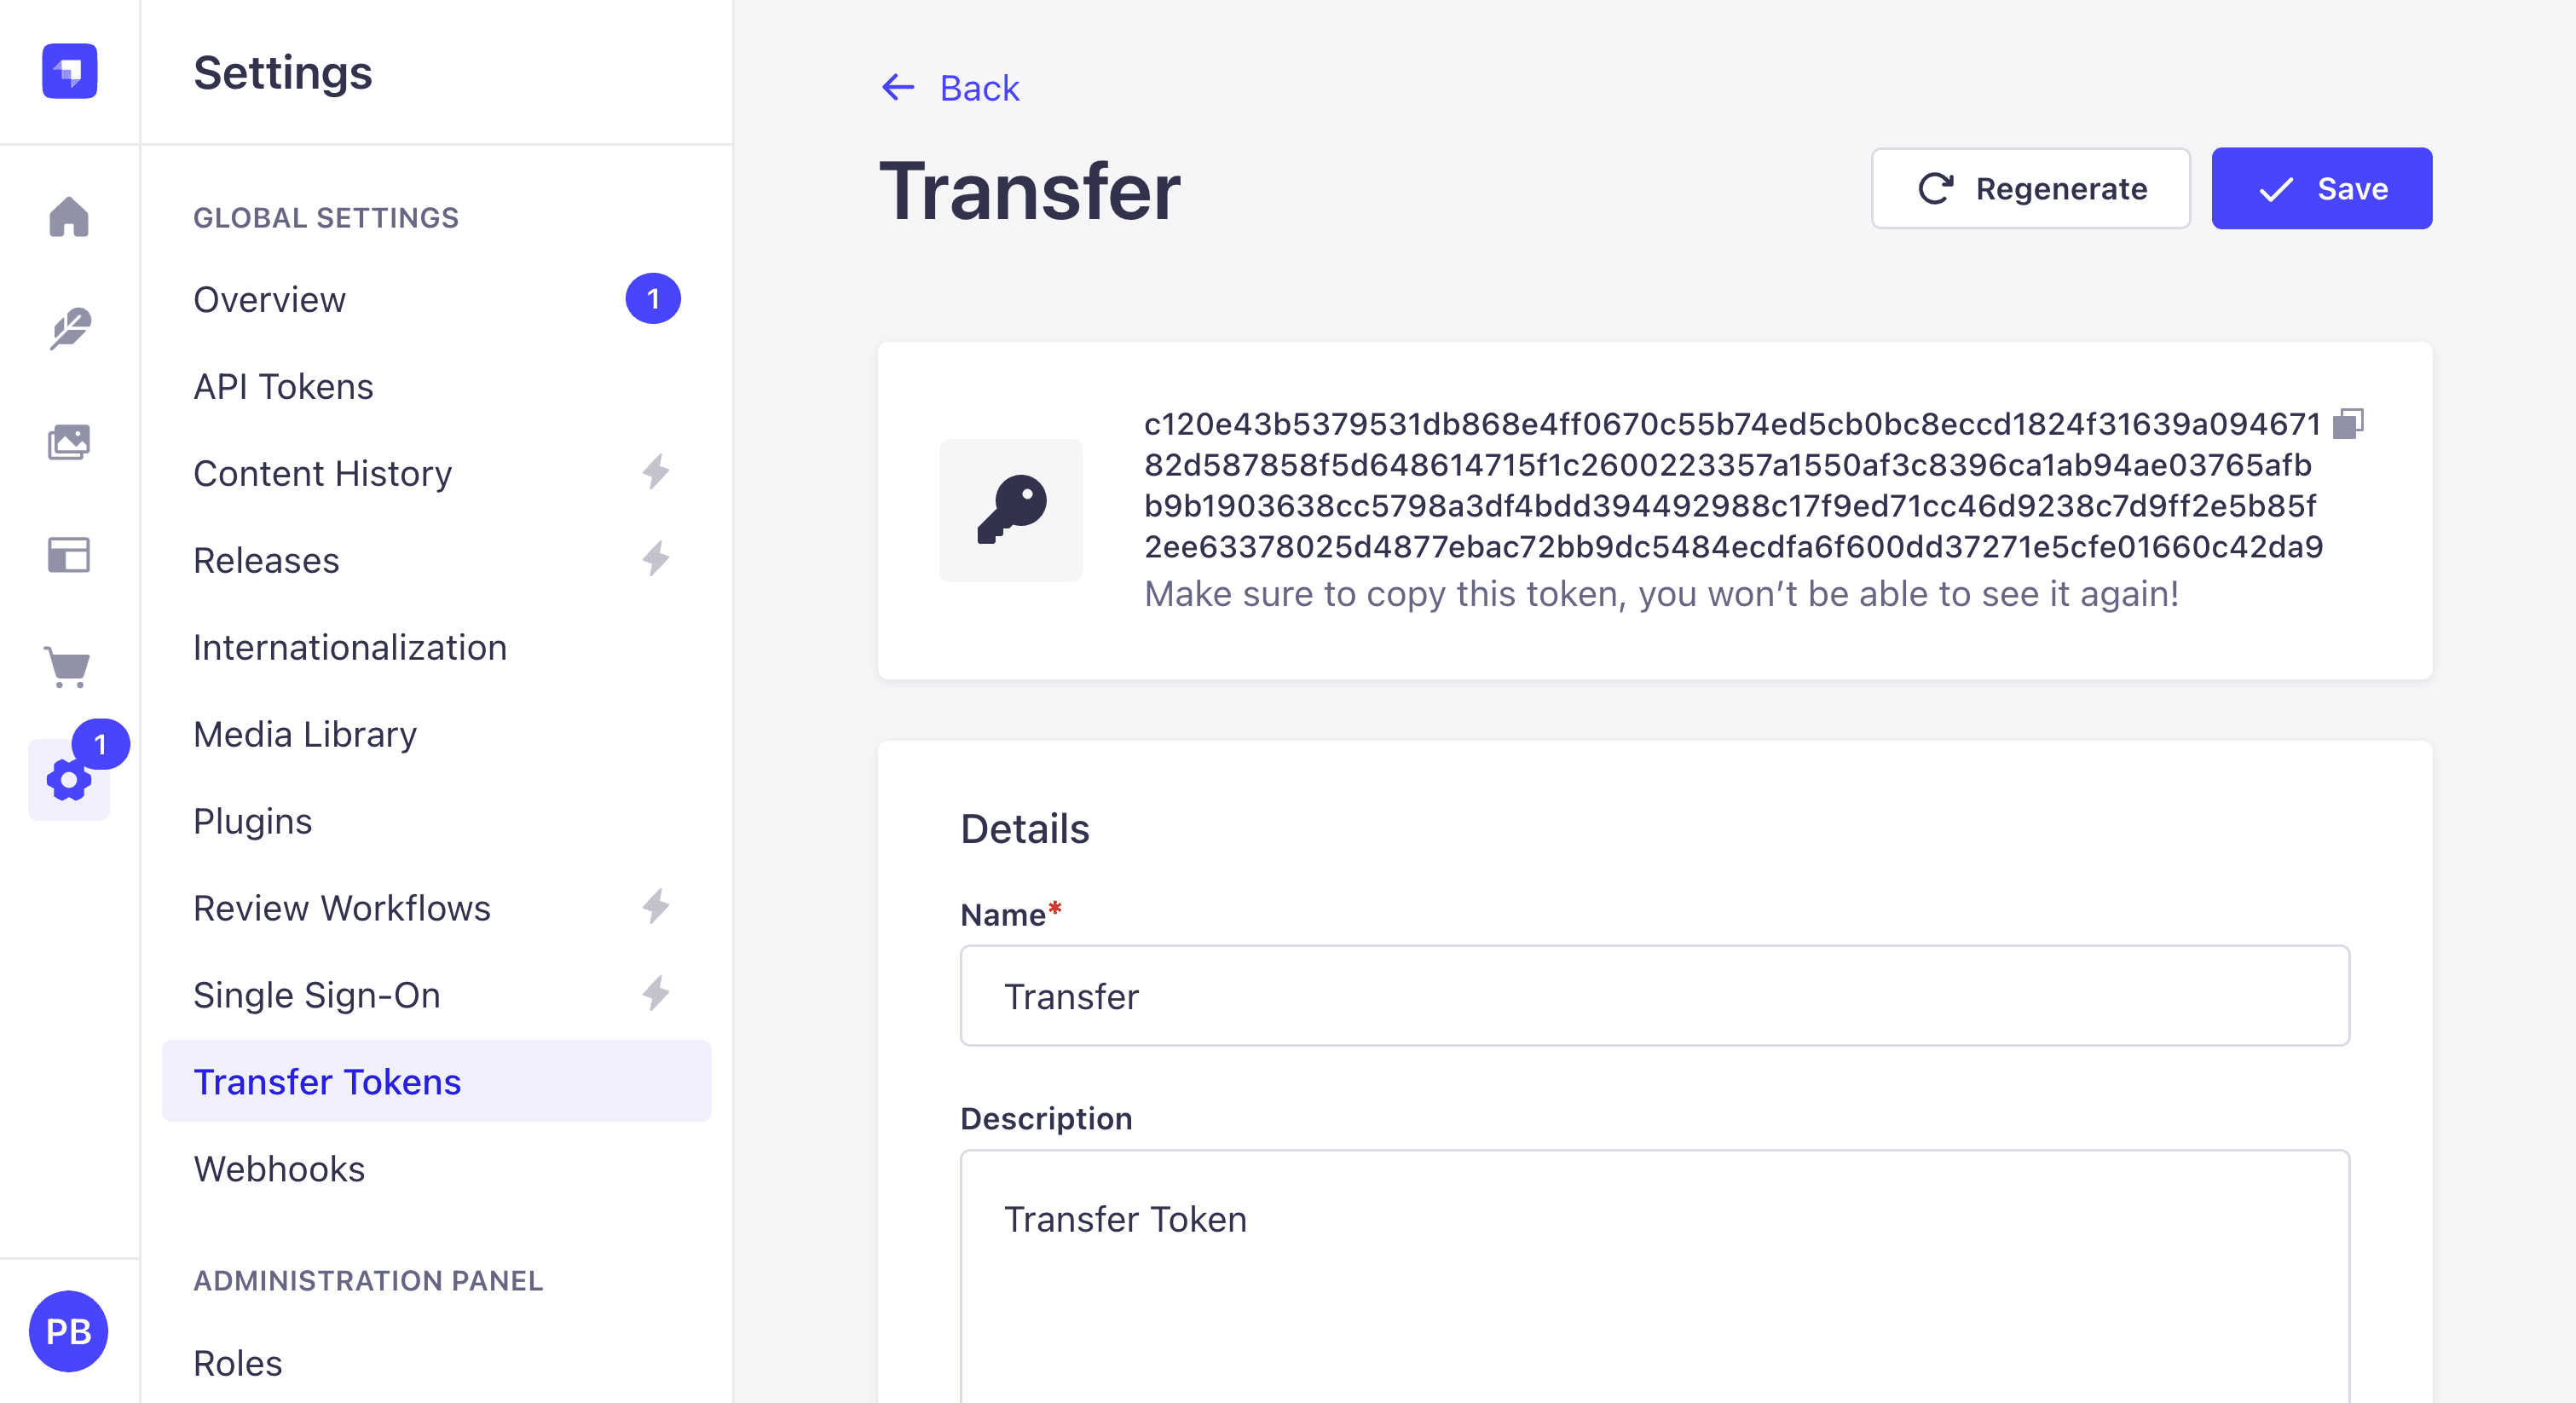
To transfer our data, we will use the Strapi CLI Transfer command.
Ensure you are in your backend folder and run the following command to see all the helpful options.
yarn strapi help transferYou should see the following output. This will show all the options that are available to you.
$ strapi help transfer
Usage: strapi transfer [options]

Transfer data from one source to another

Options:
  --from <sourceURL>                      URL of the remote Strapi instance to get data from
  --from-token <token>                    Transfer token for the remote Strapi source
  --to <destinationURL>                   URL of the remote Strapi instance to send data to
  --to-token <token>                      Transfer token for the remote Strapi destination
  --force                                 Automatically answer "yes" to all prompts, including
                                          potentially destructive requests, and run
                                          non-interactively.
  --exclude <comma-separated data types>  Exclude data using comma-separated types. Available types:
                                          content,files,config
  --only <command-separated data types>   Include only these types of data (plus schemas). Available
                                          types: content,files,config
  -h, --help                              display help for command
✨  Done in 2.16s.
➜  backend git:(main)
To start the transfer, I will type the following in my terminal: You will need to use your URL and Token, which we just generated.
yarn strapi transferYou will see the following message, go ahead and select Push local data to remote Strapi.
backend git:(main) yarn strapi transfer

yarn run v1.22.22
$ strapi transfer
ℹ️  Data transfer documentation: https://docs.strapi.io/dev-docs/data-management/transfer
ℹ️  No transfer configuration found in environment variables
   → Add STRAPI_TRANSFER_URL and STRAPI_TRANSFER_TOKEN environment variables to make the transfer process faster for future runs
? Choose transfer direction:
  Pull data from remote Strapi to local
❯ Push local data to remote Strapi
This will lead you to the next step:
? Choose transfer direction: Push local data to remote Strapi
? Enter the URL of the remote Strapi instance to send data to:
Now enter your Strapi Cloud instance URL. In my case, it is https://truthful-presence-e158445b54.strapiapp.com/admin Notice I am including the admin portion of the url.
Then press enter, and it will prompt you for the token that we generated just a minute ago.
? Please enter your transfer token for the remote Strapi destination [input is hidden]
Paste it in and press enter to continue.
? The transfer will delete existing data from the remote Strapi!
Are you sure you want to proceed? (y/N) y
Confirm by typing y and press Enter to continue.
You should see a similar output.
Starting transfer...
┌─────────────────────────────────────────┬───────┬───────────────┐
│ Type                                    │ Count │ Size          │
├─────────────────────────────────────────┼───────┼───────────────┤
│ entities                                │    43 │      61.2 KB  │
├─────────────────────────────────────────┼───────┼───────────────┤
│ -- api::global.global                   │     2 │ (     1.6 KB) │
├─────────────────────────────────────────┼───────┼───────────────┤
│ -- api::home-page.home-page             │     2 │ (     2.1 KB) │
├─────────────────────────────────────────┼───────┼───────────────┤
│ -- api::summary.summary                 │    12 │ (    46.5 KB) │
├─────────────────────────────────────────┼───────┼───────────────┤
│ -- plugin::i18n.locale                  │     1 │ (     253 B ) │
├─────────────────────────────────────────┼───────┼───────────────┤
│ -- plugin::upload.file                  │     2 │ (     3.5 KB) │
├─────────────────────────────────────────┼───────┼───────────────┤
│ -- plugin::upload.folder                │     1 │ (     269 B ) │
├─────────────────────────────────────────┼───────┼───────────────┤
│ -- plugin::users-permissions.permission │    19 │ (     5.3 KB) │
├─────────────────────────────────────────┼───────┼───────────────┤
│ -- plugin::users-permissions.role       │     2 │ (     658 B ) │
├─────────────────────────────────────────┼───────┼───────────────┤
│ -- plugin::users-permissions.user       │     2 │ (       1 KB) │
├─────────────────────────────────────────┼───────┼───────────────┤
│ assets                                  │    10 │         4 MB  │
├─────────────────────────────────────────┼───────┼───────────────┤
│ -- .jpg                                 │    10 │ (       4 MB) │
├─────────────────────────────────────────┼───────┼───────────────┤
│ links                                   │    68 │      14.1 KB  │
├─────────────────────────────────────────┼───────┼───────────────┤
│ configuration                           │    36 │       112 KB  │
├─────────────────────────────────────────┼───────┼───────────────┤
│ Total                                   │   157 │       4.2 MB  │
└─────────────────────────────────────────┴───────┴───────────────┘
Transfer process has been completed successfully!
✨  Done in 373.13s.
Once you finish, go back into your Strapi Project, which we deployed in the cloud, hit refresh, and you should now see your data.
Nice. We just seeded our initial data into our Cloud App.
In the next blog post, we will deploy our front end to Vercel and connect both projects.
We are on our final stretch. See you in the next post.
Note about this project
This project has been updated to use Next.js 16 and Strapi 5.50.
If you have any questions, feel free to stop by at our Discord Community for our "open office hours" every Wednesday from 12:30 PM CST to 1:30 PM CST.
Feel free to make PRs to fix any issues you find in the project, or let me know if you have any questions.
Happy coding!
Paul