Hello, you wonderful people; in this post of many, I would like to introduce you to what we will be building.
This post is the first of many in our Epic Strapi Next.js 15 tutorial Series. You can find the outline for upcoming post here.
- Part 1: Learn Next.js by building a website
- Part 2: Building Out The Hero Section of the homepage
- Part 3: Finishup up the homepage Features Section, TopNavigation and Footer
- Part 4: How to handle login and Authentification in Next.js
- Part 5: Building out the Dashboard page and upload file using NextJS server actions
- Part 6: Get Video Transcript with AI SDK
- Part 7: Strapi CRUD permissions
- Part 8: Search & pagination in Nextjs
- Part 9: Backend deployment to Strapi Cloud
- Part 10: Frontend deployment to Vercel
With the popularity of Next.js 15 and Strapi headless CMS and how they can empower you to build cool things, we are going to work on building a project together to cover all the awesome aspects of Next.js 15, the app folder, and all the new features including server components and server actions.
In this post, we will quickly look at what we will build and the topics we will cover, set up the basic structure of our project, and make our first commitment.
So, what will we be building?
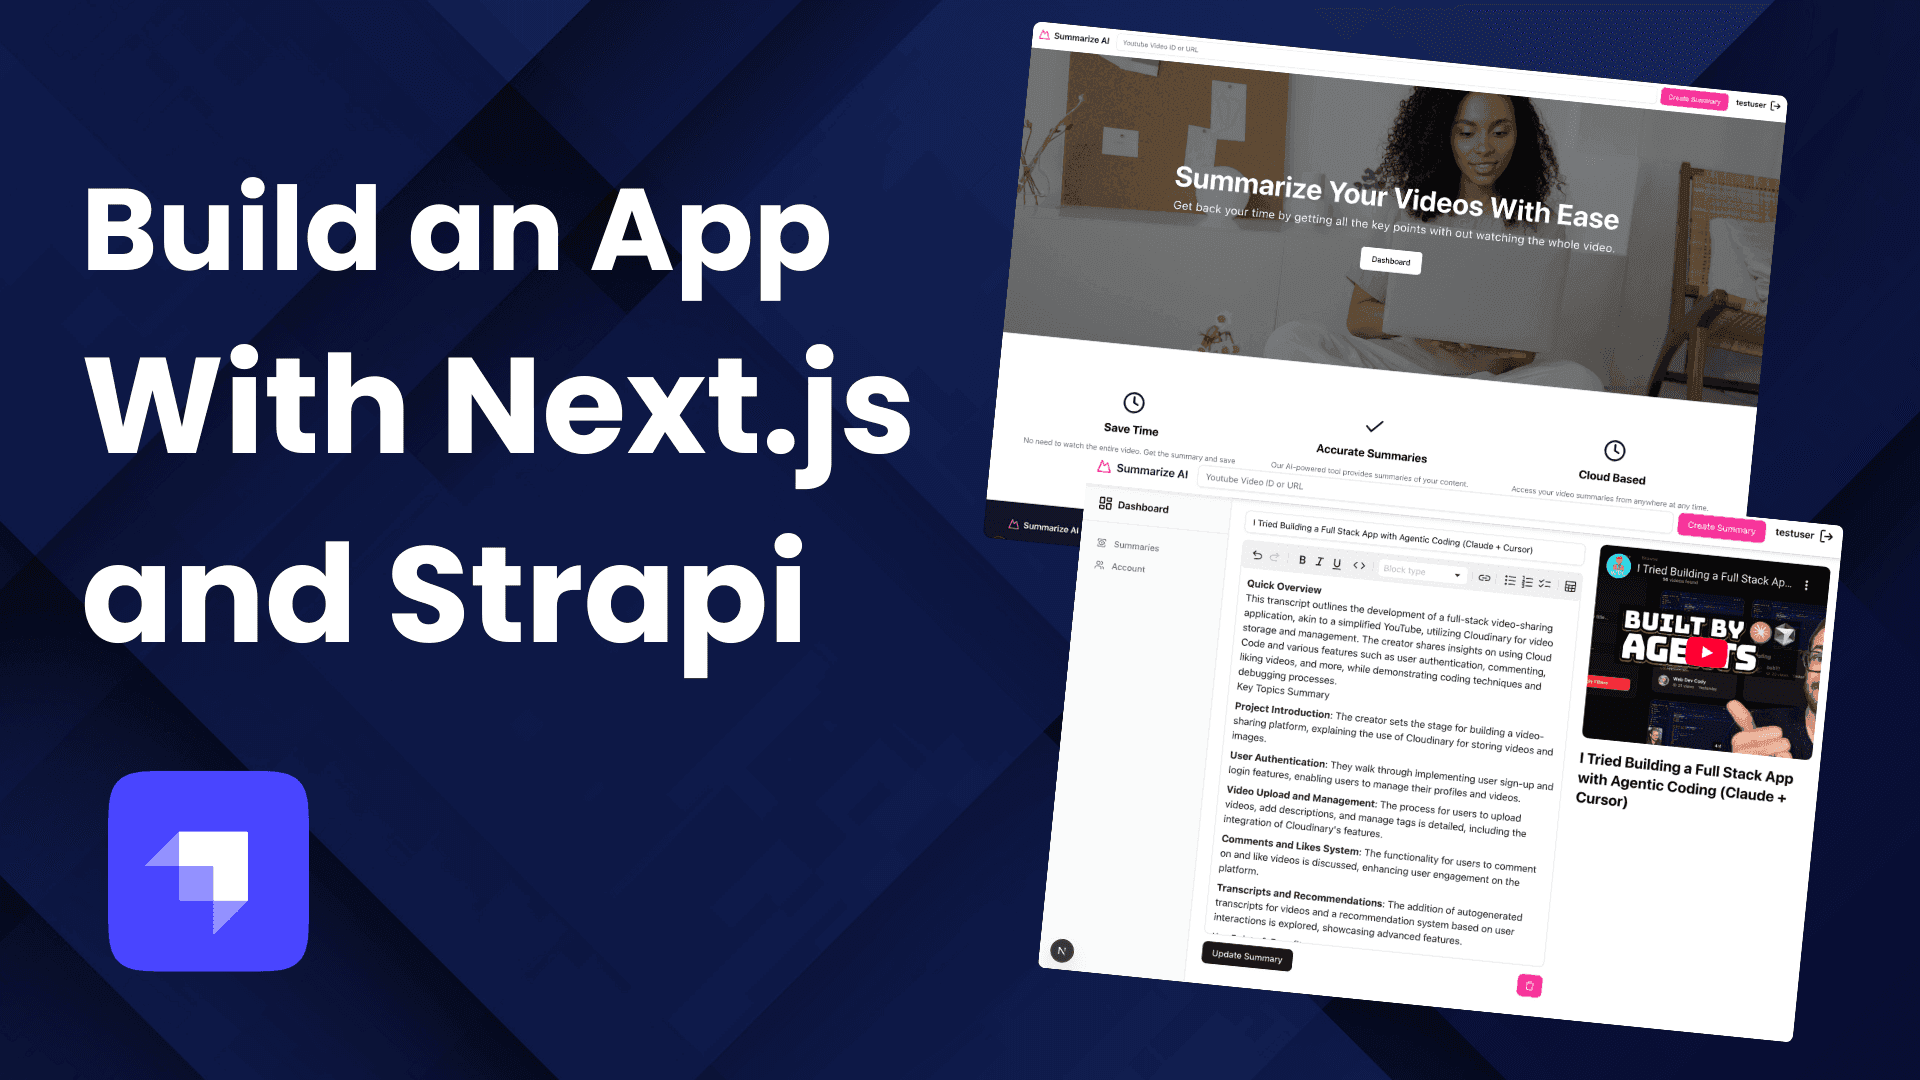
Summarize AI - A Modern Full-Stack Video Summary Application
We'll be building Summarize AI, a comprehensive full-stack application that solves a common problem: spending too much time on videos that don't deliver the value you're seeking.
The Problem We're Solving
Have you ever found yourself halfway through a YouTube video, realizing you could have saved time if you'd known the content wasn't quite what you needed? Or wished you could quickly review the key points from educational videos you've watched?
Summarize AI addresses these challenges by providing:
- AI-powered video summaries to help you decide if content is worth your time
- Organized content management to reference your learning materials later
- User authentication and profiles for a personalized experience
🏗️ Project Architecture Overview
This is a modern full-stack application with a clear separation of concerns:
Project Structure
epic-next-course/
├── frontend/          # Next.js 15 application
│   ├── src/
│   │   ├── app/           # App Router with route groups
│   │   │   ├── (auth)/    # Authentication routes
│   │   │   ├── (protected)/ # Protected dashboard routes
│   │   │   └── globals.css
│   │   ├── components/
│   │   │   ├── custom/    # Project-specific components
│   │   │   ├── forms/     # Form components with validation
│   │   │   └── ui/        # shadcn/ui components
│   │   ├── data/
│   │   │   ├── actions/   # Server actions
│   │   │   ├── services/  # API service functions
│   │   │   └── validation/ # Zod schemas
│   │   └── types/         # TypeScript definitions
│   └── package.json
└── backend/           # Strapi CMS
    ├── src/
    │   ├── api/           # Custom API routes
    │   ├── components/    # Reusable content components
    │   └── content-types/ # Data models
    └── package.json
🛠️ Complete Tech Stack
Frontend Technologies
- Framework: Next.js 15.4.6 with App Router
- Language: TypeScript (strict mode enabled)
- Styling: Tailwind CSS v4 with modern utilities
- UI Components: shadcn/ui built on Radix UI primitives
- Icons: Lucide React for consistent iconography
- Notifications: Sonner for elegant toast messages
- Forms: Server Actions with Zod validation
- AI Integration: Vercel AI SDK for seamless AI functionality
Backend Technologies
- CMS: Strapi v5 headless content management
- Database: SQLite (better-sqlite3) for development
- Authentication: JWT-based authentication system
- API: REST API with custom controllers and middleware
Development & Quality Tools
- Linting: ESLint with Next.js and TypeScript configurations
- Code Quality: TypeScript strict mode for enhanced type safety
- Error Handling: Centralized error management with boundaries
- State Management: React Server Components with server state
✨ Core Features We'll Build
Authentication System
- User Registration & Login: Secure JWT-based authentication
- Protected Routes: Middleware-based route protection
- Profile Management: User profiles with image upload capabilities
- Session Management: Automatic token refresh and logout handling
Video Summary Management
- AI-Powered Summaries: Integration with AI services for content generation
- CRUD Operations: Create, read, update, and delete summaries
- Search & Pagination: Debounced search with URL state management
- Content Organization: Categorize and organize your video summaries
User Experience Features
- Real-time Search: Instant search with 300ms debouncing
- Loading States: Skeleton components for better perceived performance
- Error Handling: Comprehensive error boundaries and user feedback
- Toast Notifications: User feedback for all actions
Content Management (Strapi)
- Dynamic Content: Flexible page building with dynamic zones
- Media Handling: File uploads for user profiles and content
- API Permissions: Role-based access control
- Content Relationships: User associations and content linking
🎯 Next.js 15 Features We'll Explore
- App Router: Modern routing with layouts and route groups
- Server Components: Efficient server-side rendering
- Server Actions: Form handling without API routes
- Middleware: Route protection and request processing
- Data Fetching: Built-in caching and revalidation
- Loading UI: Streaming and loading states
- Error Boundaries: Graceful error handling
- TypeScript Integration: Full type safety throughout
Project Overview
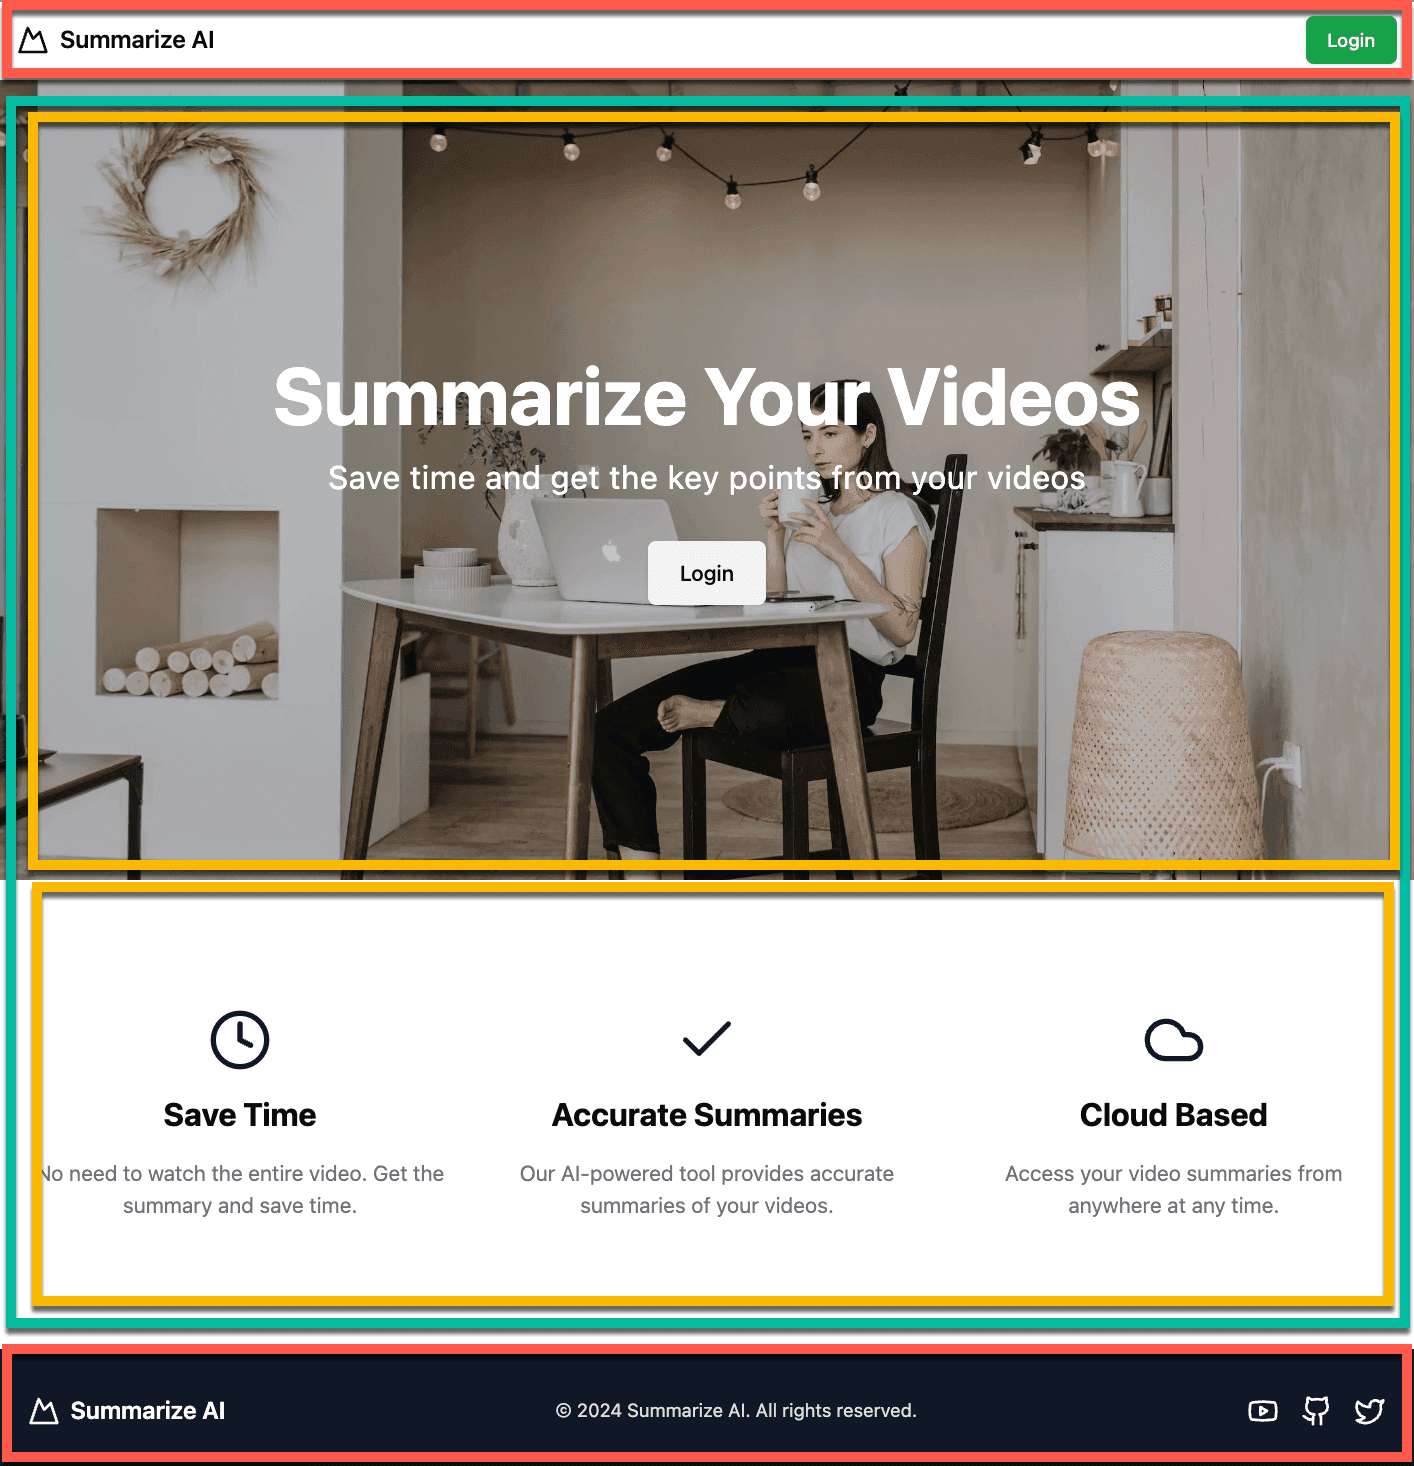
Home Page
We will have a basic landing page with a top nav, hero sections, a benefits section, and a footer.
All the top nav, hero section, and footer content will be stored inside our Strapi instance.
Login and Register Page
We will handle auth using Strapi and protect our routes via the Next middleware file to check if an authorized user exists and redirect accordingly.
Dashboard and Account Page
We will have a simple dashboard with a primary view showing available credits and summaries. As well as, our account page, where we can update our users's first and last names and bio. As well as change our photo.
Generate Summary
Here, you will enter your YouTube video url, and it will make a call to Open AI via AI SDK to generate our summary based on the YouTube video transcript.
I hope you are excited to embark on this journey with me.
The Process and Why It Is Awesome
My goal is to build this tutorial in public and release new post/video per week.
All the progress will be saved in a public repo where you can follow along.
The goal is to build out our application that you can use later to add or extend in any way you desire.
We will cover all the important parts of Next.js and some features related to Strapi, such as middlewares, policies, routes, controllers, and services.
I hope you are just as excited as I am.
So let's get started.
Setting Up Our Initial Project
Let's start by setting up our front end first. For this, we will be using Next.js 15
Setting Up Our Frontend
Let's start by creating a new folder called epic-next-course, I am going to do this in my terminal by running the following command:
mkdir epic-next-courseOnce we created our folder, let's navigate inside of it by typing cd epic-next-course and run the following command:
npx create-next-app@latestSelect the following options:
paul@dev epic-next-course % npx create-next-app@latest
✔ What is your project named? … frontend
✔ Would you like to use TypeScript? … No / Yes
✔ Would you like to use ESLint? … No / Yes
✔ Would you like to use Tailwind CSS? … No / Yes
✔ Would you like your code inside a `src/` directory? … No / Yes
✔ Would you like to use App Router? (recommended) … No / Yes
✔ Would you like to use Turbopack for `next dev`? … No / Yes
✔ Would you like to customize the import alias (`@/*` by default)? … No / Yes
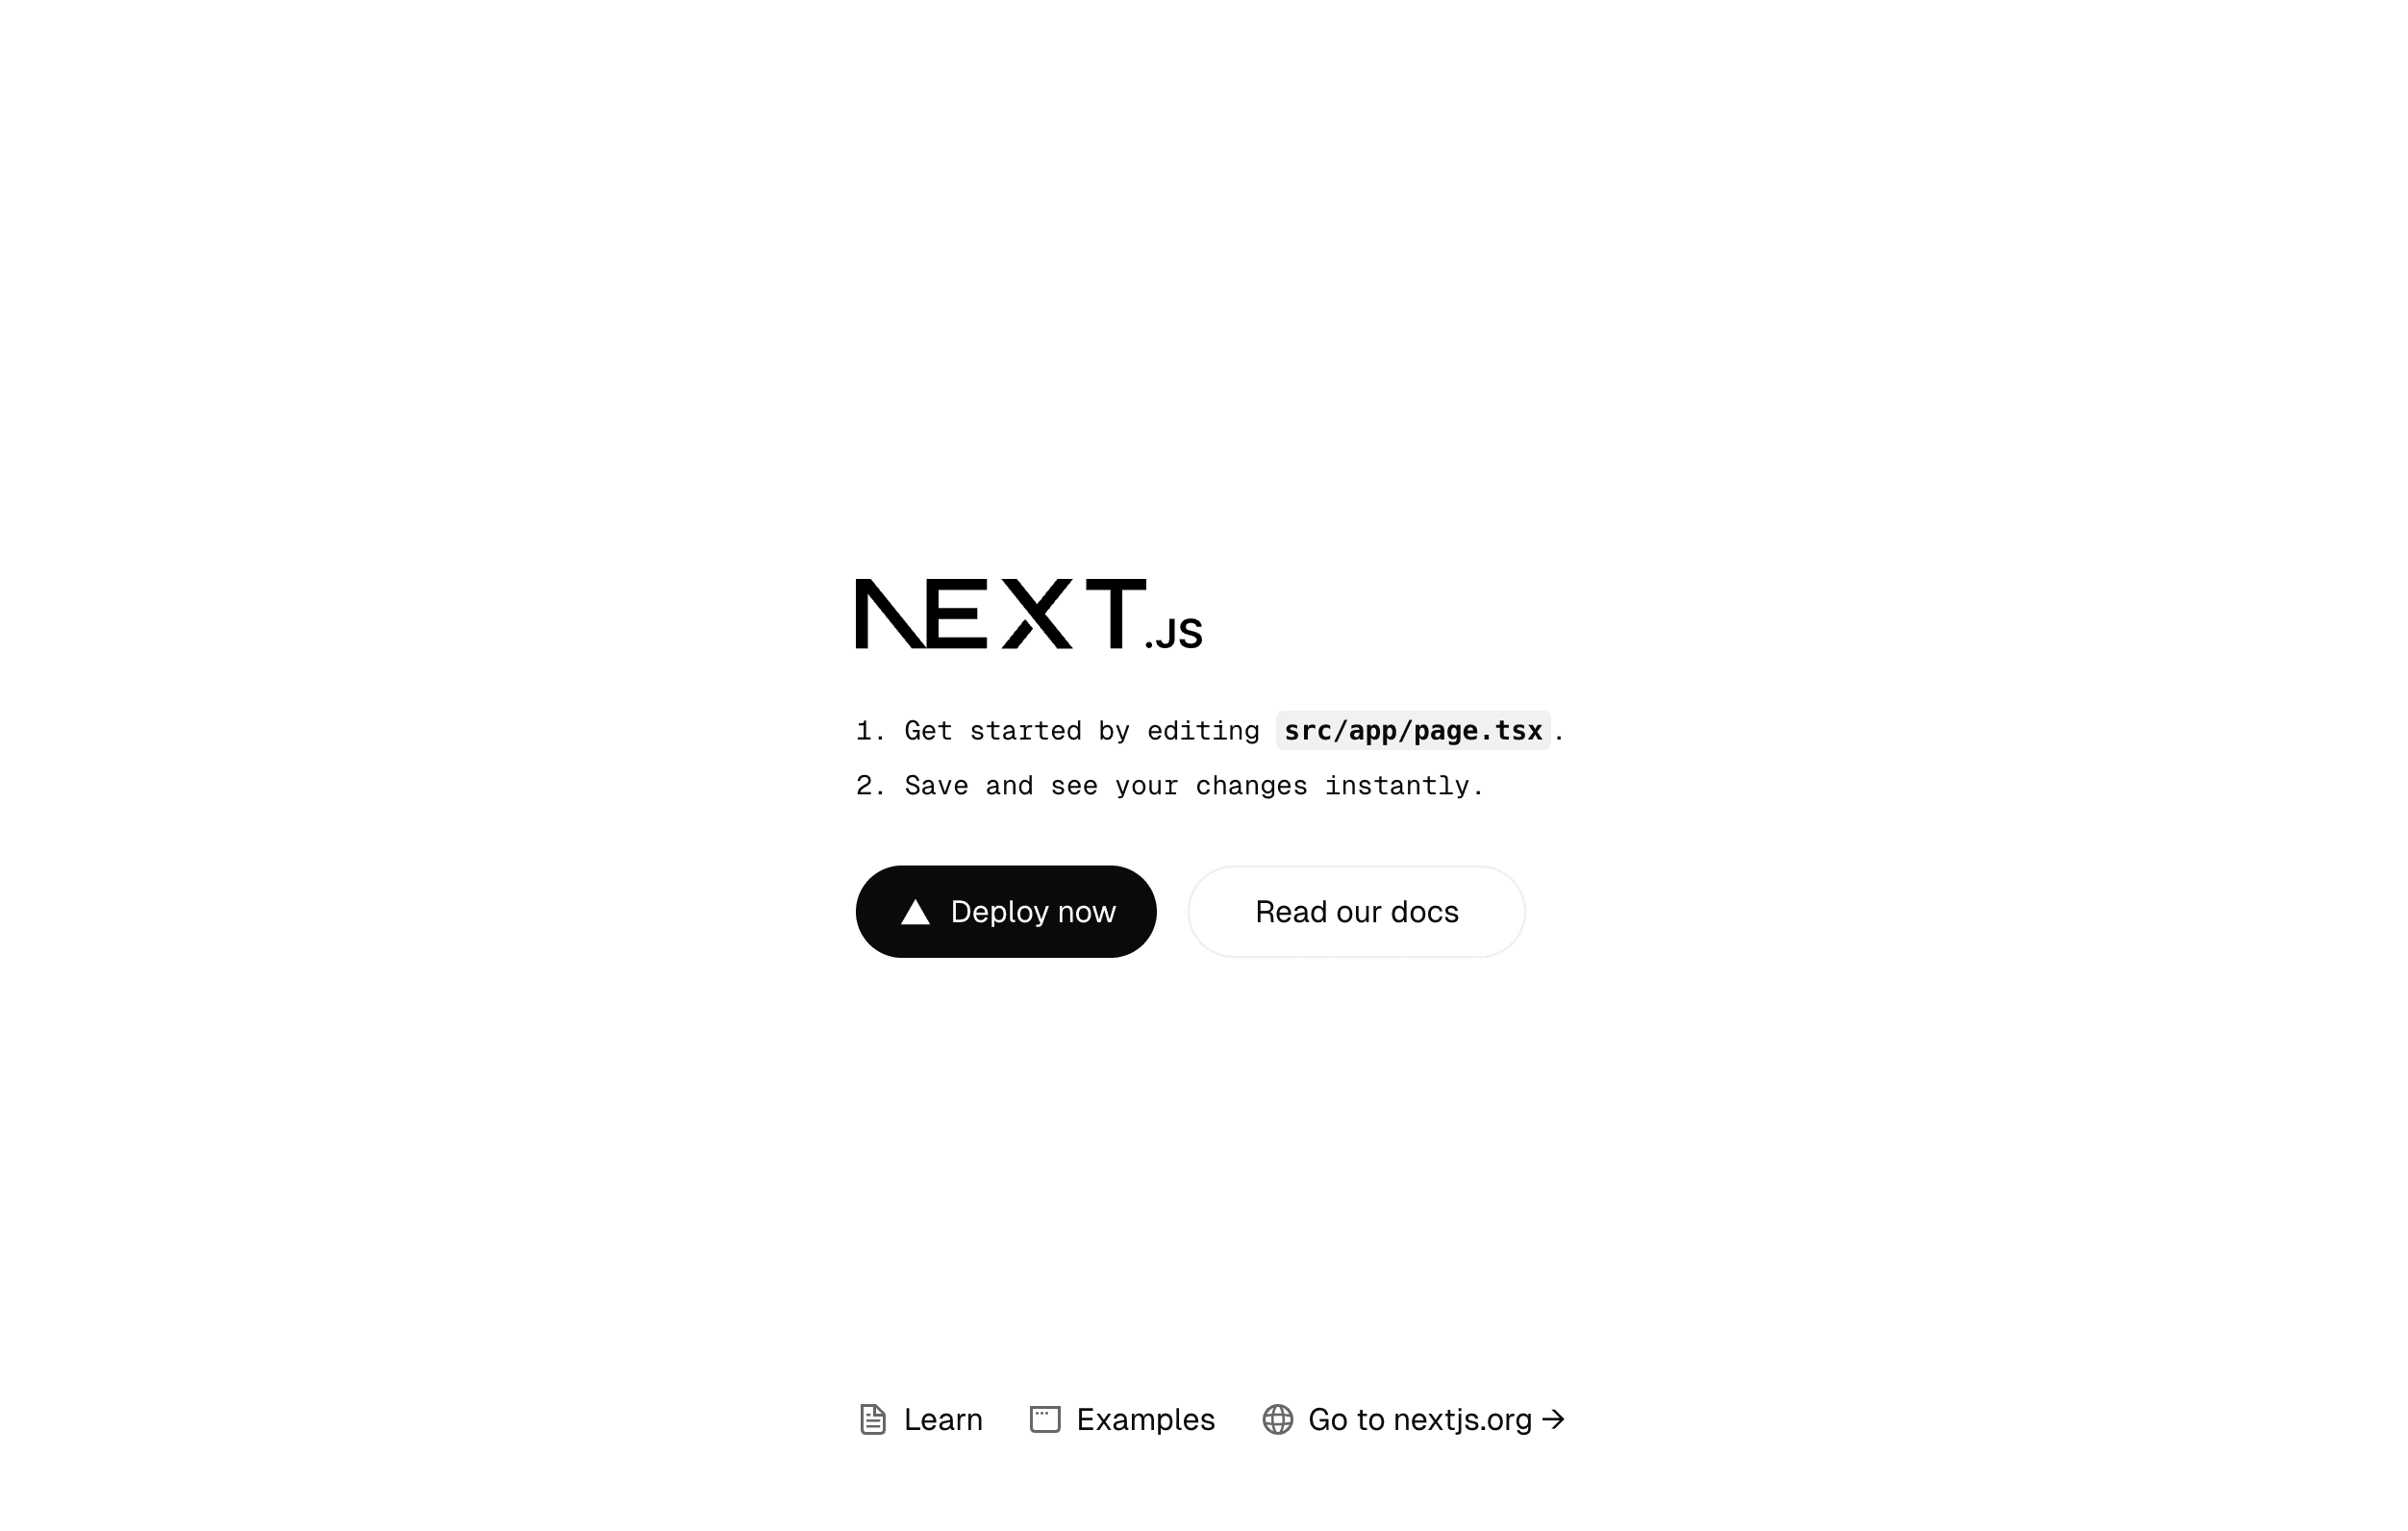
Creating a new Next.js app in /Users/paul/Desktop/Working/epic-next-course/frontend.Once your project has been created, let's navigate to our frontend folder with cd frontend and run yarn dev to start our frontend project.
Your project will start at http://localhost:3000.
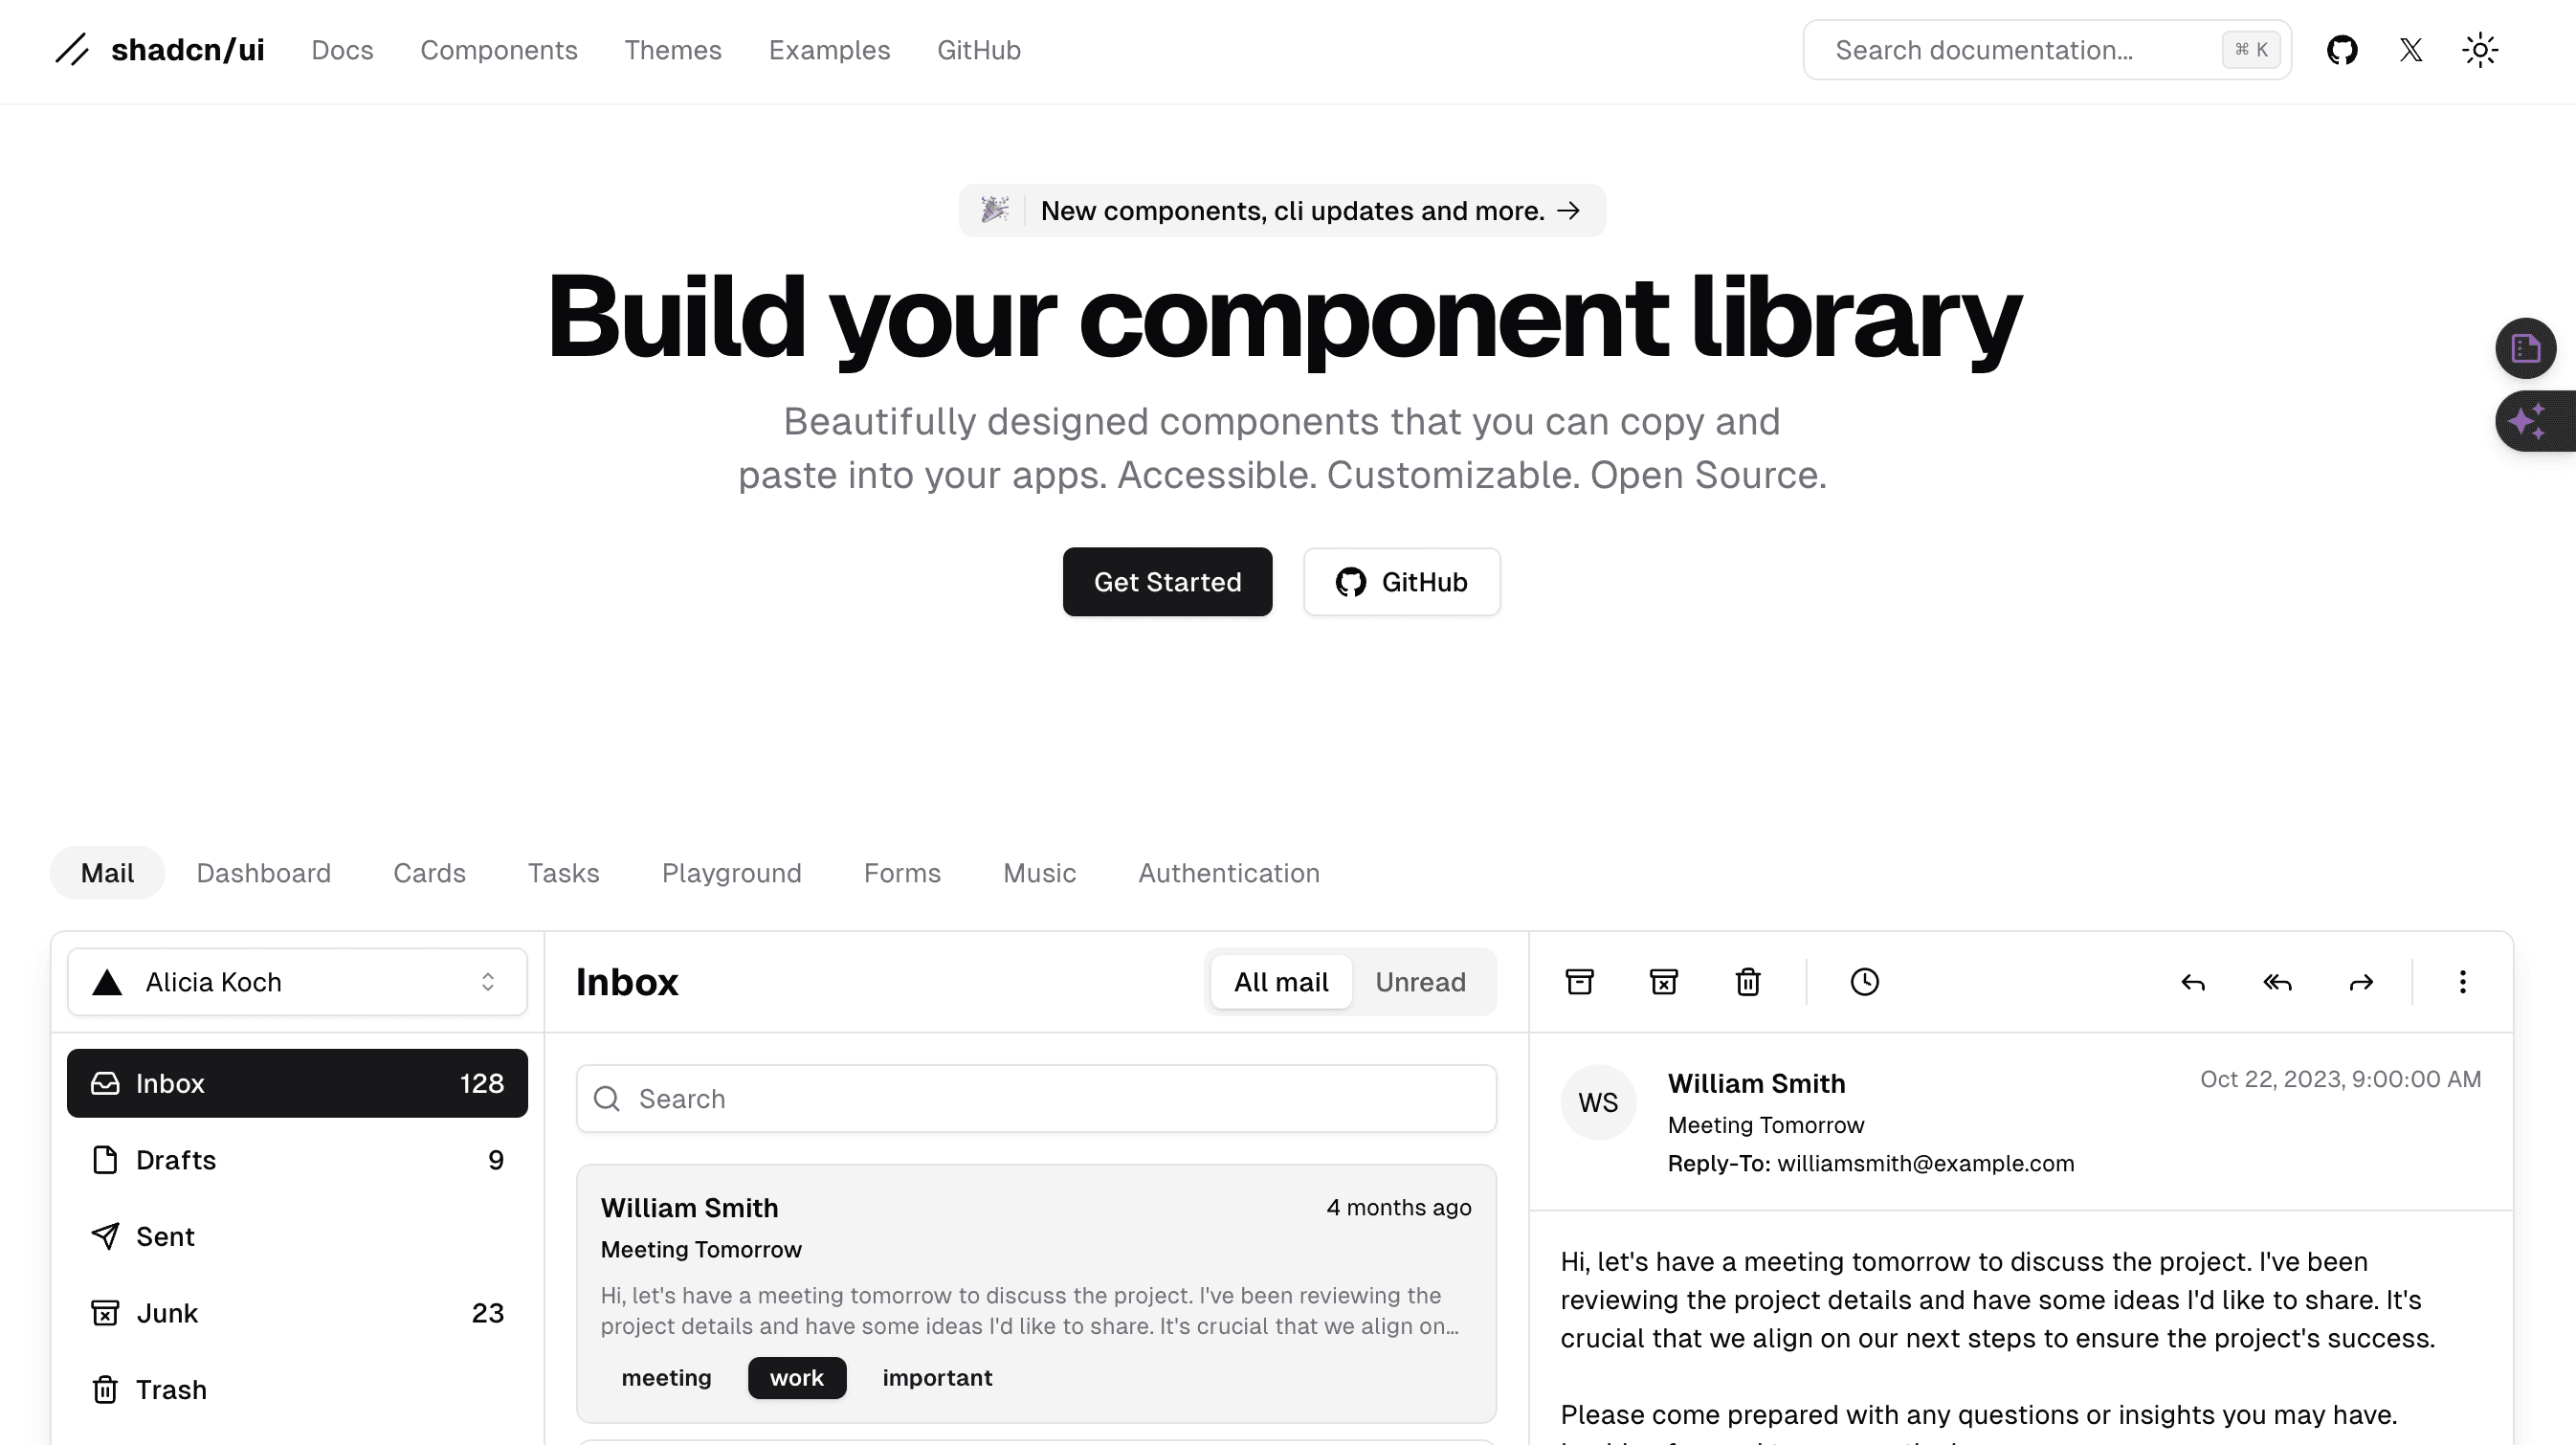
Setting Up Shadcn UI for styling
We will use Tailwind with Shadcn UI components to make our app pretty. Shadcn UI is excellent because it allows you to install your UI components directly into your codebase and modify/extend them accordingly.
You can learn more here.
Let's now go through the setup steps. You can also reference [this] guide (https://ui.shadcn.com/docs/installation/next).
Run the CLI Run the shadcn-ui init command:
npx shadcn@latest initAnd follow the prompts on screen.
➜  frontend git:(01-post) ✗   npx shadcn@latest init

✔ Preflight checks.
✔ Verifying framework. Found Next.js.
✔ Validating Tailwind CSS config. Found v4.
✔ Validating import alias.
✔ Which color would you like to use as the base color? › Neutral
✔ Writing components.json.
✔ Checking registry.
✔ Updating CSS variables in src/app/globals.css
✔ Installing dependencies.
✔ Created 1 file:
  - src/lib/utils.ts

Success! Project initialization completed.
You may now add components.
That's it. We now have Shadcn UI installed and ready to go.
You will see the new utils folder and components.json file.

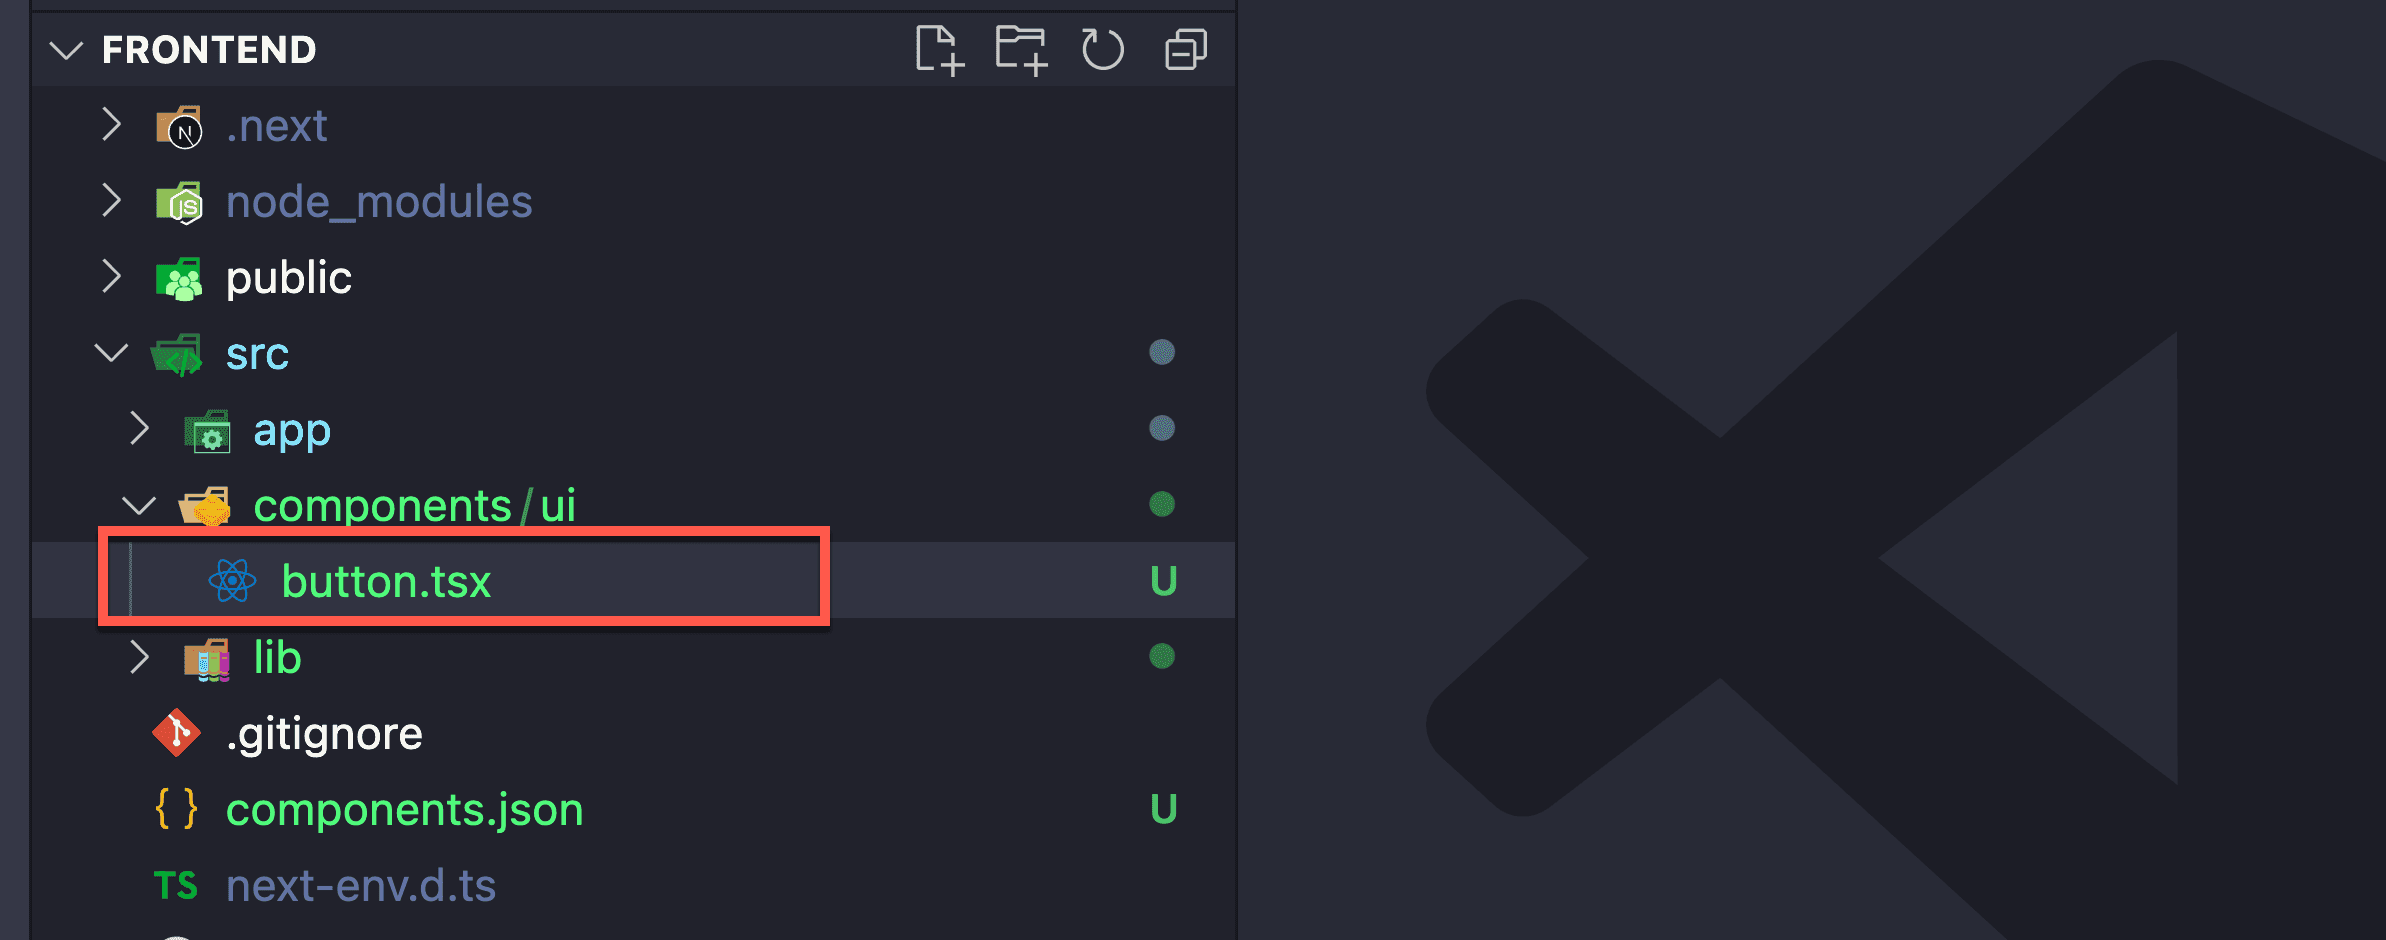
Let's add our first component by running the following command in your frontend folder, which will install our button component.
npx shadcn@latest add buttonWe now have a button inside our components folder.
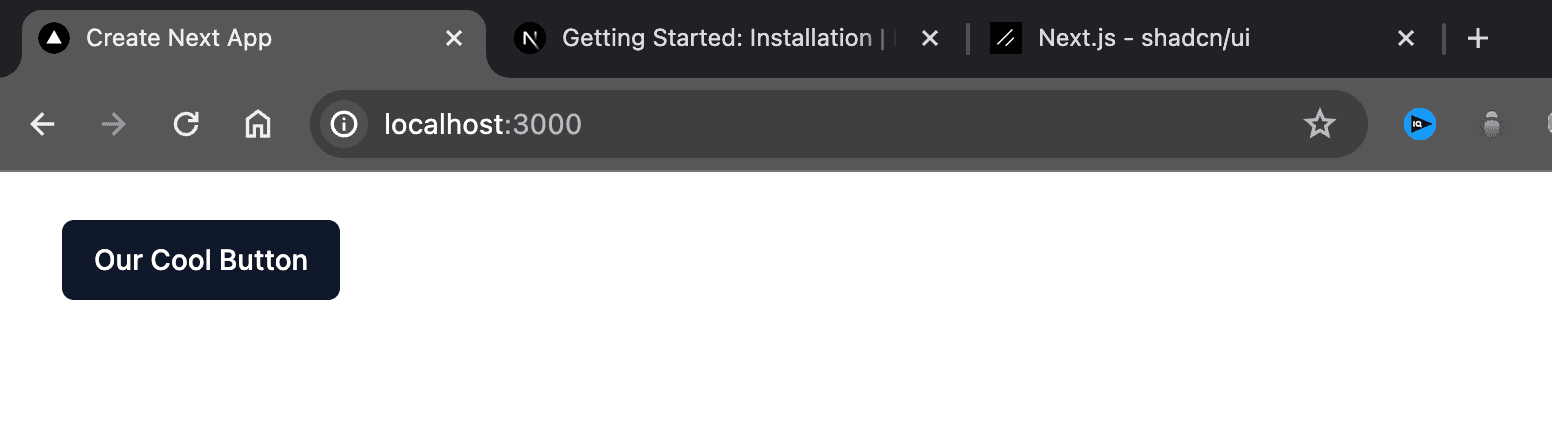
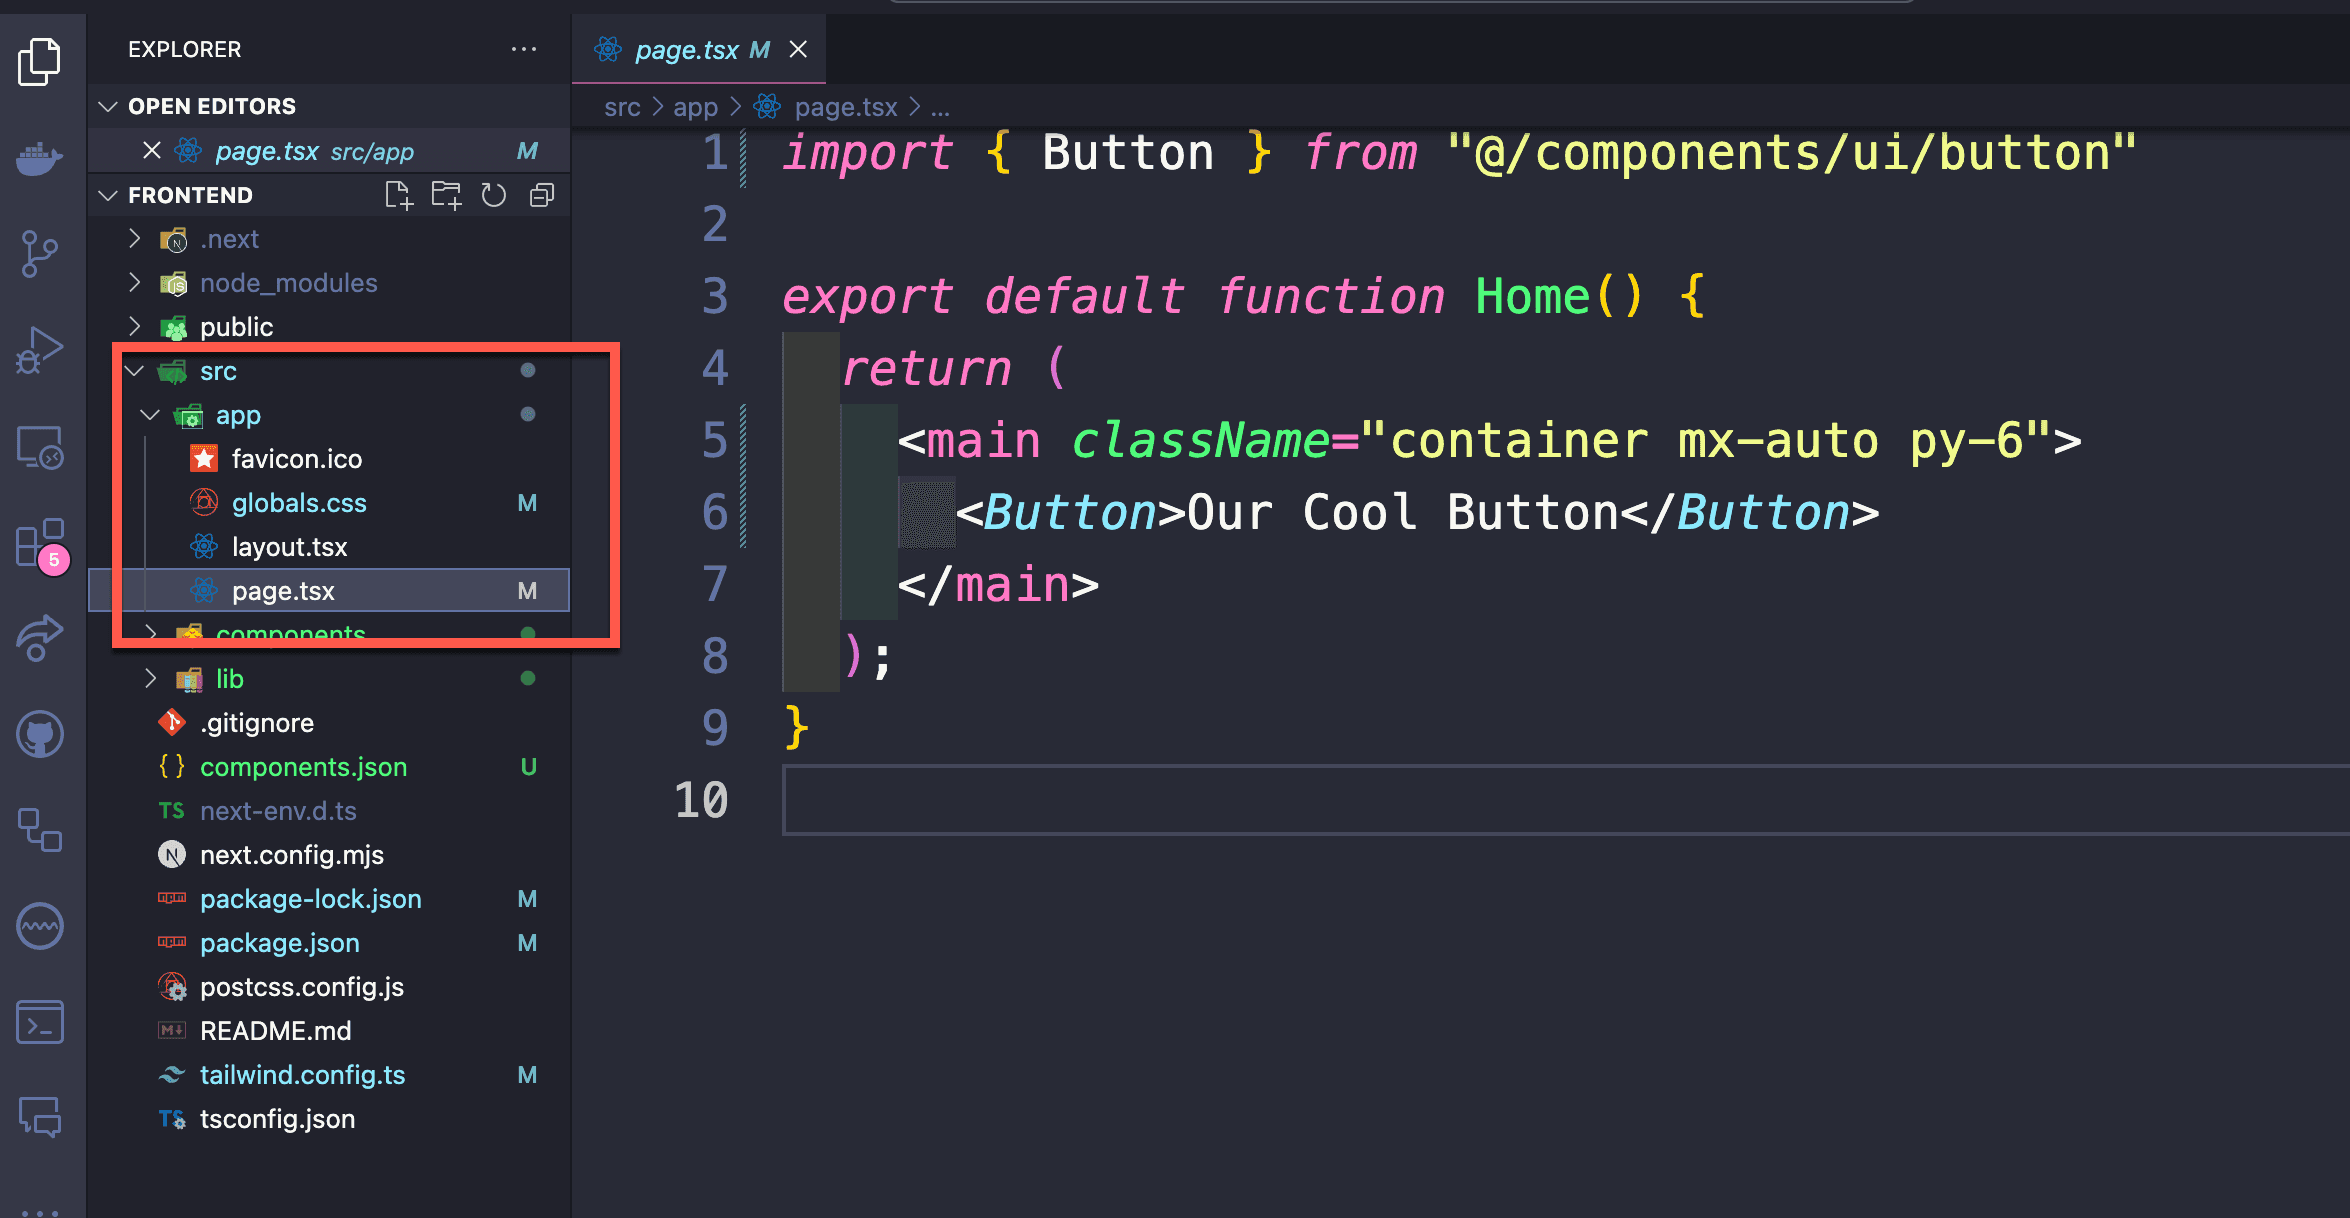
Let's use it inside the page.tsx file by replacing all the code with the following.
import { Button } from "@/components/ui/button";

export default function Home() {
  return (
    <main className="container mx-auto py-6">
      <Button>Our Cool Button</Button>
    </main>
  );
}
Look at that amazing button.
Now that we know that our Shadcn UI component is working as expected. Let's finish up this first tutorial by setting up our Strapi instance.
Setting Up Our Backend
For our backend, we are going to use Strapi headless CMS. Strapi allows you to build your backend in minutes instead of weeks.
It is highly customizable and easy to get started with.
You can learn more in the docs, but we will start by running the following command inside the project folder.
npx create-strapi-app@latest backendYou will see the following prompt.
 Strapi   v5.21.0 🚀 Let's create your new project


🚀 Welcome to Strapi! Ready to bring your project to life?

Create a free account and get:
✨ 30 days of access to the Growth plan, which includes:
✅ Single Sign-On (SSO) login
✅ Content History
✅ Releases

? Please log in or sign up.
  Login/Sign up
❯ Skip
We will select skip and hit enter.
You will be prompted with the following options.
? Do you want to use the default database (sqlite) ? Yes
? Start with an example structure & data? No
? Start with Typescript? Yes
? Install dependencies with npm? Yes
? Initialize a git repository? No

 Strapi   Creating a new application at /Users/paul/Desktop/Working/epic-next-course/backend

   deps   Installing dependencies with npm
To start our Strapi application, we will run the following command.
  cd backend
  yarn strapi dev
Once everything gets installed, you will be greeted by Strapi's register page.
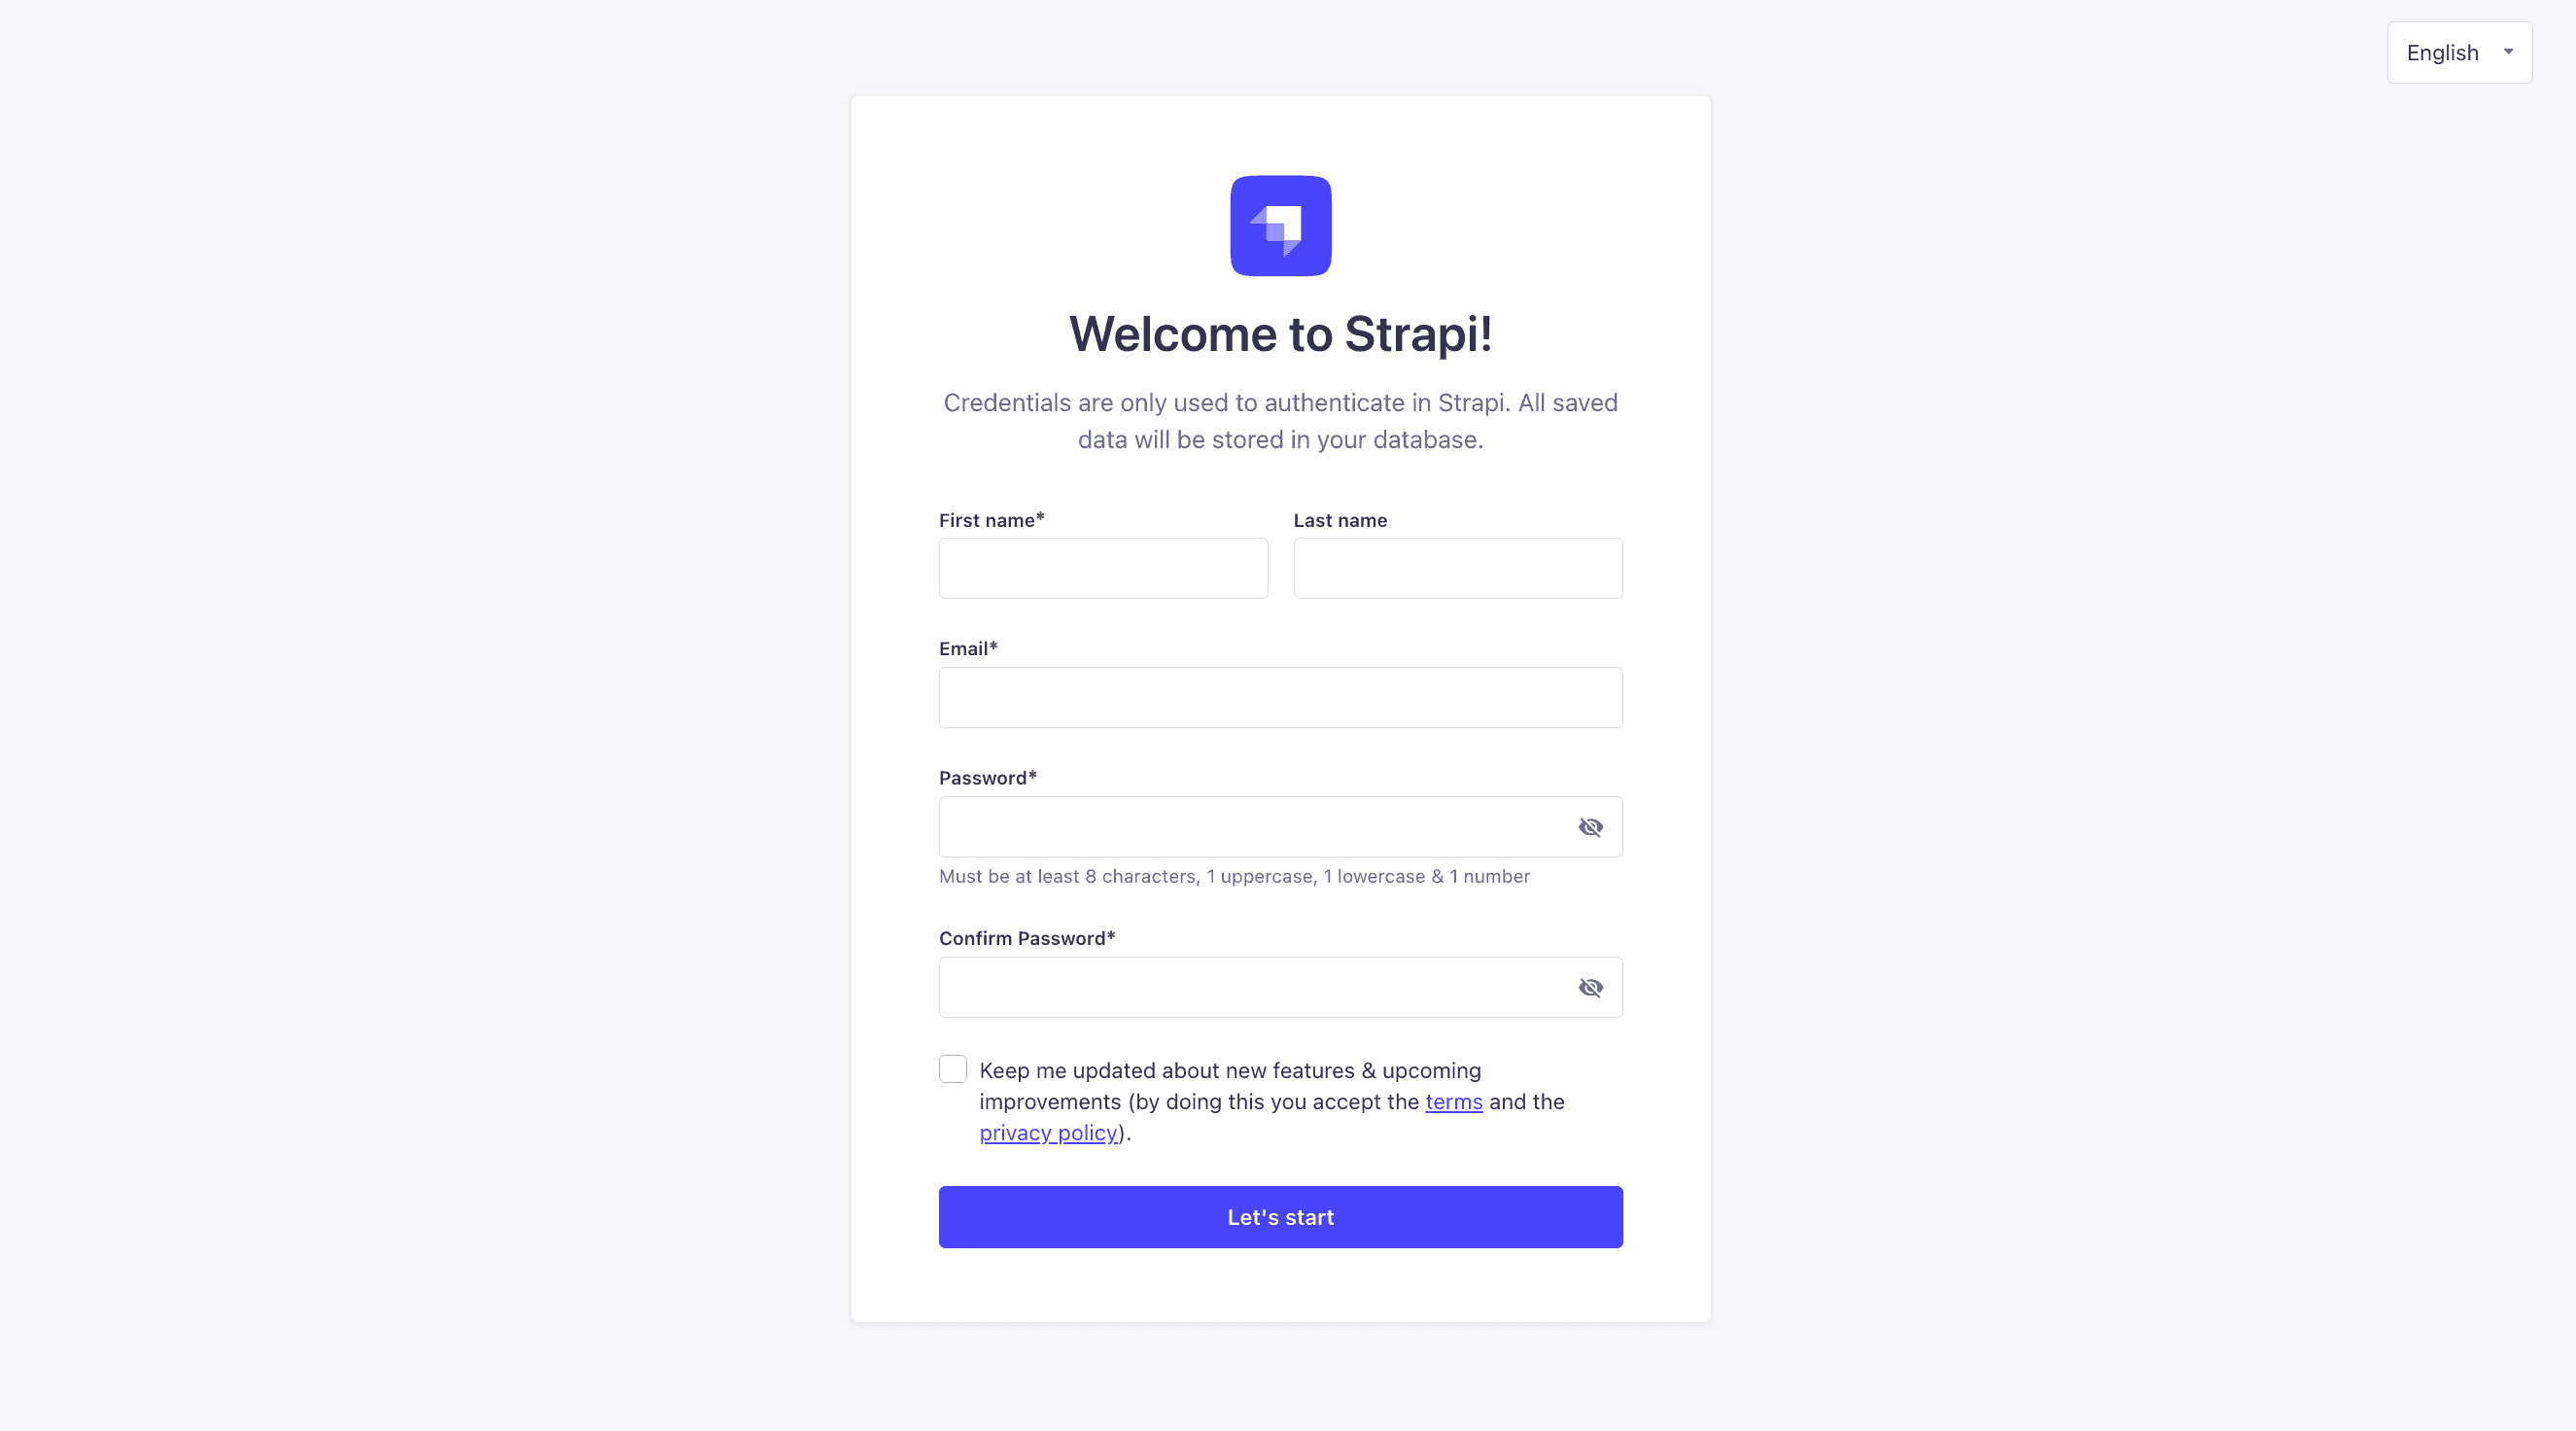
Go ahead and create your first admin user. Once done, you will be greeted by the dashboard.
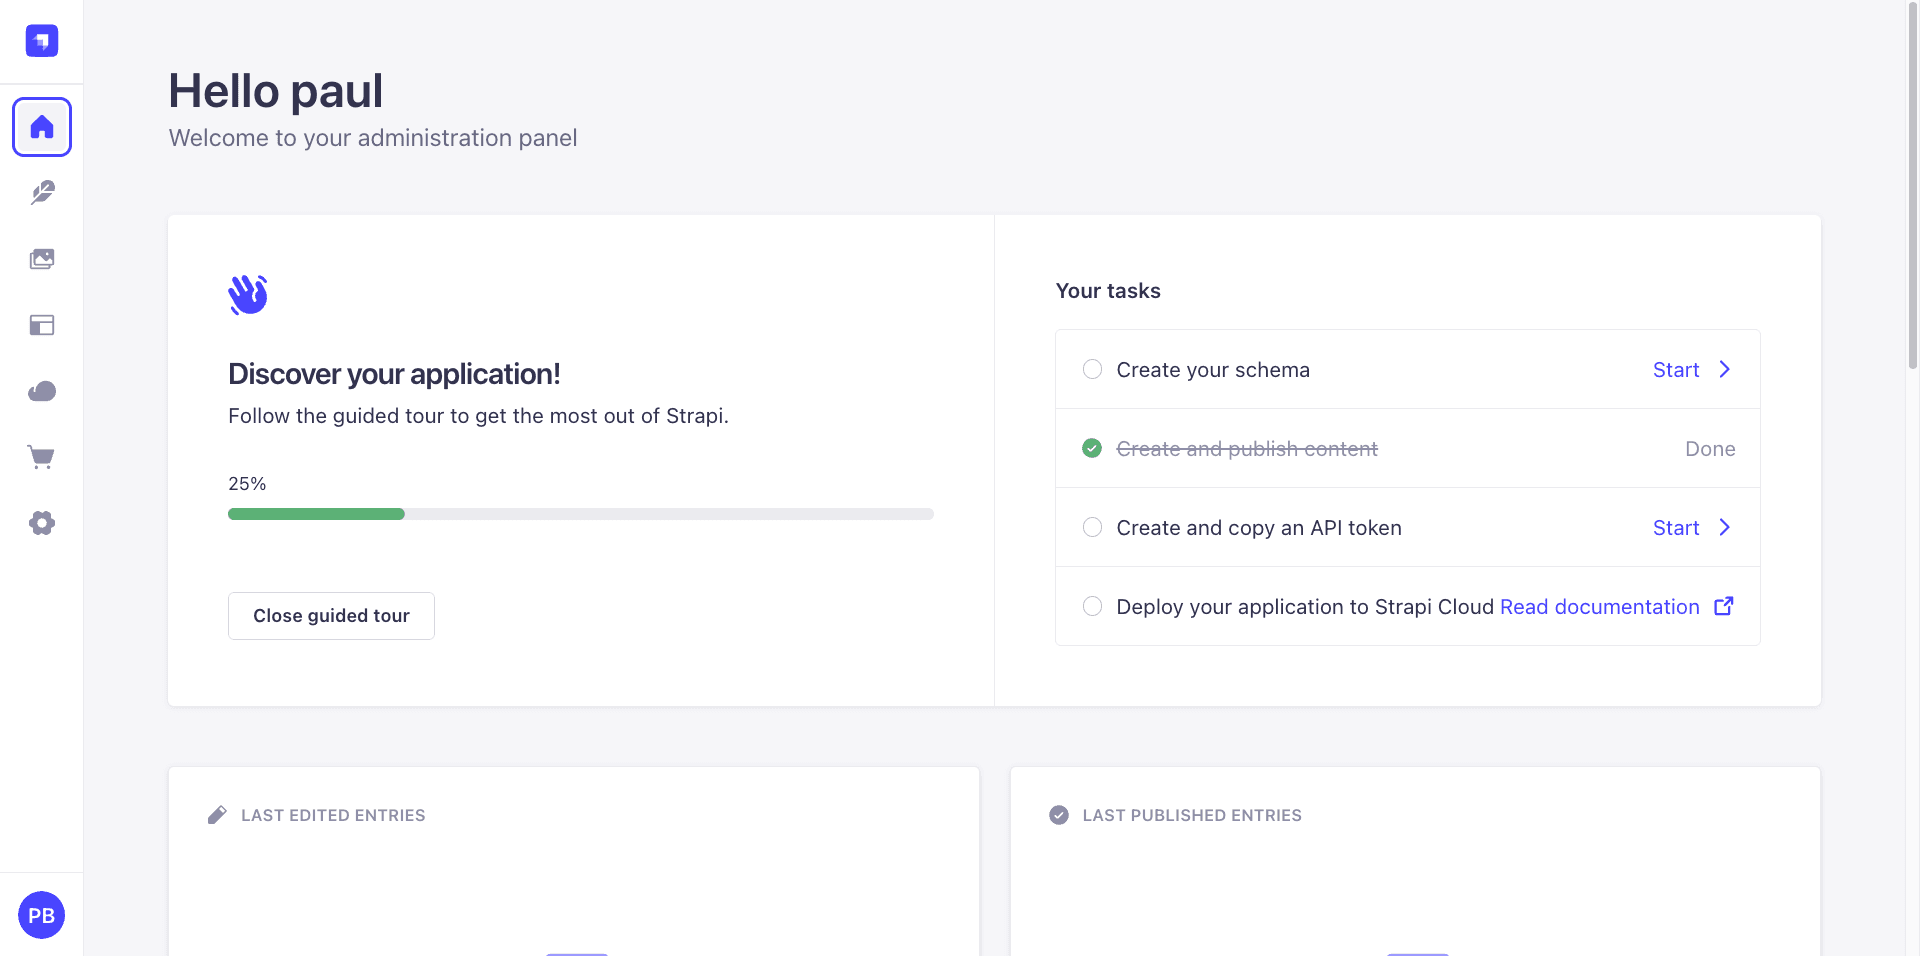
Congratulations. We now have our Strapi app set up.
In future posts, we will explore the Strapi dashboard in more detail. But for now, let's create our first collection type.
Creating Our First Collection Type
Our app will have a home page with our top navigation, hero section, features, and footer section.
Let's create our first collection type to store this data.
We will get it started in this post and continue it in the next post.
I want to show how easily we can add content to the Strapi application and get that data from our API.
Let's start by navigating to Content-Type Builder under SINGLE TYPES and clicking on create-new-single-type.
We are going to name it Home Page.
Text -> Short Text -> title Text -> Long Text -> description
Once done, click save.
Now, let's add some basic data.
After adding the title text and description, make sure to click publish.
Not let's take a look at how we can get our data from our API using Insomnia, but you can also use Postman
In future posts, of course, we will be getting out data from our Next.js frontend.
Getting Our Data via The Strapi API
Now that we have our first data type let's see how we can query it using Postman in VS Code.
But first, we must give Strapi permission to serve those endpoints to our client.
Since this is public data, we can accomplish this with the following permissions.
Navigate to Settings -> USERS & PERMISSION PLUGIN -> Roles -> Public
Select Home Page and check the find checkbox.
We should now be able to access our data by making a GET request to http://localhost:1337/api/home-page.
Let's give it a try.
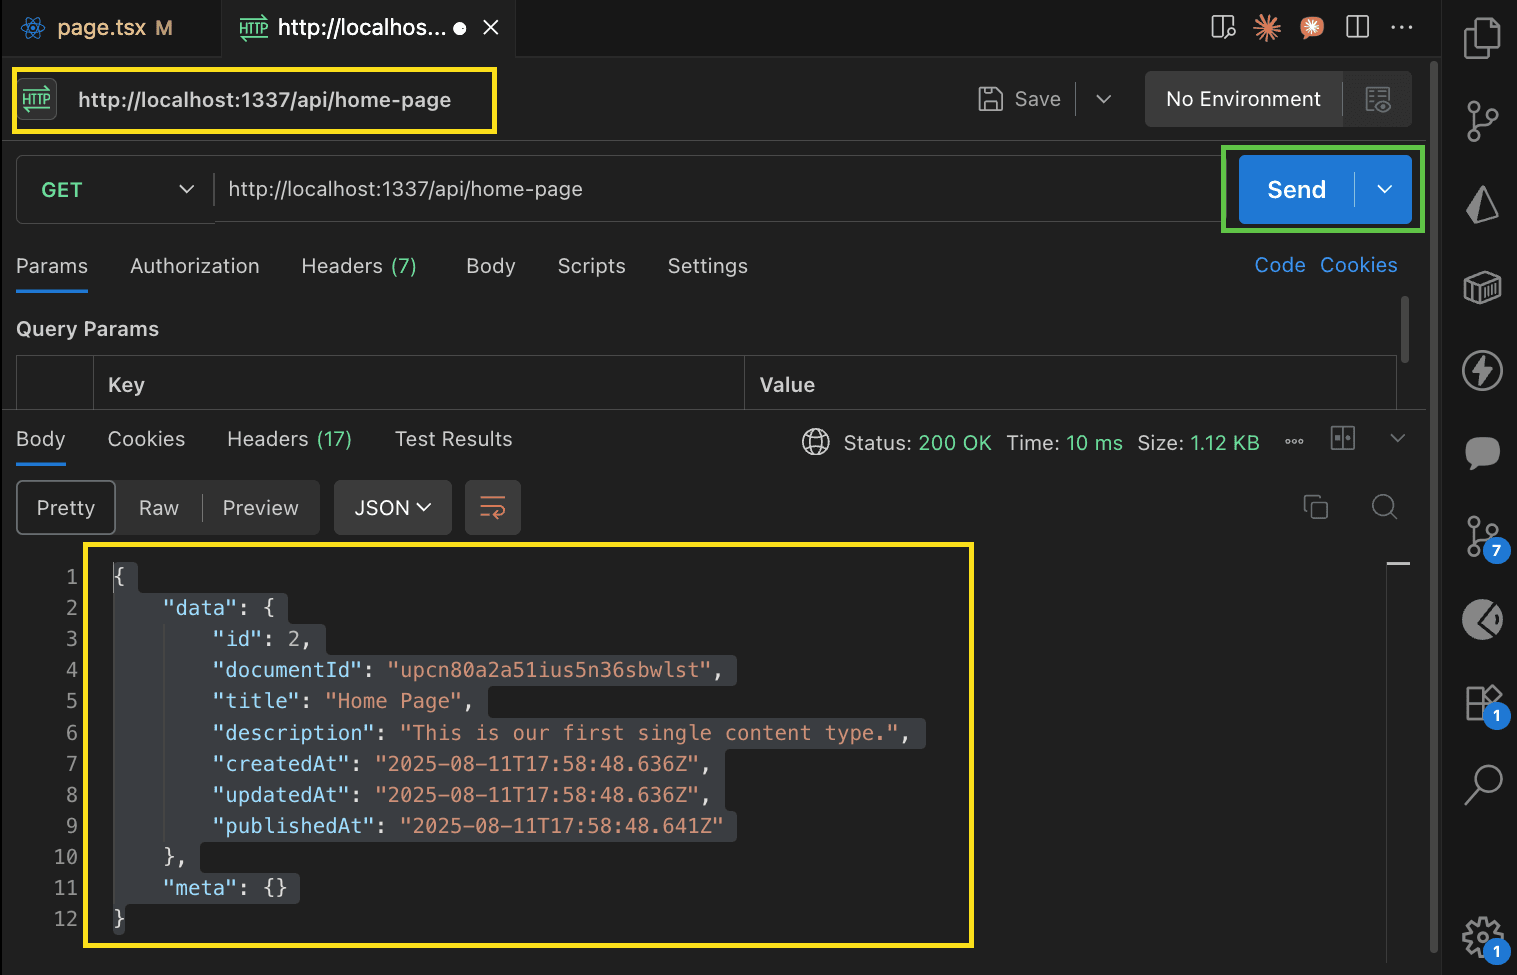
Awesome. We must get our initial Home Page data from our endpoint.
{
  "data": {
    "id": 2,
    "documentId": "upcn80a2a51ius5n36sbwlst",
    "title": "Home Page",
    "description": "This is our first single content type.",
    "createdAt": "2025-08-11T17:58:48.636Z",
    "updatedAt": "2025-08-11T17:58:48.636Z",
    "publishedAt": "2025-08-11T17:58:48.641Z"
  },
  "meta": {}
}
With introduction of Strapi 5, we now have a cleaner API response with a new key called documentId. Which is a unique identifier for content.
Even though we return an id in the response, we should use the documentId for all our requests.
You can learn more about the changes here.
Before we go, let's call from our front end and see if we can render our initial data.
Making Our First Fetch Request
Let's see our Next.js and Strapi integration by creating create a basic function to fetch our data inside our Next.js application.
Since we are using Next.js 15, we can use RSC [React Server Components].
Inside our frontend project, let's navigate to the src/app/page.tsx file.
This is where we added our essential button component to test our CSS.
Let's make the following refactoring to fetch our data.
async function getStrapiData(url: string) {
  const baseUrl = "http://localhost:1337";
  try {
    const response = await fetch(baseUrl + url);
    const data = await response.json();
    return data;
  } catch (error) {
    console.error(error);
  }
}

export default async function Home() {
  const strapiData = await getStrapiData("/api/home-page");

  const { title, description } = strapiData.data;

  return (
    <main className="container mx-auto py-6">
      <h1 className="text-5xl font-bold">{title}</h1>
      <p className="text-xl mt-4">{description}</p>
    </main>
  );
}
Once you make the following changes, ensure your project is running, and navigate to http://localhost:3000, you should see the next.

Excellent job; we now know we can get data from our backend to our frontend.
We will continue building the home page, navigation, and footer in the next post.
Conclusion
Amazing job, everyone. We did it, we now have our Next.js and Strapi integration. We have jump-started our Next.js 15 and Strapi journey.
We set up both our frontend and backend of our video summarization app. We are now ready to continue building the rest of the project.
Here is the repo for the project with the current progress.
I want to build this out in public, so feel free to add comments and questions in the GitHub issues.
I hope you had as much fun as I did, and I will see you in the next post.
Note about this project
This project has been updated to use Next.js 15 and Strapi 5.
If you have any questions, feel free to stop by at our Discord Community for our daily "open office hours" from 12:30 PM CST to 1:30 PM CST.
Feel free to make PRs to fix any issues you find in the project or let me know if you have any questions.
Happy coding!
Paul