Project Overview
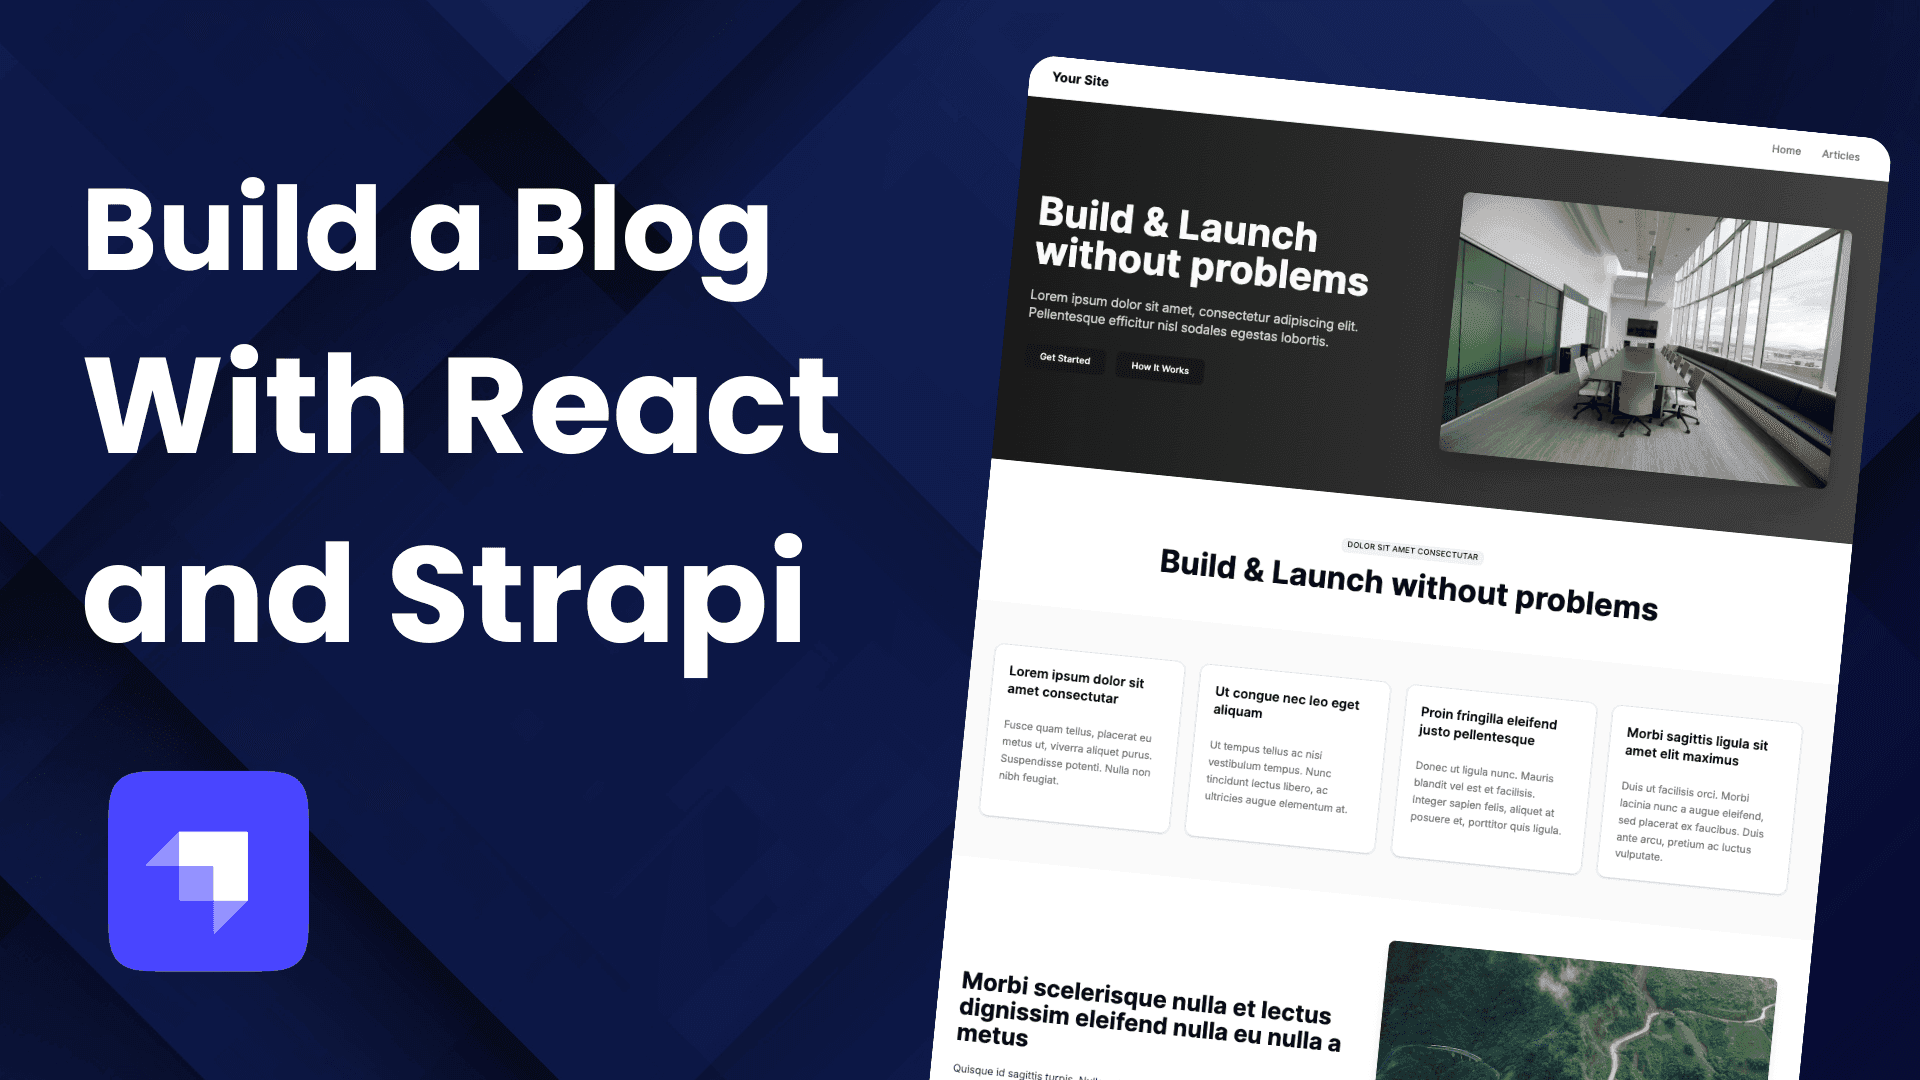
I've built a full-stack starter project that combines React 19 with React Router 7 in framework mode and Strapi 5 headless CMS, and I'd love to share it with you.
We'll build a simple but powerful blog website with three main pages:
Dynamic Landing Page - We'll create a homepage that pulls content from our Strapi backend. The cool part? Content managers can rearrange sections without touching any code.
Articles Page - A clean page that displays all our blog posts in a grid layout, ready for future pagination features.
Article Detail Page - Individual pages for each blog post, complete with the author info, content, and proper SEO tags.
What makes this project special is how everything connects. Our React frontend talks to Strapi through a clean API, giving us server-side rendering for better SEO, full TypeScript support for fewer bugs, and a content management system that non-technical users can actually use.
Later in this tutorial, we'll build the project together step by step. But first, let's talk about the tech stack and why I chose these tools.
Tech Stack & Why These Choices
Frontend Technologies
React 19 - Because it's awesome and brings the latest performance improvements and modern features. Learn more about React
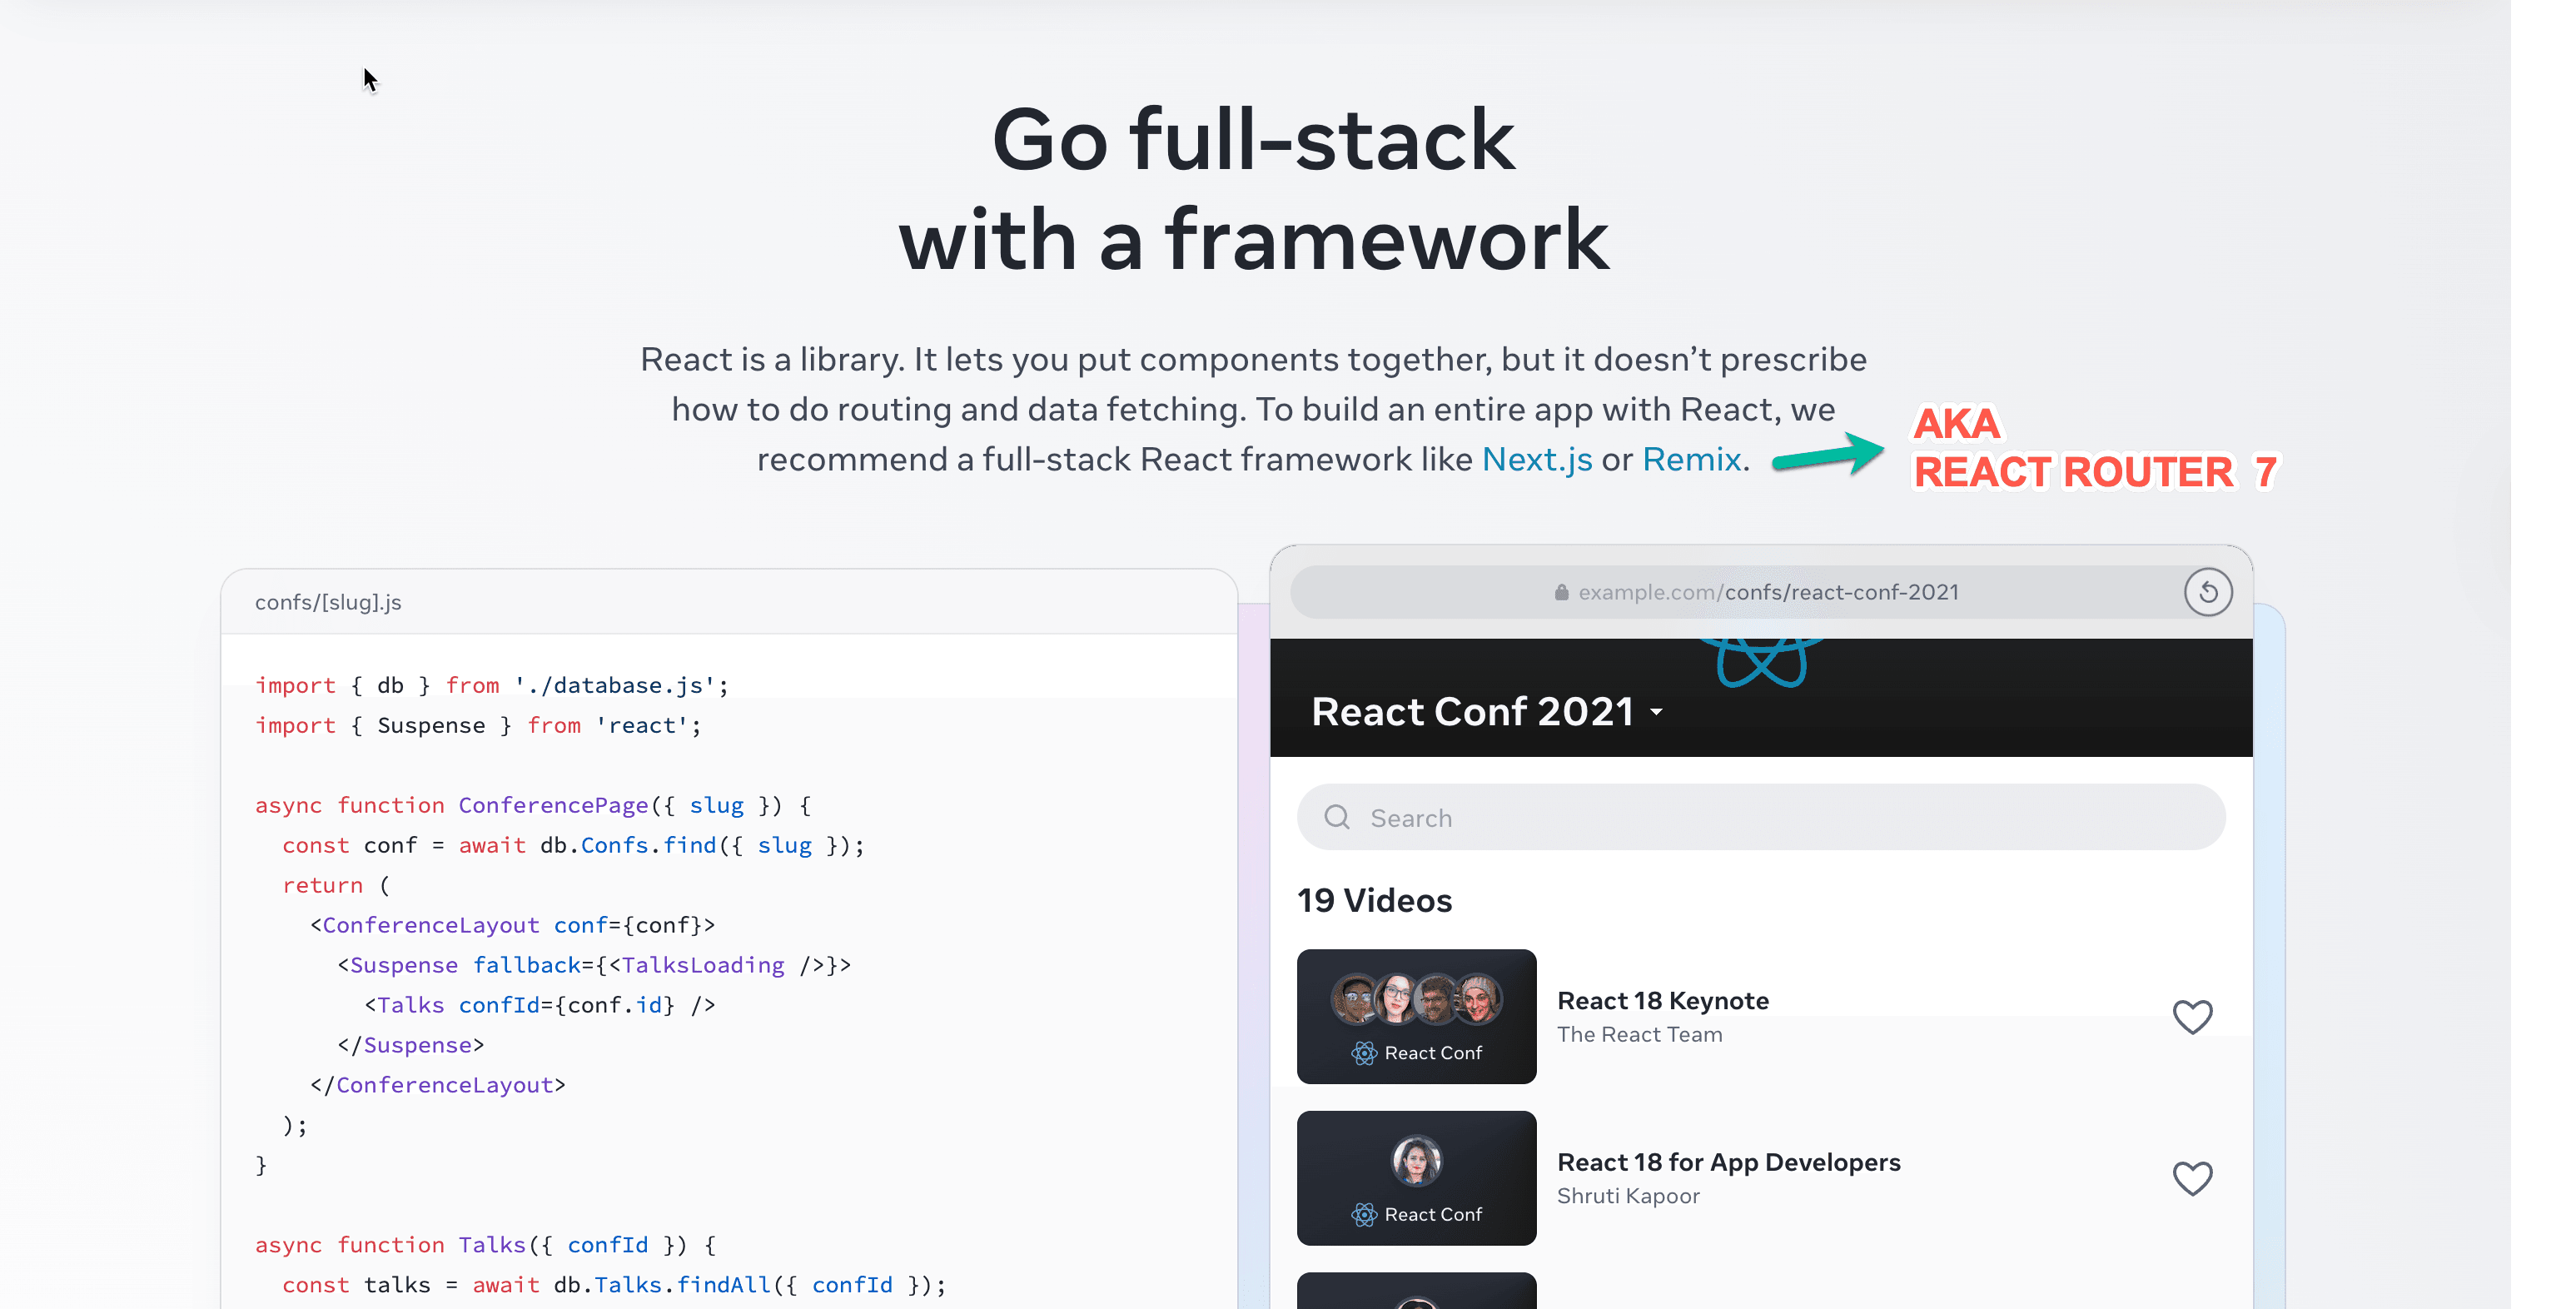
React Router 7 Framework Mode - The evolution of Remix, now integrated into React Router. This provides server-side rendering, file-based routing, and excellent developer experience out of the box. React Router Documentation
Shadcn/ui & Tailwind CSS - A combination of accessible, customizable components built on Radix UI with Tailwind's utility-first styling approach. This provides a clean, modern design system that's both beautiful and functional. Shadcn/ui | Tailwind CSS
Backend Technologies
Strapi 5 - A powerful headless CMS that provides a flexible admin panel, TypeScript support, and excellent developer experience. Strapi Documentation
TL;DR - Just Want to Try It?
If you just want to get the project running quickly:
git clone https://github.com/PaulBratslavsky/strapi-react-router-7-starter.git
cd strapi-react-router-7-starter
yarn setup
yarn seed
yarn dev
The frontend will be available at http://localhost:5173 and the Strapi admin at http://localhost:1337/admin.
Check out the video walkthrough that showcases the project features and setup process.
What Makes This Project Special
Dynamic Content Blocks
One of the coolest features is the dynamic content block system. Non-technical users can easily rearrange page sections through the Strapi admin panel, and the changes reflect immediately on the frontend. This is achieved through a flexible block renderer system that matches Strapi components to React components.

Strapi Cline SDK API Integration
The project uses Strapi's SDK for clean, type-safe API calls. Instead of manually writing fetch requests, you get elegant functions like:
// Clean, typed API calls
const landingPageData = await sdk.find('landing-page');
const articles = await sdk.find('articles');
SEO Optimized
Each page uses React Router 7's meta function to dynamically set SEO tags based on content from Strapi, ensuring great search engine optimization.
Error Handling
Custom error boundaries provide graceful fallbacks and a clean 404 page experience when content isn't found.
Project Architecture
The project is structured as a monorepo with two main directories:
client/- React Router 7 frontend applicationserver/- Strapi 5 backend CMS
Frontend Structure
client/app/
├── components/
│   ├── blocks/     # Dynamic content blocks
│   ├── custom/     # Custom components
│   └── ui/         # Base UI components
├── lib/            # API client and utilities
├── routes/         # File-based routing
└── types/          # TypeScript definitions
Key Features
- File-based Routing - Routes are automatically generated from the file structure
- Server-side Rendering - Better SEO and performance with SSR
- Dynamic Content Management - Content blocks can be reordered and managed through Strapi
- Responsive Design - Mobile-first design with Tailwind CSS
- Type Safety - Full TypeScript support across the stack
I will walk you through step by step guid how I built this project but in the mean time you can explore it via the codebase above.
Paul