
note: This is a community member post and is not official documentation and the Strapi Support Team will not provide assistance with them.
Hi everyone! In this blog, we’ll explore the process of deploying a project on Coolify using a Docker Compose file. We’ll break down each step and dive into the details to make the process clear and straightforward.
What is Coolify?
Coolify is described as an open-source & self-hostable alternative to Heroku, Netlify, and Vercel, according to its official website. If you’re interested, you can check out their official documentation for guidance on downloading Coolify to your server and the prerequisites — it’s a simple and hassle-free process!
Let’s get started!
Docker Compose
Docker Compose is a tool for defining and running multi-container applications. It is the key to unlocking a streamlined and efficient development and deployment experience.
Compose simplifies the control of your entire application stack, making it easy to manage services, networks, and volumes in a single, comprehensible YAML configuration file. With a single command, you can create and start all the services from your configuration file.
Compose works in all environments: production, staging, development, testing, as well as CI workflows. It also has commands for managing the whole lifecycle of your application:
- Start, stop, and rebuild services
- View the status of running services
- Stream the log output of running services
- Run a one-off command on a service
Source: Docker Compose
Strapi
Strapi is a headless CMS used to develop websites, mobile applications, eCommerce sites, and APIs. It allows you to create an API without knowing anything about the backend or databases. The system builds APIs based on content models automatically, making it easy to manage data in the CMS.
Source: Strapi
Step 1: Download Coolify
To install Coolify, simply run the following command:
curl -fsSL https://cdn.coollabs.io/coolify/install.sh | bashCoolify Server Requirements:
- 8GB of memory (average usage ~3.5GB)
- 4 CPUs (average usage ~20–30%)
- 150GB disk (usage ~40GB)
Now after installing coolify you will get this on your terminal:
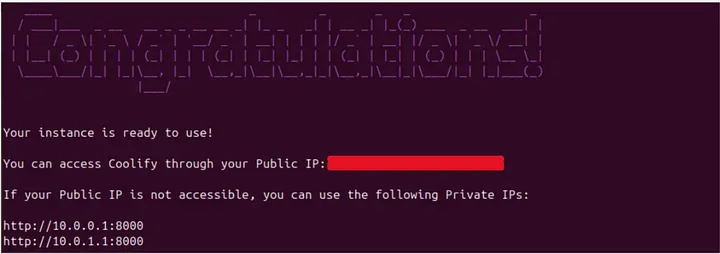
So coolfiy is running on port : 8000
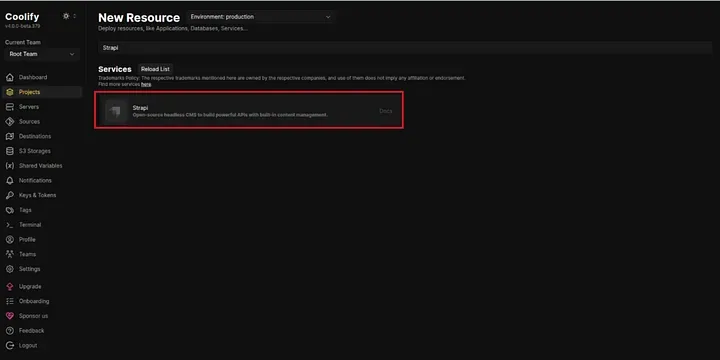
Step 2: Deploying Strapi Using Prebuilt Service in Coolify
Before we begin, it’s worth noting that Coolify offers a built-in service for deploying Strapi, which is a simpler and more straightforward approach. However, if you prefer a method that allows for customization of the Strapi installation process, plugin development, and managing volumes and related configurations, this blog is for you. Keep reading!
Step 3: Deploying Strapi Using a Docker Compose File
Ensure you have added the GitHub app to Coolify, allowing you to select the repository you want to deploy. Alternatively, you can generate a key in Coolify, add it to your repository, and use it to grant Coolify access to your application.
Now let’s choose the project section and add new one here’s a demo for it:
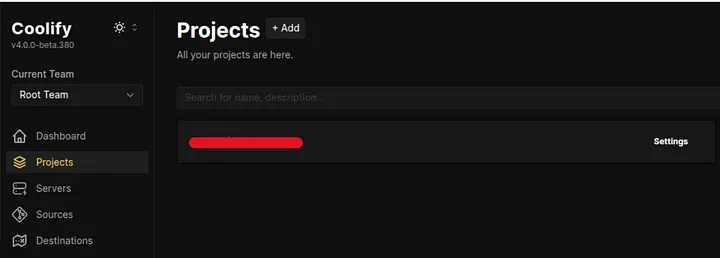
choose to add new project or select an existing one , next choose how you will access to your github repo in our case we already setted a ssh key in coolify so he can access it but as we mentioned before you can choose github app, or you can just select the repo if it’s public.
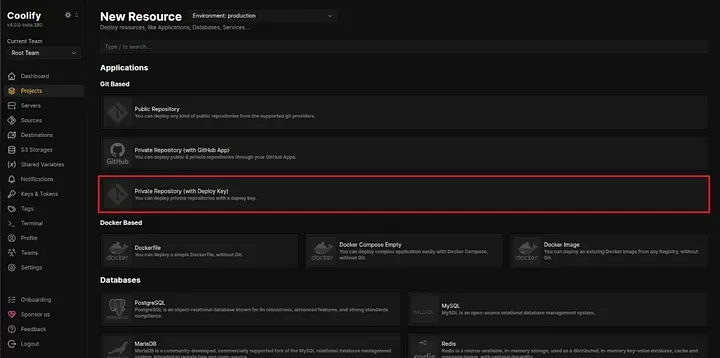
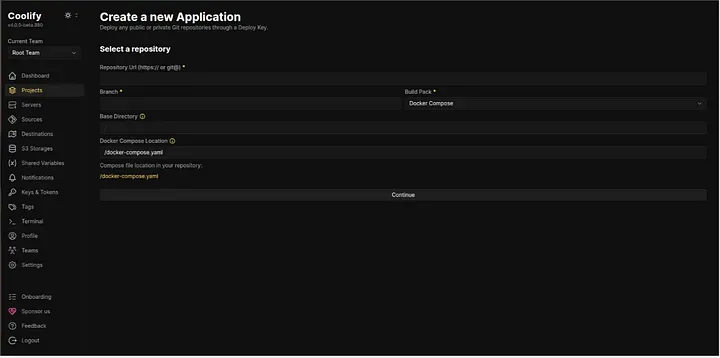
Select Docker compose as “Buildpack”, enter the GitHub repository URL you want to deploy in the repository URL field, choose the desired branch, and specify the path to your Docker Compose file.
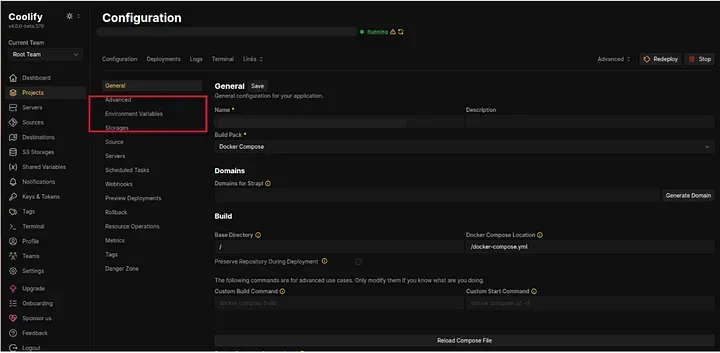
Don’t forget to add you environment variables here:
Examples of Docker compse and DockerFile:
Docker-compose.yml
#Docker-compose.yml
services:
  strapi:
    build: .
    image: strapi:latest
    restart: unless-stopped
    env_file: ./.env
    environment:
      DATABASE_CLIENT: postgres
      DATABASE_HOST: ${DATABASE_HOST}
      DATABASE_PORT: ${DATABASE_PORT}
      DATABASE_NAME: ${DATABASE_NAME}
      DATABASE_USERNAME: ${DATABASE_USERNAME}
      DATABASE_PASSWORD: ${DATABASE_PASSWORD}
      API_TOKEN_SALT: ${API_TOKEN_SALT}
      JWT_SECRET: ${JWT_SECRET}
      ADMIN_JWT_SECRET: ${ADMIN_JWT_SECRET}
      TRANSFER_TOKEN_SALT: ${TRANSFER_TOKEN_SALT}
      APP_KEYS: ${APP_KEYS}
      NODE_ENV: production
    volumes:
      - ./config:/app/config
      - ./src:/app/src
      - ./public/uploads:/app/public/uploads
    ports:
      - "1337:1337"

volumes:
  strapi-data:
DockerFile
#DockerFile
FROM node:18-alpine3.18
# Installing libvips-dev for sharp Compatibility
RUN apk update && apk add --no-cache build-base gcc autoconf automake zlib-dev libpng-dev nasm bash vips-dev git
ARG NODE_ENV=production
ENV NODE_ENV=${NODE_ENV}

WORKDIR /opt/
COPY package.json package-lock.json ./
RUN npm install -g node-gyp
RUN npm config set fetch-retry-maxtimeout 600000 -g && npm install
ENV PATH=/opt/node_modules/.bin:$PATH

WORKDIR /opt/app
COPY . .
RUN chown -R node:node /opt/app
USER node
RUN ["npm", "run" , "build"]
EXPOSE 1337
CMD ["npm","run","develop"]
If you’re curious about generating Dockerfiles, Docker Compose files, and their associated environment files, I highly recommend starting with the official Strapi documentation, which provides detailed guidance on this process strapi-docker.
Once everything is set up
click the “Deploy” button and hope everything works smoothly!
We may have this error or any anther one concerning missing files or data:
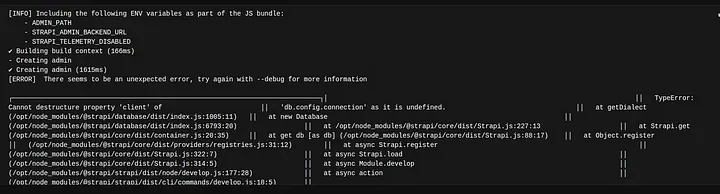
Let’s break it down for better understanding: So far, the process seems simple and straightforward. Here’s how Coolify manages app deployment: it copies all the essential folders and files needed to build the image. However, when dealing with volumes, Coolify does not copy the related files unless you specifically enable the “preserve code” option.
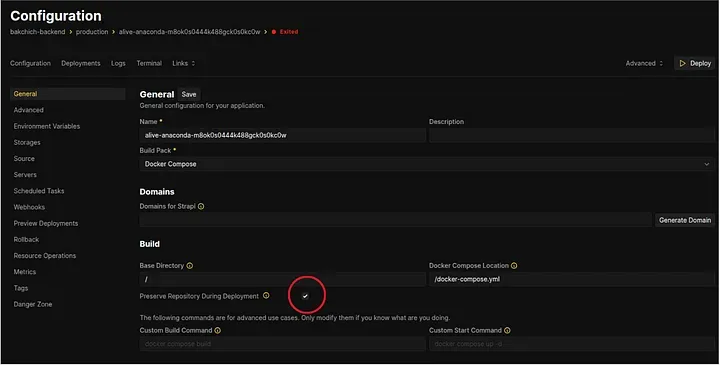
This setup ensures the proper functioning of the repository’s code. Note: You may find the directories for these volumes located at:
/data/coolify/applications/
However, these directories will initially be empty. Files or data required for the application must be provided manually if necessary. Files essential for the volumes will be automatically copied during deployment from GitHub. With this configuration, everything should work seamlessly.
Note: Suppose you initially deployed the project without selecting this option, and later you clicked it but noticed no changes. That’s the catch! Let’s break down what actually happened. Remember, volumes are persistent. When you redeploy, Coolify detects these existing directories and skips recreating them or copying data into them. In this case, you may need to SSH into the host and manually delete these files to ensure Coolify recreates the directories and copies the code as intended, especially after enabling the “preserve code” option.
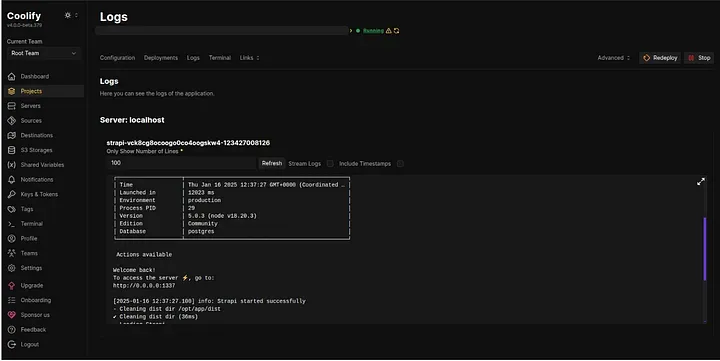
You can check the logs of you container here:
One last thing: assuming everything is set up correctly and Strapi is accessible at @IP:1337, I encountered this type of error while navigating the website.
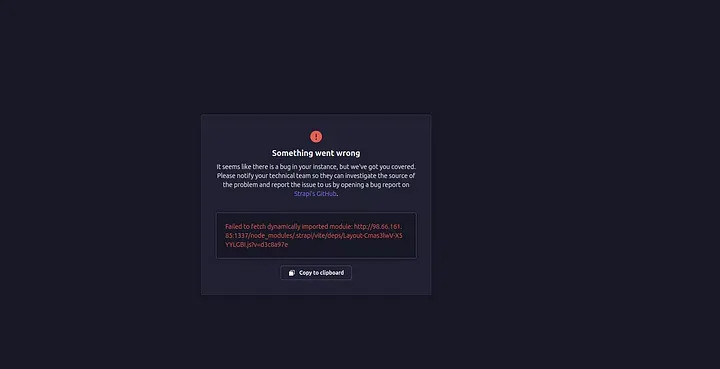
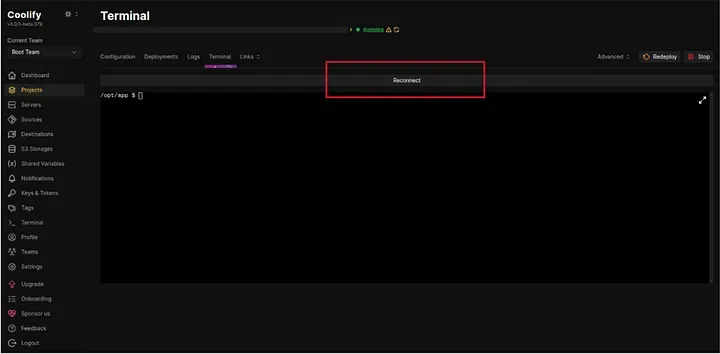
It appears that not all dependencies were installed. To address this, I accessed the terminal of the container on the server and manually installed the necessary dependencies. Additionally, ensure that port 6002 is open on the server, as it is required to connect to the terminal.
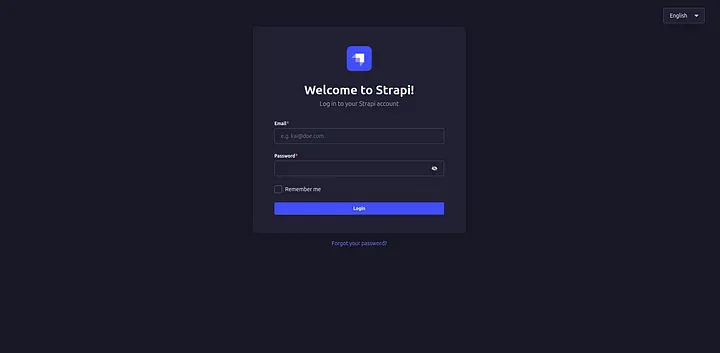
And that’s it! Strapi is up and running.
Conclusion
Deploying a Strapi project using Coolify and Docker Compose can be a streamlined and efficient process once you understand the key steps. By leveraging Coolify’s built-in features, managing environment variables, and properly configuring Docker, you can deploy applications with ease. However, as we’ve seen, some challenges—such as missing dependencies, volume management, and network configurations—may arise.
The key takeaways
- Using Coolify’s prebuilt service for a quick deployment or Docker Compose for more control.
- Managing volumes and preserving code to ensure data persistence.
- Checking logs and troubleshooting errors to address issues like missing dependencies or connectivity problems.
- Manually handling dependencies and network settings if necessary.
By following this post, you should be well-equipped to deploy your Strapi project on Coolify with confidence.
Happy deploying! 🚀
Anwer Lahami
Strapi Open Office Hours
If you have any questions about Strapi 5 or just would like to stop by and say hi, you can join us at Strapi's Discord Open Office Hours Monday through Friday at 12:30 pm - 1:30 pm CST: Strapi Discord Open Office Hours
Learn more about Strapi 5 feature.