This article has been updated on 13 April 2022
Gatsby starter for creating a blog with Strapi.
This starter allows you to try Strapi with Gatsby with the example of a simple blog. It is fully customizable and due to the fact that it is open-source, fully open to contributions. So do not hesitate to add new features and report bugs!
Features
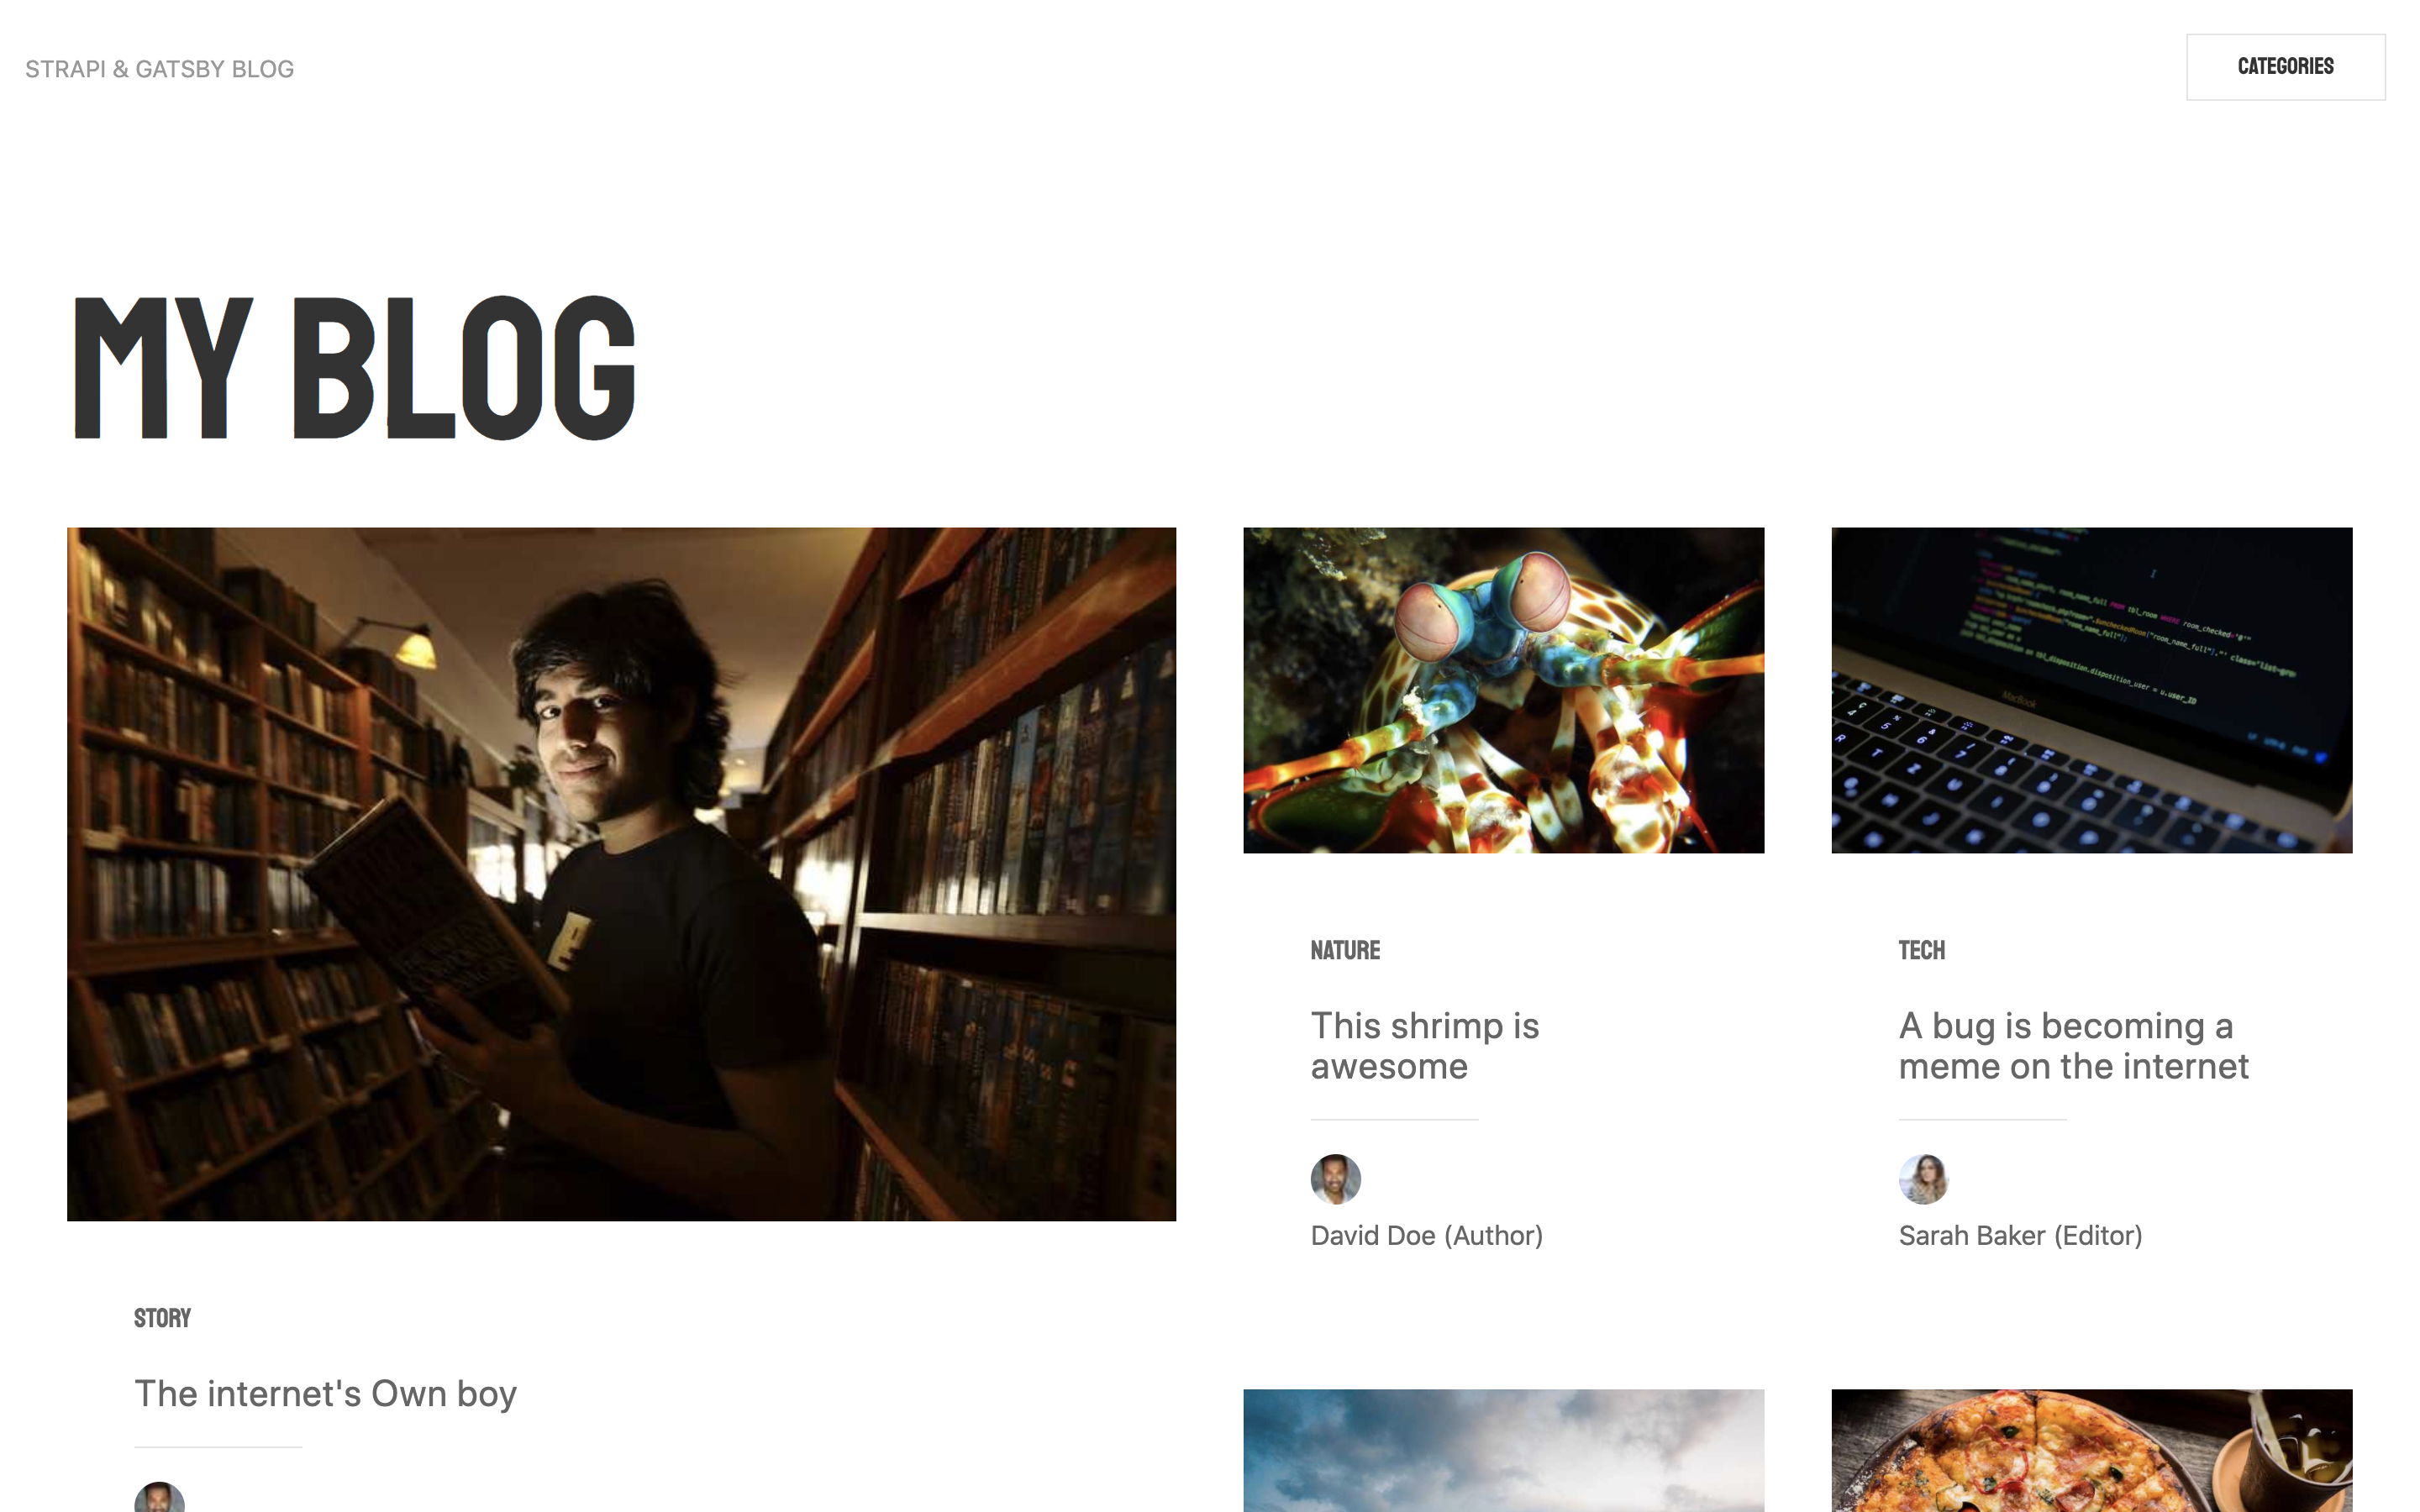
- 3 Content types: Article, Category and Author
- 5 Created articles
- 5 Created categories
- 2 Created authors
- Responsive design using TailwindCSS
- SEO and social media friendly
Pages:
- "/" to display every article
- "/article/:id" to display one article
- "/category/:id" display articles depending on the category
Getting started
The easiest way to try this starter is to run it locally on your computer.
# Using Yarn
yarn create strapi-starter my-project gatsby-blog

# Or using NPM
npx create-strapi-starter my-project gatsby-blog
The Strapi server will run here => http://localhost:1337/admin The Gatsby server will run here => http://localhost:3000
Enjoy this starter!
If you want to know more
Get started with Strapi by creating a project using a starter or trying our live demo. Also, consult our forum if you have any questions. We will be there to help you.