

This tutorial is part of the « E-commerce website with Strapi, Nuxt.js, GraphQL and Stripe
- 🏗️ Setup (part 1)
- 🏠 Homepage (part 2)
- 🍔 Restaurant page (part 3)
- 🛒 Shopping Cart (part 4)
- 🔐 Authentication (part 5)
- 💵 Checkout (part 6)
- 🚀 Bonus: Deploy (part 7) current
Note: The source code is available on Github.
Introduction
This is a step-by-step guide for deploying a Strapi v4 project on Heroku.
Goals
In this section, we will learn how to deploy our Strapi application on Heroku and our frontend application on Netlify.
Prerequisites
- Git, make sure to follow the First-Time Git Setup
- A free Heroku account
- A free Netlify account
- Heroku CLI
- Netlify CLI
Step 1 - Deploy on Heroku

Heroku is a platform as a service (PaaS) that enables developers to build, run, and operate applications entirely in the cloud. Before you can deploy your app to Heroku, you need to initialize a local Git repository and commit your application code to it.
    cd backend
    git init
    // Initialized empty Git repository in .git/
    git add .
    git commit -m "My first commit"
Creating a Heroku project
heroku apps:createYou can use heroku create custom-project-name, to have Heroku create a custom-project-name.heroku.com URL. Otherwise, Heroku will automatically generate a random project name (and URL) for you.
Creating a Database add-on
heroku addons:create heroku-postgresql:hobby-devTo make things even easier, Heroku provides a powerful addon system. In this section, you are going to use the Heroku Postgres addon, which provides a free "Hobby Dev" plan. If you plan to deploy your app in production, it is highly recommended switching to a paid plan.
Deploying Code
git push heroku masterThe deployment may take a few minutes. At the end, logs will display the url of your project (e.g. https://mighty-taiga-80884.herokuapp.com). Visit the URL provided by Heroku and keep it for the next step.
Managing Environment Variables
heroku config:set STRIPE_KEY=##Secret##Don't forget to replace ##Secret## by your Stripe API Key.
The heroku config commands of the Heroku CLI makes it easy to manage your app’s config vars.
Open your newly created application at https://dashboard.heroku.com/apps
In the next step, we will take a look about how to deploy a Nuxt.js application on Netlify.
Step 2 - Deploy on Netlify

Netlify is a web developer platform that multiplies productivity. By unifying the elements of the modern decoupled web, from local development to advanced edge logic, Netlify enables a 10x faster path to much more performant, secure, and scalable websites and apps.
Installation Netlify CLI will help you deploy your site manually. To install Netlify CLI, run this command in your terminal:
npm install netlify-cli -gSee the CLI command line reference to get started and the docs on using Netlify Dev to run your site locally.
Authentication Netlify CLI uses an access token to authenticate with Netlify. You can obtain this token using the command line or in the Netlify UI. To authenticate using the command line, enter the following command:
netlify loginThis will open a browser window, which let you sign up to Netlify.
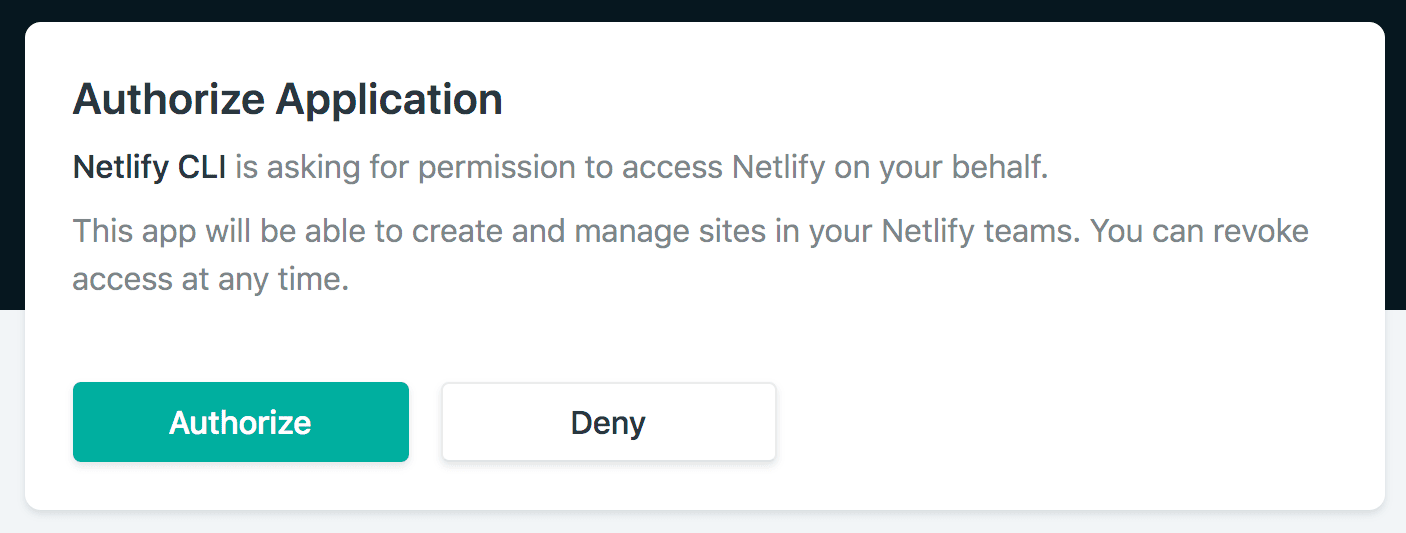
Before generating your static web application, make sure to add the URL provided by Heroku in your nuxt.confi``g.js:
const strapiBaseUri = process.env.API_URL || "##URL##";Next make sure to update your stripePublishable property in your nuxt.config.js file:
    export default {
      env: {
        stripePublishable: process.env.STRIPE_PUBLISHABLE || '##PUBLISHABLE##'
      }
    }
To get started with manual deploys, run the following command in your frontend directory:
npm run generatenpm run generate builds the application, generates every route as a HTML file, and statically exports to dist/ directory.
Then run the following command to deploy your site:
netlify deployNetlify CLI will look for the following information:
- Publish directory:
dist
Conclusion
Huge congrats, you successfully achieved this tutorial. I hope you enjoyed it!

Still hungry? Feel free to add additional features, adapt these projects to your own needs and give your feedback in the comments section.
Share your meal! You enjoyed this tutorial? Share it around you!