

Introduction
If you are familiar with our blog you must have seen that we've released a series of tutorials on how to make blogs using Strapi with a lot of frontend frameworks: React, Next.js, Vue, Nuxt.js or Angular.
This one is for the people who want to build a simple static blog with Gatsby 4!
Why gatsby?
Gatsby is a blazing-fast website framework for React. It allows developers to build React-based websites within minutes. Whether you want to develop a blog or a corporate website, Gatsby will fill your needs.

Because it is based on React, the website pages are never reloaded which makes the generated website super fast. A large set of plugins is available to allow developers to save time coding. For example, plugins exist to get data from any source (Markdown files, CMS, etc.). Gatsby is strongly based on the "node" interface, which is the center of Gatsby's data system.
Created by Kyle Mathews, the project was officially released in July 2017. (As of February 2109,Gatsby is in Gatsby v2 and is now used by many companies and for hundreds of websites.
What is Strapi?
Strapi is an open-source Headless CMS. It saves weeks of API development time and allows easy long-term content management through a beautiful administration panel anyone can use.
Unlike other CMSs, Strapi is 100% open-source, which means:
- Strapi is completely free.
- You can host it on your own servers, so you own the data.
- It is entirely ** customizable and extensible**, thanks to the plugin system.
Starters
You may want to directly try the result of this tutorial. Well, we made a starter out of it so give it a try:
yarn create strapi-starter gatsby-blog gatsby-blogGoal
The goal here is to be able to create a simple static blog website using Strapi as the backend and Gatsby for the frontend The source code is available on GitHub.
Prerequisites
This tutorial will always use the latest version of Strapi. That is awesome right!? You'll understand why below. You need to have node v.12 installed and that's all.
Setup
- Create a blog-strapi folder and get inside!
take blog-strapi
Backend setup
That's the easiest part of this tutorial thanks to Rémi who developed a series of Strapi templates that you can use for your Blog, E-commerce, or Corporate website project.
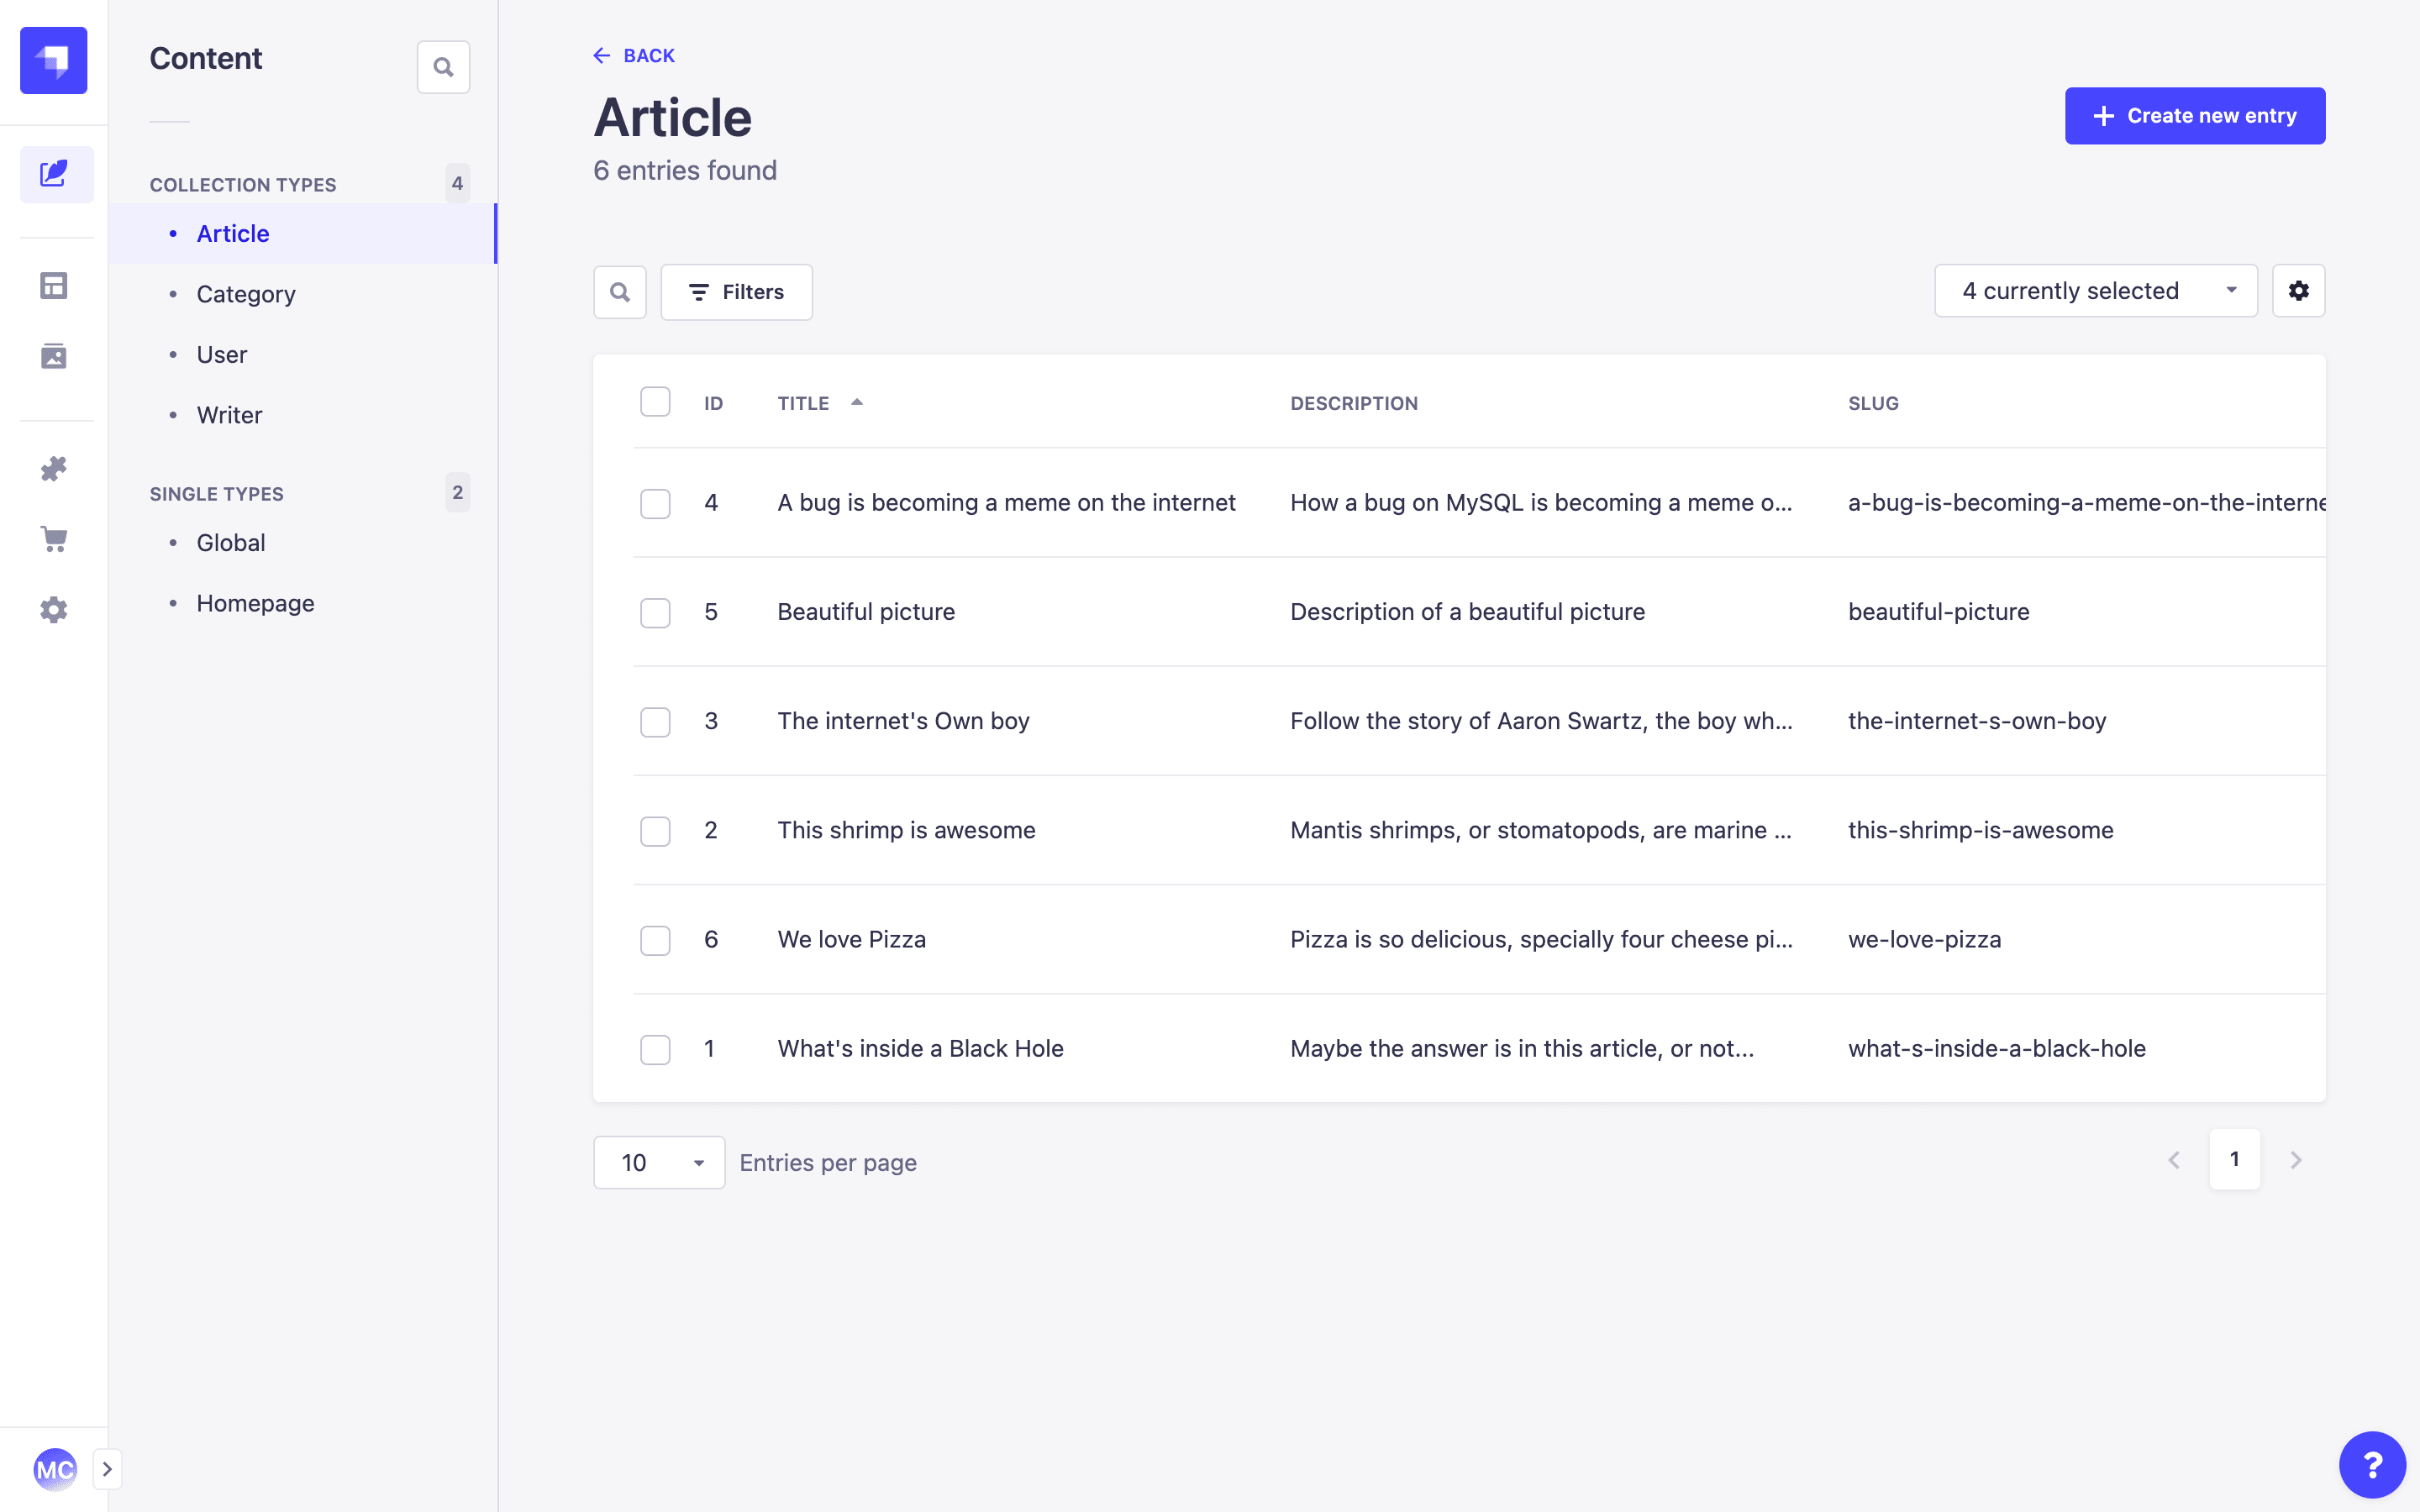
These templates are Strapi applications containing existing collection-types and single-types suited for the appropriate use case, and data. In this tutorial, we'll use the Blog template and connect a Gatsby application to it.
Note: for this tutorial, we will use yarn as your package manager.
- Create your Strapi backend folder using the Blog template.
yarn create strapi-app backend --template blog
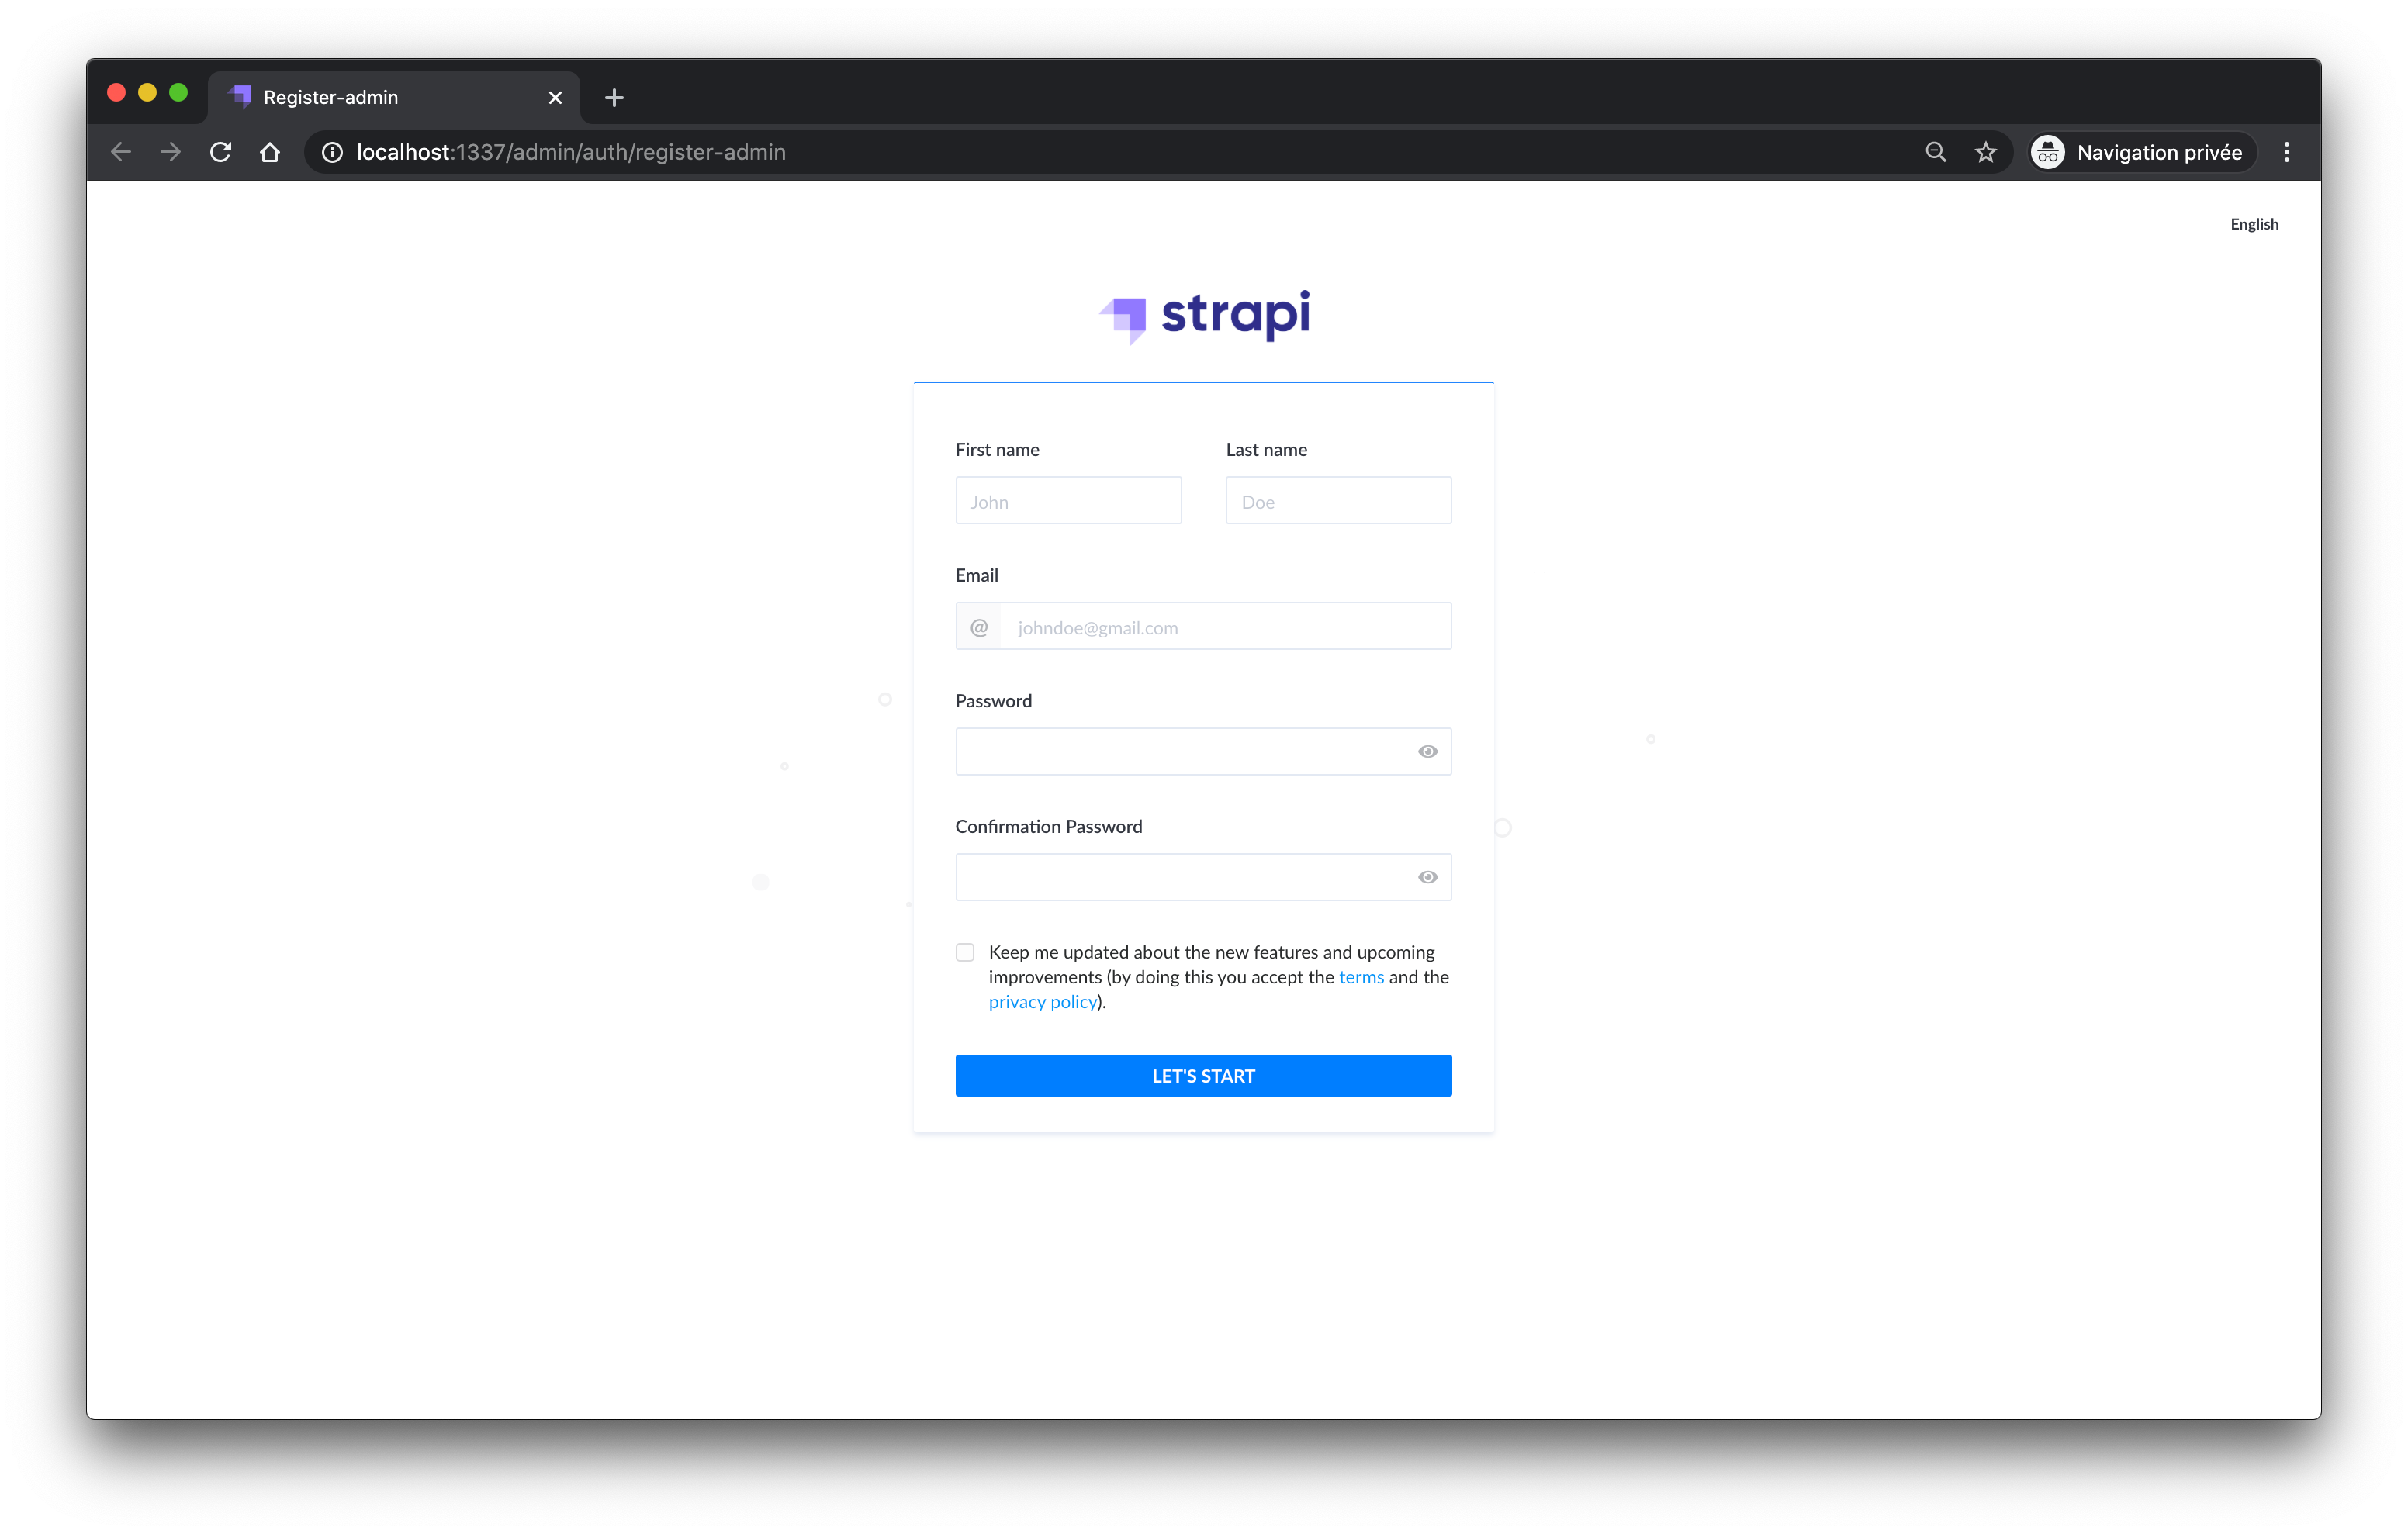
Don't forget that Strapi is running on http://localhost:1337. Create your admin user by signing up!
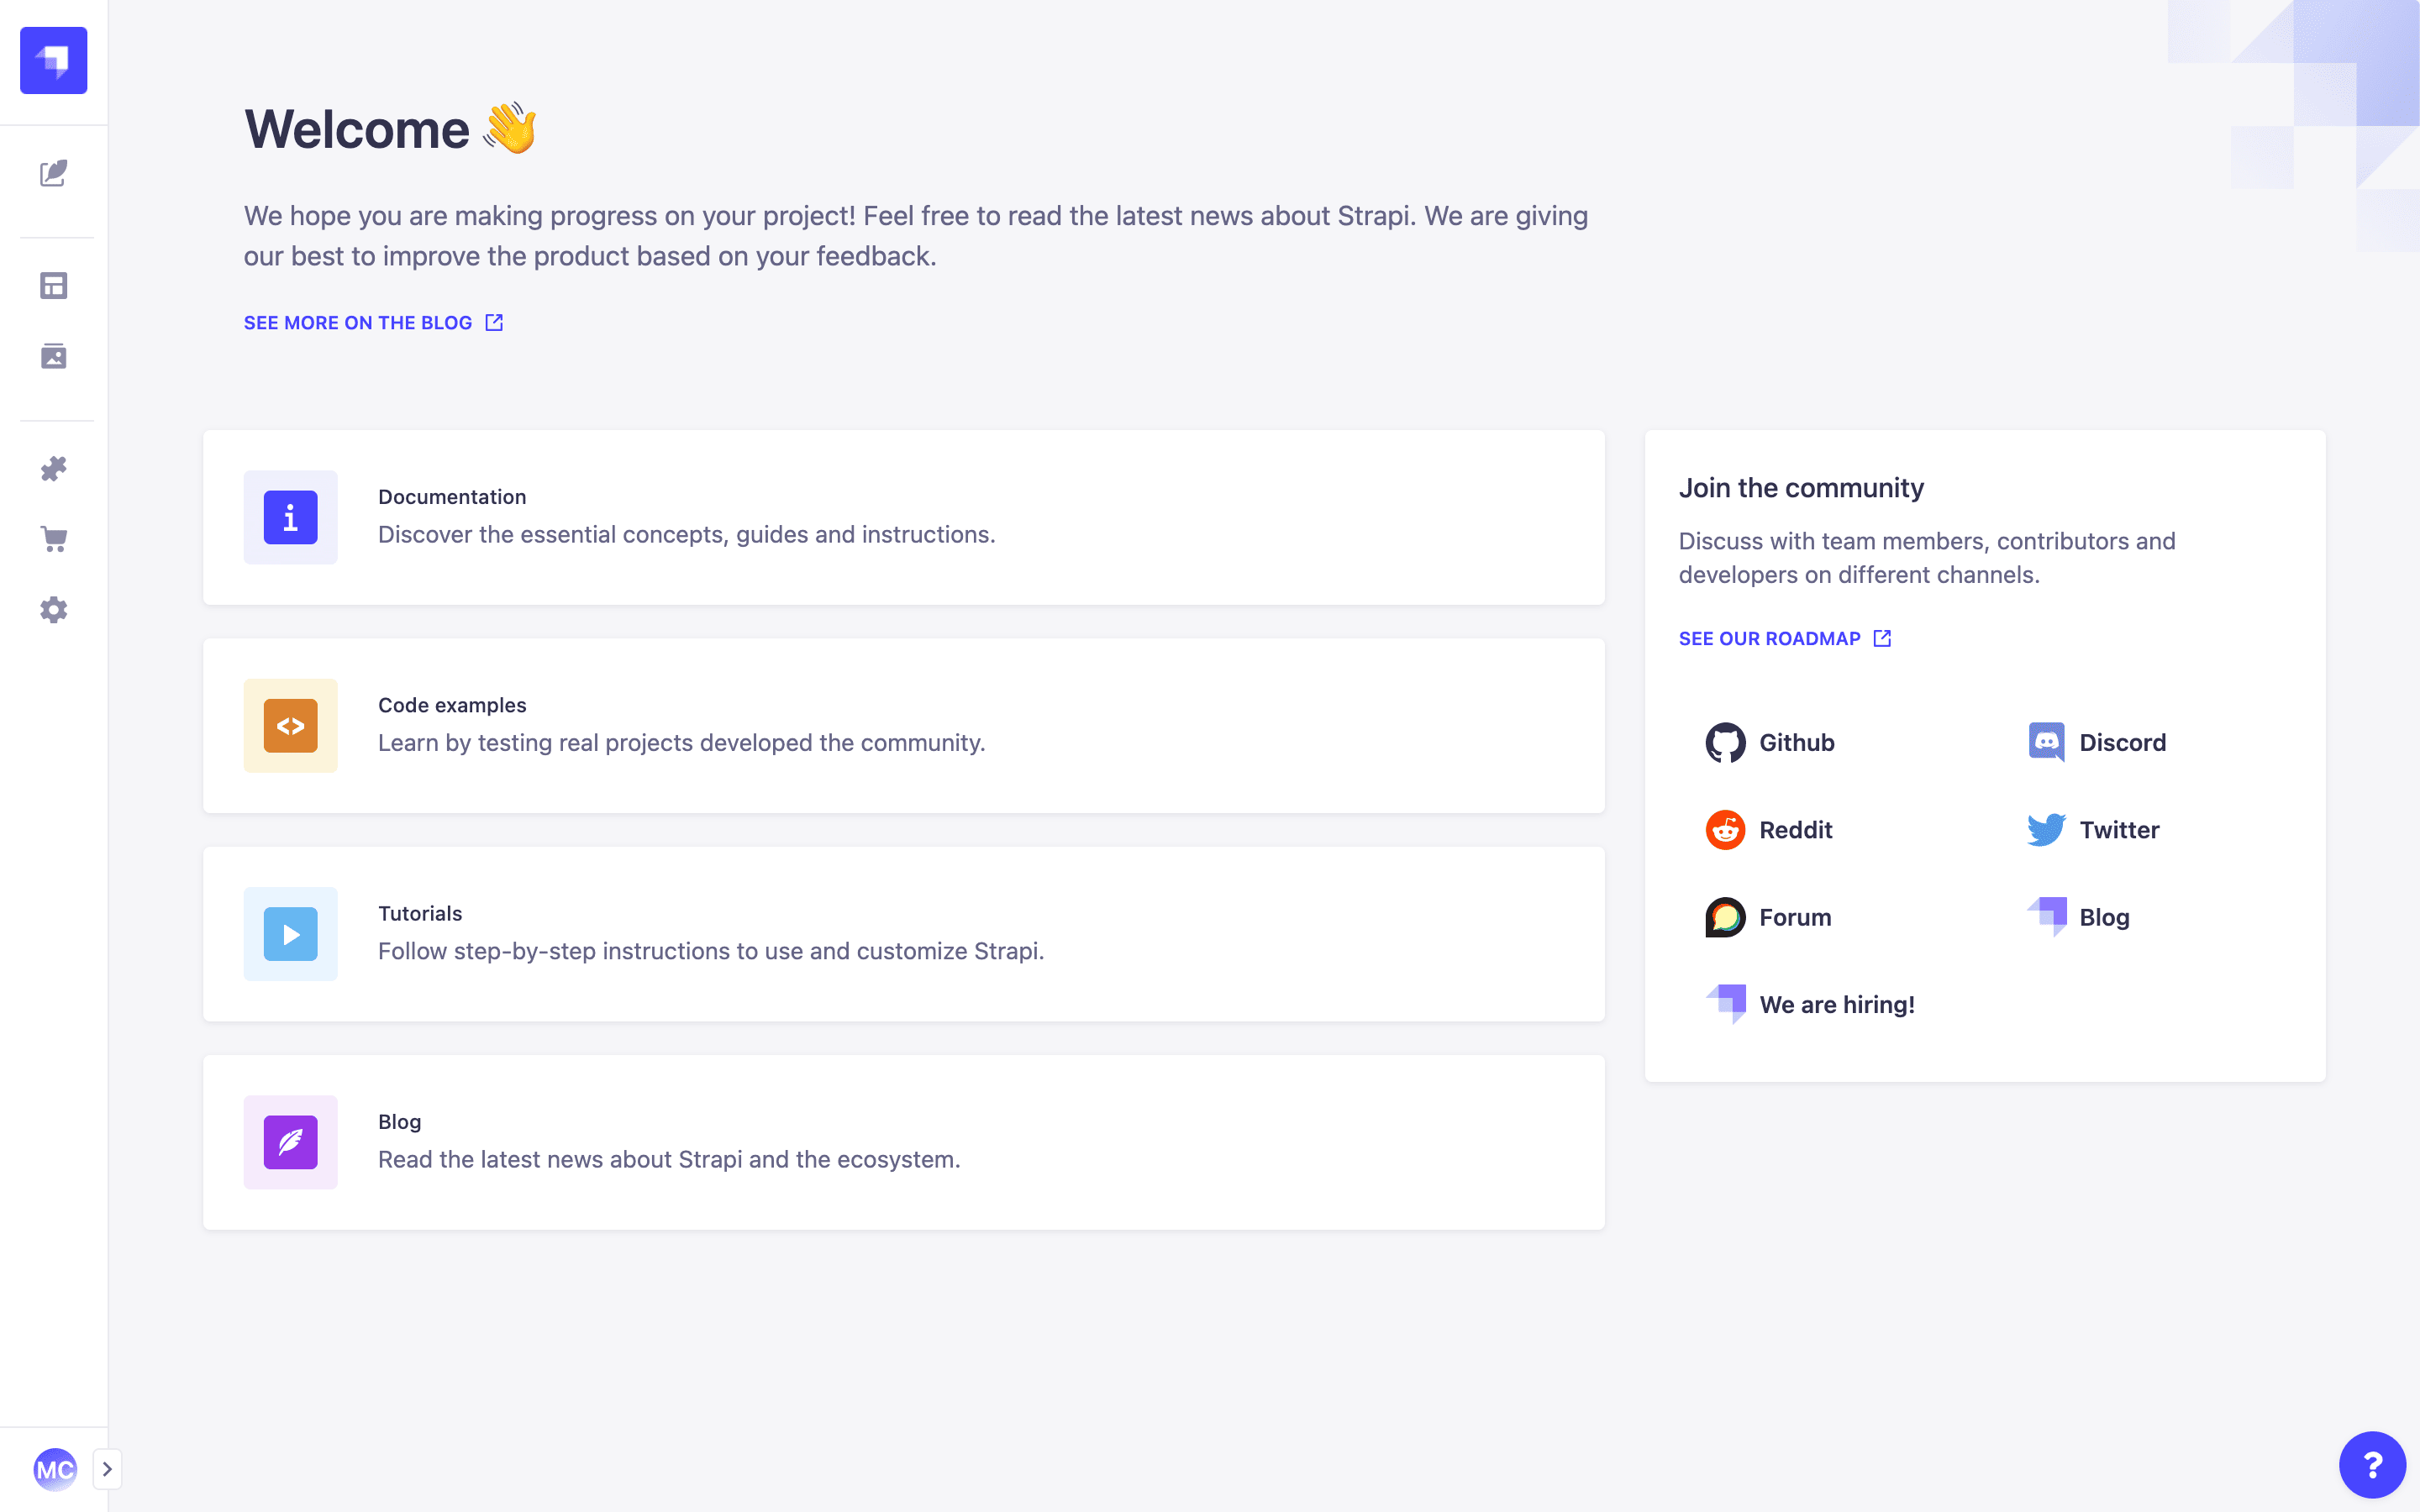
That's it! You're done with Strapi! I'm not kidding, we can start to create our Gatsby application now in order to fetch our content from Strapi. Ok ok wait, let's talk about this amazing template you just created.
You should know that before the starters and before the templates we only had tutorials. The idea of creating starters came to us when we realized that we could do something with the end result of our tutorials. Thus were born our starters.
However, Strapi evolves quickly, very quickly and at the time the starters constituted a repository including the backend as well as the frontend. This means that updating the Strapi version on all our starters took time, too much time. We then decided to develop templates that are always created with the latest versions of Strapi. Quite simply by passing in parameter the repository of the desired template like you just did. Also, it gives you a good architecture for your Strapi project.
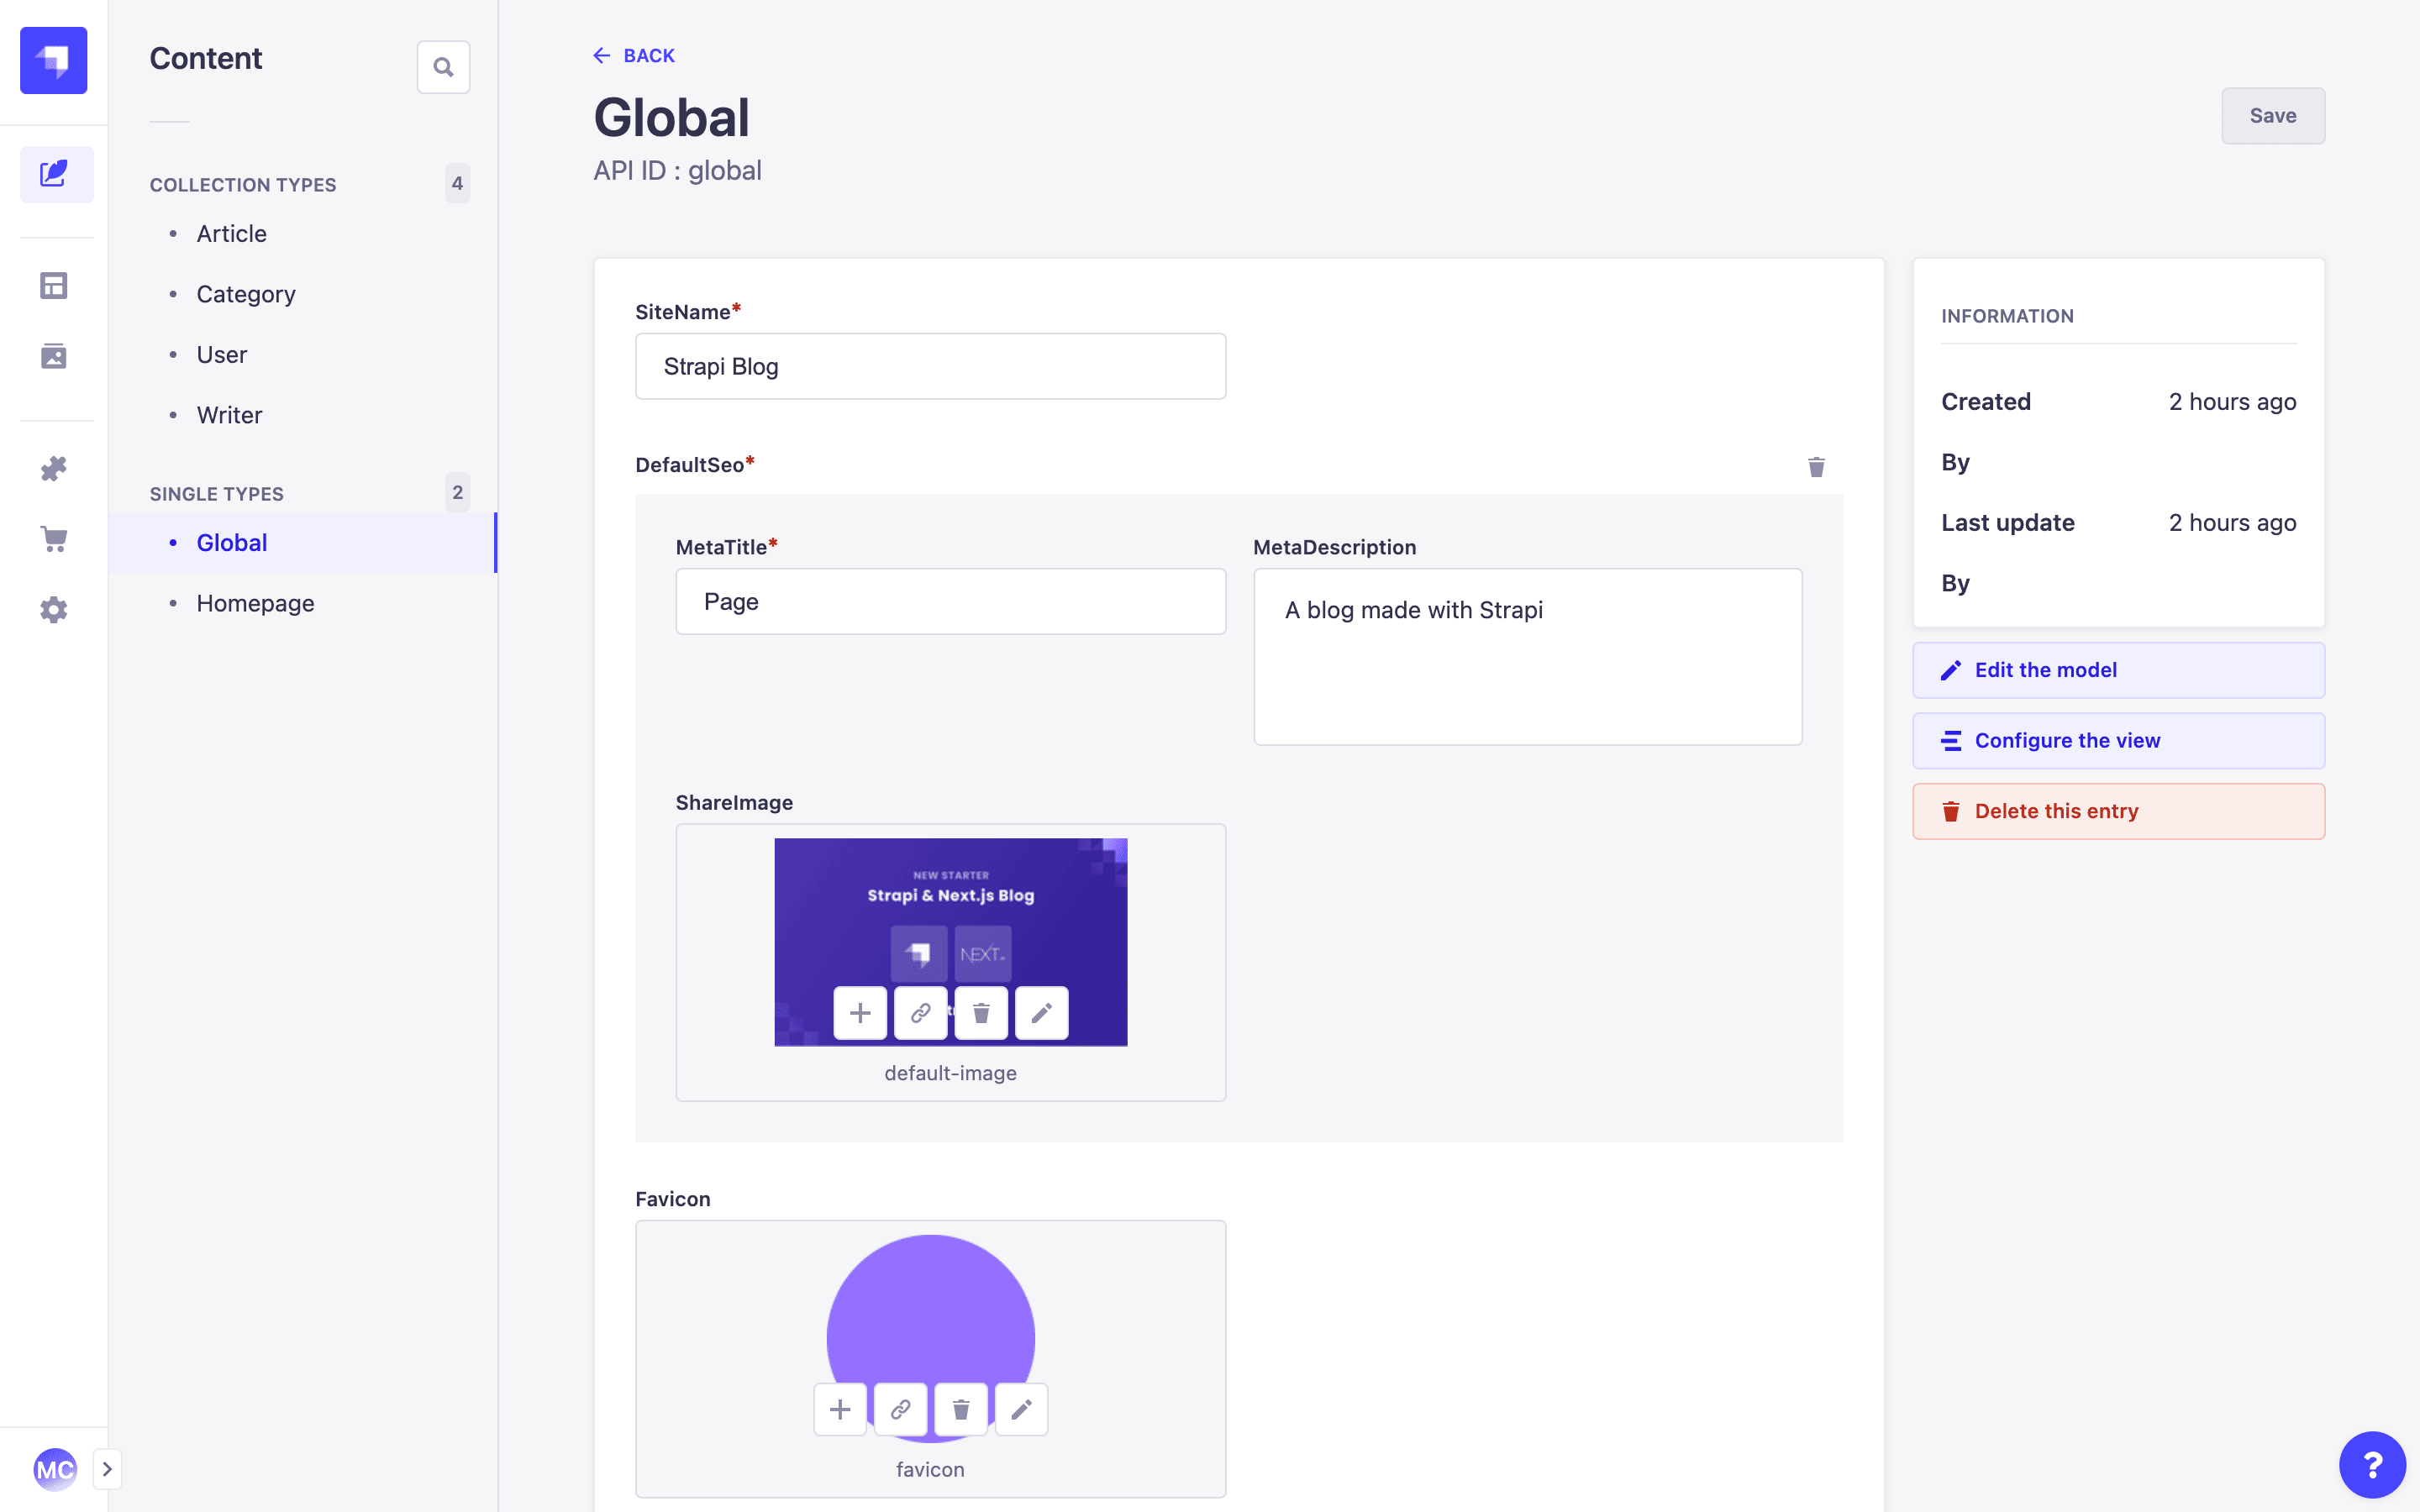
Feel free to modify all this, however, we will be satisfied with that for the tutorial.
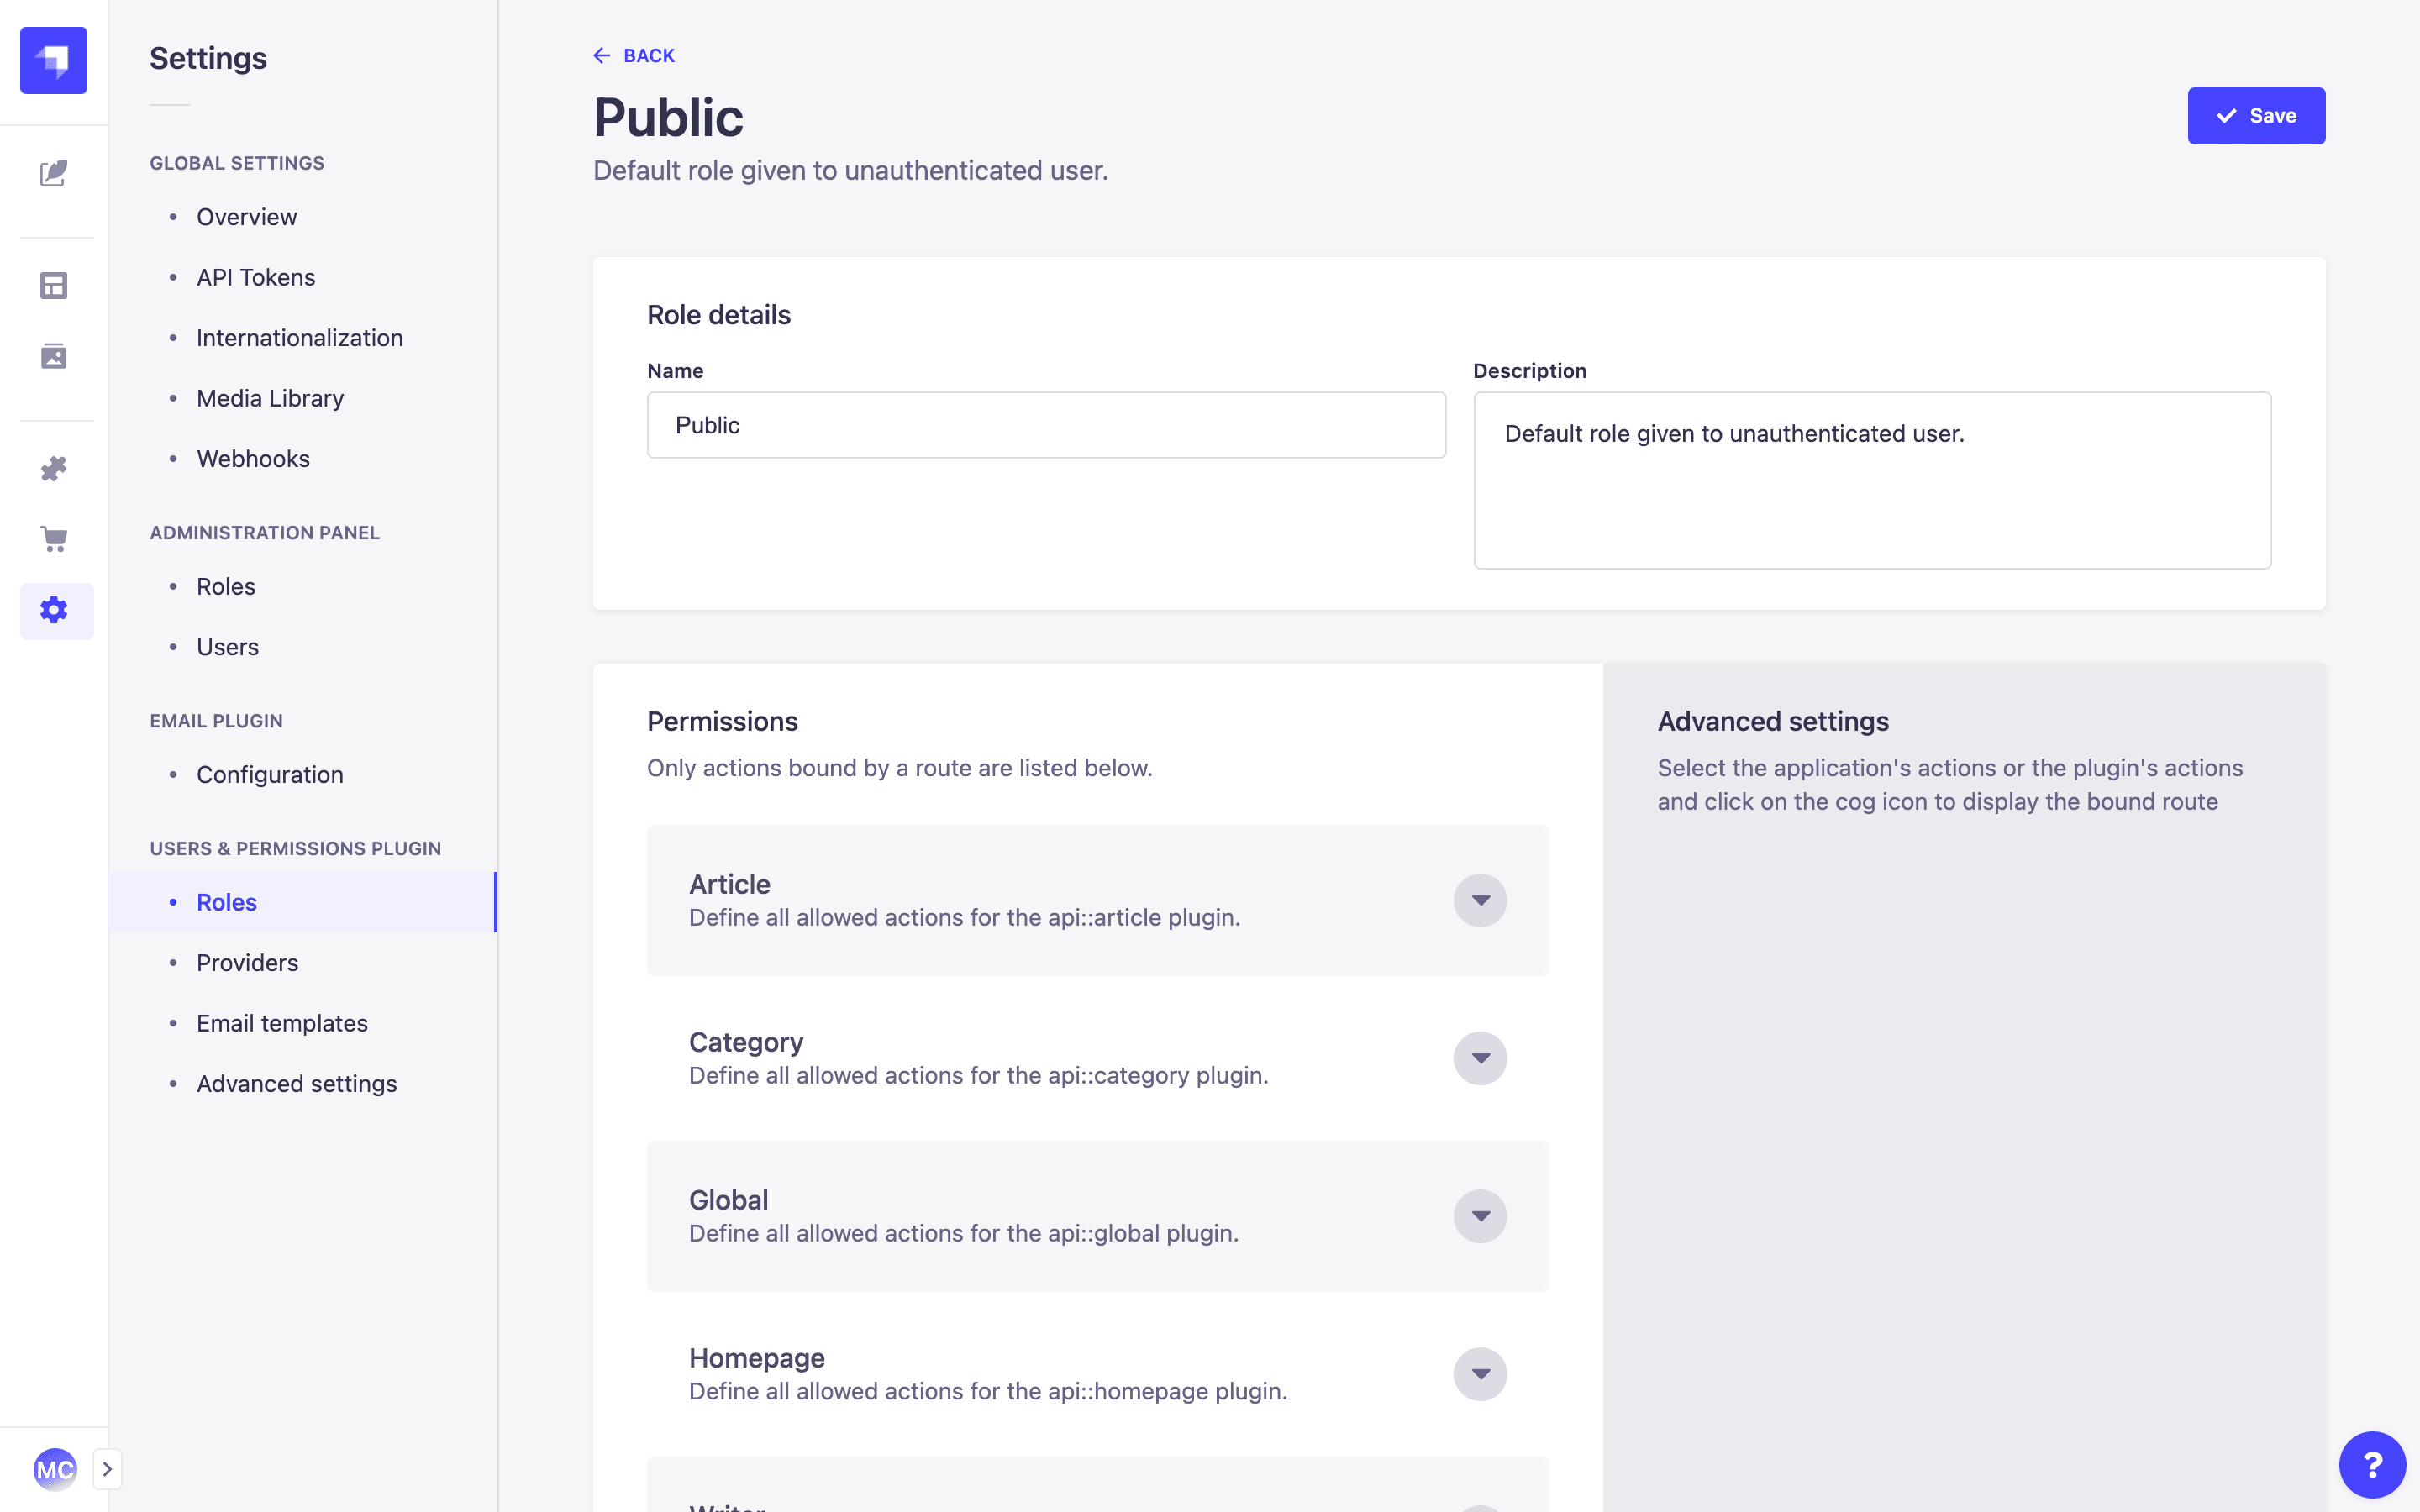
Let's create an API Token for Gatsby to use it in order to consume data from Strapi.
- Create a Full Access API token in the global settings of your application.
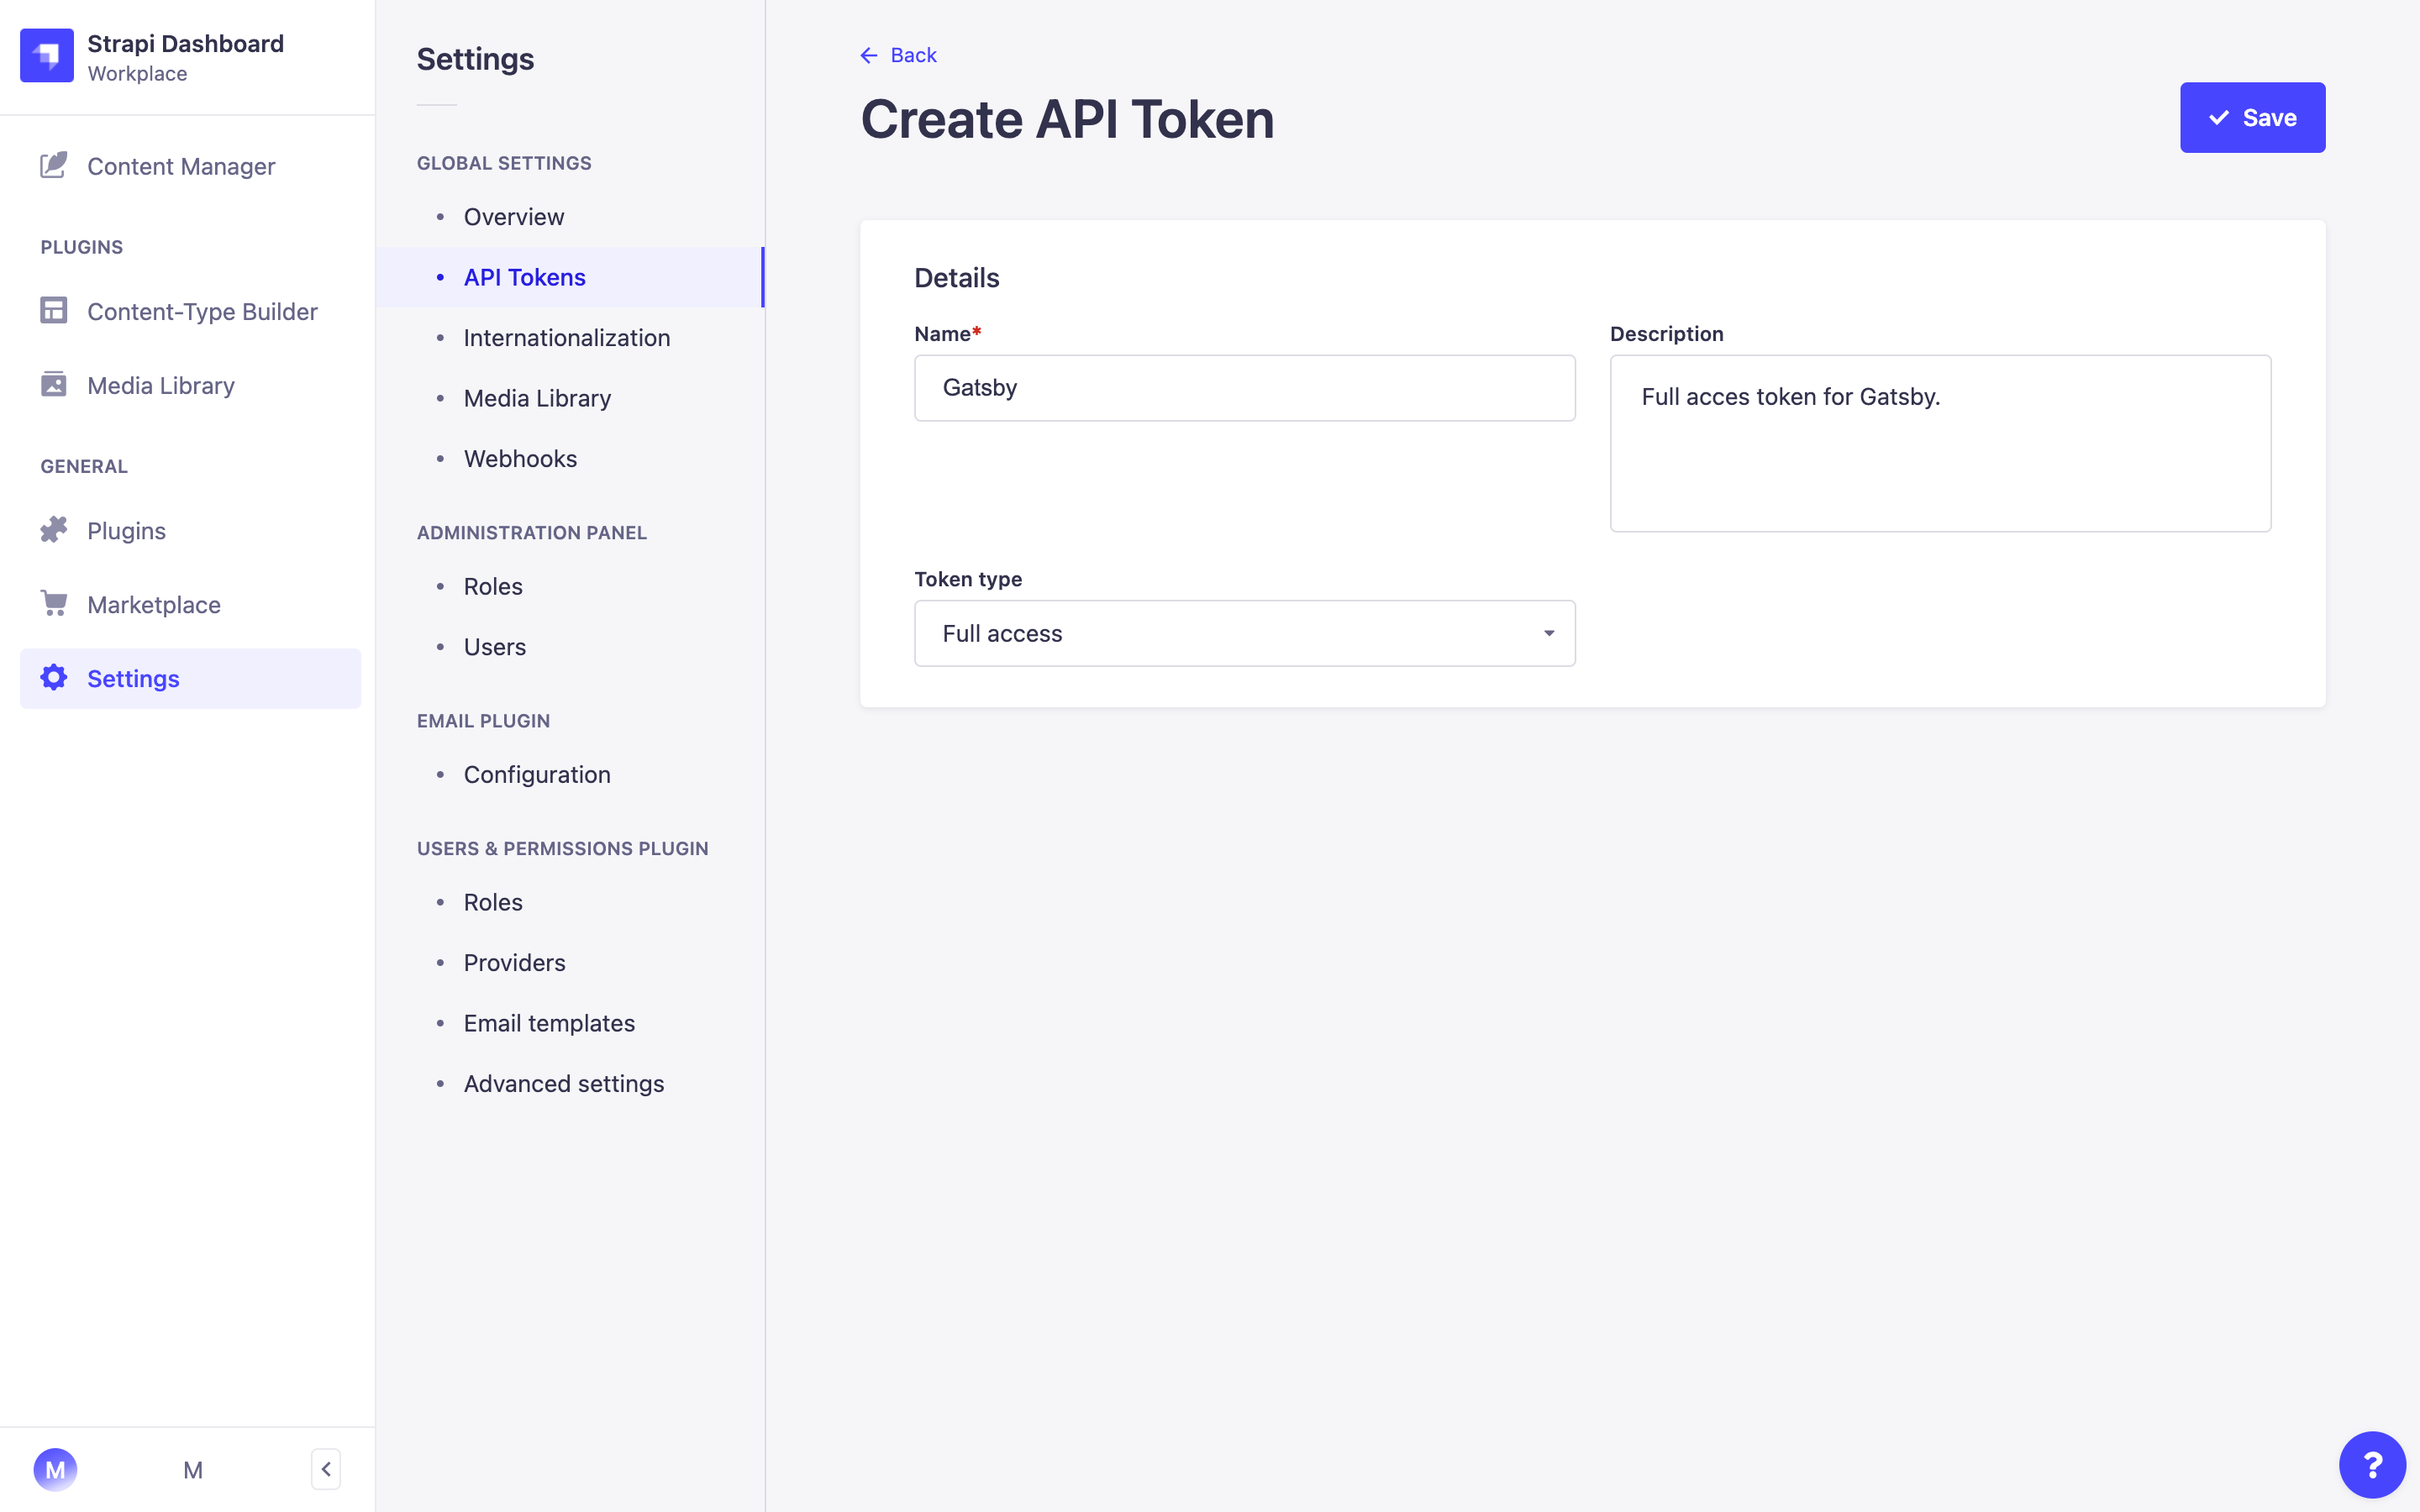
Keep the token somewhere as you will need it for your Gatsby application
Nice! Now that Strapi is ready, you are going to create your Gatsby application.
Front-end setup
The easiest part has been completed, let's get our hands dirty developing our blog with Gatsby!
Gatsby setup
First of all, you'll need to install the Gatsby CLI
- Install the Gatsby CLI by running the following command:
yarn global add gatsby-cli
- Create a Gatsby
frontendproject by running the following command:
npx gatsby new frontend https://github.com/gatsbyjs/gatsby-starter-default
Once the installation is completed, you can start your front-end app to make sure everything went ok.
cd frontend
gatsby develop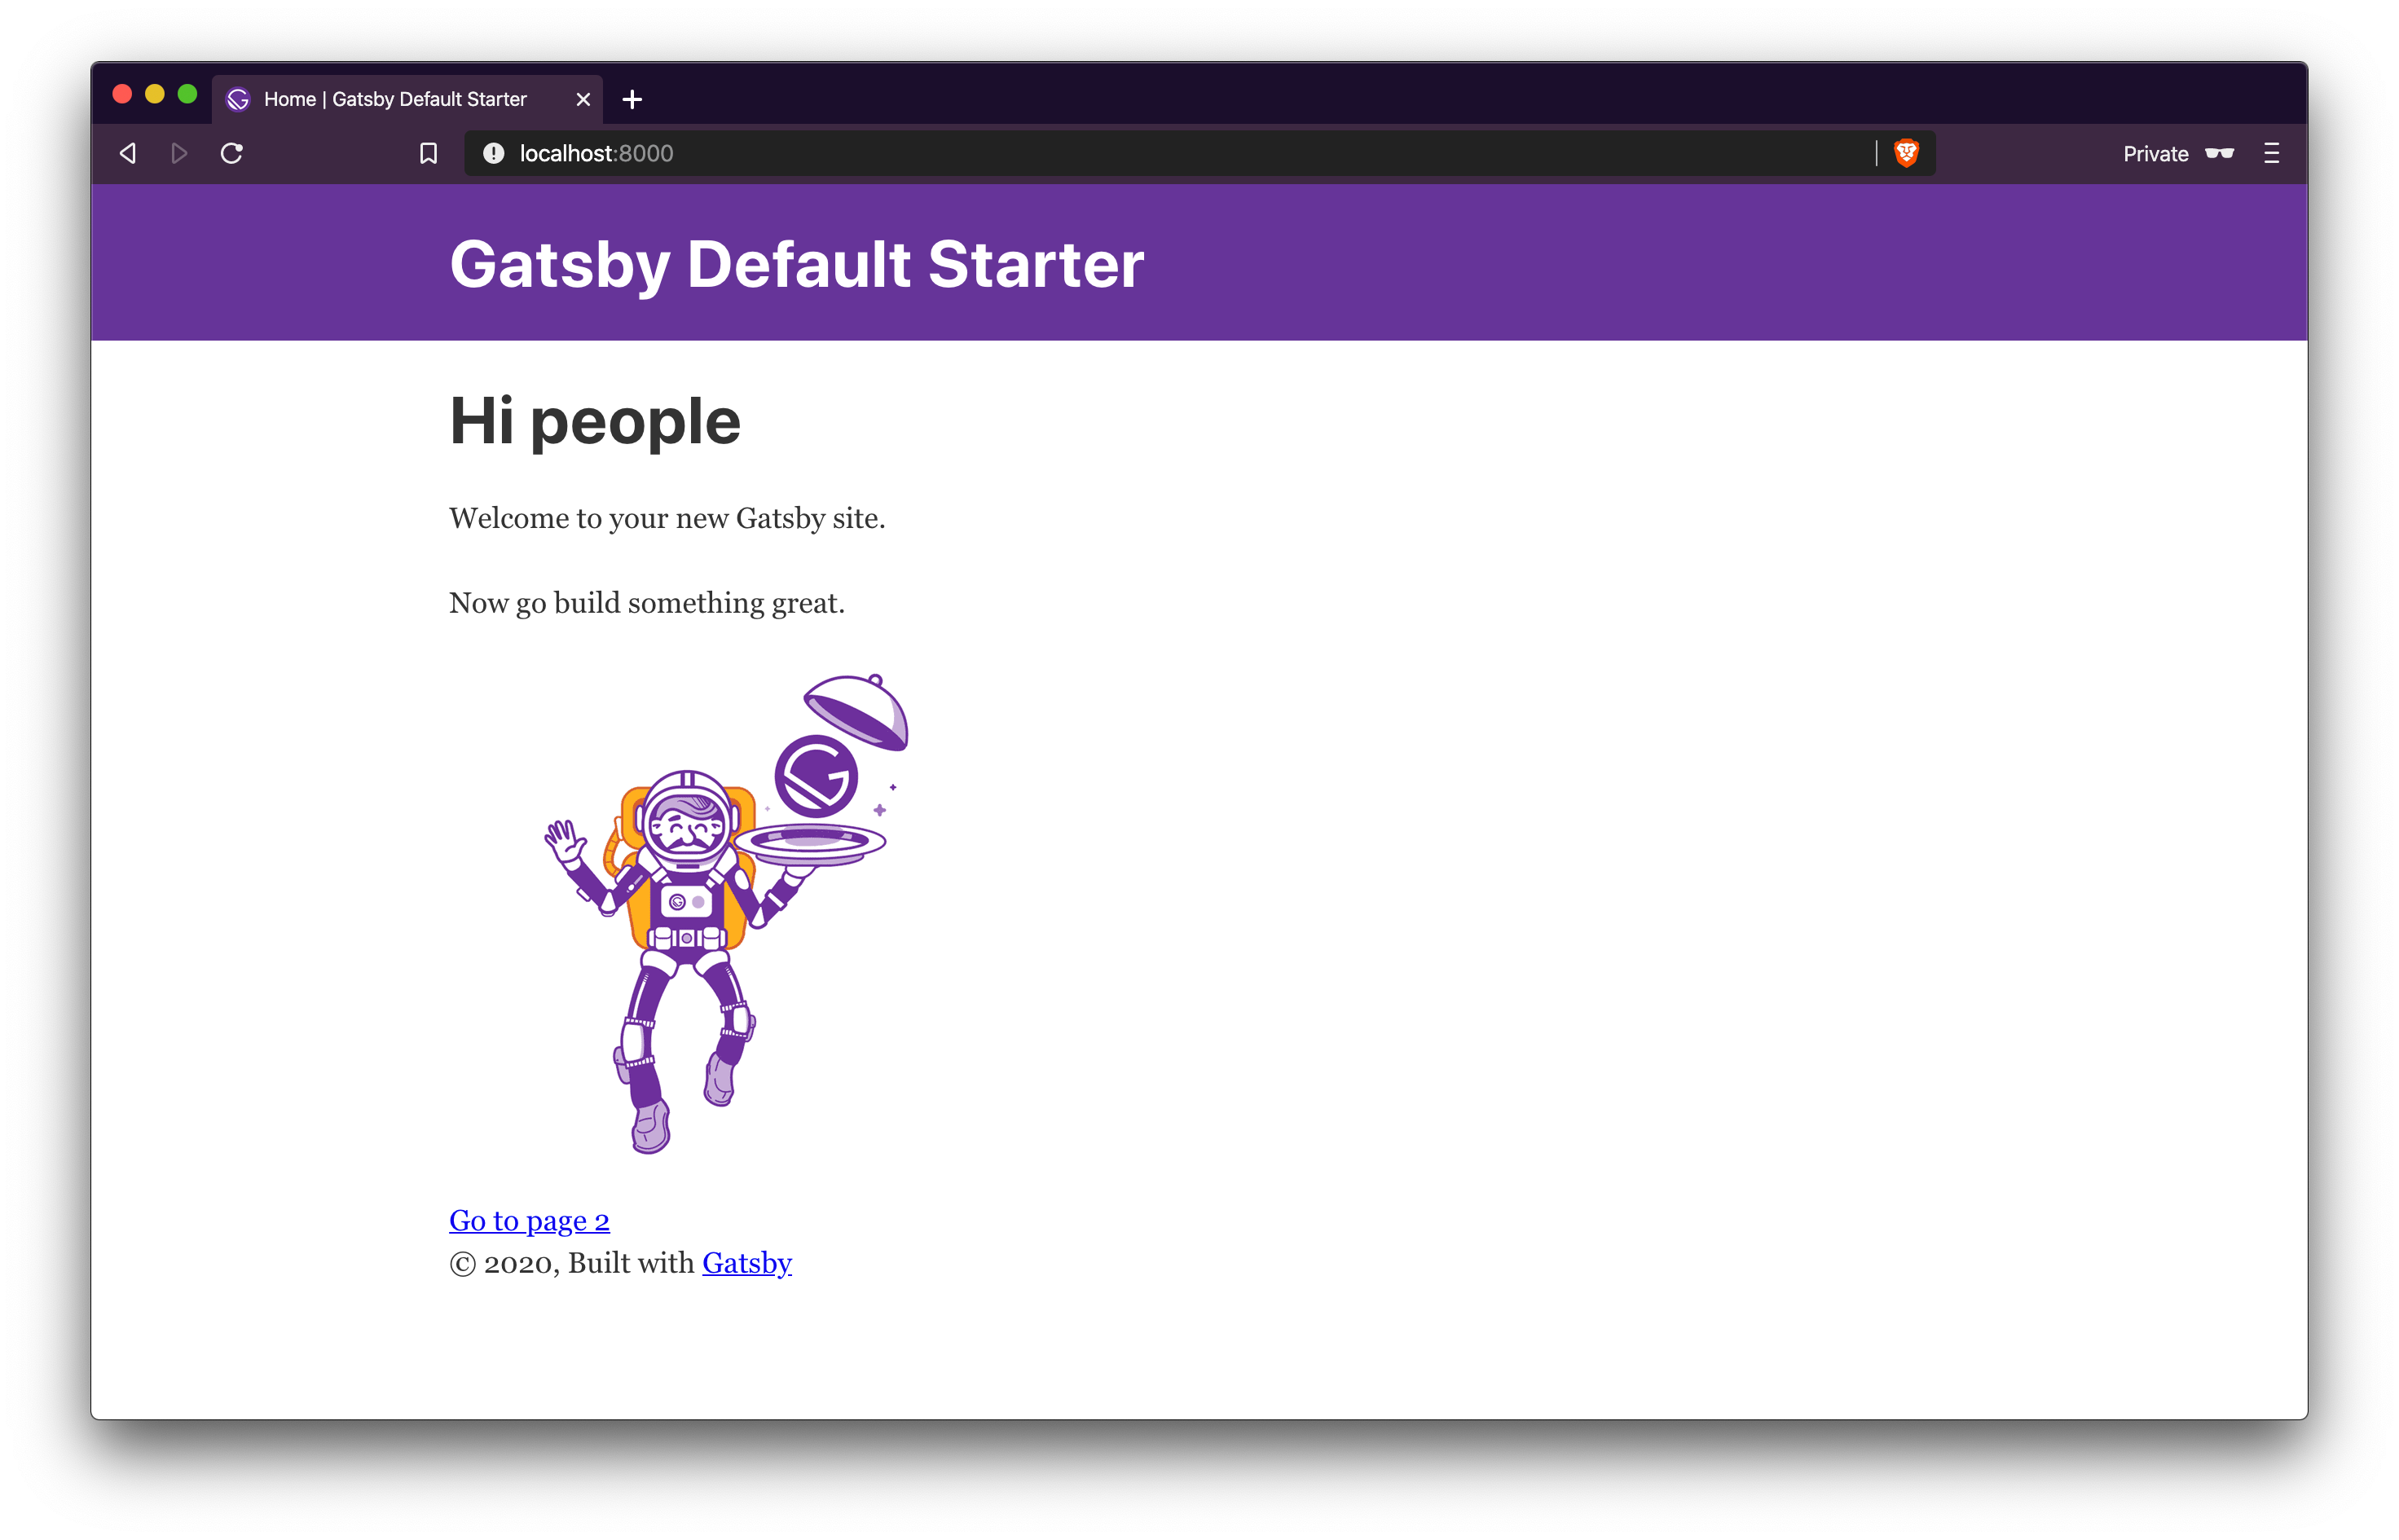
First, let's create a .env.development file containing some environment variables for our Gatsby application.
- Create an
.env.developmentfile at the root of your Gatsby application containing the following:
STRAPI_TOKEN=<strapi-api-token-you-created-earlier>
STRAPI_API_URL=http://localhost:1337
Strapi Setup
To connect Gatsby to a new source of data, you have to develop a new source plugin. Fortunately, several source plugins already exist, so one of them should fill your needs.
In this example, we are using Strapi. Obviously, we are going to need a source plugin for Strapi APIs. Good news: we built it for you!
- Install some useful packages by running the following command:
yarn add gatsby-source-strapi@2.0.0-beta.0,
 gatsby-plugin-postcss gatsby-transformer-remark
The first plugin is for fetching your data in your Strapi application. The second one provides drop-in support for PostCSS. The third one adds additional fields to the MarkdownRemark GraphQL type including html , excerpt , headings , etc.
The gatsby-source-strapi plugin needs to be configured.
- Replace the content of
gatsby-config.jswith the following code:
require("dotenv").config({
  path: `.env.${process.env.NODE_ENV}`,
})

module.exports = {
  plugins: [
    "gatsby-plugin-gatsby-cloud",
    "gatsby-plugin-postcss",
    {
      resolve: "gatsby-source-strapi",
      options: {
        apiURL: process.env.STRAPI_API_URL || "http://localhost:1337",
        accessToken: process.env.STRAPI_TOKEN,
        collectionTypes: [
          {
            singularName: "article",
            queryParams: {
              publicationState:
                process.env.GATSBY_IS_PREVIEW === "true" ? "preview" : "live",
              populate: {
                cover: "*",
                blocks: {
                  populate: "*",
                },
              },
            },
          },
          {
            singularName: "author",
          },
          {
            singularName: "category",
          },
        ],
        singleTypes: [
          {
            singularName: "about",
            queryParams: {
              populate: {
                blocks: {
                  populate: "*",
                },
              },
            },
          },
          {
            singularName: "global",
            queryParams: {
              populate: {
                favicon: "*",
                defaultSeo: {
                  populate: "*",
                },
              },
            },
          },
        ],
      },
    },
    "gatsby-plugin-image",
    "gatsby-plugin-sharp",
    "gatsby-transformer-sharp",
    "gatsby-transformer-remark",
  ],
}
What's important here is that we define our STRAPI_API_URL for the Strapi API: http://localhost:1337 without a trailling slash and the collection types and single types you want to be able to query from Strapi, here for this tutorial: article, category, author, global and about
Alright! Gatsby is now ready to fetch data from Strapi! Let's clean this app and create the necessary components!
Before we can dive in, we have to clean the default Gatsby architecture by removing useless files for our app.
- Remove useless components/pages by running the following command:
rm src/components/header.js src/components/layout.css src/pages/page-2.js src/pages/using-typescript.tsx src/pages/404.js src/pages/using-ssr.js src/templates/using-dsg.js
Fontend components
Now let's create all the frontend components for our app!
- Replace the content of your
./src/components/seo.jsfile with the following content:
import React from "react"
import { Helmet } from "react-helmet"
import { useStaticQuery, graphql } from "gatsby"

const Seo = ({ seo = {} }) => {
  const { strapiGlobal } = useStaticQuery(graphql`
    query {
      strapiGlobal {
        siteName
        favicon {
          localFile {
            url
          }
        }
        defaultSeo {
          metaTitle
          metaDescription
          shareImage {
            localFile {
              url
            }
          }
        }
      }
    }
  `)

  const { siteName, defaultSeo, favicon } = strapiGlobal

  // Merge default and page-specific SEO values
  const fullSeo = { ...defaultSeo, ...seo }

  // Add site name to title
  fullSeo.metaTitle = `${fullSeo.metaTitle} | ${siteName}`

  const getMetaTags = () => {
    const tags = []

    if (fullSeo.metaTitle) {
      tags.push(
        {
          property: "og:title",
          content: fullSeo.metaTitle,
        },
        {
          name: "twitter:title",
          content: fullSeo.metaTitle,
        }
      )
    }
    if (fullSeo.metaDescription) {
      tags.push(
        {
          name: "description",
          content: fullSeo.metaDescription,
        },
        {
          property: "og:description",
          content: fullSeo.metaDescription,
        },
        {
          name: "twitter:description",
          content: fullSeo.metaDescription,
        }
      )
    }
    if (fullSeo.shareImage) {
      const imageUrl = fullSeo.shareImage.localFile.url
      tags.push(
        {
          name: "image",
          content: imageUrl,
        },
        {
          property: "og:image",
          content: imageUrl,
        },
        {
          name: "twitter:image",
          content: imageUrl,
        }
      )
    }
    if (fullSeo.article) {
      tags.push({
        property: "og:type",
        content: "article",
      })
    }
    tags.push({ name: "twitter:card", content: "summary_large_image" })

    return tags
  }

  const metaTags = getMetaTags()

  return (
    <Helmet
      title={fullSeo.metaTitle}
      link={[
        {
          rel: "icon",
          href: favicon.localFile.url,
        },
      ]}
      meta={metaTags}
    />
  )
}

export default Seo- Replace the content of your
./src/components/layout.jsfile with the following content:
import React from "react"
import Footer from "./footer"
import Navbar from "./navbar"

const Layout = ({ children }) => {
  return (
    <div class="flex min-h-screen flex-col justify-between bg-neutral-50 text-neutral-900">
      <div>
        <Navbar />
        {children}
      </div>
      <Footer />
    </div>
  )
}

export default Layout
This component needs a Navbar and a Footer! Let's create them.
- Create a
./src/components/navbar.jsfile containing the following content:
import { Link } from "gatsby"
import React from "react"

const Navbar = () => {
  return (
    <header className="bg-primary-200">
      <nav className="container flex flex-row items-baseline justify-between py-6">
        <Link to="/" className="text-xl font-medium">
          Blog
        </Link>
        <div className="flex flex-row items-baseline justify-end">
          <Link className="font-medium" to="/about">
            About
          </Link>
        </div>
      </nav>
    </header>
  )
}

export default Navbar- Create a
./src/components/footer.jsfile containing the following content:
import React from "react"

const Footer = () => {
  const currentYear = new Date().getFullYear()

  return (
    <footer className="mt-16 bg-neutral-100 py-8 text-neutral-700">
      <div className="container">
        <p>Copyright {currentYear}</p>
      </div>
    </footer>
  )
}

export default Footer- Create a
./src/components/headings.jsfile containing the following content:
import React from "react"

const Headings = ({ title, description }) => {
  return (
    <header className="container mt-8">
      <h1 className="text-6xl font-bold text-neutral-700">{title}</h1>
      {description && (
        <p className="mt-4 text-2xl text-neutral-500">{description}</p>
      )}
    </header>
  )
}

export default Headings- Create a
./src/components/article-card.jsfile containing the following content:
import React from "react"
import { Link, graphql } from "gatsby"
import { GatsbyImage, getImage } from "gatsby-plugin-image"

const ArticleCard = ({ article }) => {
  return (
    <Link
      to={`/article/${article.slug}`}
      className="overflow-hidden rounded-lg bg-white shadow-sm transition-shadow hover:shadow-md"
    >
      <GatsbyImage
        image={getImage(article.cover?.localFile)}
        alt={article.cover?.alternativeText}
      />
      <div className="px-4 py-4">
        <h3 className="font-bold text-neutral-700">{article.title}</h3>
        <p className="line-clamp-2 mt-2 text-neutral-500">
          {article.description}
        </p>
      </div>
    </Link>
  )
}

export const query = graphql`
  fragment ArticleCard on STRAPI_ARTICLE {
    id
    slug
    title
    description
    cover {
      alternativeText
      localFile {
        childImageSharp {
          gatsbyImageData(aspectRatio: 1.77)
        }
      }
    }
  }
`

export default ArticleCard- Create a
./src/components/articles-grid.jsfile containing the following content:
import React from "react"
import ArticleCard from "./article-card"

const ArticlesGrid = ({ articles }) => {
  return (
    <div className="container mt-12 grid grid-cols-1 gap-6 md:grid-cols-2 lg:grid-cols-3">
      {articles.map((article) => (
        <ArticleCard article={article} />
      ))}
    </div>
  )
}

export default ArticlesGrid- Create a
./src/components/block-media.jsfile containing the following content:
import React from "react"
import { GatsbyImage, getImage } from "gatsby-plugin-image"

const BlockMedia = ({ data }) => {
  const isVideo = data.file.mime.startsWith("video")

  return (
    <div className="py-8">
      {isVideo ? (
        <p>TODO video</p>
      ) : (
        <GatsbyImage
          image={getImage(data.file.localFile)}
          alt={data.file.alternativeText}
        />
      )}
    </div>
  )
}

export default BlockMedia- Create a
./src/components/block-quote.jsfile containing the following content:
import React from "react"

const BlockQuote = ({ data }) => {
  return (
    <div className="py-6">
      <blockquote className="container max-w-xl border-l-4 border-neutral-700 py-2 pl-6 text-neutral-700">
        <p className="text-5xl font-medium italic">{data.quoteBody}</p>
        <cite className="mt-4 block font-bold uppercase not-italic">
          {data.title}
        </cite>
      </blockquote>
    </div>
  )
}

export default BlockQuote- Create a
./src/components/block-rich-text.jsfile containing the following content:
import React from "react"

const BlockRichText = ({ data }) => {
  return (
    <div className="prose mx-auto py-8">
      <div
        dangerouslySetInnerHTML={{
          __html: data.richTextBody.data.childMarkdownRemark.html,
        }}
      />
    </div>
  )
}

export default BlockRichText- Create a
./src/components/block-slider.jsfile containing the following content:
import React from "react"
import { GatsbyImage, getImage } from "gatsby-plugin-image"
import Slider from "react-slick"
import "slick-carousel/slick/slick.css"
import "slick-carousel/slick/slick-theme.css"

const BlockSlider = ({ data }) => {
  return (
    <div className="container max-w-3xl py-8">
      <Slider
        dots={true}
        infinite={true}
        speed={300}
        slidesToShow={1}
        slidesToScroll={1}
        arrows={true}
        swipe={true}
      >
        {data.files.map((file) => (
          <GatsbyImage
            key={file.id}
            image={getImage(file.localFile)}
            alt={file.alternativeText}
          />
        ))}
      </Slider>
    </div>
  )
}

export default BlockSlider- Create a
./src/components/blocks-renderer.jsfile containing the following content:
import React from "react"
import { graphql } from "gatsby"
import BlockRichText from "./block-rich-text"
import BlockMedia from "./block-media"
import BlockQuote from "./block-quote"
import BlockSlider from "./block-slider"

const componentsMap = {
  STRAPI__COMPONENT_SHARED_RICH_TEXT: BlockRichText,
  STRAPI__COMPONENT_SHARED_MEDIA: BlockMedia,
  STRAPI__COMPONENT_SHARED_QUOTE: BlockQuote,
  STRAPI__COMPONENT_SHARED_SLIDER: BlockSlider,
}

const Block = ({ block }) => {
  const Component = componentsMap[block.__typename]

  if (!Component) {
    return null
  }

  return <Component data={block} />
}

const BlocksRenderer = ({ blocks }) => {
  return (
    <div>
      {blocks.map((block, index) => (
        <Block key={`${index}${block.__typename}`} block={block} />
      ))}
    </div>
  )
}

export const query = graphql`
  fragment Blocks on STRAPI__COMPONENT_SHARED_MEDIASTRAPI__COMPONENT_SHARED_QUOTESTRAPI__COMPONENT_SHARED_RICH_TEXTSTRAPI__COMPONENT_SHARED_SLIDERUnion {
    __typename
    ... on STRAPI__COMPONENT_SHARED_RICH_TEXT {
      richTextBody: body {
        __typename
        data {
          id
          childMarkdownRemark {
            html
          }
        }
      }
    }
    ... on STRAPI__COMPONENT_SHARED_MEDIA {
      file {
        mime
        localFile {
          childImageSharp {
            gatsbyImageData
          }
        }
      }
    }
    ... on STRAPI__COMPONENT_SHARED_QUOTE {
      title
      quoteBody: body
    }
    ... on STRAPI__COMPONENT_SHARED_SLIDER {
      files {
        id
        mime
        localFile {
          childImageSharp {
            gatsbyImageData
          }
        }
      }
    }
  }
`

export default BlocksRenderer
This component will be used for rendering our Strapi components! Perfect! All our frontend components are ready to be used.
Tailwind CSS
- Add Tailwind CSS to give this app some beautiful css by running the following command;
yarn add -D tailwindcss postcss autoprefixer- Create a
./tailwind.config.jsfile containing the following:
const colors = require("tailwindcss/colors")

module.exports = {
  content: ["./src/**/*.{js,jsx,ts,tsx}"],
  theme: {
    extend: {
      colors: {
        neutral: colors.neutral,
        primary: colors.sky,
      },
    },
    container: {
      center: true,
      padding: {
        DEFAULT: "1rem",
        xs: "1rem",
        sm: "2rem",
        xl: "5rem",
        "2xl": "6rem",
      },
    },
  },
  plugins: [
    require("@tailwindcss/line-clamp"),
    require("@tailwindcss/typography"),
  ],
}- Create a
postcss.config.jswith the following code:
module.exports = {
  plugins: {
    tailwindcss: {},
    autoprefixer: {},
  },
}- Create a
./src/styles/global.csswith the following content:
@tailwind base;
@tailwind components;
@tailwind utilities;- Update the
gatsby-browser.jsfile with the following:
import "./src/styles/global.css"Great! Tailwind is now installed in this project!
Pages
Let's update our ./src/pages/index.js page with the following content:
import React from "react"
import { useStaticQuery, graphql } from "gatsby"
import Layout from "../components/layout"
import ArticlesGrid from "../components/articles-grid"
import Seo from "../components/seo"
import Headings from "../components/headings"

const IndexPage = () => {
  const { allStrapiArticle, strapiGlobal } = useStaticQuery(graphql`
    query {
      allStrapiArticle {
        nodes {
          ...ArticleCard
        }
      }
      strapiGlobal {
        siteName
        siteDescription
      }
    }
  `)

  return (
    <Layout>
      <Seo seo={{ metaTitle: "Home" }} />
      <Headings
        title={strapiGlobal.siteName}
        description={strapiGlobal.siteDescription}
      />
      <main>
        <ArticlesGrid articles={allStrapiArticle.nodes} />
      </main>
    </Layout>
  )
}

export default IndexPage
Now let's update our ./src/pages/about.js page with the following content:
import React from "react"
import { useStaticQuery, graphql } from "gatsby"
import Layout from "../components/layout"
import Seo from "../components/seo"
import BlocksRenderer from "../components/blocks-renderer"
import Headings from "../components/headings"

const AboutPage = () => {
  const { strapiAbout } = useStaticQuery(graphql`
    query {
      strapiAbout {
        title
        blocks {
          ...Blocks
        }
      }
    }
  `)
  const { title, blocks } = strapiAbout

  const seo = {
    metaTitle: title,
    metaDescription: title,
  }

  return (
    <Layout>
      <Seo seo={seo} />
      <Headings title={strapiAbout.title} />
      <BlocksRenderer blocks={blocks} />
    </Layout>
  )
}

export default AboutPage
Great! Now let's define our template. But before we need to update the gatsby-node.js file:
- Replace the content of the
gatsby-node.jsfile with the following:
const path = require("path")

exports.createPages = async ({ graphql, actions, reporter }) => {
  const { createPage } = actions

  // Define a template for blog post
  const articlePost = path.resolve("./src/templates/article-post.js")

  const result = await graphql(
    `
      {
        allStrapiArticle {
          nodes {
            title
            slug
          }
        }
      }
    `
  )

  if (result.errors) {
    reporter.panicOnBuild(
      `There was an error loading your Strapi articles`,
      result.errors
    )

    return
  }

  const articles = result.data.allStrapiArticle.nodes

  if (articles.length > 0) {
    articles.forEach((article) => {
      createPage({
        path: `/article/${article.slug}`,
        component: articlePost,
        context: {
          slug: article.slug,
        },
      })
    })
  }
}
This will define a nnew template for displaying blog post pages dynamically. You'll need to create this template in your template folder to do so.
- Create a
./src/templates/article-post.jsfile with the following code:
import React from "react"
import { graphql } from "gatsby"
import { GatsbyImage, getImage } from "gatsby-plugin-image"
import Layout from "../components/layout"
import BlocksRenderer from "../components/blocks-renderer"
import Seo from "../components/seo"

const ArticlePage = ({ data }) => {
  const article = data.strapiArticle

  const seo = {
    metaTitle: article.title,
    metaDescription: article.description,
    shareImage: article.cover,
  }

  return (
    <Layout as="article">
      <Seo seo={seo} />
      <header className="container max-w-4xl py-8">
        <h1 className="text-6xl font-bold text-neutral-700">{article.title}</h1>
        <p className="mt-4 text-2xl text-neutral-500">{article.description}</p>
        <GatsbyImage
          image={getImage(article?.cover?.localFile)}
          alt={article?.cover?.alternativeText}
          className="mt-6"
        />
      </header>
      <main className="mt-8">
        <BlocksRenderer blocks={article.blocks || []} />
      </main>
    </Layout>
  )
}

export const pageQuery = graphql`
  query ($slug: String) {
    strapiArticle(slug: { eq: $slug }) {
      id
      slug
      title
      description
      blocks {
        ...Blocks
      }
      cover {
        alternativeText
        localFile {
          url
          childImageSharp {
            gatsbyImageData
          }
        }
      }
    }
  }
`

export default ArticlePage
Perfect! You should be good now.
- Restart your Gatsby server and see the result!
Conclusion
Huge congrats, you successfully achieved this tutorial. I hope you enjoyed it!

Still hungry?
Feel free to add additional features, adapt this project to your own needs, and give your feedback in the comment section below.
If you want to deploy your application, check our documentation.
Write for the community
Contribute and collaborate on educational content for the Strapi Community https://strapi.io/write-for-the-community
Can't wait to see your contribution!
One last thing, we are trying to make the best possible tutorials for you, help us in this mission by answering this short survey https://strapisolutions.typeform.com/to/bwXvhA?channel=xxxxx
Please note: Since we initially published this blog, we released new versions of Strapi and tutorials may be outdated. Sorry for the inconvenience if it's the case, and please help us by reporting it here.