Our community is looking for talented writers passionate about our ecosystem (Jamstack, open-source, javascript) and willing to share their knowledge/experiences through our Write for the community program.
Introduction
Note: The content of this tutorial was revised and updated on February 8, 2022. Some other information, such as the title, might have been updated later.
If you are familiar with our blog you must have seen that we've released a series of tutorials on how to make blogs using Strapi with a lot of frontend frameworks:
Blogging is excellent for letting you share experiences, beliefs, or testimonials. And Strapi is useful in helping you create your blog! So, I am pretty sure that you now understand what this post is about. Let’s learn how to create a blog with your favorite tech: Strapi.
Vue.js is an open-source approachable, performant and versatile framework for building web user interfaces. It was created by Evan You and is maintained by him and the rest of the active core team members.
Goal
The goal here is to be able to create a simple static blog website using Strapi as the backend and Vue.js for the frontend We will make this tutorial shorter and more efficient using our new templates.
Prerequisites
This tutorial will always use the latest version of Strapi. That is awesome, right!? You'll understand why below. You need to have node v.12 installed, and that's all.
Setup
- Create a blog-strapi folder and get inside!
take blog-strapi
Back-end setup
This is the easiest part of this tutorial, thanks to our expansion team, who developed a series of Strapi templates that you can use for some different use cases.
These templates are Strapi applications containing existing collection types and single types suited for the appropriate use case and data. In this tutorial, we'll use the Blog template and connect a React application.
- Create your Strapi backend folder using the Blog template.
# Using yarn
yarn create strapi-app backend  --quickstart --template @strapi/template-blog@1.0.0 blog

# Using npm
npx create-strapi-app backend  --quickstart --template @strapi/template-blog@1.0.0 blog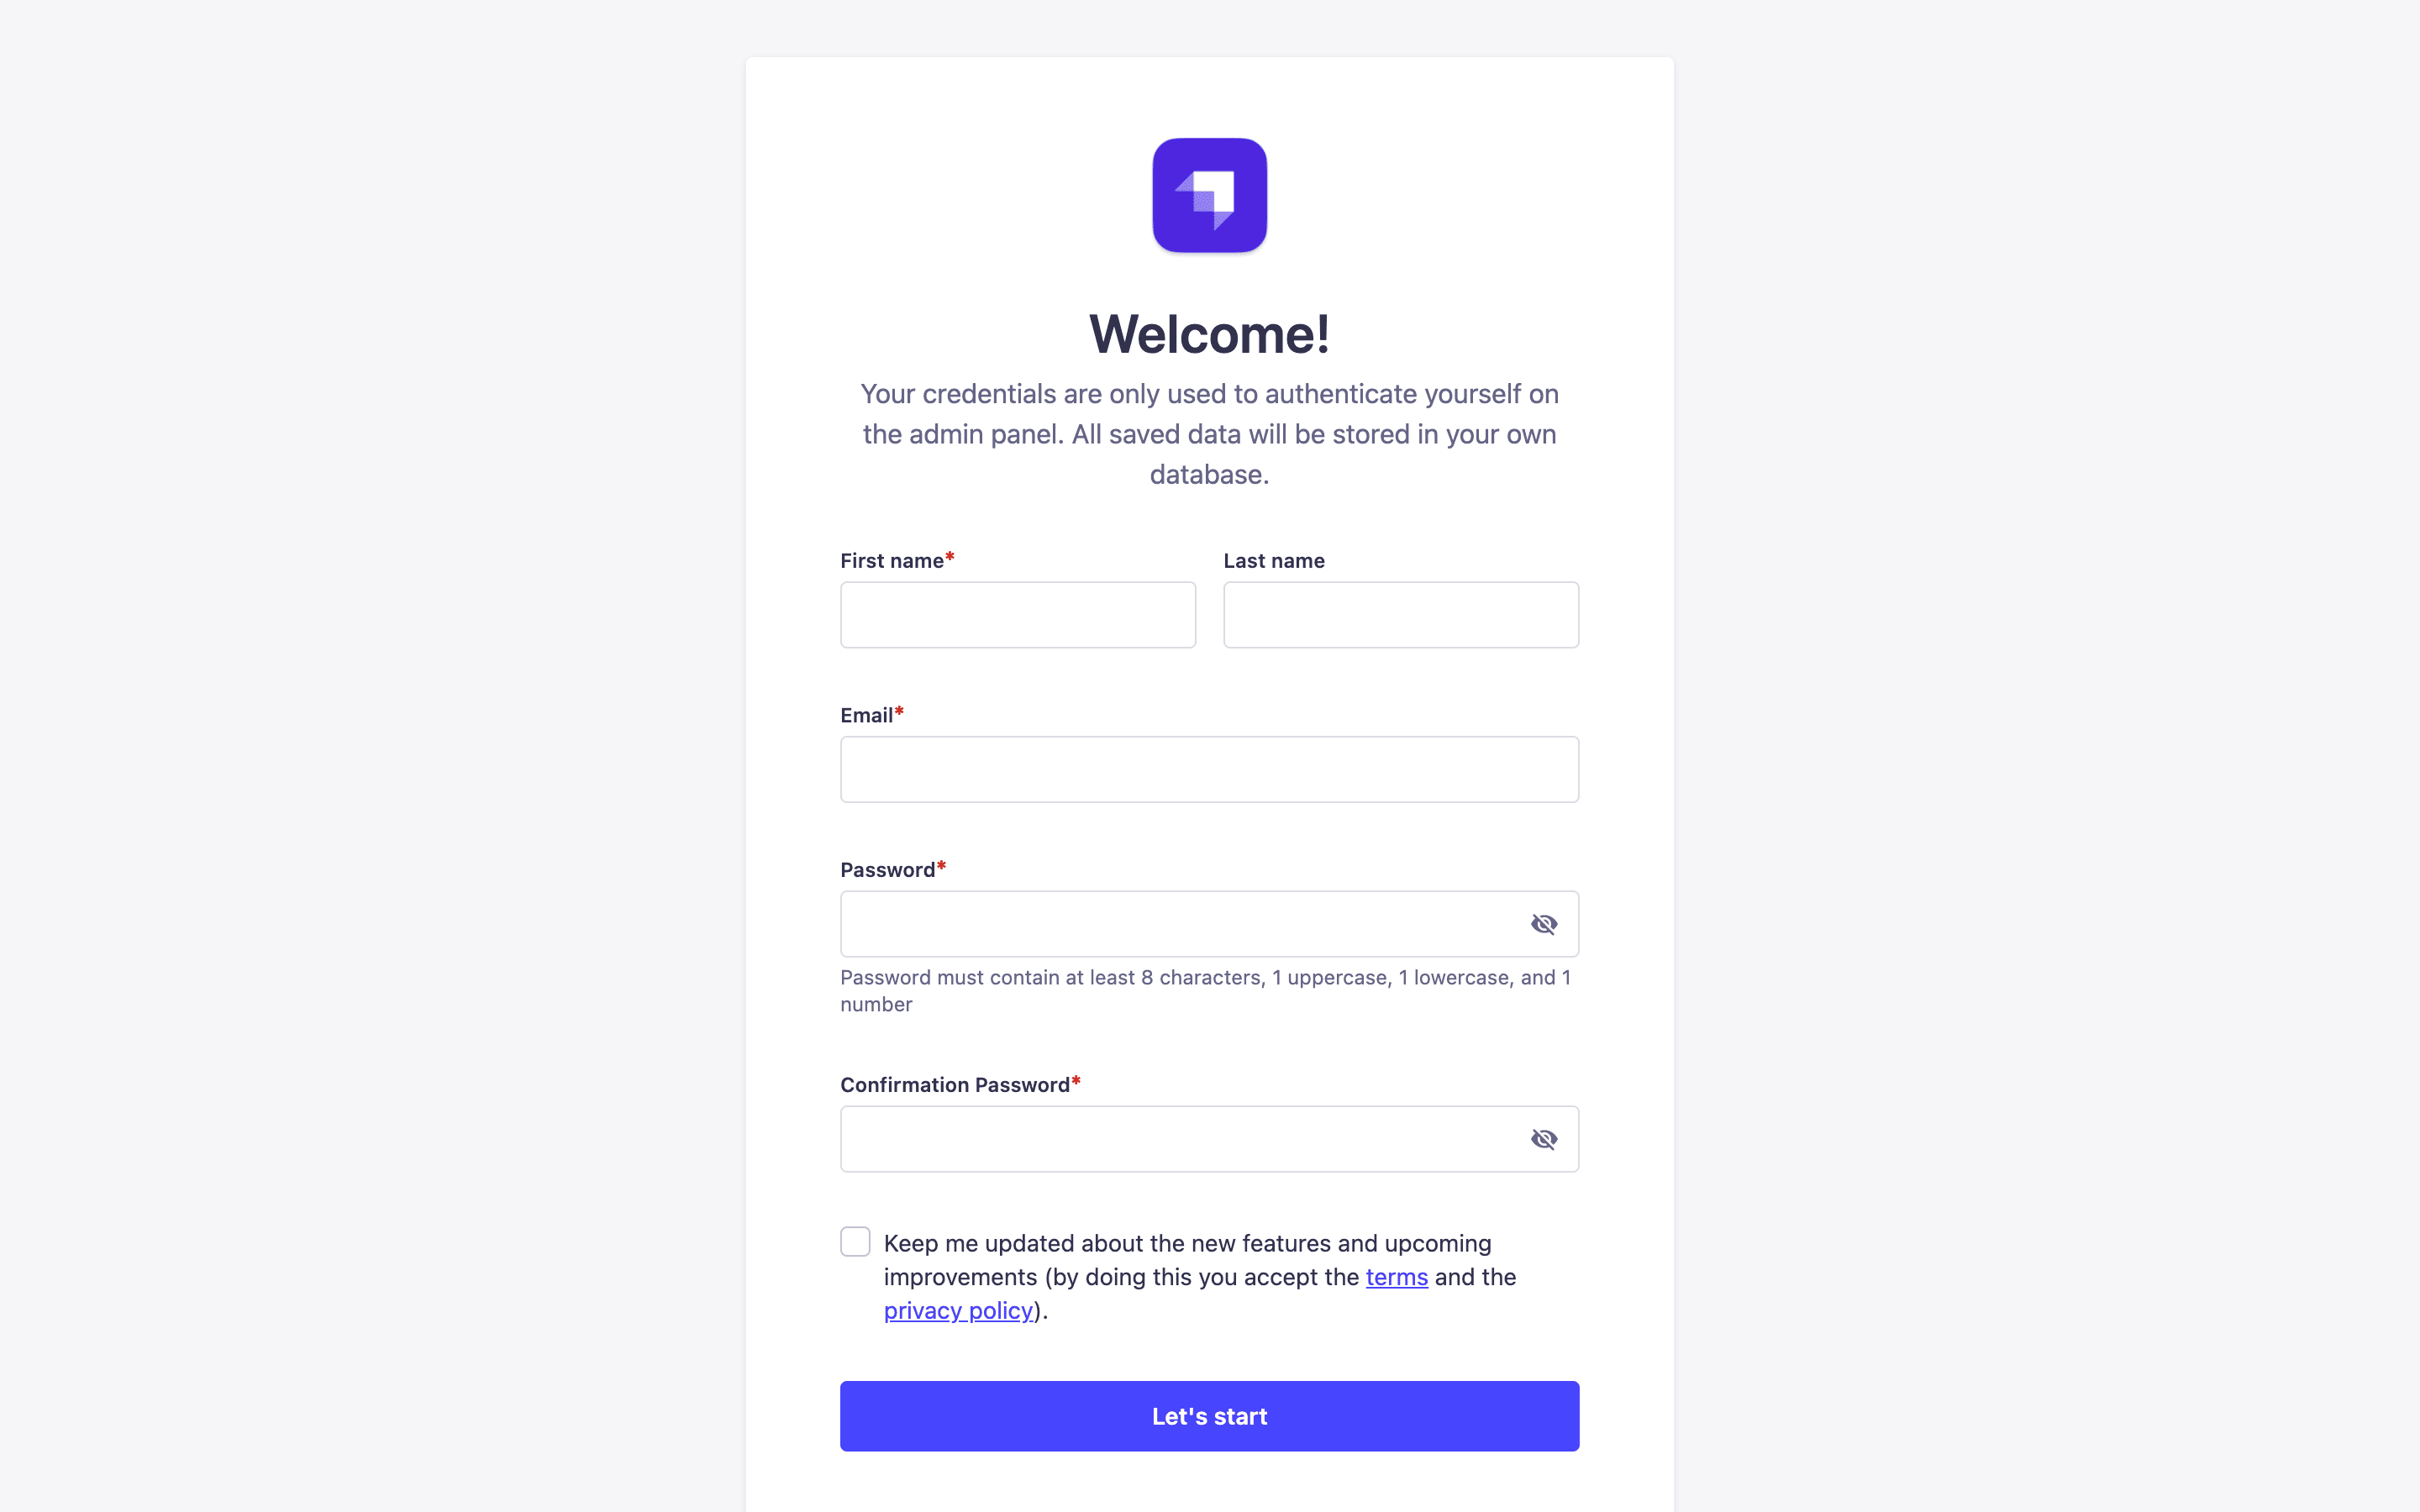
Don't forget that Strapi is running on http://localhost:1337. Create your admin user by signing up!
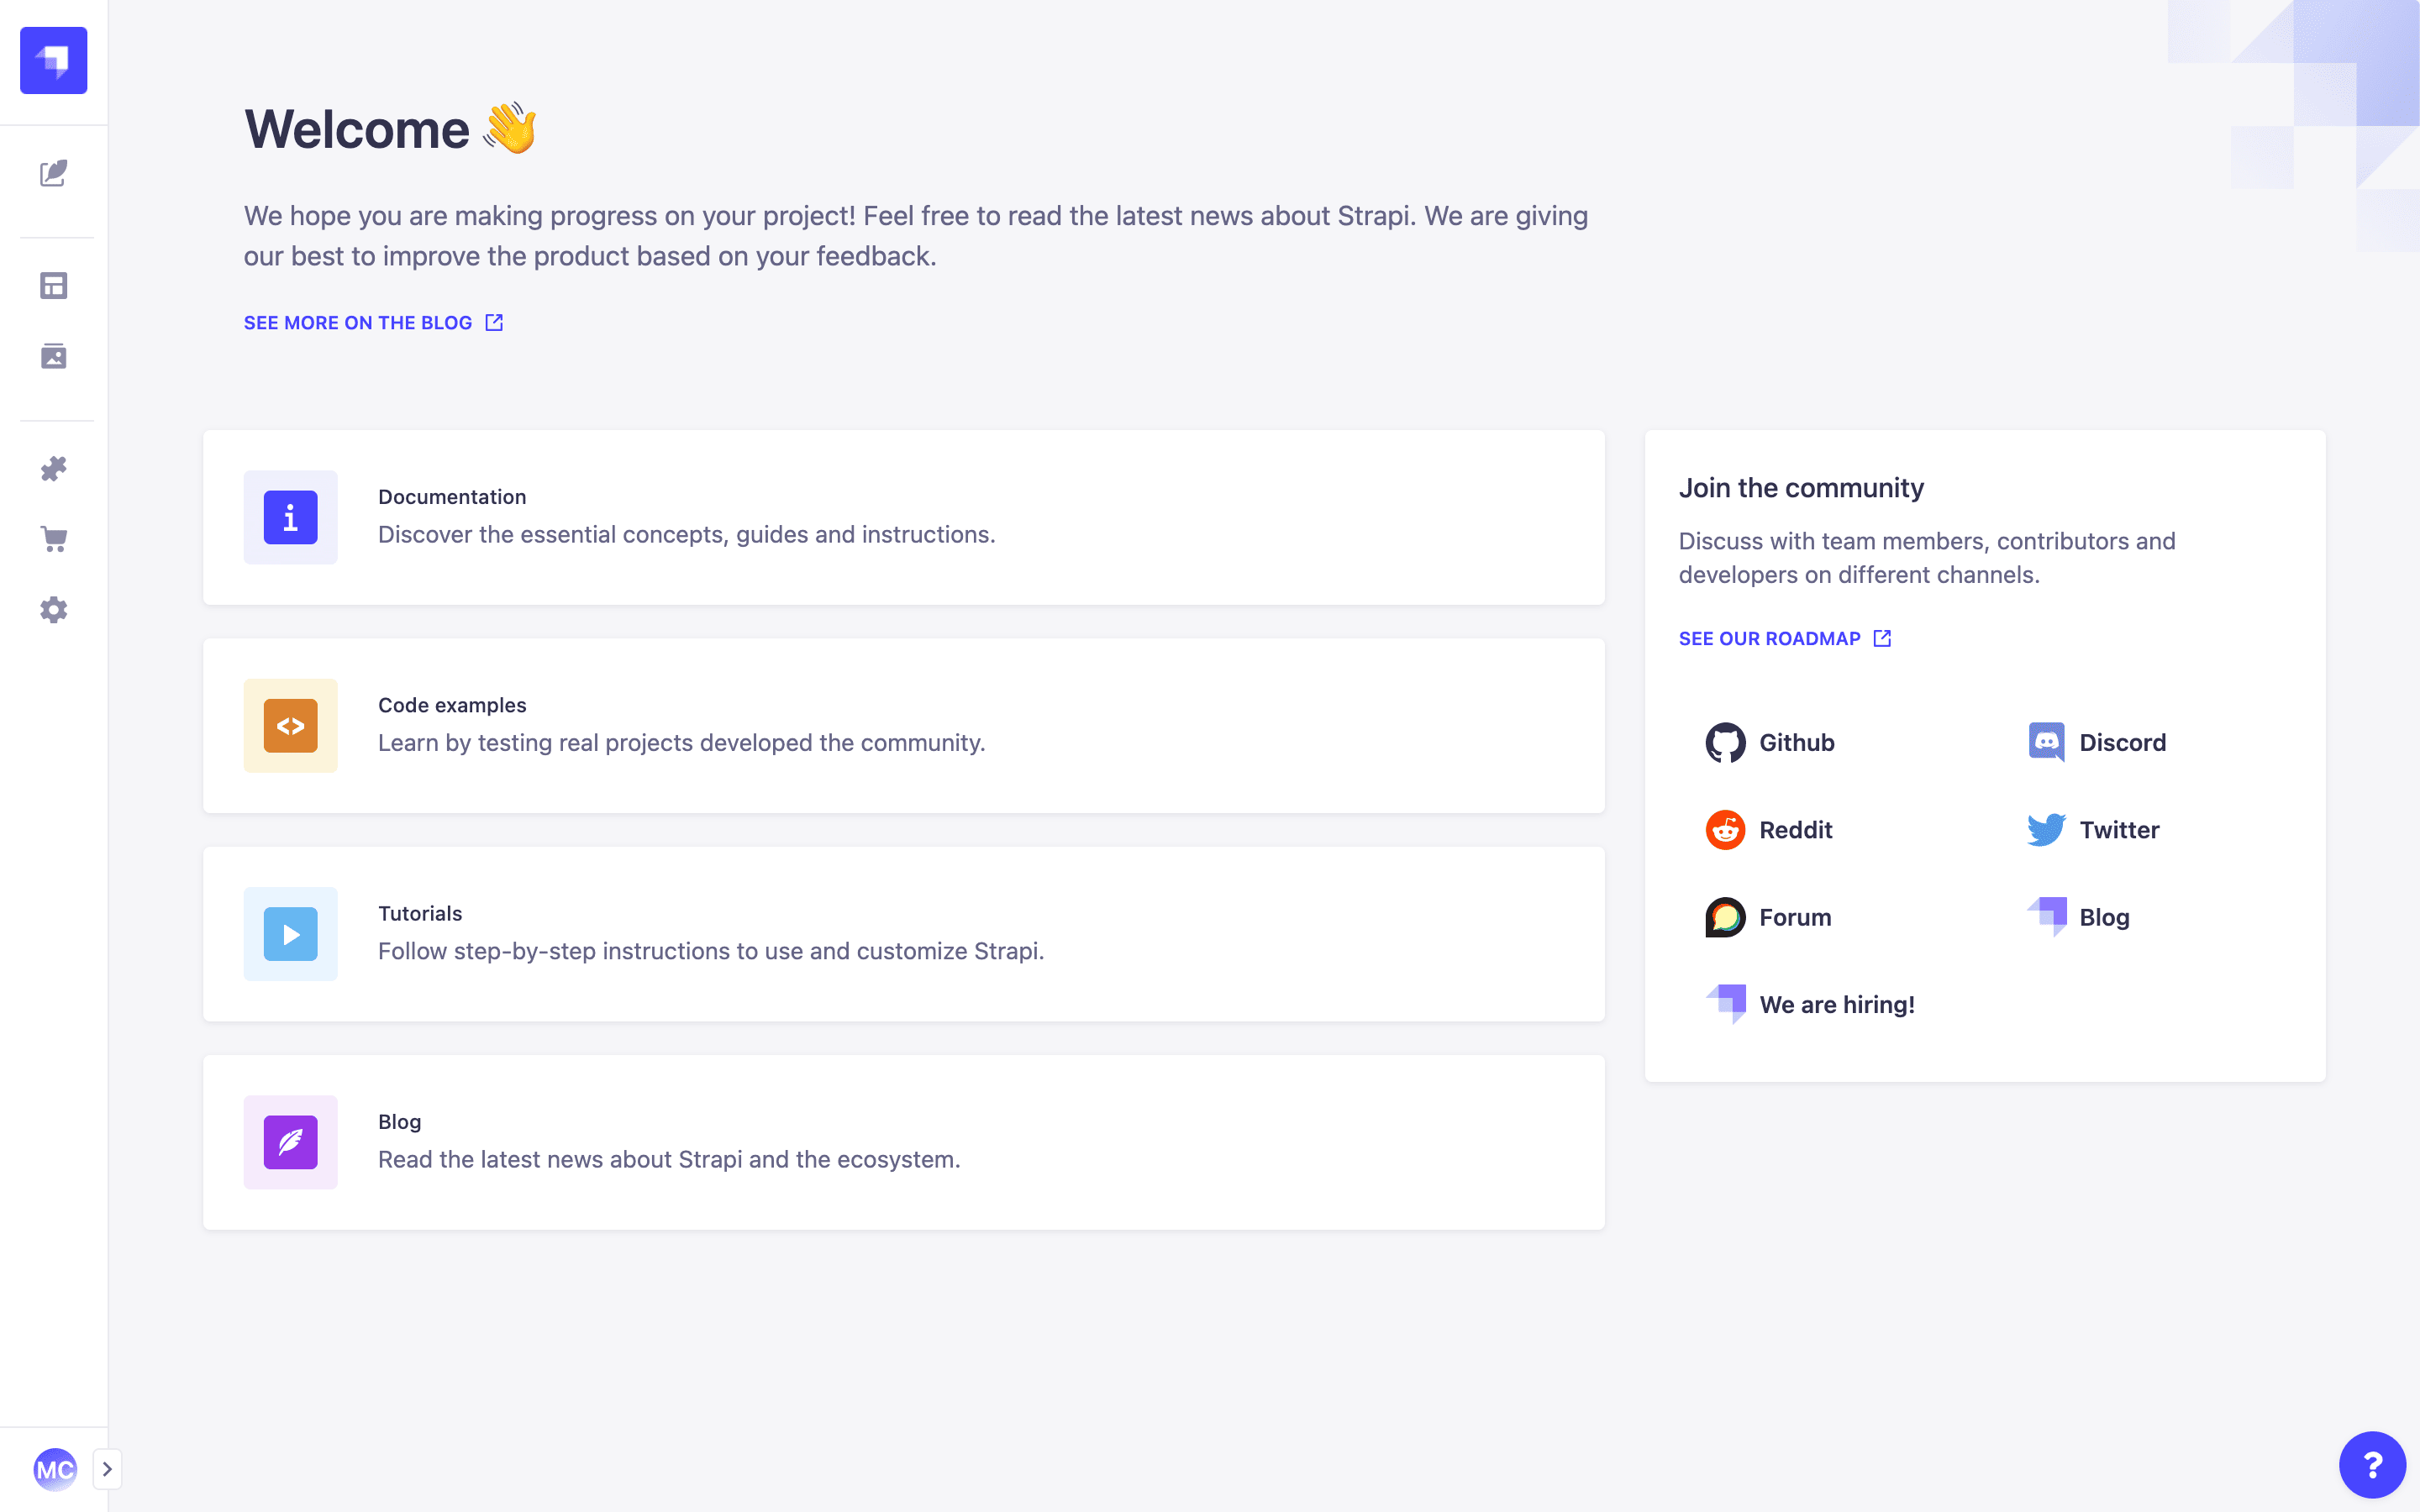
That's it! You're done with Strapi! I'm not kidding, we can start to create our React application now in order to fetch our content from Strapi.
Ok ok wait, let's talk about this amazing template you just created.
You should know that before we had starters and templates, we only had tutorials. The idea of creating starters came to us when we realized that we could do something with the result of our tutorials. Thus our starters were born. However, Strapi evolves quickly, very quickly. At the time, starters comprised a repository that included the back and frontend. This meant that updating the Strapi version on all our starters took too much time. Therefore we decided to develop templates that are always created with the latest versions of Strapi. This was achieved simply by passing the repository parameter to the desired template like you just did. This method also gives a recommended architecture for your Strapi project.
These templates provide a solid basis for your Strapi application and include the following:
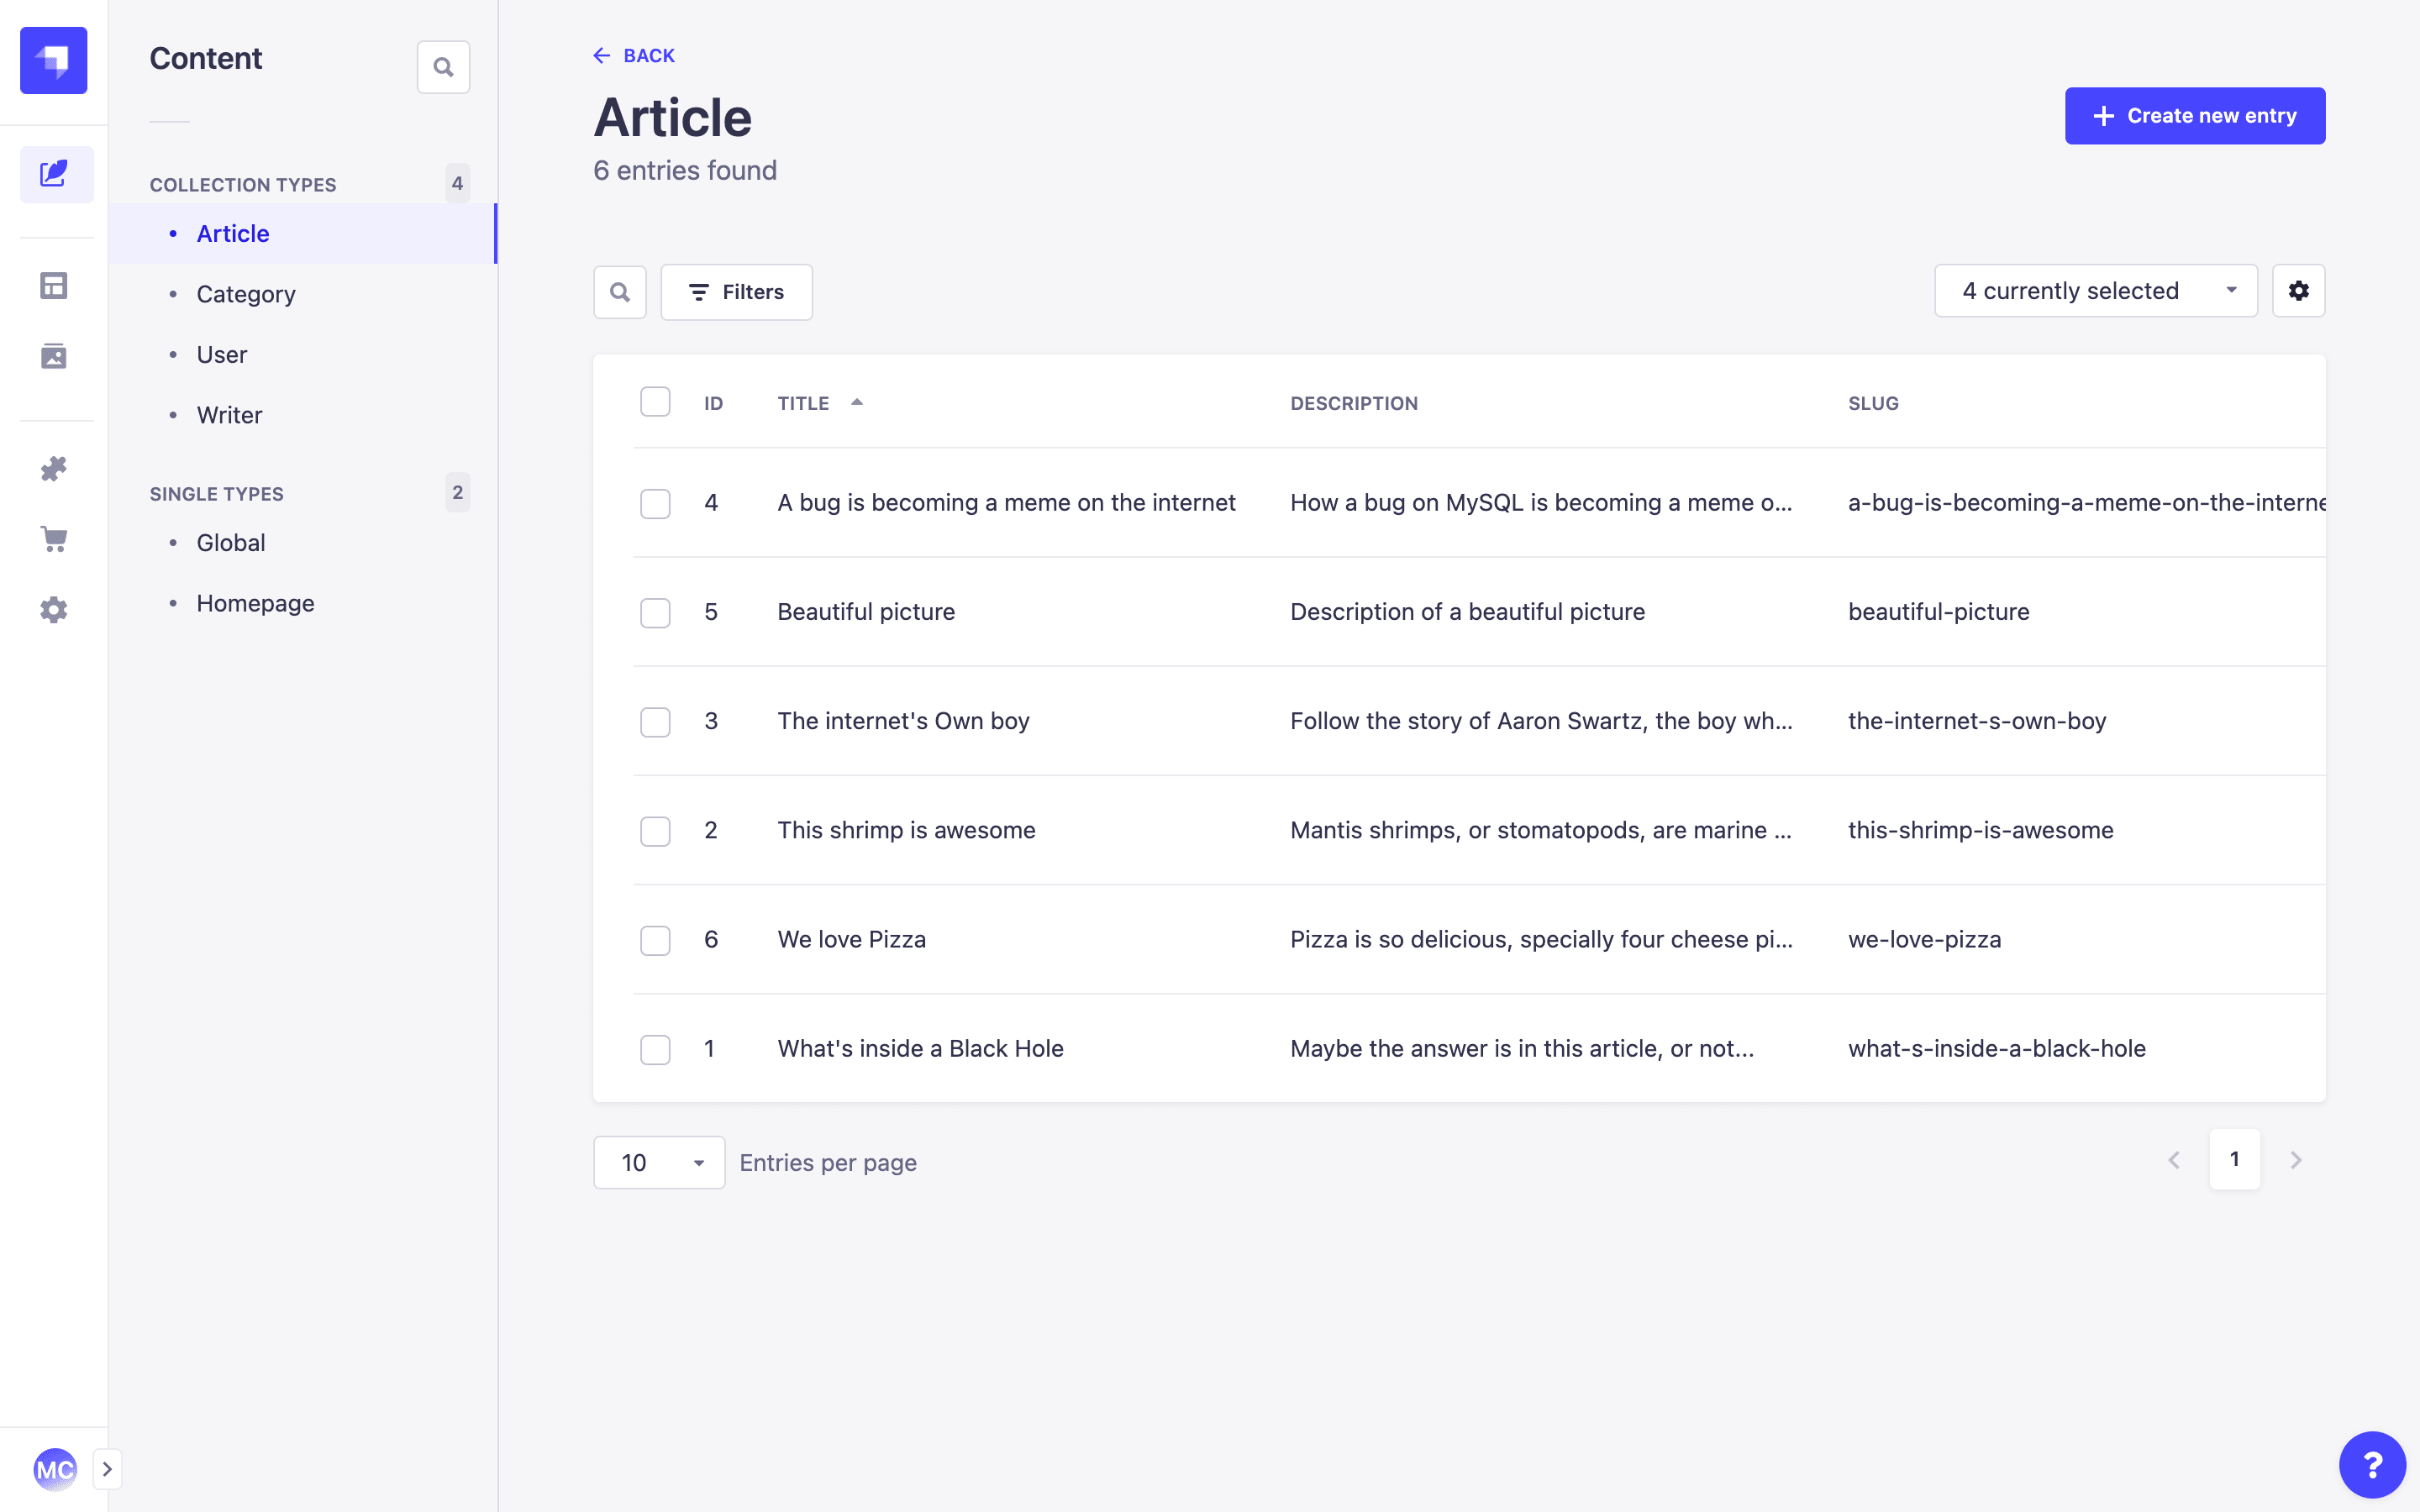
- 3 Collection types are already created. Article, Category, Writer.
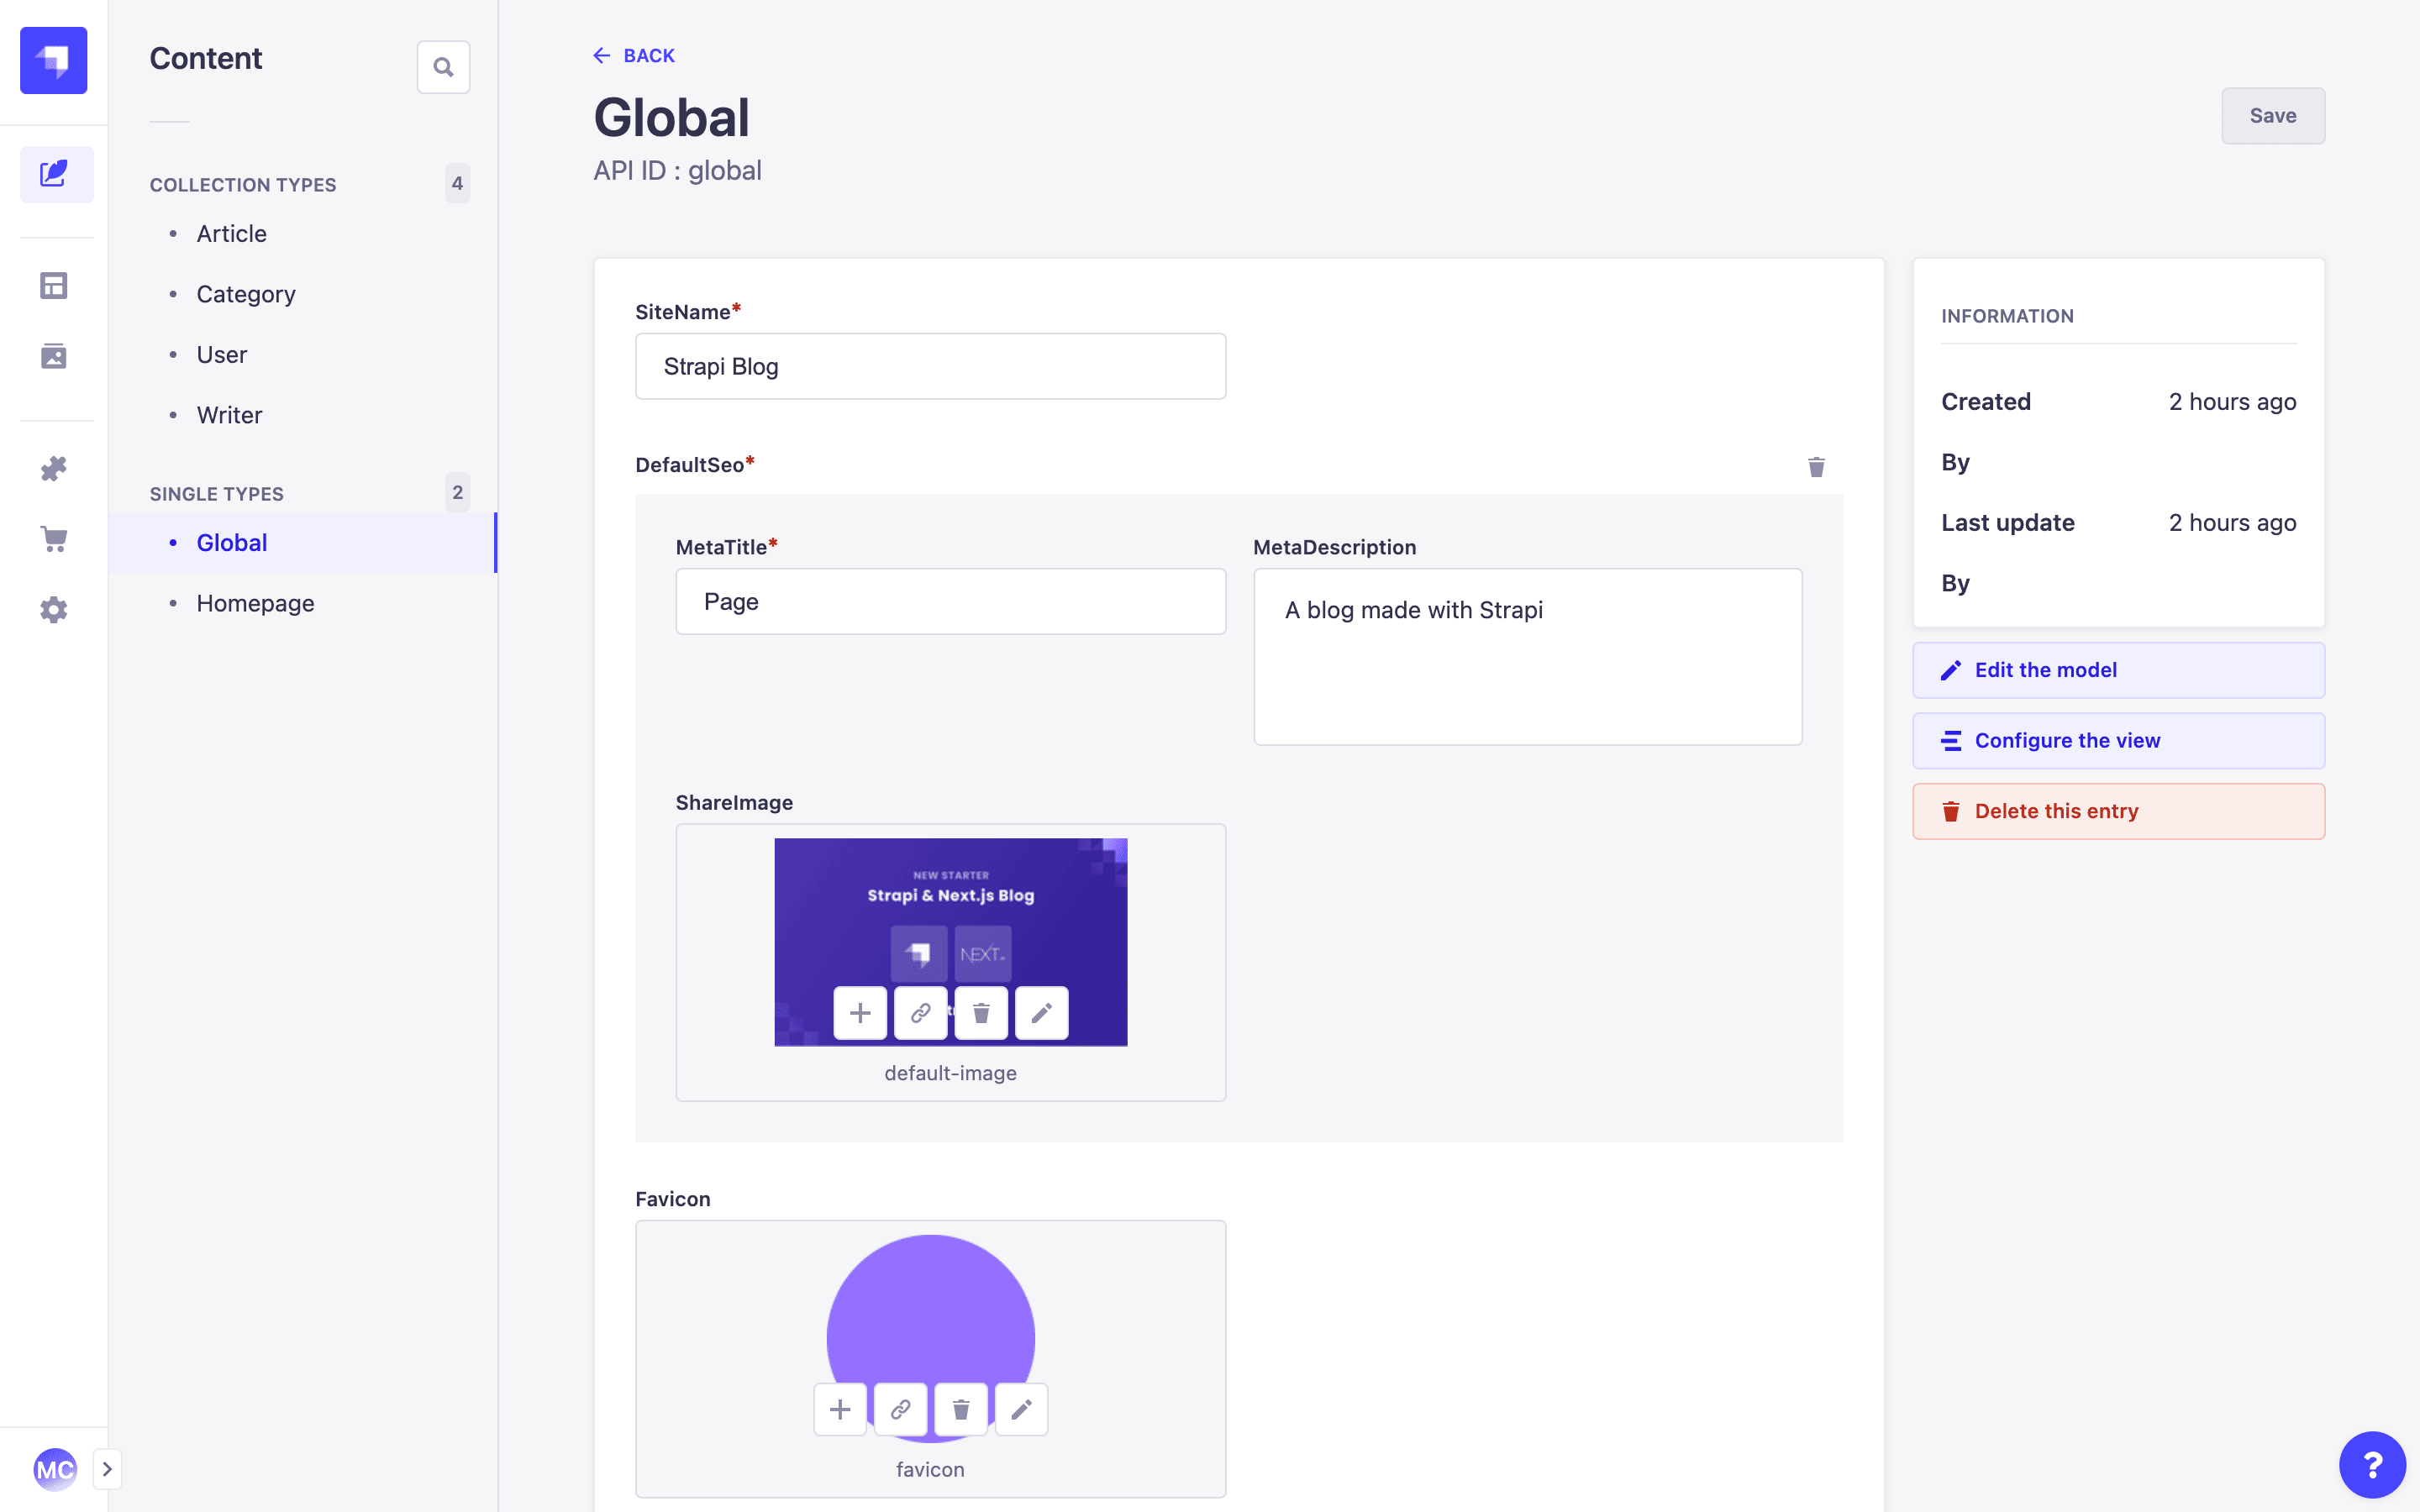
- 2 Single types are already created. Global, Homepage.
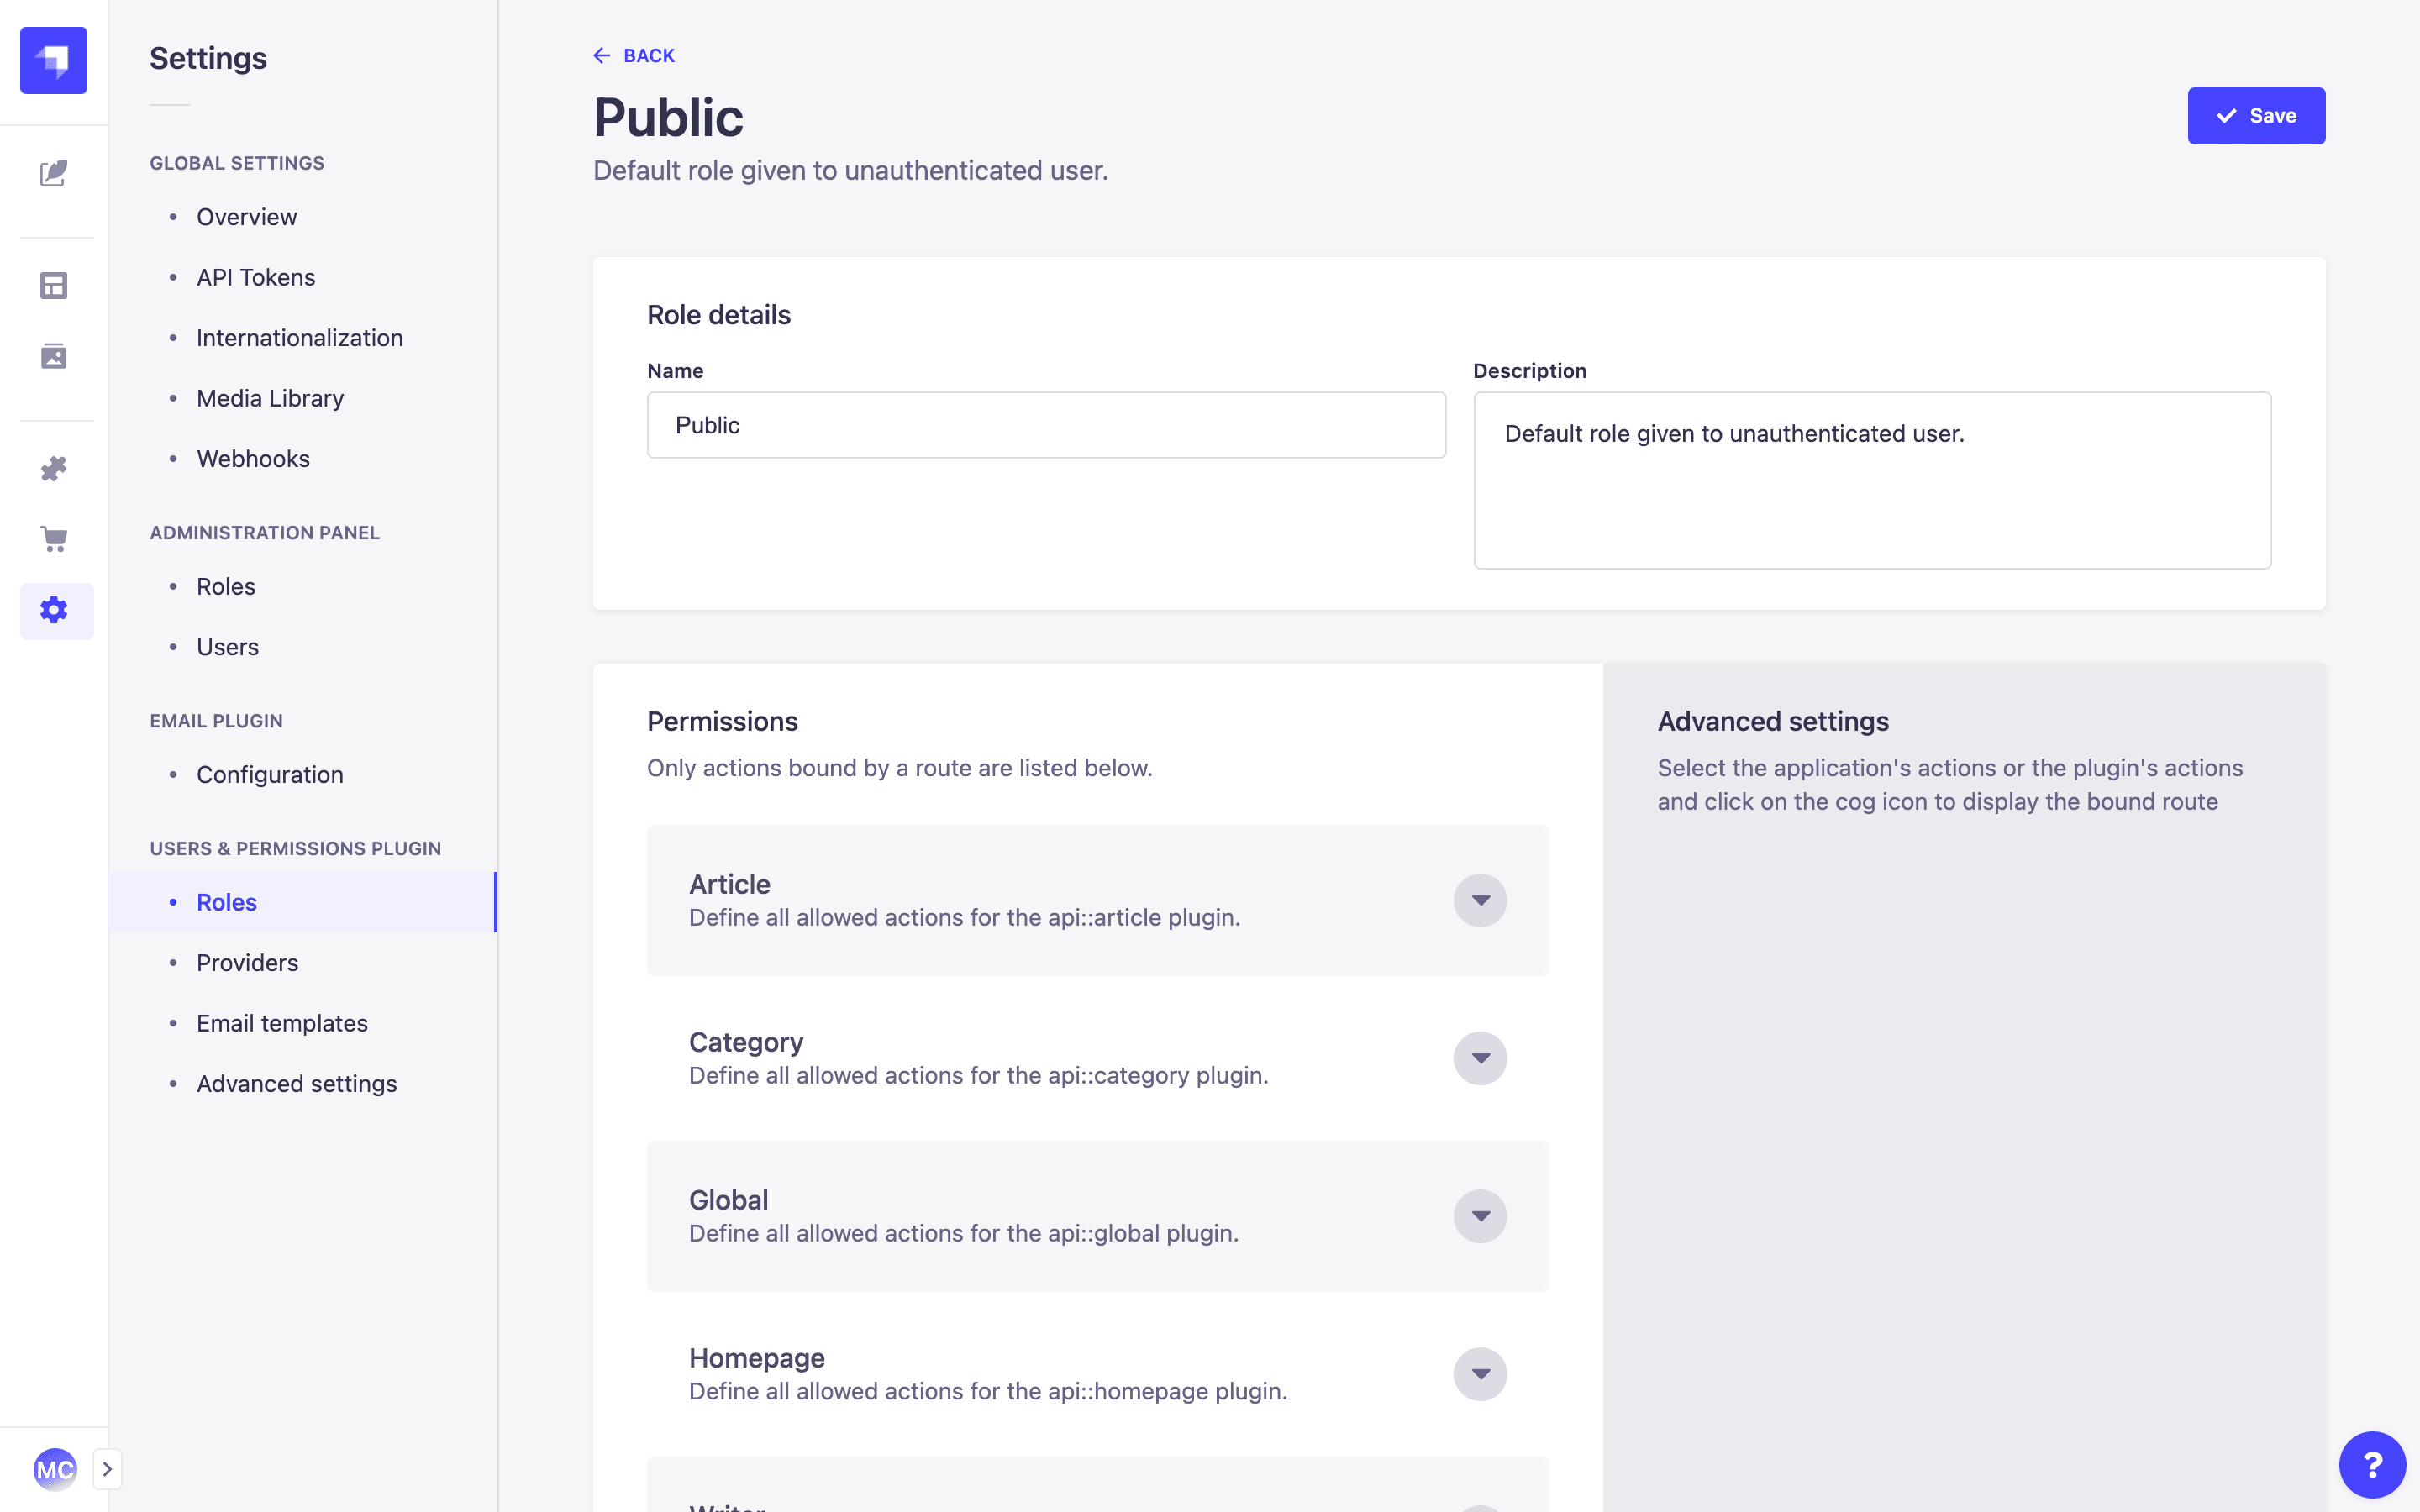
- Find and FindOne permissions are open for all your collection and single-types.
- Mock data.
Feel free to modify any of this if you want. However, for this tutorial, this initial setup should be enough.
Nice! Now that Strapi is ready, you will create your React application.
Front-end setup
Well, the easiest part has been completed; let's get our hands dirty developing our blog!
Vue setup
- Install the vue cli by running the following command in your terminal:
yarn global add @vue/cli
Create a Vue front-end server by running the following command:
vue create frontend
Note: The terminal will prompt for some details about your project. Chose default Vue 3 (babel, eslint). Go ahead and press enter all the way!
Once the installation is over, you can start your frontend app to ensure everything went ok.
cd frontend
yarn serve
As you might want people to read your blog or to make it "cute & pretty" we will use a popular CSS framework for styling: UiKit and also Apollo to query Strapi with GraphQL:
Dependencies setup
Make sure you are in the frontend folder before running the following commands:
Apollo setup
- Install all the necessary dependencies for apollo by running the following command:
yarn add graphql graphql-tag @apollo/client @vue/apollo-option
- Create a
vue-apollo.jsfile inside yoursrcfolder containing the following code:
import { ApolloClient } from "apollo-client";
import { createHttpLink } from "apollo-link-http";
import { InMemoryCache } from "apollo-cache-inmemory";

// HTTP connection to the API
const httpLink = createHttpLink({
  // You should use an absolute URL here
  uri: process.env.VUE_APP_GRAPHQL_URL || "http://localhost:1337/graphql",
});

// Cache implementation
const cache = new InMemoryCache();

// Create the apollo client
const apolloClient = new ApolloClient({
  link: httpLink,
  cache,
});

export default apolloClient;
As you can see we are using a VUE_APP_GRAPHQL_URL env variable, let's create it in a .env file:
- Create a
./envfile at the root of your frontend application containing the following line:
VUE_APP_STRAPI_API_URL=http://localhost:1337
VUE_APP_GRAPHQL_URL=http://localhost:1337/graphql
You are going to use the VUE_APP_STRAPI_API_URL later on. Now let's head to our main.js file
- Update your
./src/main.jsfile to include apollo in your project:
import { createApp, h } from "vue";
import { createApolloProvider } from "@vue/apollo-option";
import apolloClient from "./vue-apollo";

const apolloProvider = createApolloProvider({
  defaultClient: apolloClient,
});

import App from "./App.vue";

const app = createApp({
  render: () => h(App),
});

app.use(apolloProvider);
app.mount("#app");
Here you are defining the apollo configurations in the vue-apollo.js and then you create the provider that you include in your Vue 3 application.
Great, apollo is ready now!
UIkit setup
UIkit is a lightweight, modular frontend framework for developing fast and powerful web interfaces.
- Add UIkit css and js in your
public/index.htmlfile by adding the following lines:
...
<!-- UIkit CSS -->
<link
  rel="stylesheet"
  href="https://cdn.jsdelivr.net/npm/uikit@3.3.1/dist/css/uikit.min.css"
/>

<link
  rel="stylesheet"
  href="https://fonts.googleapis.com/css?family=Staatliches"
/>

<!-- UIkit JS -->
<script src="https://cdn.jsdelivr.net/npm/uikit@3.3.1/dist/js/uikit.min.js"></script>
<script src="https://cdn.jsdelivr.net/npm/uikit@3.3.1/dist/js/uikit-icons.min.js"></script>
...
Awesome! It's time to structure our code a little bit!
- Replace the generated code by Vue inside your
App.vuewith the following one:
<template>
  <div id="app">Hello world</div>
</template>

<script>
export default {
  name: "App"
};
</script>

<style lang="css">
a {
  text-decoration: none;
}

h1 {
  font-family: Staatliches;
  font-size: 120px;
}

#category {
  font-family: Staatliches;
  font-weight: 500;
}

#title {
  letter-spacing: 0.4px;
  font-size: 22px;
  font-size: 1.375rem;
  line-height: 1.13636;
}

#banner {
  margin: 20px;
  height: 800px;
}

#editor {
  font-size: 16px;
  font-size: 1rem;
  line-height: 1.75;
}

.uk-navbar-container {
  background: #fff !important;
  font-family: Staatliches;
}

img:hover {
  opacity: 1;
  transition: opacity 0.25s cubic-bezier(0.39, 0.575, 0.565, 1);
}
</style>- Remove the
components/HelloWorld.vuecomponent
Perfect! You should have a blank page now! I know it's sound weird but it means that you did everything well!
Create the routing of the application
First of all we are going to create the routing of our application using vue-router
- Install
vue-routerby running the following command in your terminal:
yarn add vue-router
Head to your main.js file and replace the code by the following one:
import { createApp, h } from "vue";
import { createRouter, createWebHashHistory } from "vue-router";
import { createApolloProvider } from "@vue/apollo-option";
import apolloClient from "./vue-apollo";
import App from "./App.vue";

const apolloProvider = createApolloProvider({
  defaultClient: apolloClient,
});

const routes = [{ path: "/" }];

// 3. Create the router instance and pass the `routes` option
// You can pass in additional options here, but let's
// keep it simple for now.
const router = createRouter({
  // 4. Provide the history implementation to use. We are using the hash history for simplicity here.
  history: createWebHashHistory(),
  routes, // short for `routes: routes`
});

const app = createApp({
  render: () => h(App),
});

app.use(router);
app.use(apolloProvider);
app.mount("#app");
As you can see, we are simply importing vue-router and telling Vue to use it. We then create our routes. The first one is the main page / and is not using any components yet, we'll do it later.
Create the Nav component
We will create a Nav that will be present on every page of your application. To do this, we will simply call it in our App.vue
- Create a
components/Nav.vuefile containing the following code:
<template>
  <div>
    <nav class="uk-navbar-container" uk-navbar>
      <div class="uk-navbar-left">
        <ul class="uk-navbar-nav">
          <li>
            <a href="/">Strapi Blog </a>
          </li>
        </ul>
      </div>

      <div class="uk-navbar-right">
        <ul class="uk-navbar-nav">
          <li v-for="category in categories.data" v-bind:key="category.id">
            <router-link
              :to="{ path: '/category/' + category.attributes.slug }"
              :key="category.attributes.slug"
            >
              {{ category.attributes.name }}
            </router-link>
          </li>
        </ul>
      </div>
    </nav>
  </div>
</template>

<script>
import gql from "graphql-tag";
export default {
  name: "Nav",
  data() {
    return {
      categories: [],
    };
  },
  apollo: {
    categories: gql`
      query Categories {
        categories {
          data {
            id
            attributes {
              slug
              name
            }
          }
        }
      }
    `,
  },
};
</script>
Here, we are defining a categories array that will be filled with the response of this GraphQL query:
apollo: {
  categories: gql`
    query Categories {
        categories {
          data {
            attributes {
              slug
              name
            }
          }
        }
      }
  `
}
Let's use this new component inside our App.vue component
- Import your Nav component and use it inside your
App.vuecomponent
<template>
  <div id="app">
    <Nav />
  </div>
</template>

<script>
import Nav from "./components/Nav.vue";

export default {
  name: "App",
  components: { Nav }
};
</script>
<style lang="css">
...
Awesome! You should see your brand new Nav!
Note The current code is unsuitable for displaying many categories as you may encounter a UI issue. Since this blog post is supposed to be short, I will let you improve the code to add a lazy load or something maybe.
For now, the links are not working, you'll work on it later in the tutorial ;)
Create the Articles page
let's display your articles from Strapi now!
- Create a
src/containersfolder and create asrc/containers/Articles.vuefile containing the following code:
<template>
  <div>
    <div class="uk-section">
      <div class="uk-container uk-container-large">
        <h1>Strapi blog</h1>

        <ArticlesList :articles="articles"></ArticlesList>
      </div>
    </div>
  </div>
</template>

<script>
import ArticlesList from "../components/ArticlesList.vue";
import gql from "graphql-tag";

export default {
  components: {
    ArticlesList,
  },
  data() {
    return {
      articles: [],
    };
  },
  apollo: {
    articles: gql`
      query Articles {
        articles {
          data {
            attributes {
              slug
              title
              category {
                data {
                  attributes {
                    slug
                    name
                  }
                }
              }
              image {
                data {
                  attributes {
                    url
                  }
                }
              }
            }
          }
        }
      }
    `,
  },
};
</script>
Here we are just creating the page that will use a ArticlesList component to display our articles. We will give these articles as props from the response of this GraphQL query:
apollo: {
    articles: gql`
      query Articles {
        articles {
          data {
            attributes {
              slug
              title
              category {
                data {
                  attributes {
                    slug
                    name
                  }
                }
              }
              image {
                data {
                  attributes {
                    url
                  }
                }
              }
            }
          }
        }
      }
    `,
},- Create a
components/ArticlesList.vuefile containing the following code:
<template>
  <div>
    <div class="uk-child-width-1-2" uk-grid>
      <div>
        <router-link
          v-for="article in leftArticles"
          :to="{ path: '/article/' + article.attributes.slug }"
          class="uk-link-reset"
          :key="article.attributes.slug"
        >
          <div class="uk-card uk-card-muted">
            <div class="uk-card-media-top">
              <img
                :src="api_url + article.attributes.image.data.attributes.url"
                alt=""
                height="100"
              />
            </div>
            <div class="uk-card-body">
              <p
                id="category"
                v-if="article.attributes.category"
                class="uk-text-uppercase"
              >
                {{ article.attributes.category.data.attributes.name }}
              </p>
              <p id="title" class="uk-text-large">
                {{ article.attributes.title }}
              </p>
            </div>
          </div>
        </router-link>
      </div>
      <div>
        <div class="uk-child-width-1-2@m uk-grid-match" uk-grid>
          <router-link
            v-for="article in rightArticles"
            :to="{ path: '/article/' + article.attributes.slug }"
            class="uk-link-reset"
            :key="article.attributes.slug"
          >
            <div class="uk-card uk-card-muted">
              <div class="uk-card-media-top">
                <img
                  :src="api_url + article.attributes.image.data.attributes.url"
                  alt=""
                  height="100"
                />
              </div>
              <div class="uk-card-body">
                <p
                  id="category"
                  v-if="article.attributes.category"
                  class="uk-text-uppercase"
                >
                  {{ article.attributes.category.data.attributes.name }}
                </p>
                <p id="title" class="uk-text-large">
                  {{ article.attributes.title }}
                </p>
              </div>
            </div>
          </router-link>
        </div>
      </div>
    </div>
  </div>
</template>

<script>
export default {
  data: function () {
    return {
      api_url: process.env.VUE_APP_STRAPI_API_URL,
    };
  },
  props: {
    articles: Object,
  },
  computed: {
    leftArticlesCount() {
      return Math.ceil(this.articles.data.length / 5);
    },
    leftArticles() {
      return this.articles.data.slice(0, this.leftArticlesCount);
    },
    rightArticles() {
      return this.articles.data.slice(
        this.leftArticlesCount,
        this.articles.data.length
      );
    },
  },
};
</script>
Here we are simply displaying our articles by separating them on left and right side for design purpose:
computed: {
    leftArticlesCount() {
      return Math.ceil(this.articles.data.length / 5);
    },
    leftArticles() {
      return this.articles.data.slice(0, this.leftArticlesCount);
    },
    rightArticles() {
      return this.articles.data.slice(this.leftArticlesCount, this.articles.data.length);
    },
  },
We are using the api_url: process.env.VUE_APP_STRAPI_API_URL in order to display images from Strapi
Now it's time to display this page, remember the route you defined without a component? Let's tell your Vue app to use this containers/Articles component when you are visiting /
- Modify your VueRouter instance by adding the following code inside your
main.jsfile:
...
import Articles from "./containers/Articles";

...

const routes = [{ path: "/", component: Articles }];
...
One last thing, we need to tell Vue where to place this component.
- Add a
router-viewcomponent just under yourNavcomponent inside yourApp.vuecomponent:
<template>
  <div id="app">
    <Nav />
    <router-view :key="$route.fullPath"></router-view>
  </div>
</template>
...
Article page
First of all you'll need to install some dependencies:
- Install
momentandvue-markdown-itby running the following command:
yarn add moment vue-markdown-it
You can see that if you click on the article, there is nothing. Let's create the article page together!
- Create a
containers/Article.vuefile containing the following:
<template>
  <div v-if="articles.data">
    <div
      v-if="articles.data[0].attributes.image"
      id="banner"
      class="uk-height-small uk-flex uk-flex-center uk-flex-middle uk-background-cover uk-light uk-padding"
      :data-src="
        api_url + articles.data[0].attributes.image.data.attributes.url
      "
      uk-img
    >
      <h1>{{ articles.data[0].attributes.title }}</h1>
    </div>

    <div class="uk-section">
      <div class="uk-container uk-container-small">
        <vue-markdown-it
          v-if="articles.data[0].attributes.content"
          :source="articles.data[0].attributes.content"
          id="editor"
        />
        <p v-if="articles.data[0].attributes.publishedAt">
          {{
            moment(articles.data[0].attributes.publishedAt).format("MMM Do YY")
          }}
        </p>
      </div>
    </div>
  </div>
</template>

<script>
var moment = require("moment");
import VueMarkdownIt from "vue-markdown-it";
import gql from "graphql-tag";

export default {
  data() {
    return {
      articles: {},
      moment: moment,
      api_url: process.env.VUE_APP_STRAPI_API_URL,
      routeParam: this.$route.params.slug,
    };
  },
  components: {
    VueMarkdownIt,
  },
  apollo: {
    articles: {
      query: gql`
        query Article($slug: String!) {
          articles(filters: { slug: { eq: $slug } }) {
            data {
              attributes {
                slug
                title
                content
                category {
                  data {
                    attributes {
                      slug
                      name
                    }
                  }
                }
                image {
                  data {
                    attributes {
                      url
                    }
                  }
                }
              }
            }
          }
        }
      `,
      variables() {
        return {
          slug: this.routeParam,
        };
      },
    },
  },
};
</script>
Here we are fetching the url id with routeParam: this.$route.params.id and setting it in our GraphQL variables:
variables() {
  return {
    slug: this.routeParam
  };
}
Now we simply need to configure the router in our main.js file
- Configure a new route in your
main.jsfile
...
import Articles from "./containers/Articles";
import Article from "./containers/Article";

...

const routes = [
  { path: "/", component: Articles },
  {
    path: "/article/:slug",
    component: Article,
  },
];
...
Click on any article!

Categories
Let's create a page for each category now!
- Create a
containers/Category.vuefile containing the following code:
<template>
  <div>
    <div class="uk-section">
      <div class="uk-container uk-container-large">
        <h1>{{ category.data[0].attributes.name }}</h1>

        <ArticlesList
          :articles="category.data[0].attributes.articles.data || []"
        ></ArticlesList>
      </div>
    </div>
  </div>
</template>

<script>
import ArticlesList from "../components/ArticlesList";
import gql from "graphql-tag";

export default {
  data() {
    return {
      category: [],
      routeParam: this.$route.params.slug,
    };
  },
  components: {
    ArticlesList,
  },
  apollo: {
    category: {
      query: gql`
        query Category($slug: String!) {
          categories(filters: { slug: { eq: $slug } }) {
            data {
              attributes {
                slug
                name
                articles {
                  data {
                    attributes {
                      slug
                      title
                      content
                      category {
                        data {
                          attributes {
                            name
                          }
                        }
                      }
                      image {
                        data {
                          attributes {
                            url
                          }
                        }
                      }
                    }
                  }
                }
              }
            }
          }
        }
      `,
      variables() {
        return { slug: this.routeParam };
      },
    },
  },
};
</script>
The code is pretty similar to the previous containers/Article.vue file. We are fetching articles depending on the category we are in the url:
apollo: {
    category: {
      query: gql`
        query Category($slug: String!) {
          categories(filters: { slug: { eq: $slug } }) {
            data {
              attributes {
                slug
                name
                articles {
                  data {
                    attributes {
                      slug
                      title
                      content
                      category {
                        data {
                          attributes {
                            name
                          }
                        }
                      }
                      image {
                        data {
                          attributes {
                            url
                          }
                        }
                      }
                    }
                  }
                }
              }
            }
          }
        }
      `,
      variables() {
        return { slug: this.routeParam };
      },
    },
  },
Again we simply need to configure the router in our main.js file
- Configure a new route in your
main.jsfile
import Article from "./containers/Article";
import Articles from "./containers/Articles";
import Category from "./containers/Category";

...

const routes = [
  { path: "/", component: Articles },
  {
    path: "/article/:slug",
    component: Article,
  },
  {
    path: "/category/:slug",
    component: Category,
  },
];
Click on any Category on your Nav!

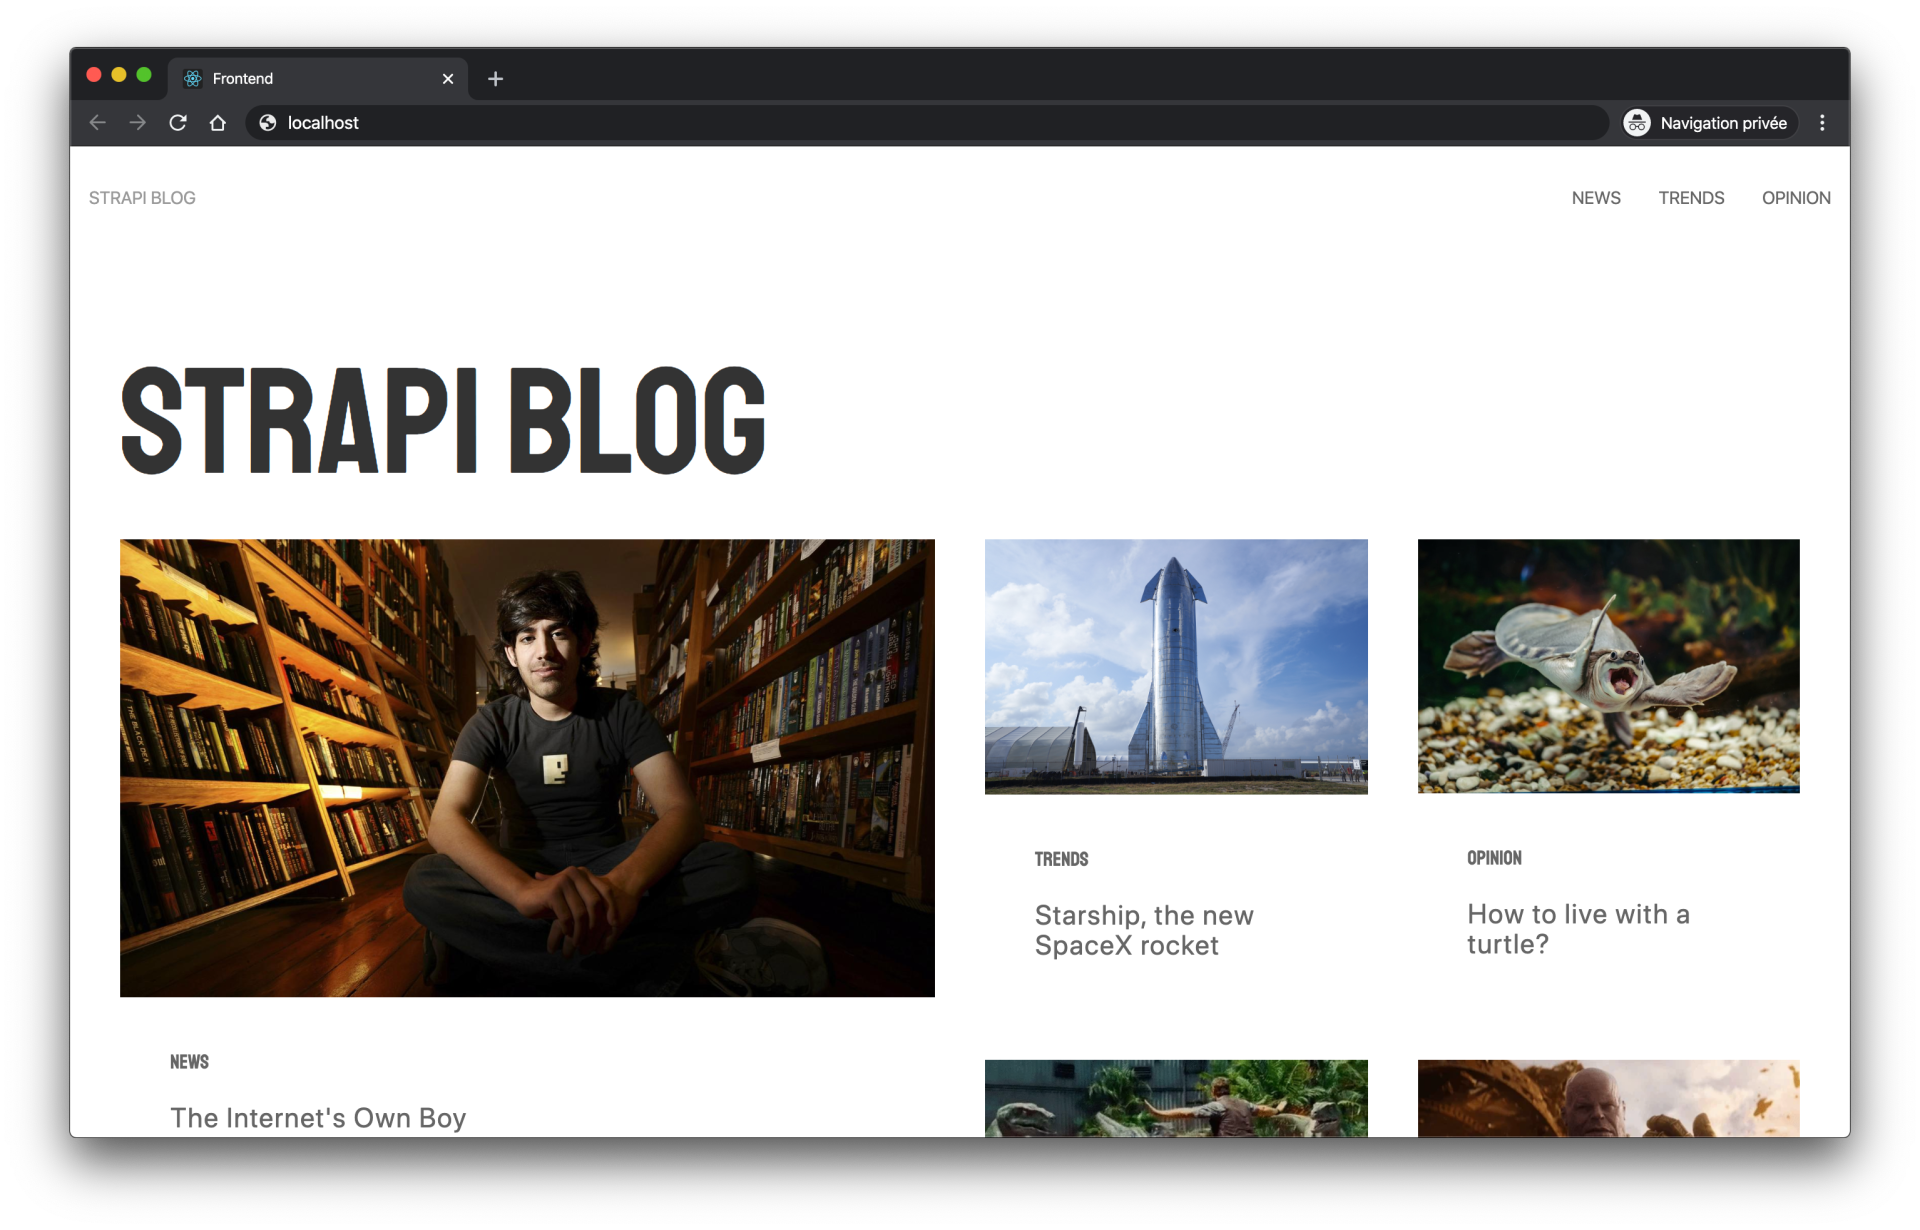
Awesome! You can now navigate through categories :)
Conclusion
Huge congrats, you successfully completed this tutorial. I hope you enjoyed it!

Still hungry?
Feel free to add additional features, adapt this project to your needs, and give feedback in the comments section.
If you want to deploy your application, check our documentation
Write for the community
Contribute and collaborate on educational content for the Strapi Community https://strapi.io/write-for-the-community
I can't wait to see your contribution!
Please note: Since we initially published this blog, we released new versions of Strapi and tutorials may be outdated. Sorry for the inconvenience if it's the case, and please help us by reporting it here.
Get started with Strapi by creating a project using a starter or trying our live demo. Also, consult our forum if you have any questions. We will be there to help you.
See you soon!